Making the Ruffle Cabinet
I loved the idea of ruffles on a cabinet! I had done the Ruffle stool a few years earlier and had  fun with the juxtaposition of flowing fabric and a block of wood. Also, it’s not a very common direction for a furniture maker to venture.
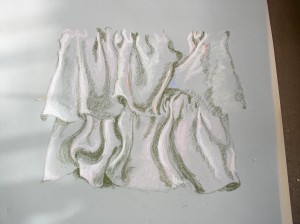
I found a nice thick board of a hard dense deep reddish wood that was FSC Jarrah, at my local hardwood lumber yard. Jarrah is a type of Eucalyptus from Australia.
I started out making mock ups, drawing and sculpting ruffles in clay so that I could get a grasp on the way they actually look rather than a caricature of a ruffle.

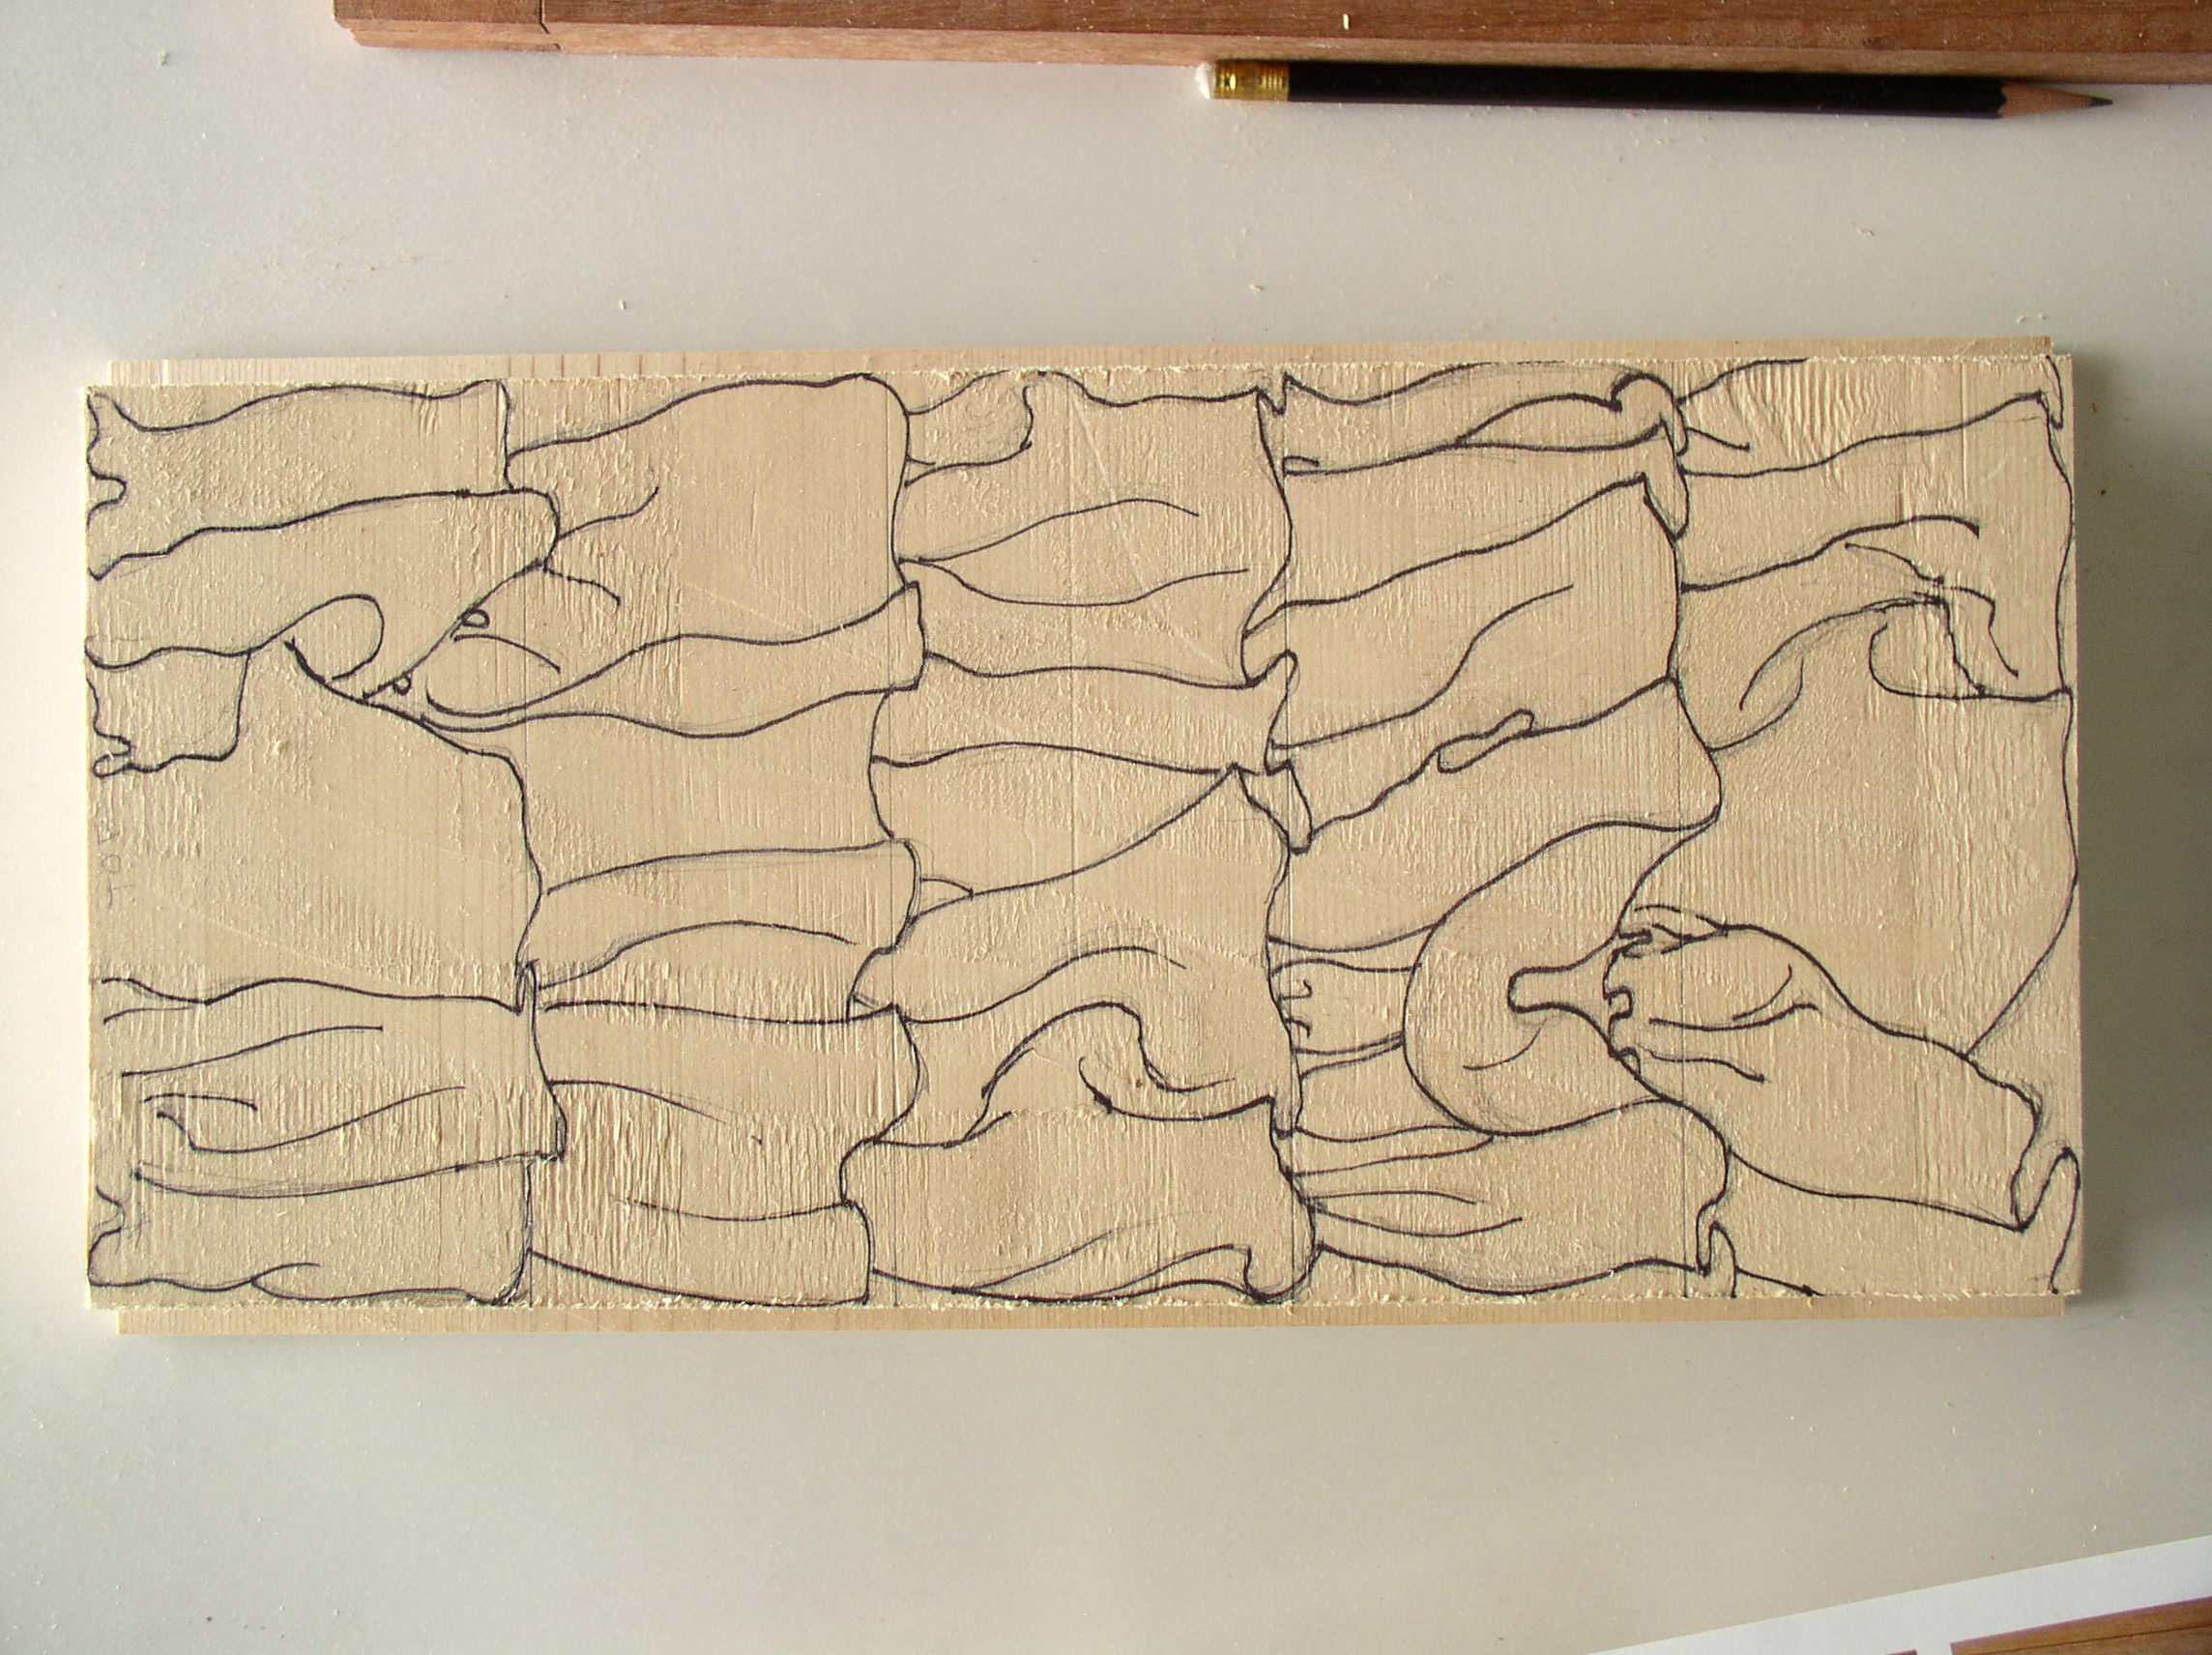
The very poor photo above shows a section of the Ruffle Cabinet made full size in poplar. To the right is the full sized drawing on 1/4″ MDF with the start of the leg. The scale model for the project is partly hiding behind the cordless drill.
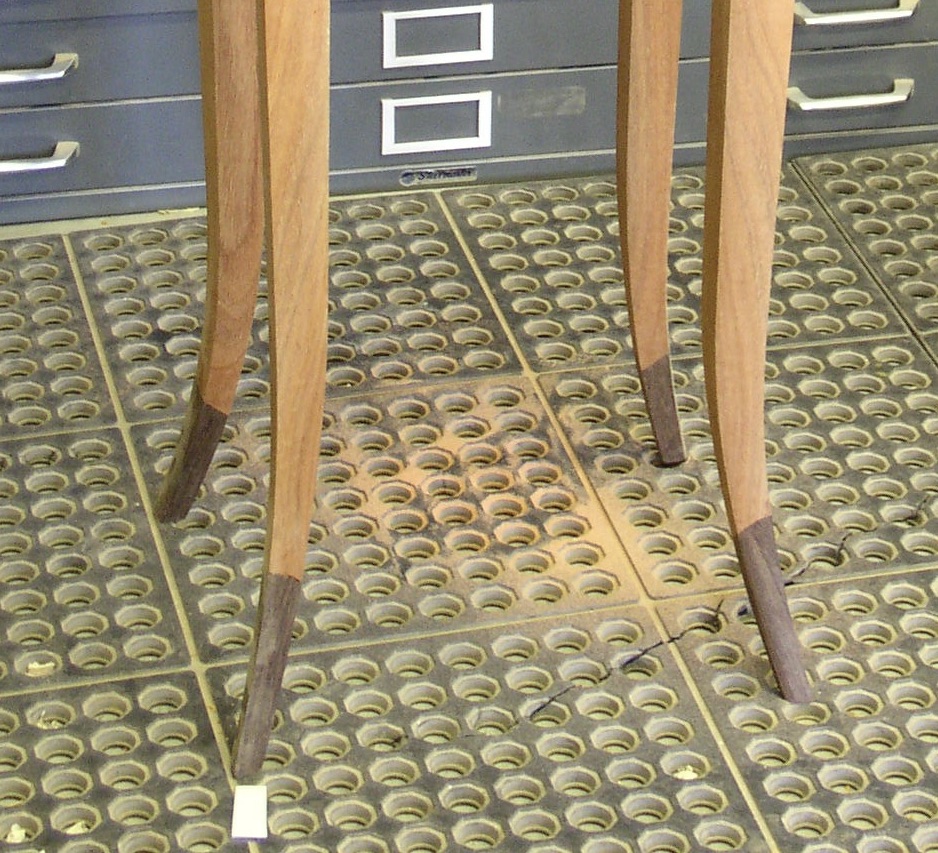
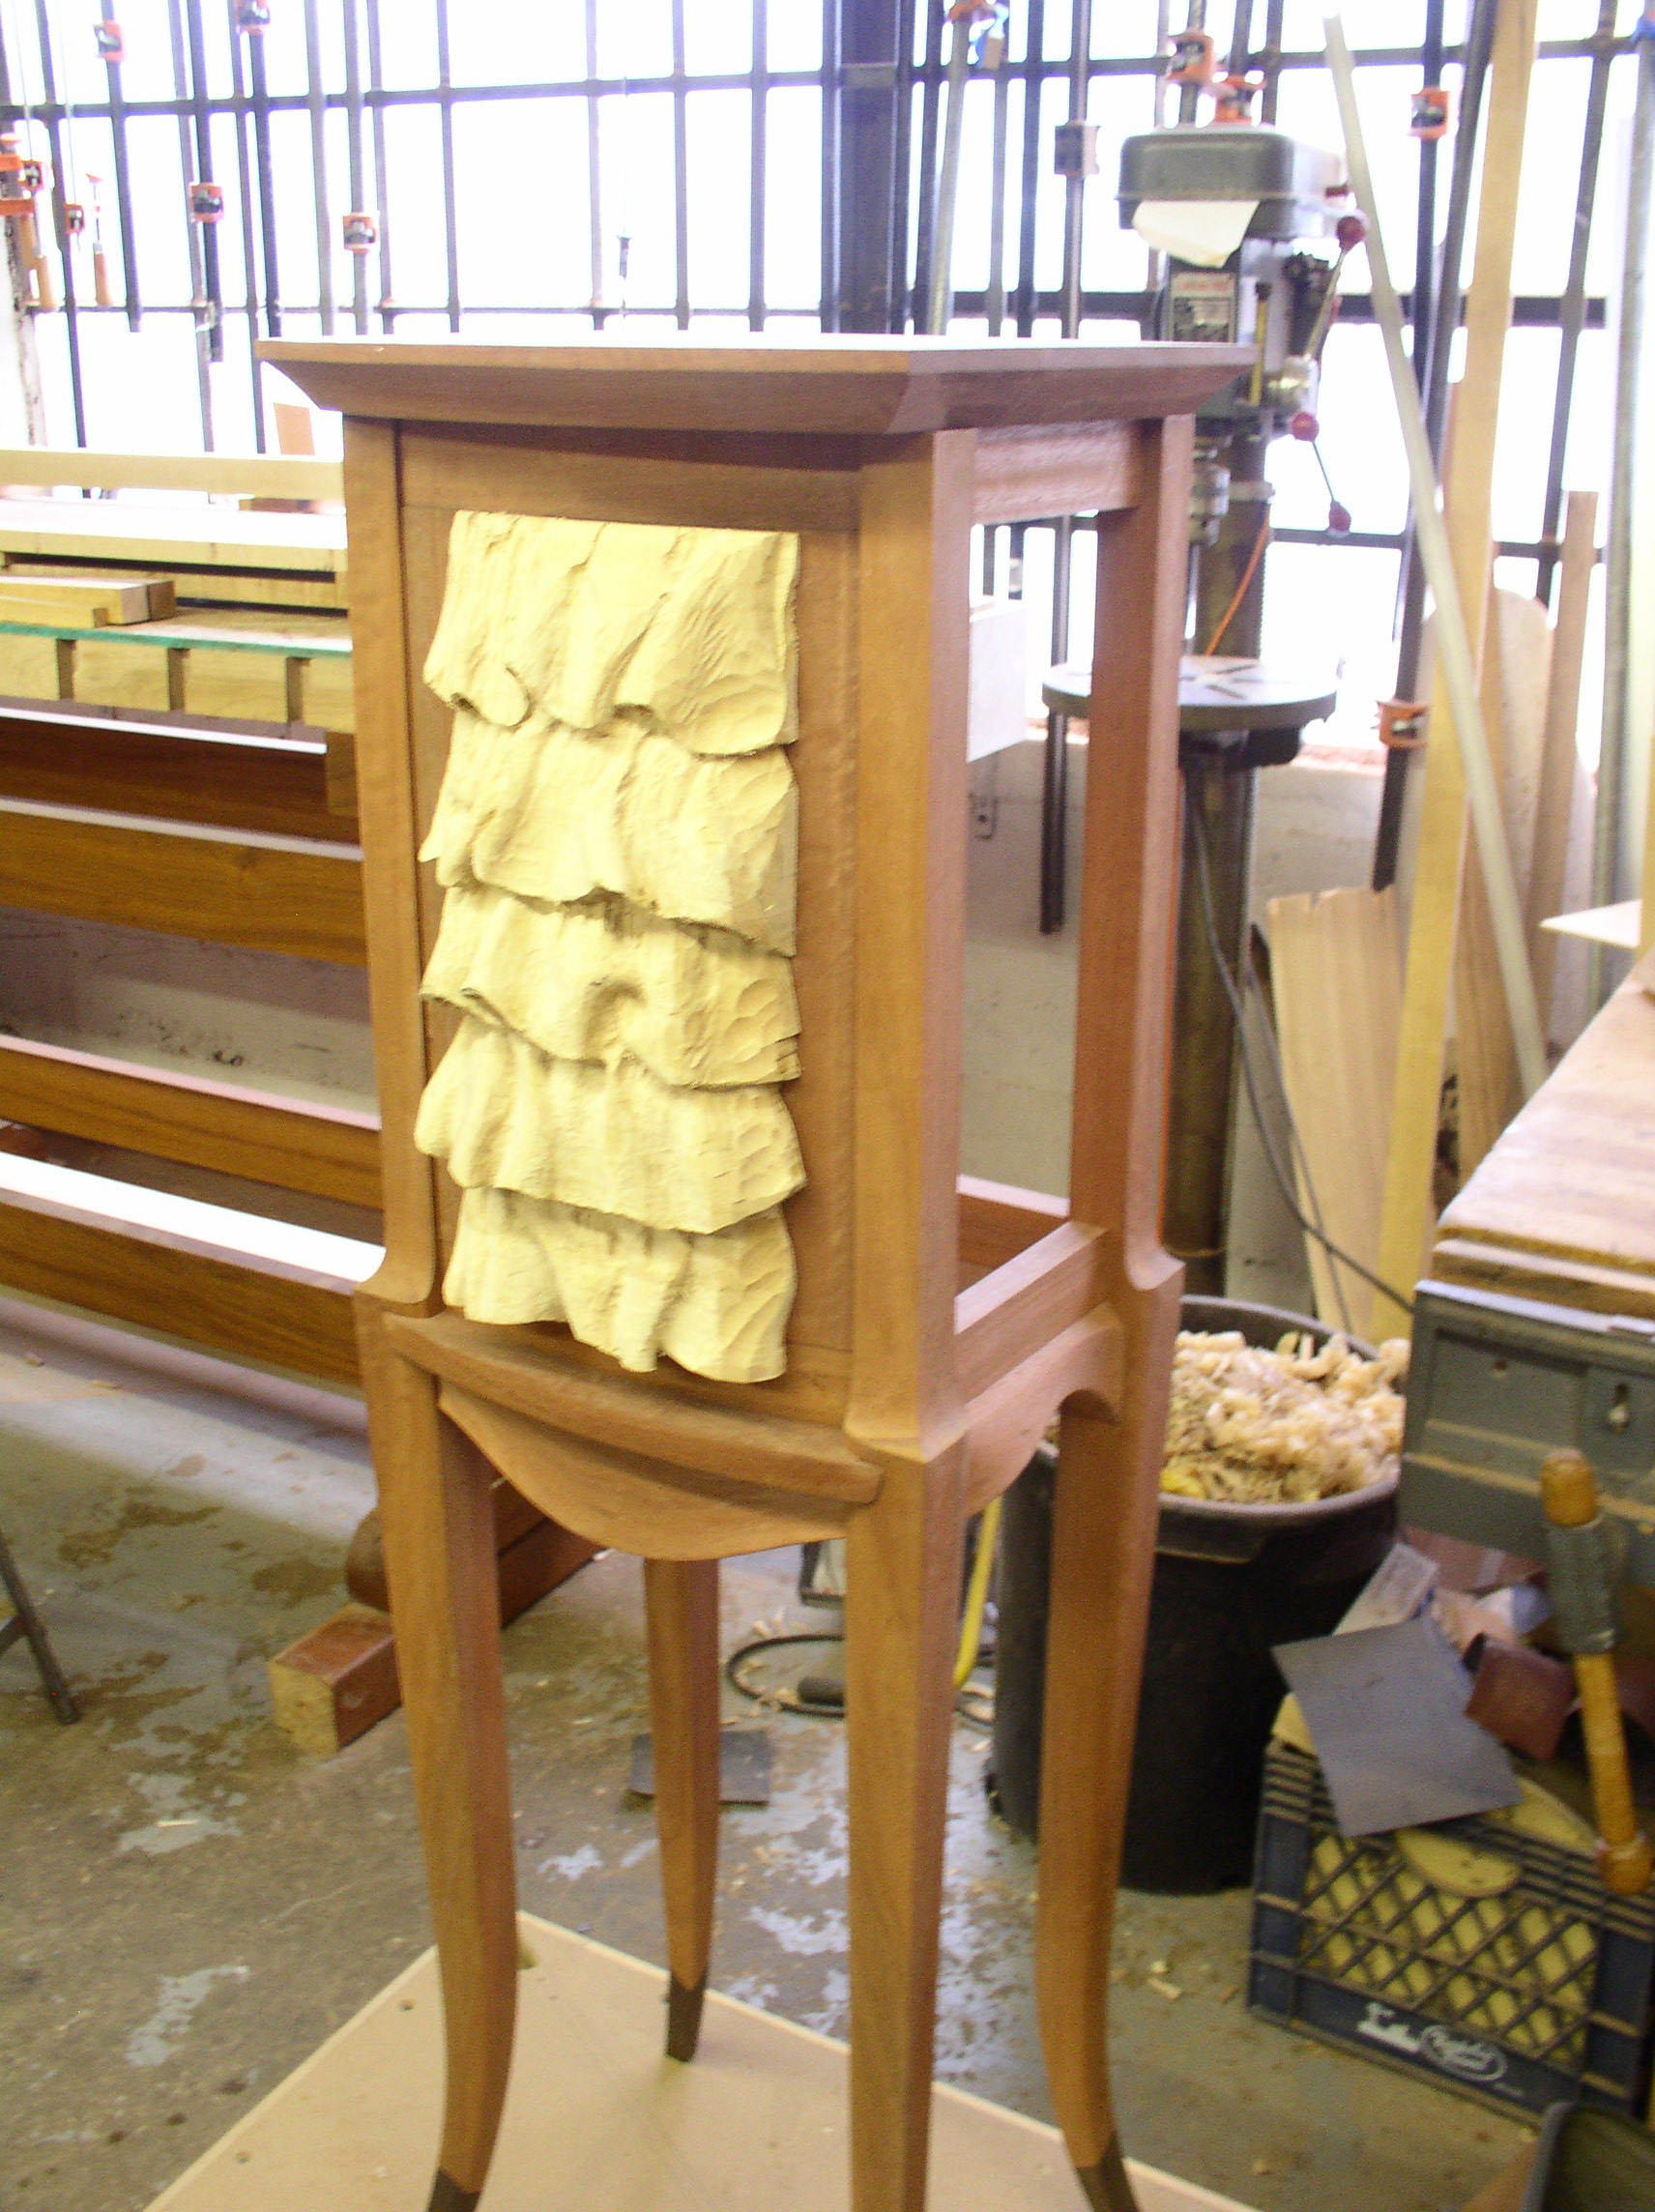
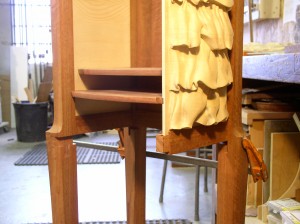
The leg stock was not big enough in cross section for the leg to curve out the way the final design showed it, so to get the leg to curve out I added a block of wenge at the bottom. To strengthen the connection of the two pieces I drilled a hole through the bottom of the foot into the leg and added a structural screw.
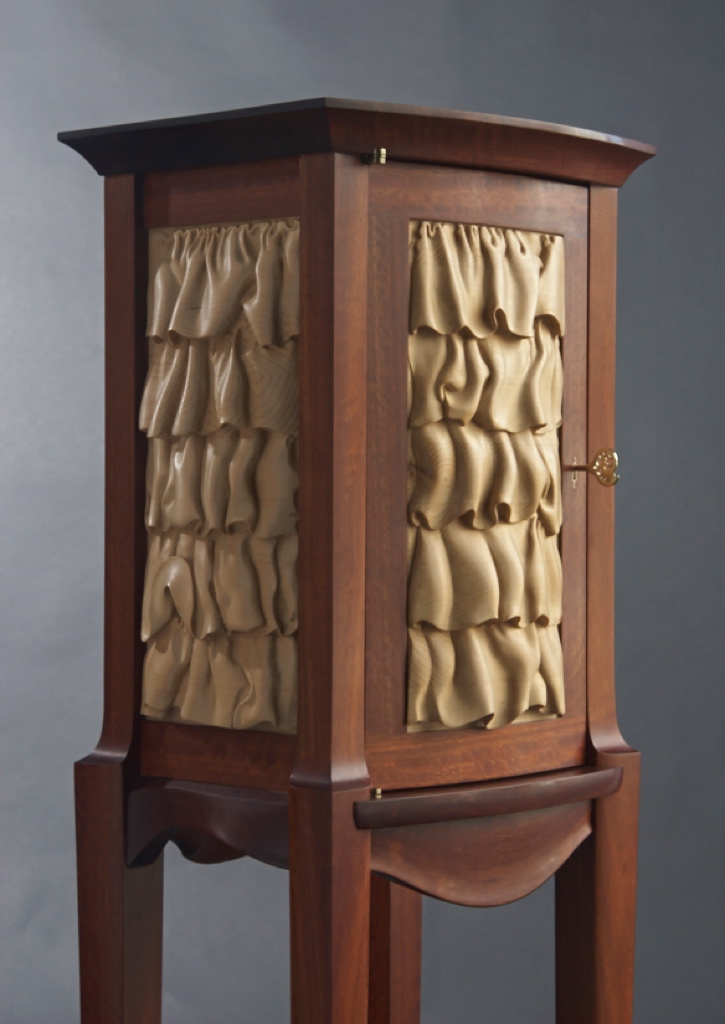
The basic leg and rail pieces were roughed out with mortise and tenon joinery and the side and door panels began to get carved. The ruffle panels are Port Orford Cedar blocks that were glued up to fit into the cabinet frames.
Carving was done with every available method: chisels, a handsaw, Dremel, rasps, and sandpaper.
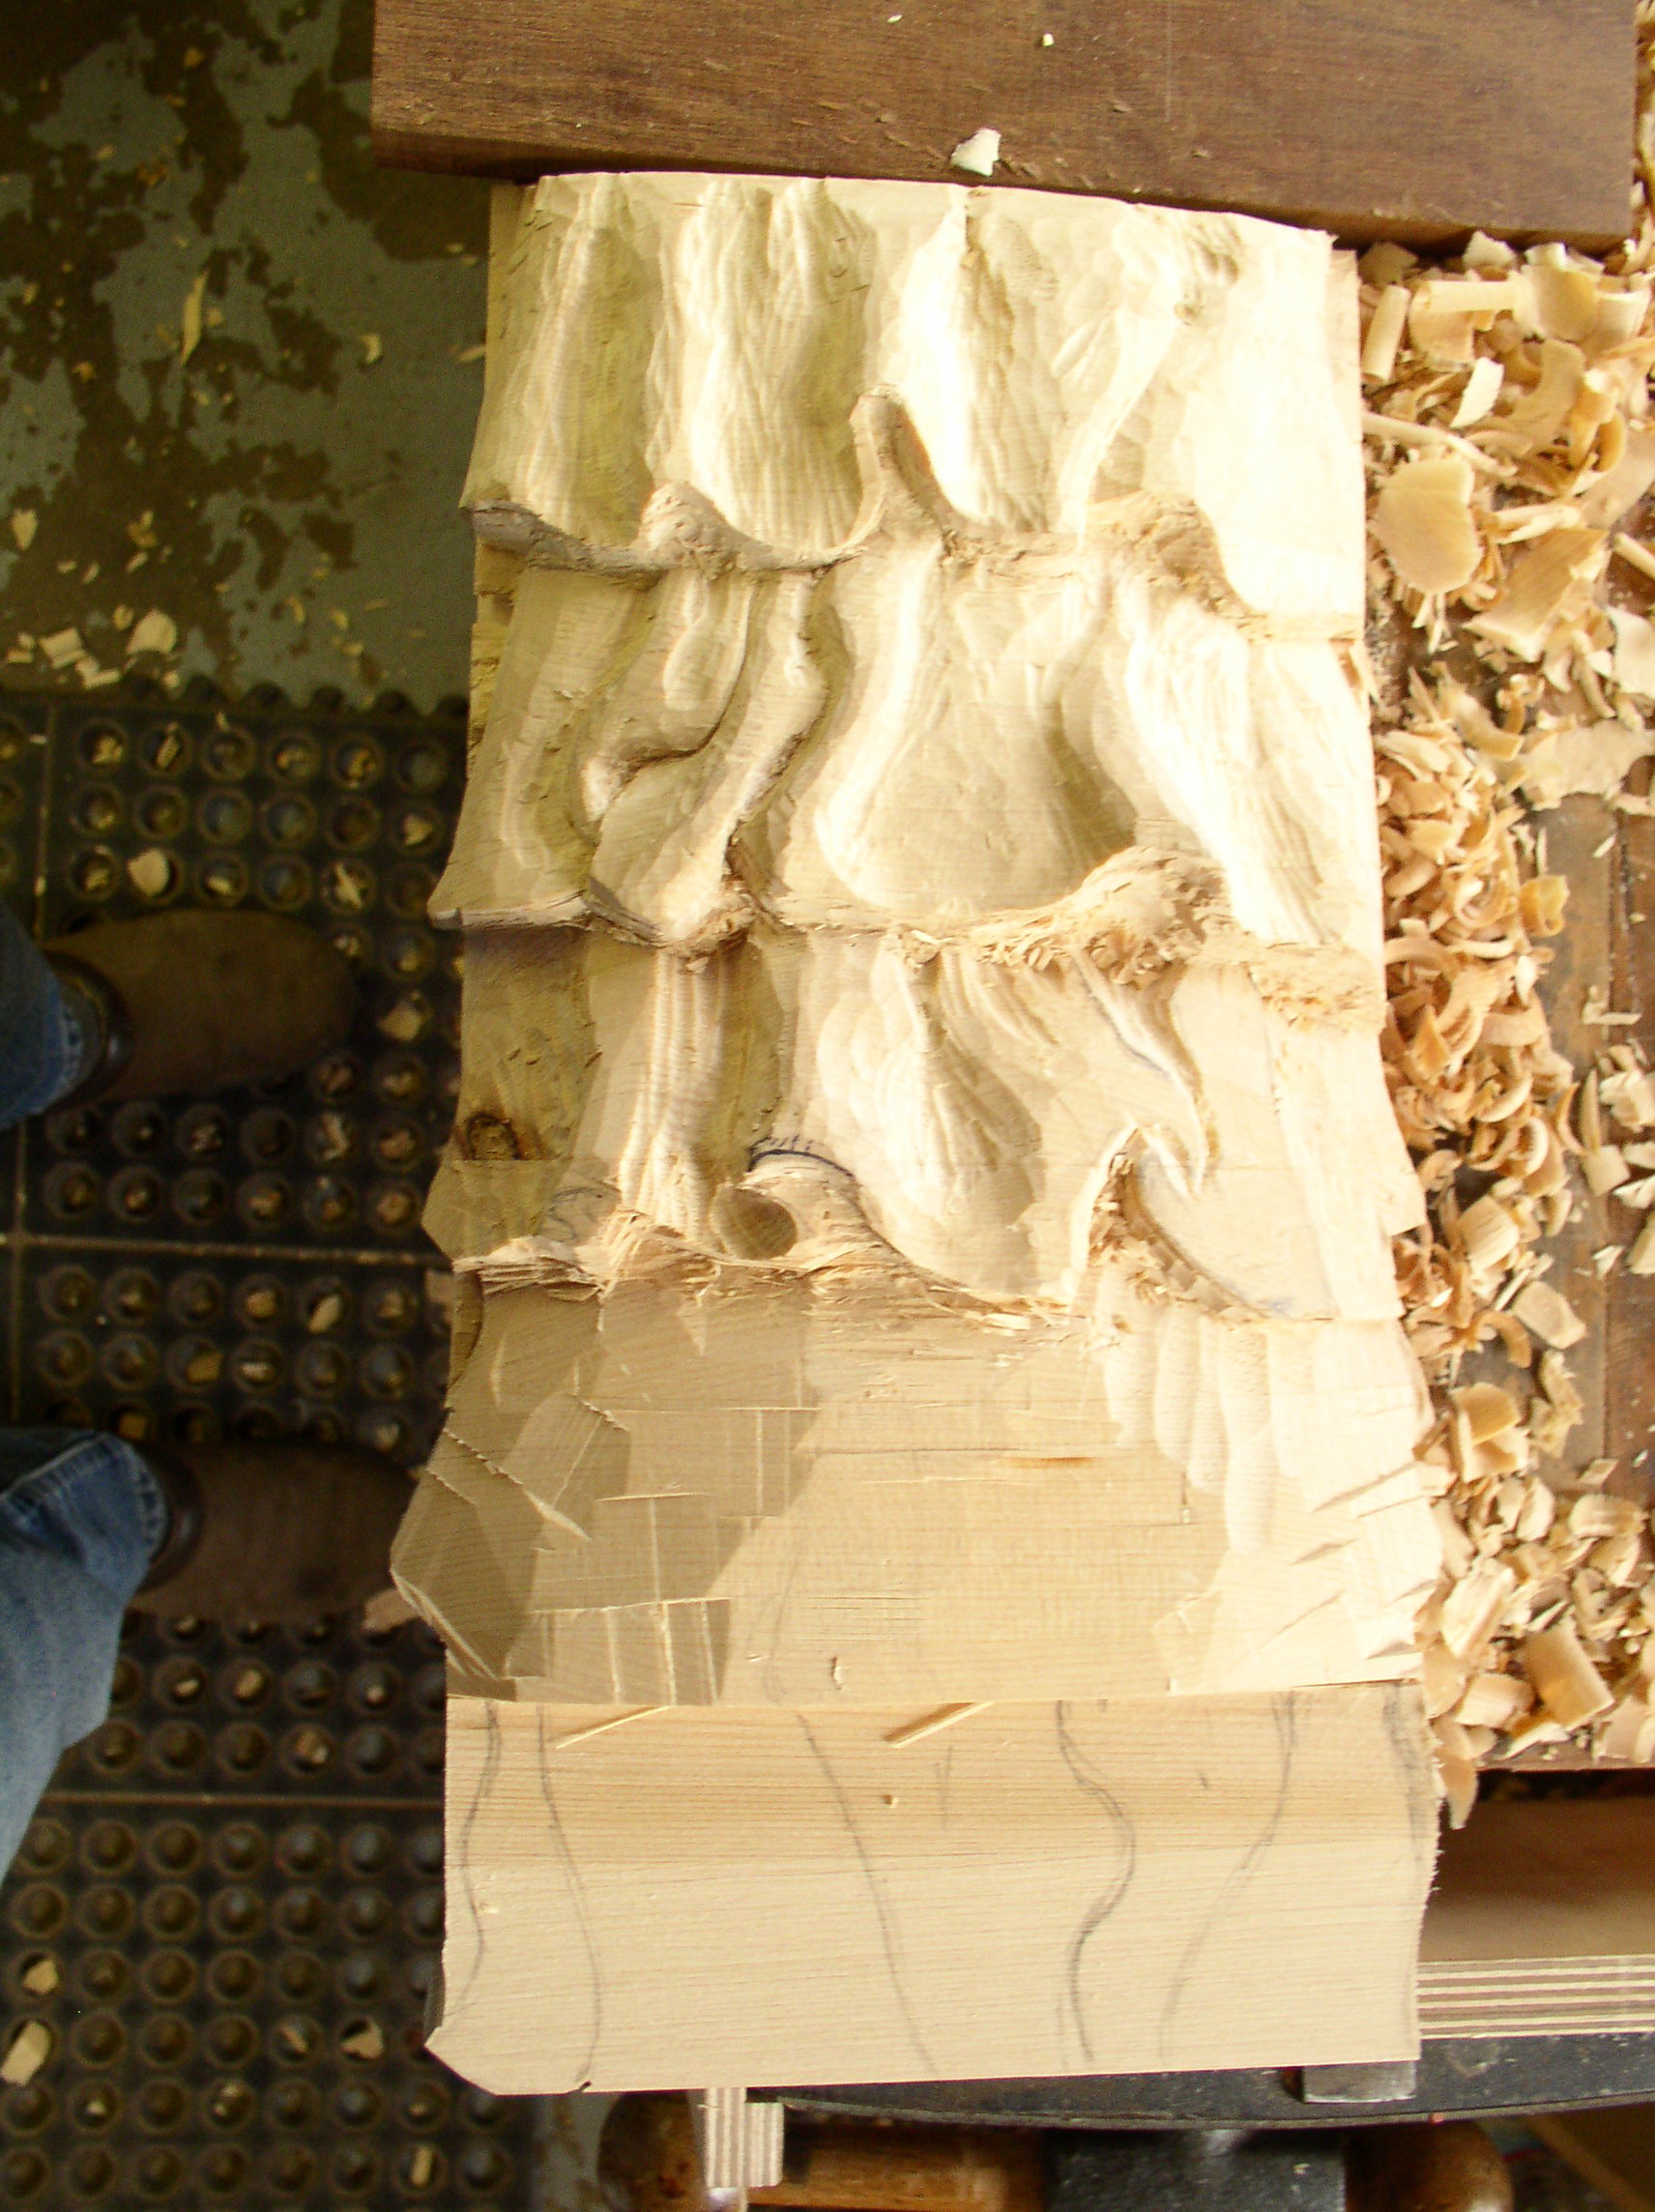
The photo below shows the first version of the carving fit into the door frame. I felt the ruffles protruded out too far, so I knocked the tops of the ruffles off and started again. After re-carving the front panel I was much happier with the results.
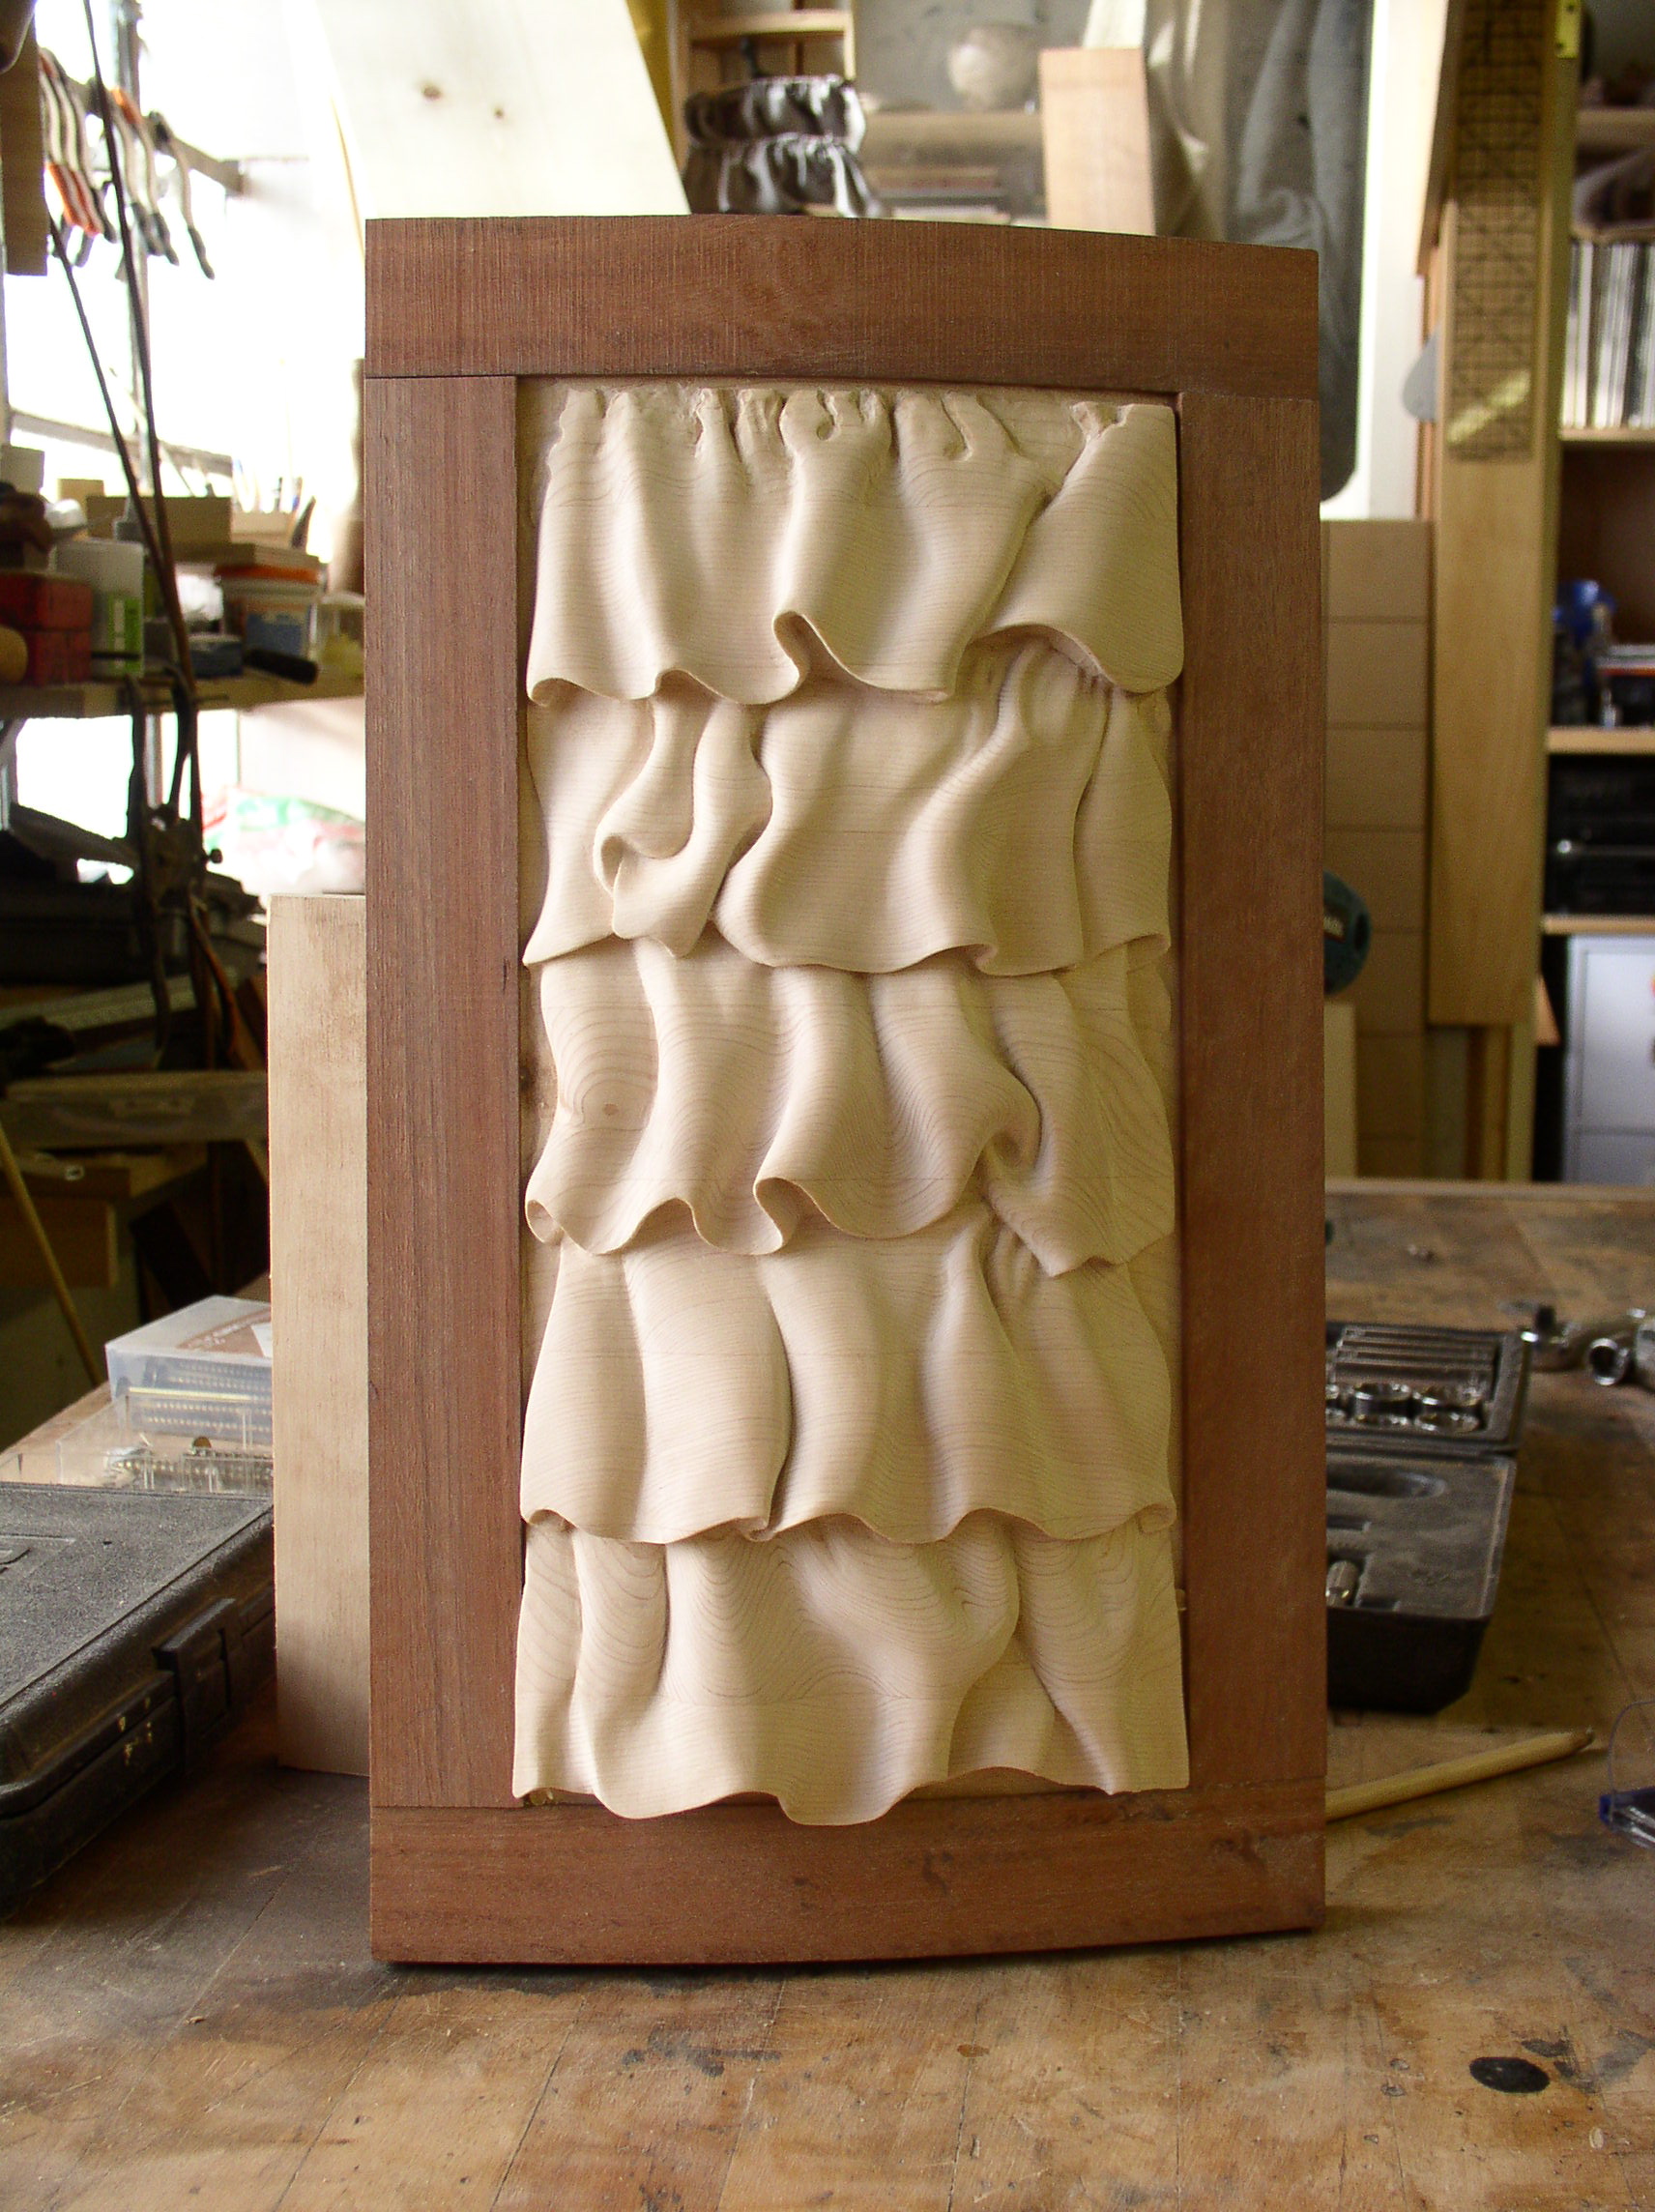 Having done the ruffle stool previously, I thought the sanding process would be easy with the Port Orford Cedar. As has often happened, I was completely wrong. The stool ruffles were in a hardwood, which worked well with Dremel sanding bits. The Port Orford Cedar is a softwood and did not sand easily with power tools. Every little bit of the sanding was done by hand with little bits of sandpaper wrapped on small sticks to get into the small spots.
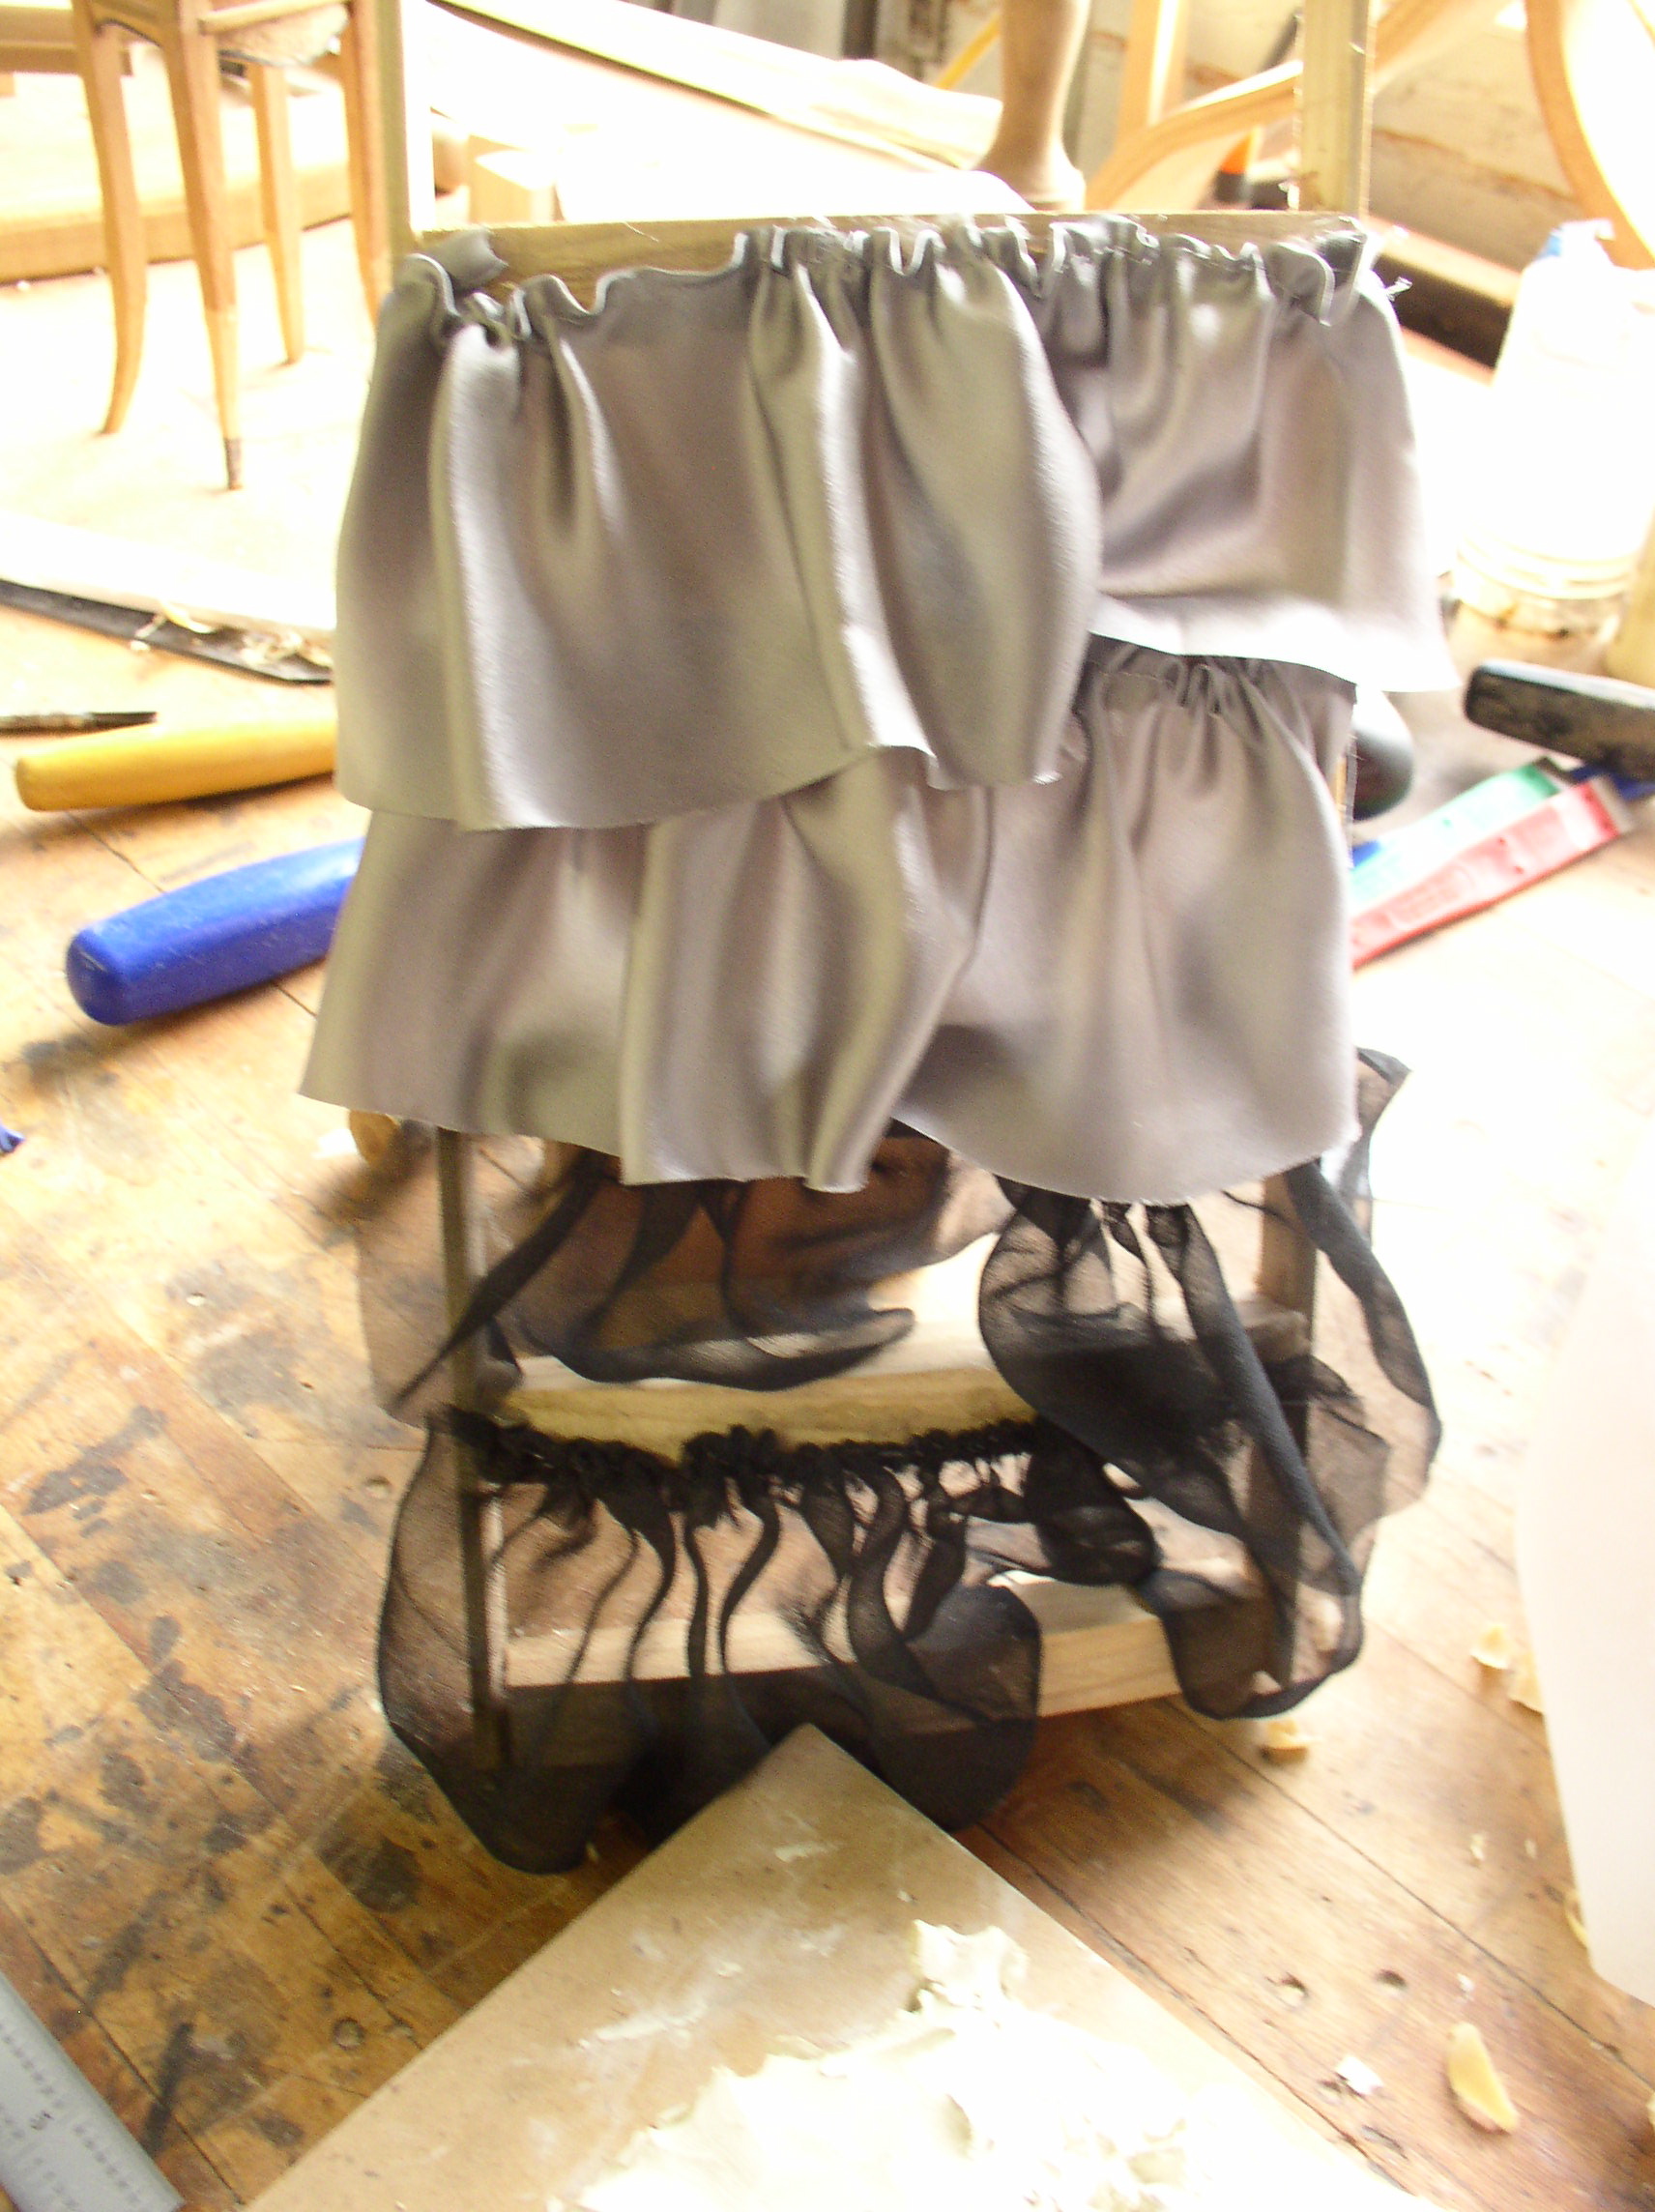
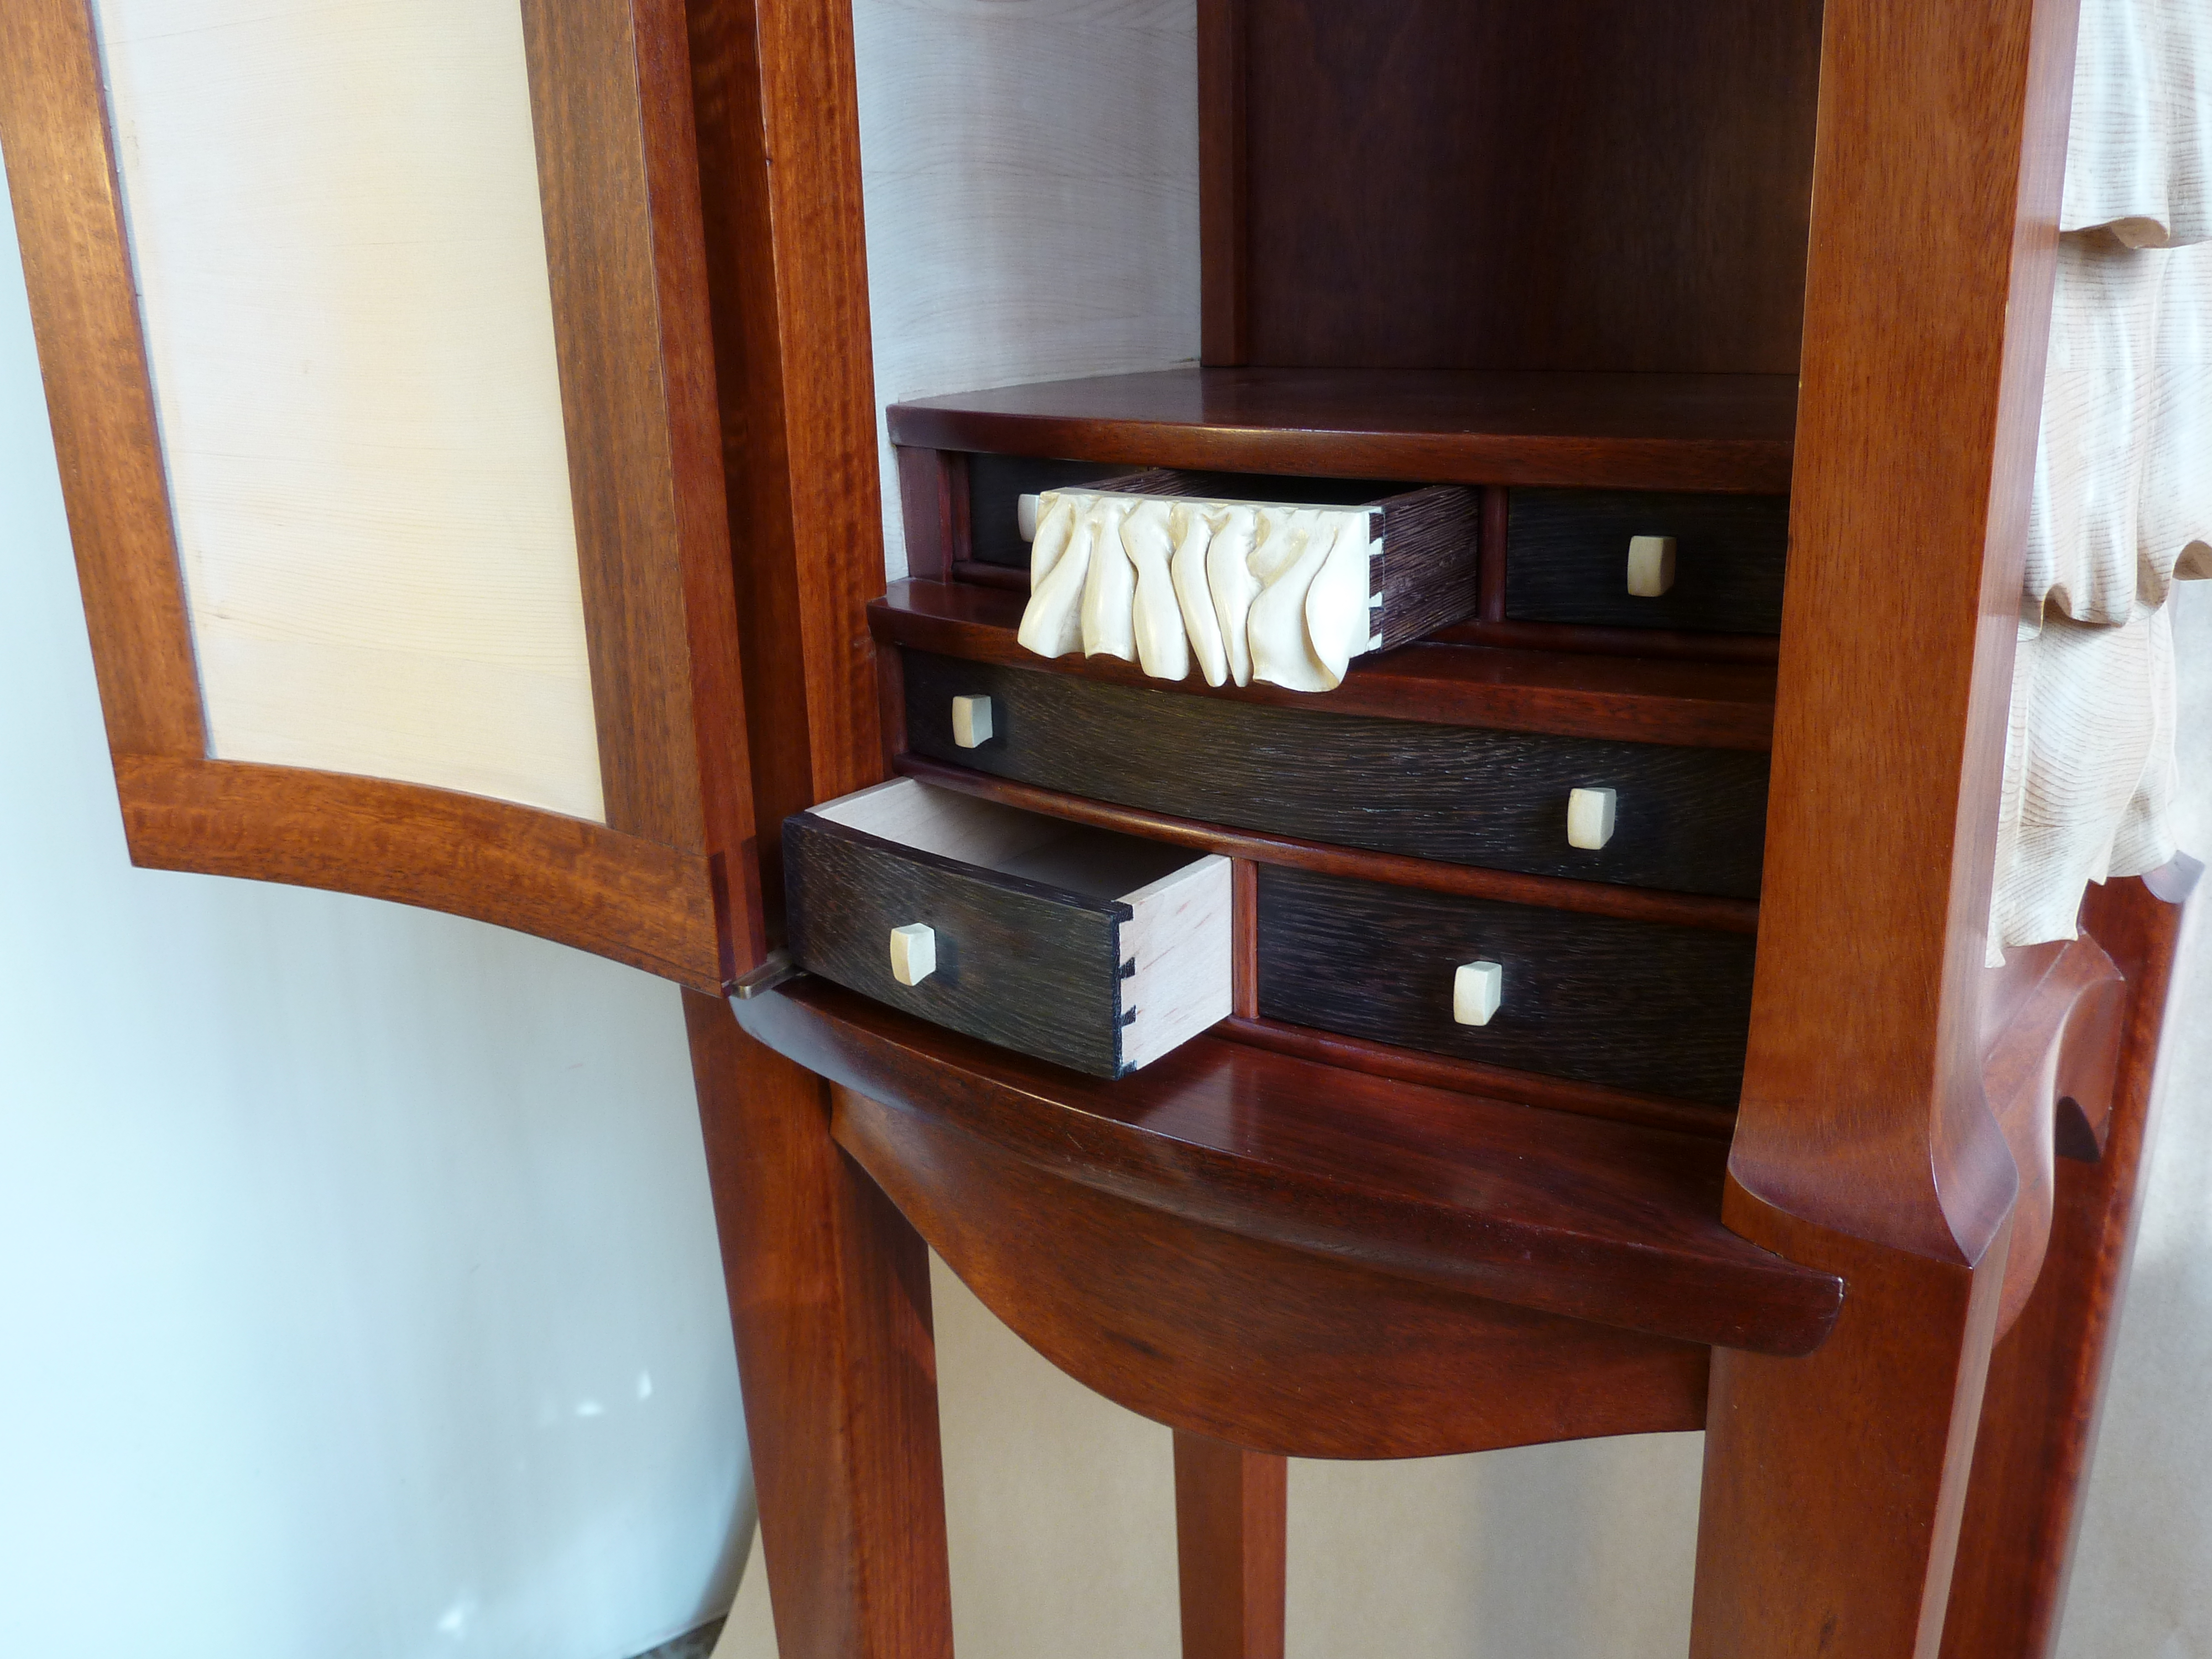
The ruffle panels bulge out and have concave inside surfaces, so the drawer sections inside had to fit the inside curves. The drawer sections are also fit into grooves in the panels and allowances for the movement of all connecting wood pieces needed to be considered. The drawer sections were mocked up so I could get the proportions and spacing right.
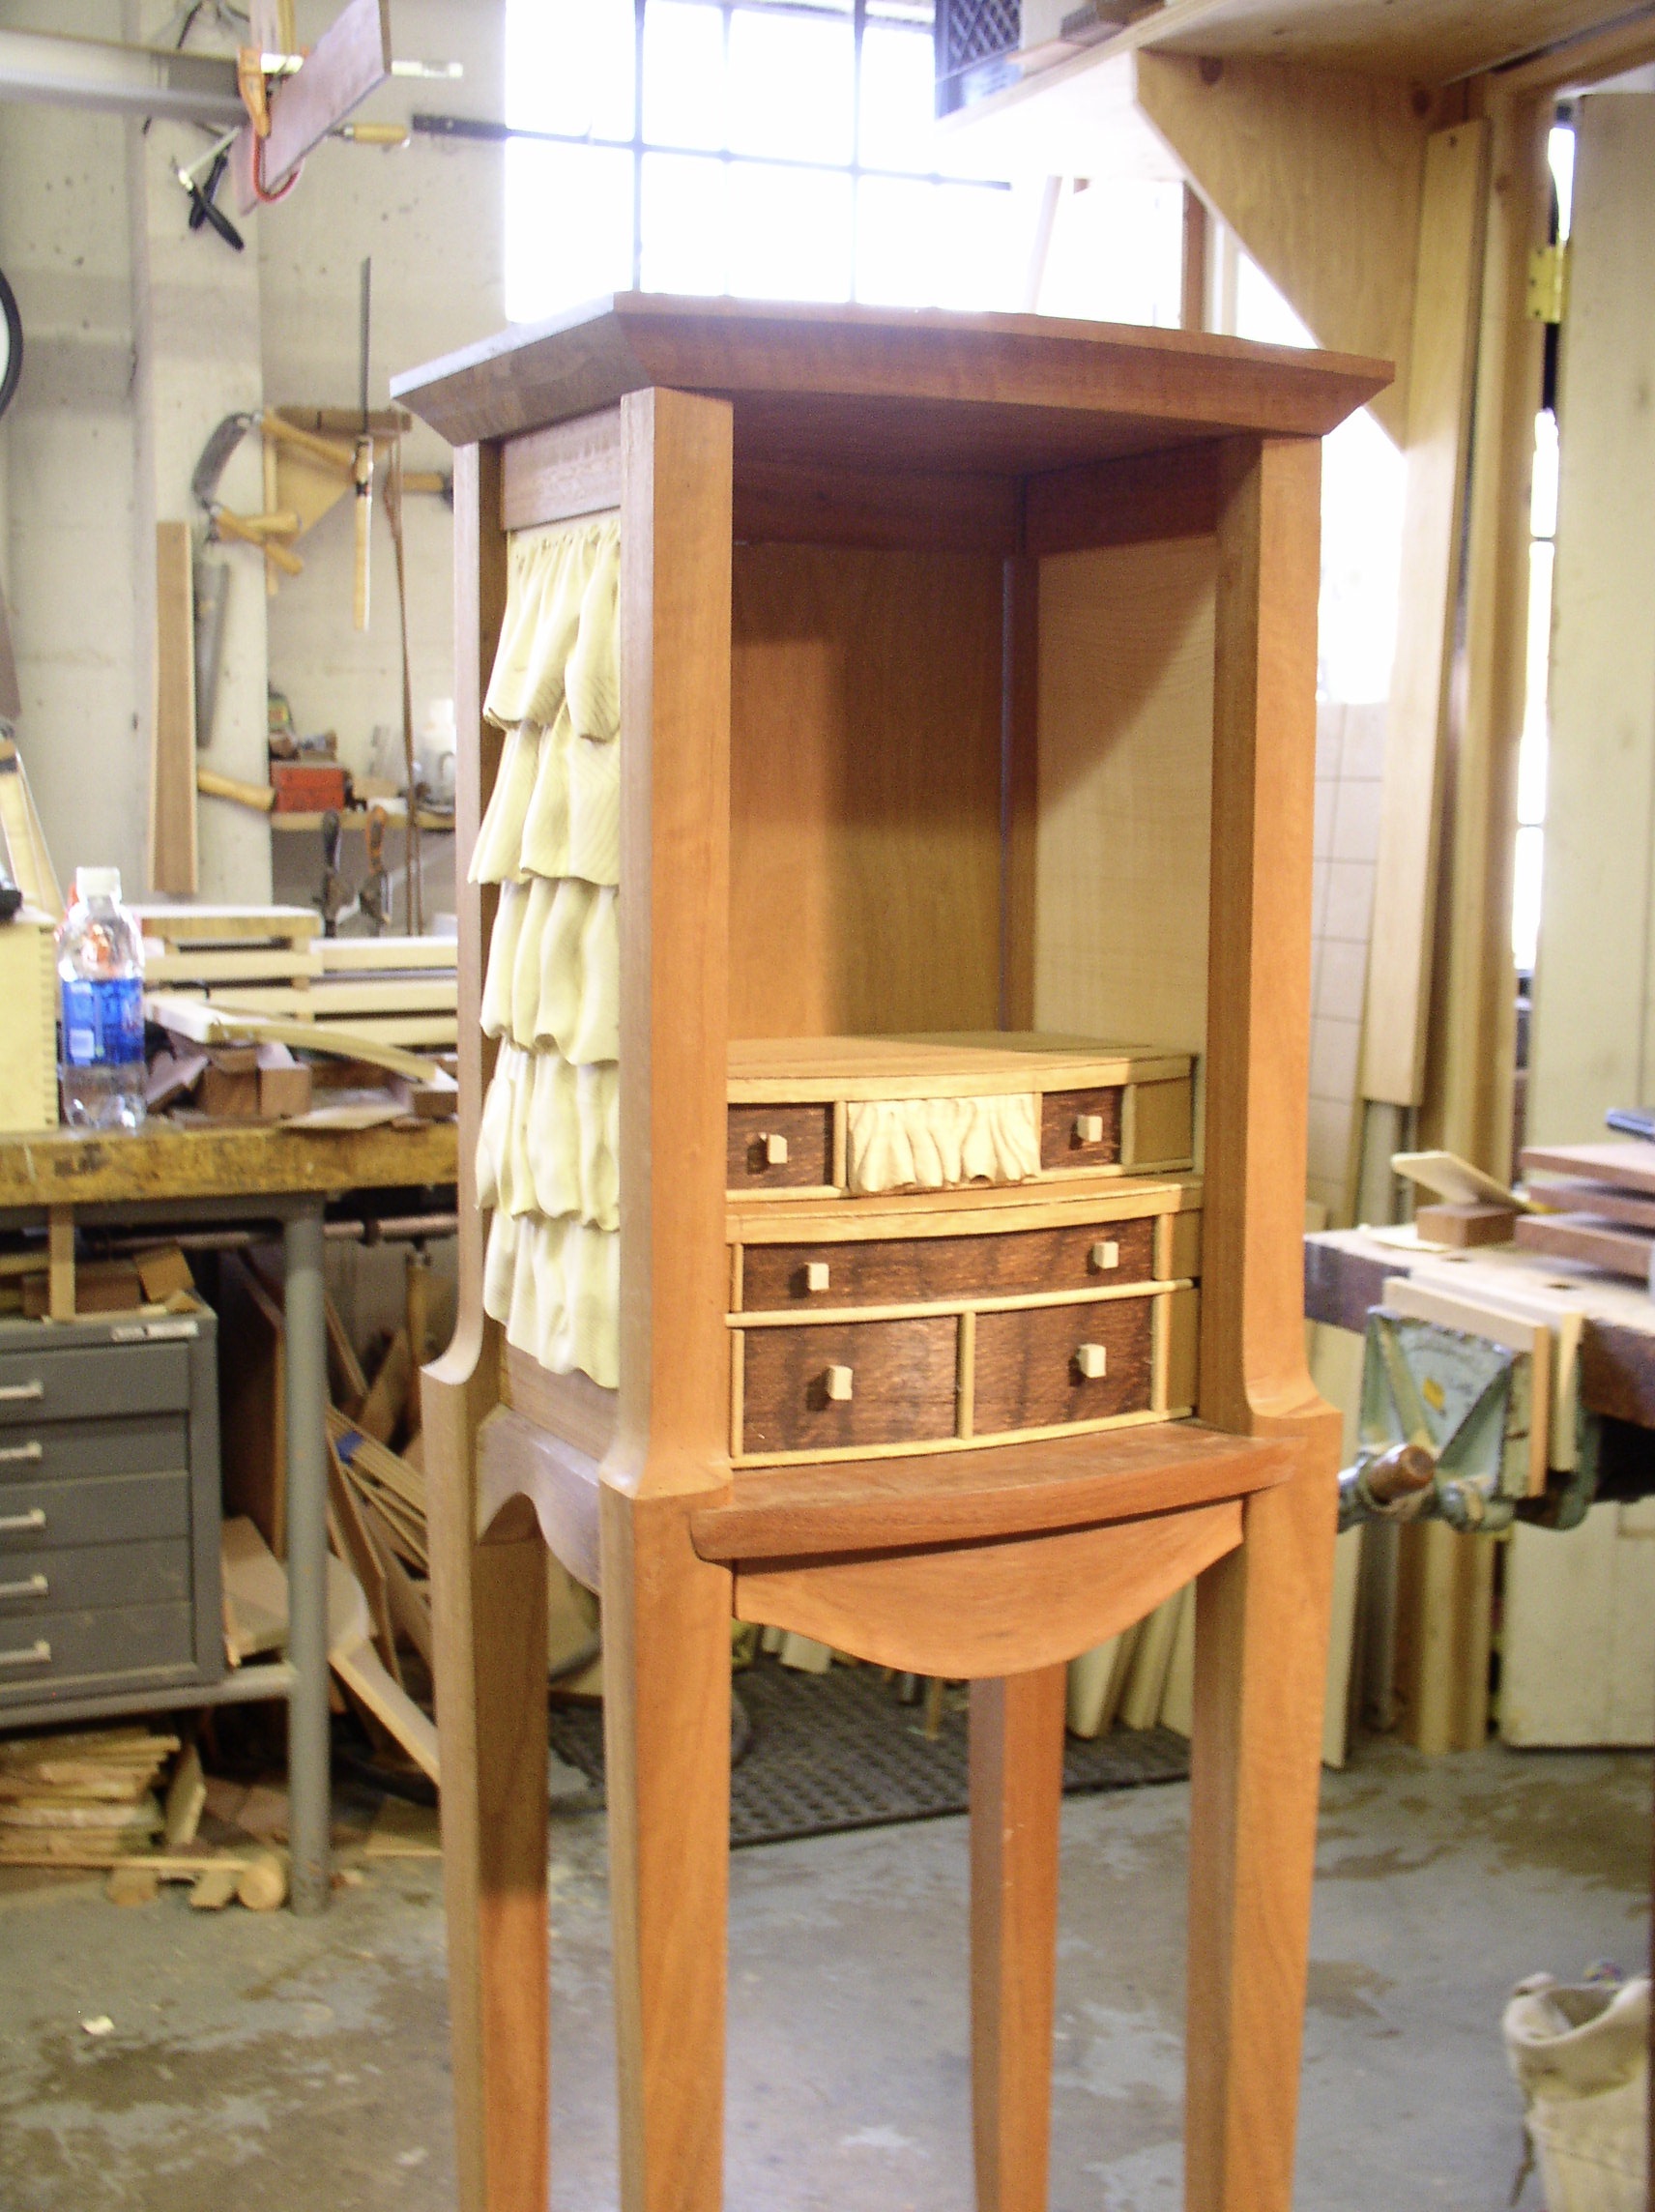
The drawer unit was fitted, assembled and finished before it was installed. Because of the cur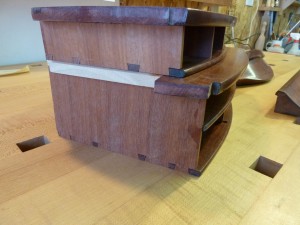 ved shapes of the drawer unit dividers, and their fit into the grooved side panels, the cabinet could not be glued up until the drawer unit was done.
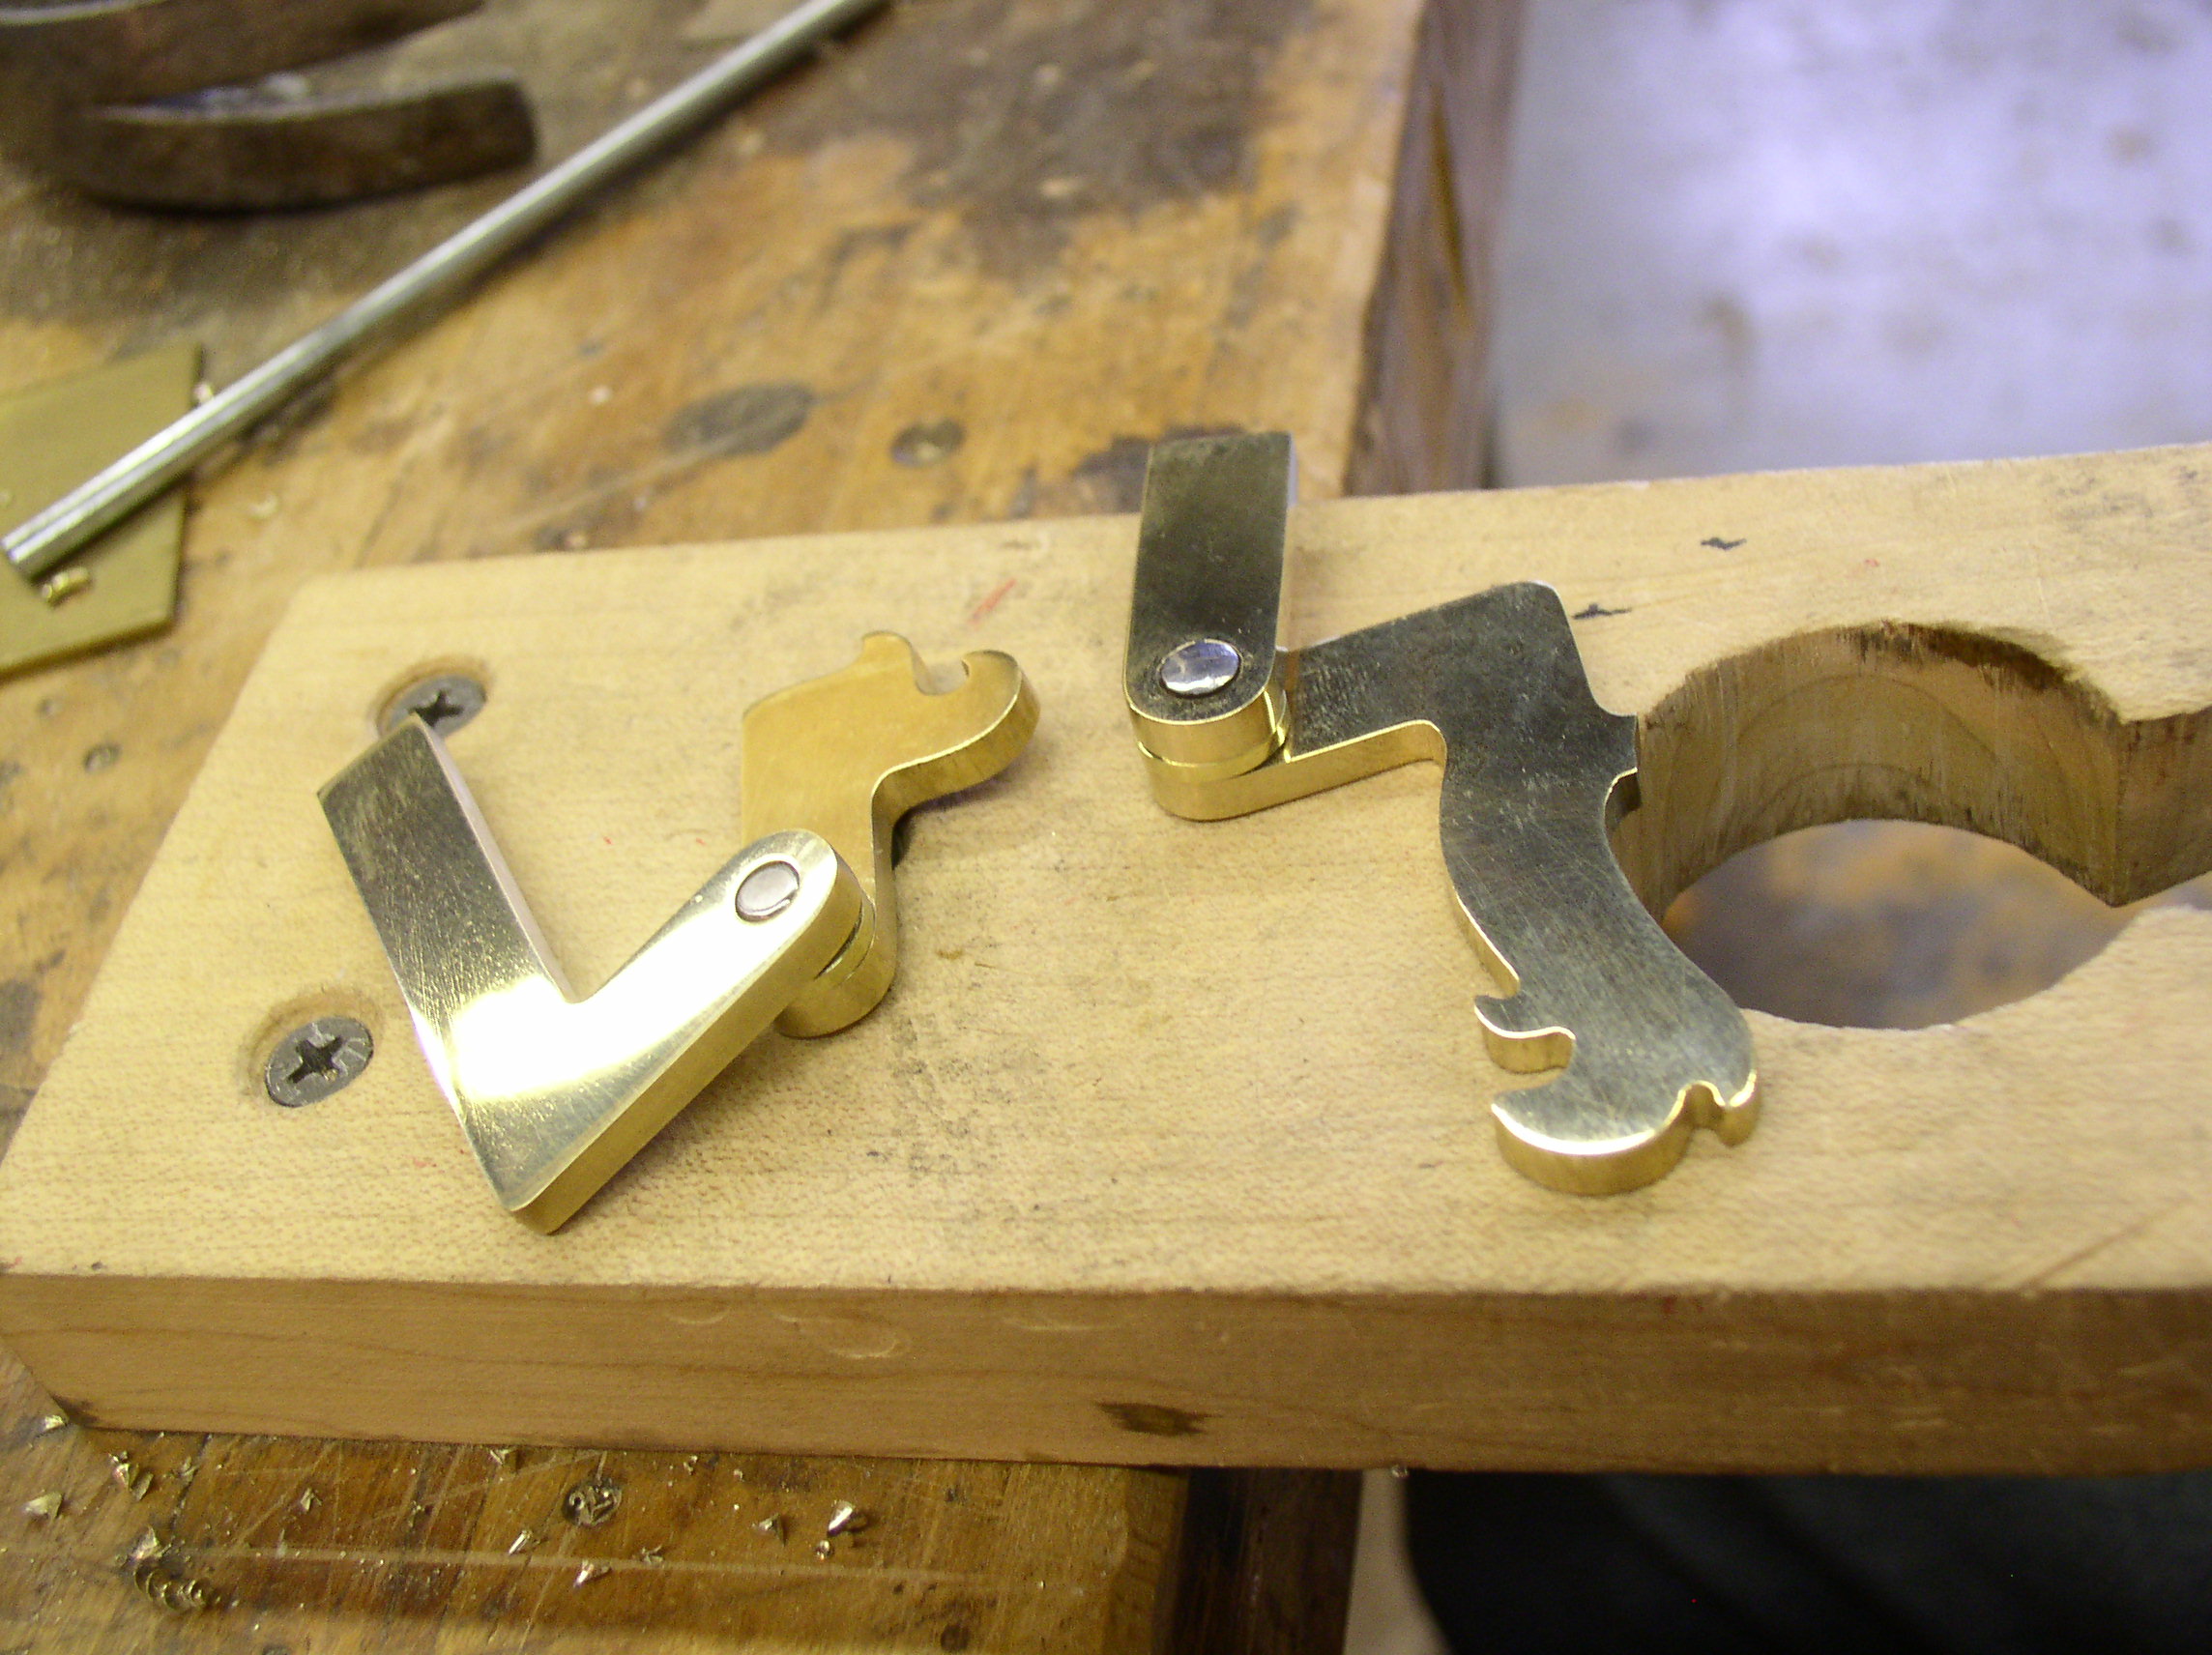
The next puzzle was the door hinges. Originally I planned on using brass knife hinges that I had ordered, but since I wanted the drawers to be as wide as possible, the door needed to swing completely out of the way of the drawers and regular knife hinges didn’t do that. So, I made my own knife hinges. I determined the pivot point necessary to swing the door out of the way and their location on the frame of the cabinet, then I added design touches and finally cut them out of thick brass stock.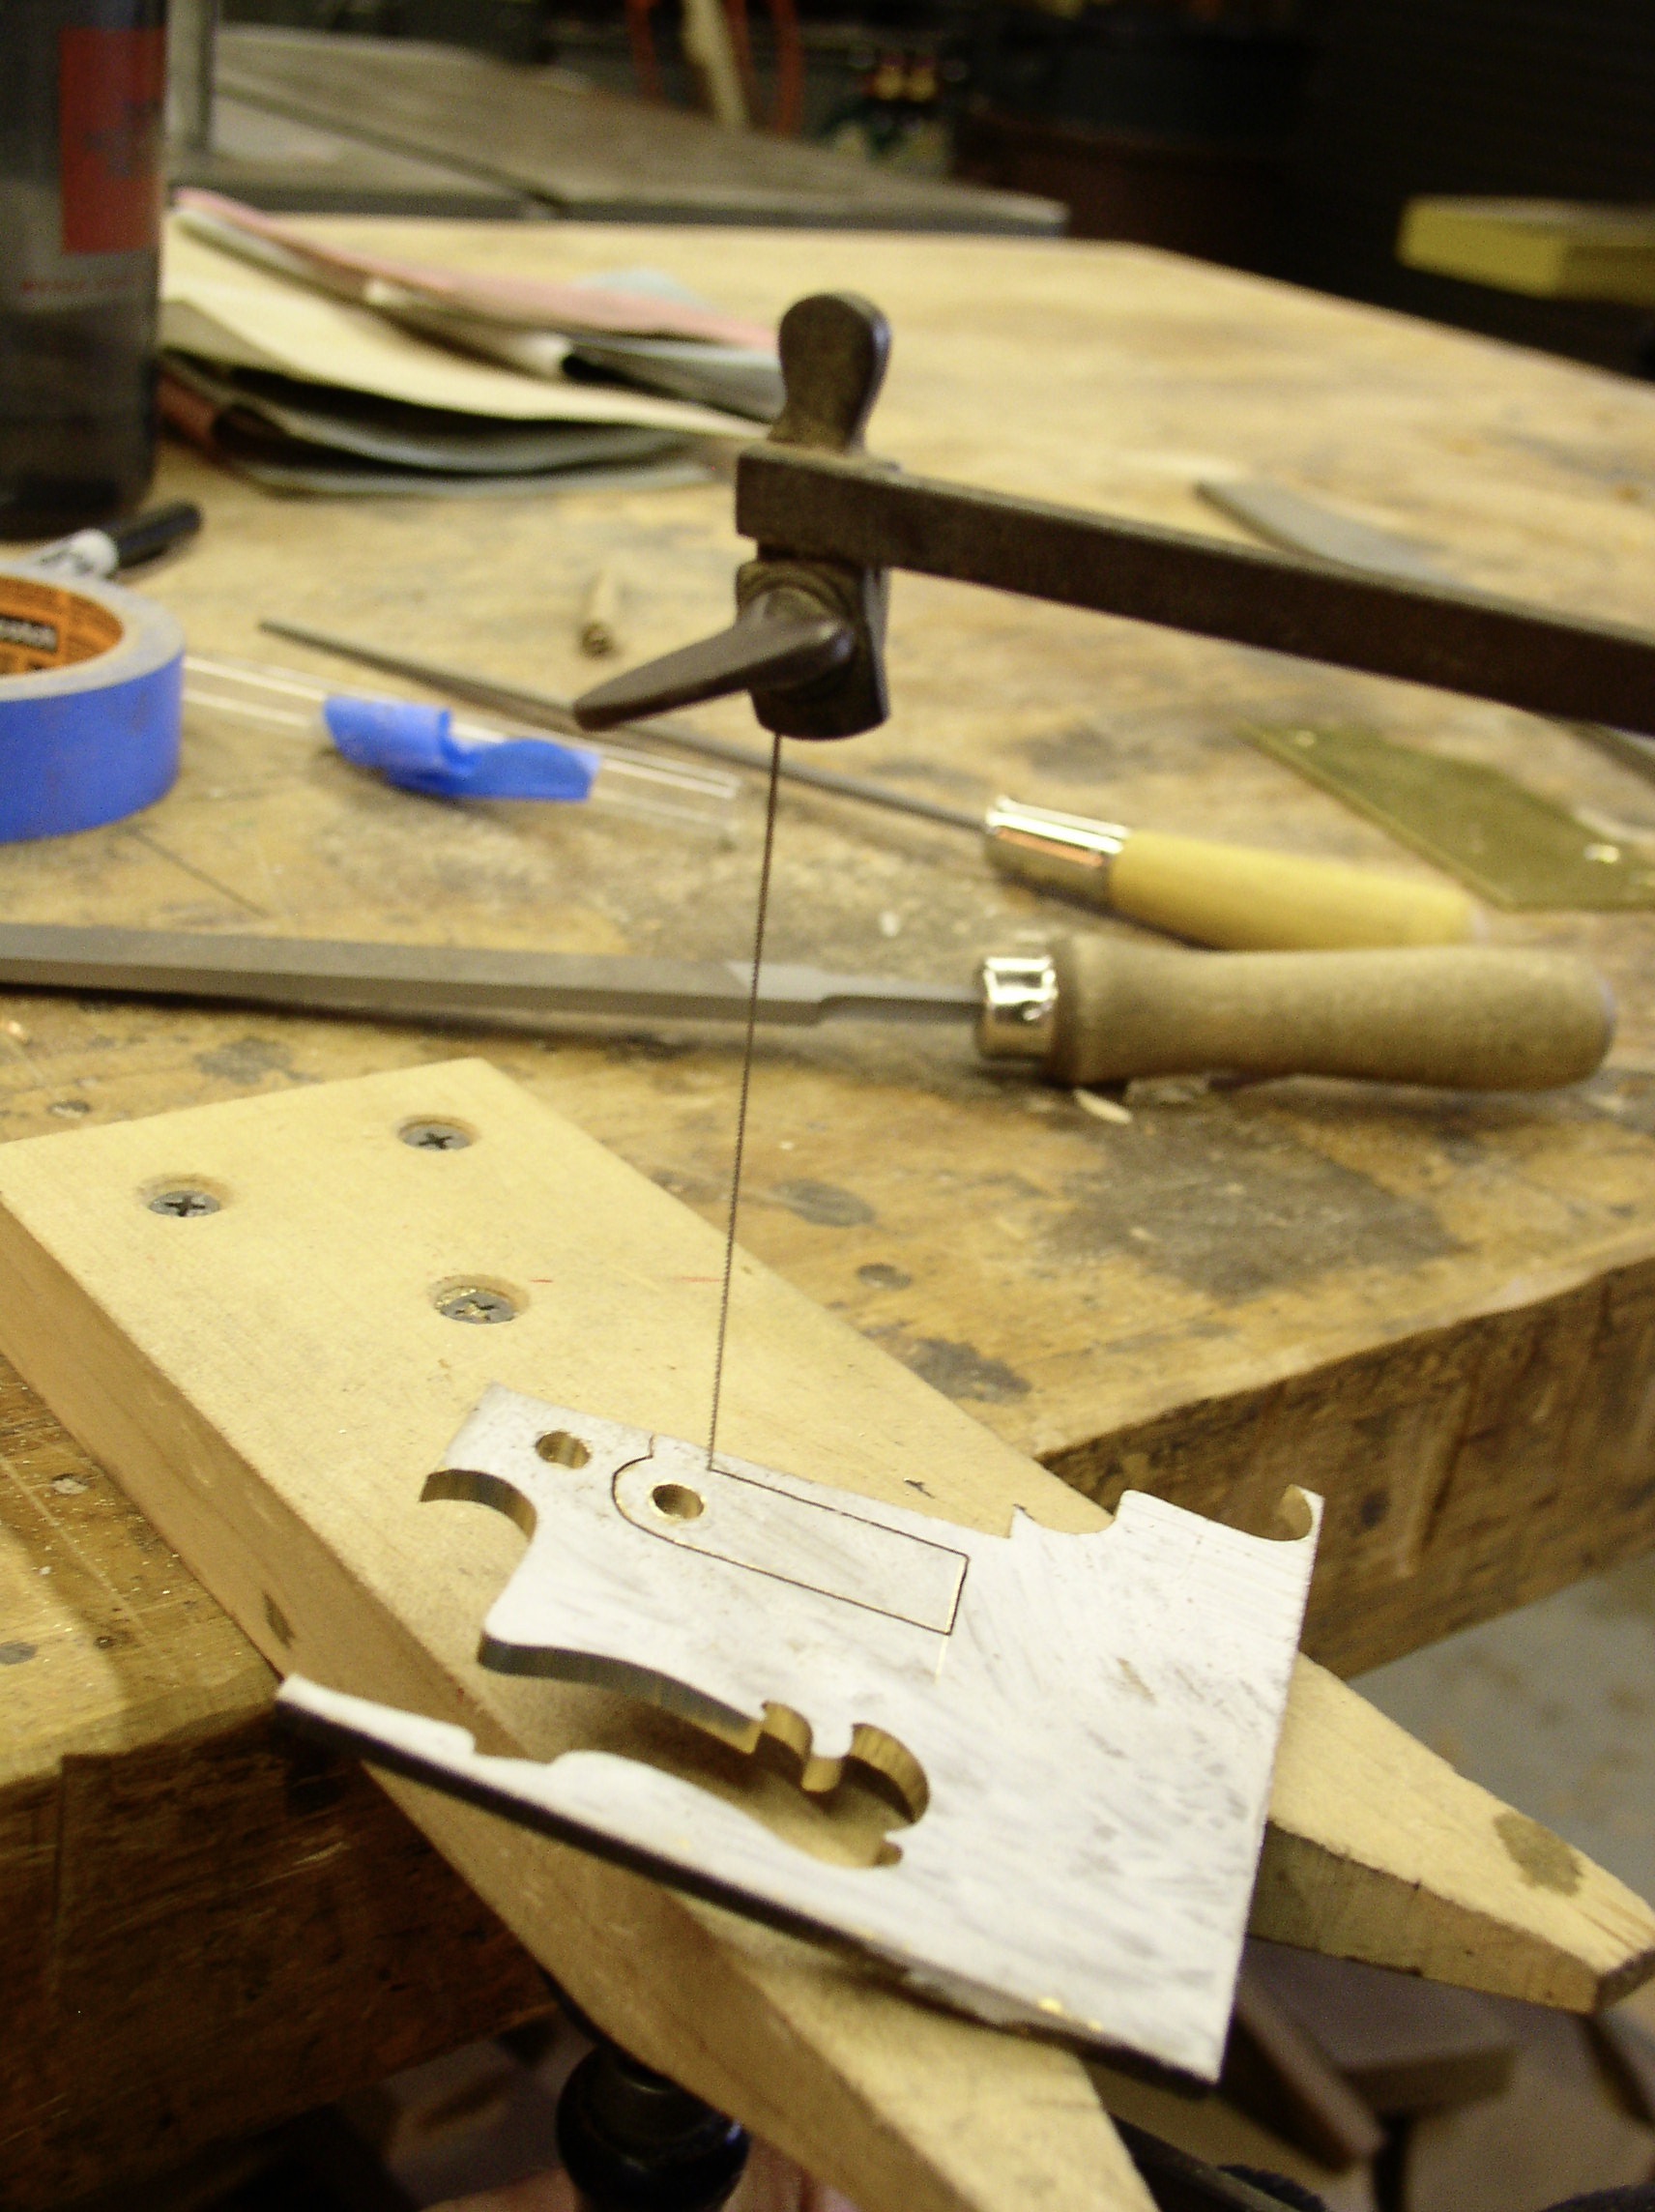 Then mounted them on a pin made of rod, added a spacer and polished them up.
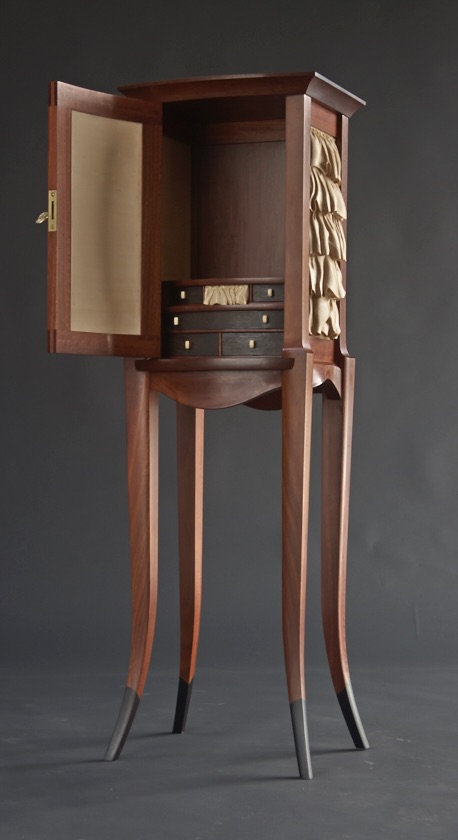
Once all the pieces were ready the cabinet got glued up, the top was added with pins and blocks floating in mortises like you would a table top to allow wood movement. I made a lock and escutcheon for the door and a key from more brass stock.
The drawers were made of wenge that were throw away scraps from a local furniture company. I built them with hand cut dovetails and after trying a few other materials I decided on Holly for the ruffled center drawer and the pulls

Finishing: The Cabinet’s Jarrah pieces got a coat of amber shellac and then many coats of regular shellac before they were rubbed out. I had not intended on putting any finish on the Port Orford Cedar, but in the process of making the cabinet I found that everyone who came to my shop and saw it had to reach out and touch the ruffles to see if they were wood or fabric. I realized that the light, soft wood would end up with lots of oily finger prints, so I put a coat of archival wax on them to help protect the surface.
Some Final Photos:


Leave a Reply
You must be logged in to post a comment.