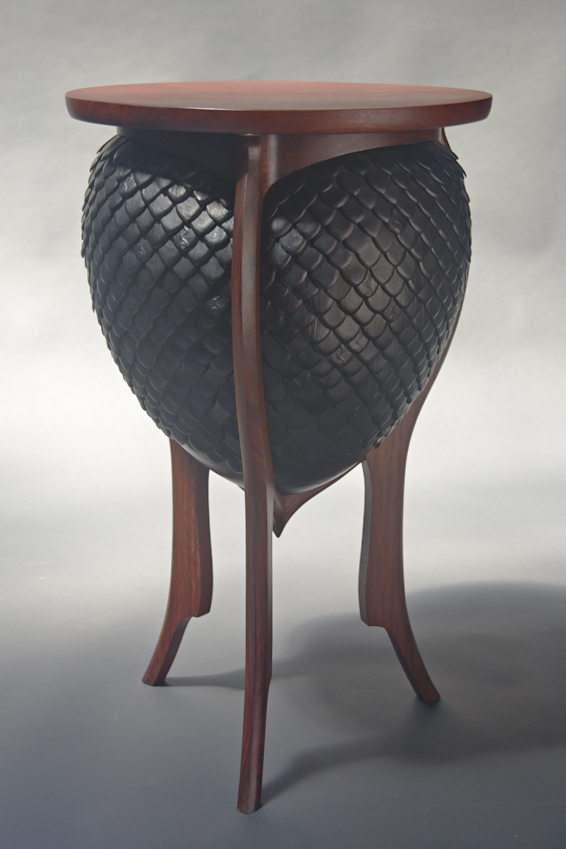
Making the Leather Scale Table
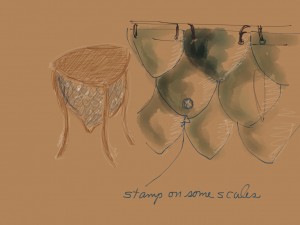
 I always start with sketches.
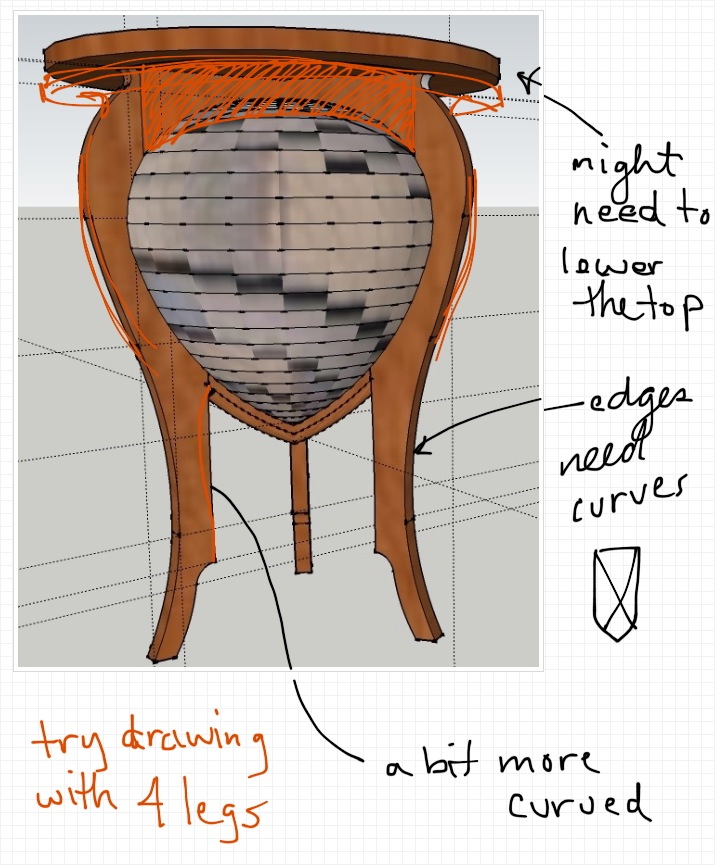
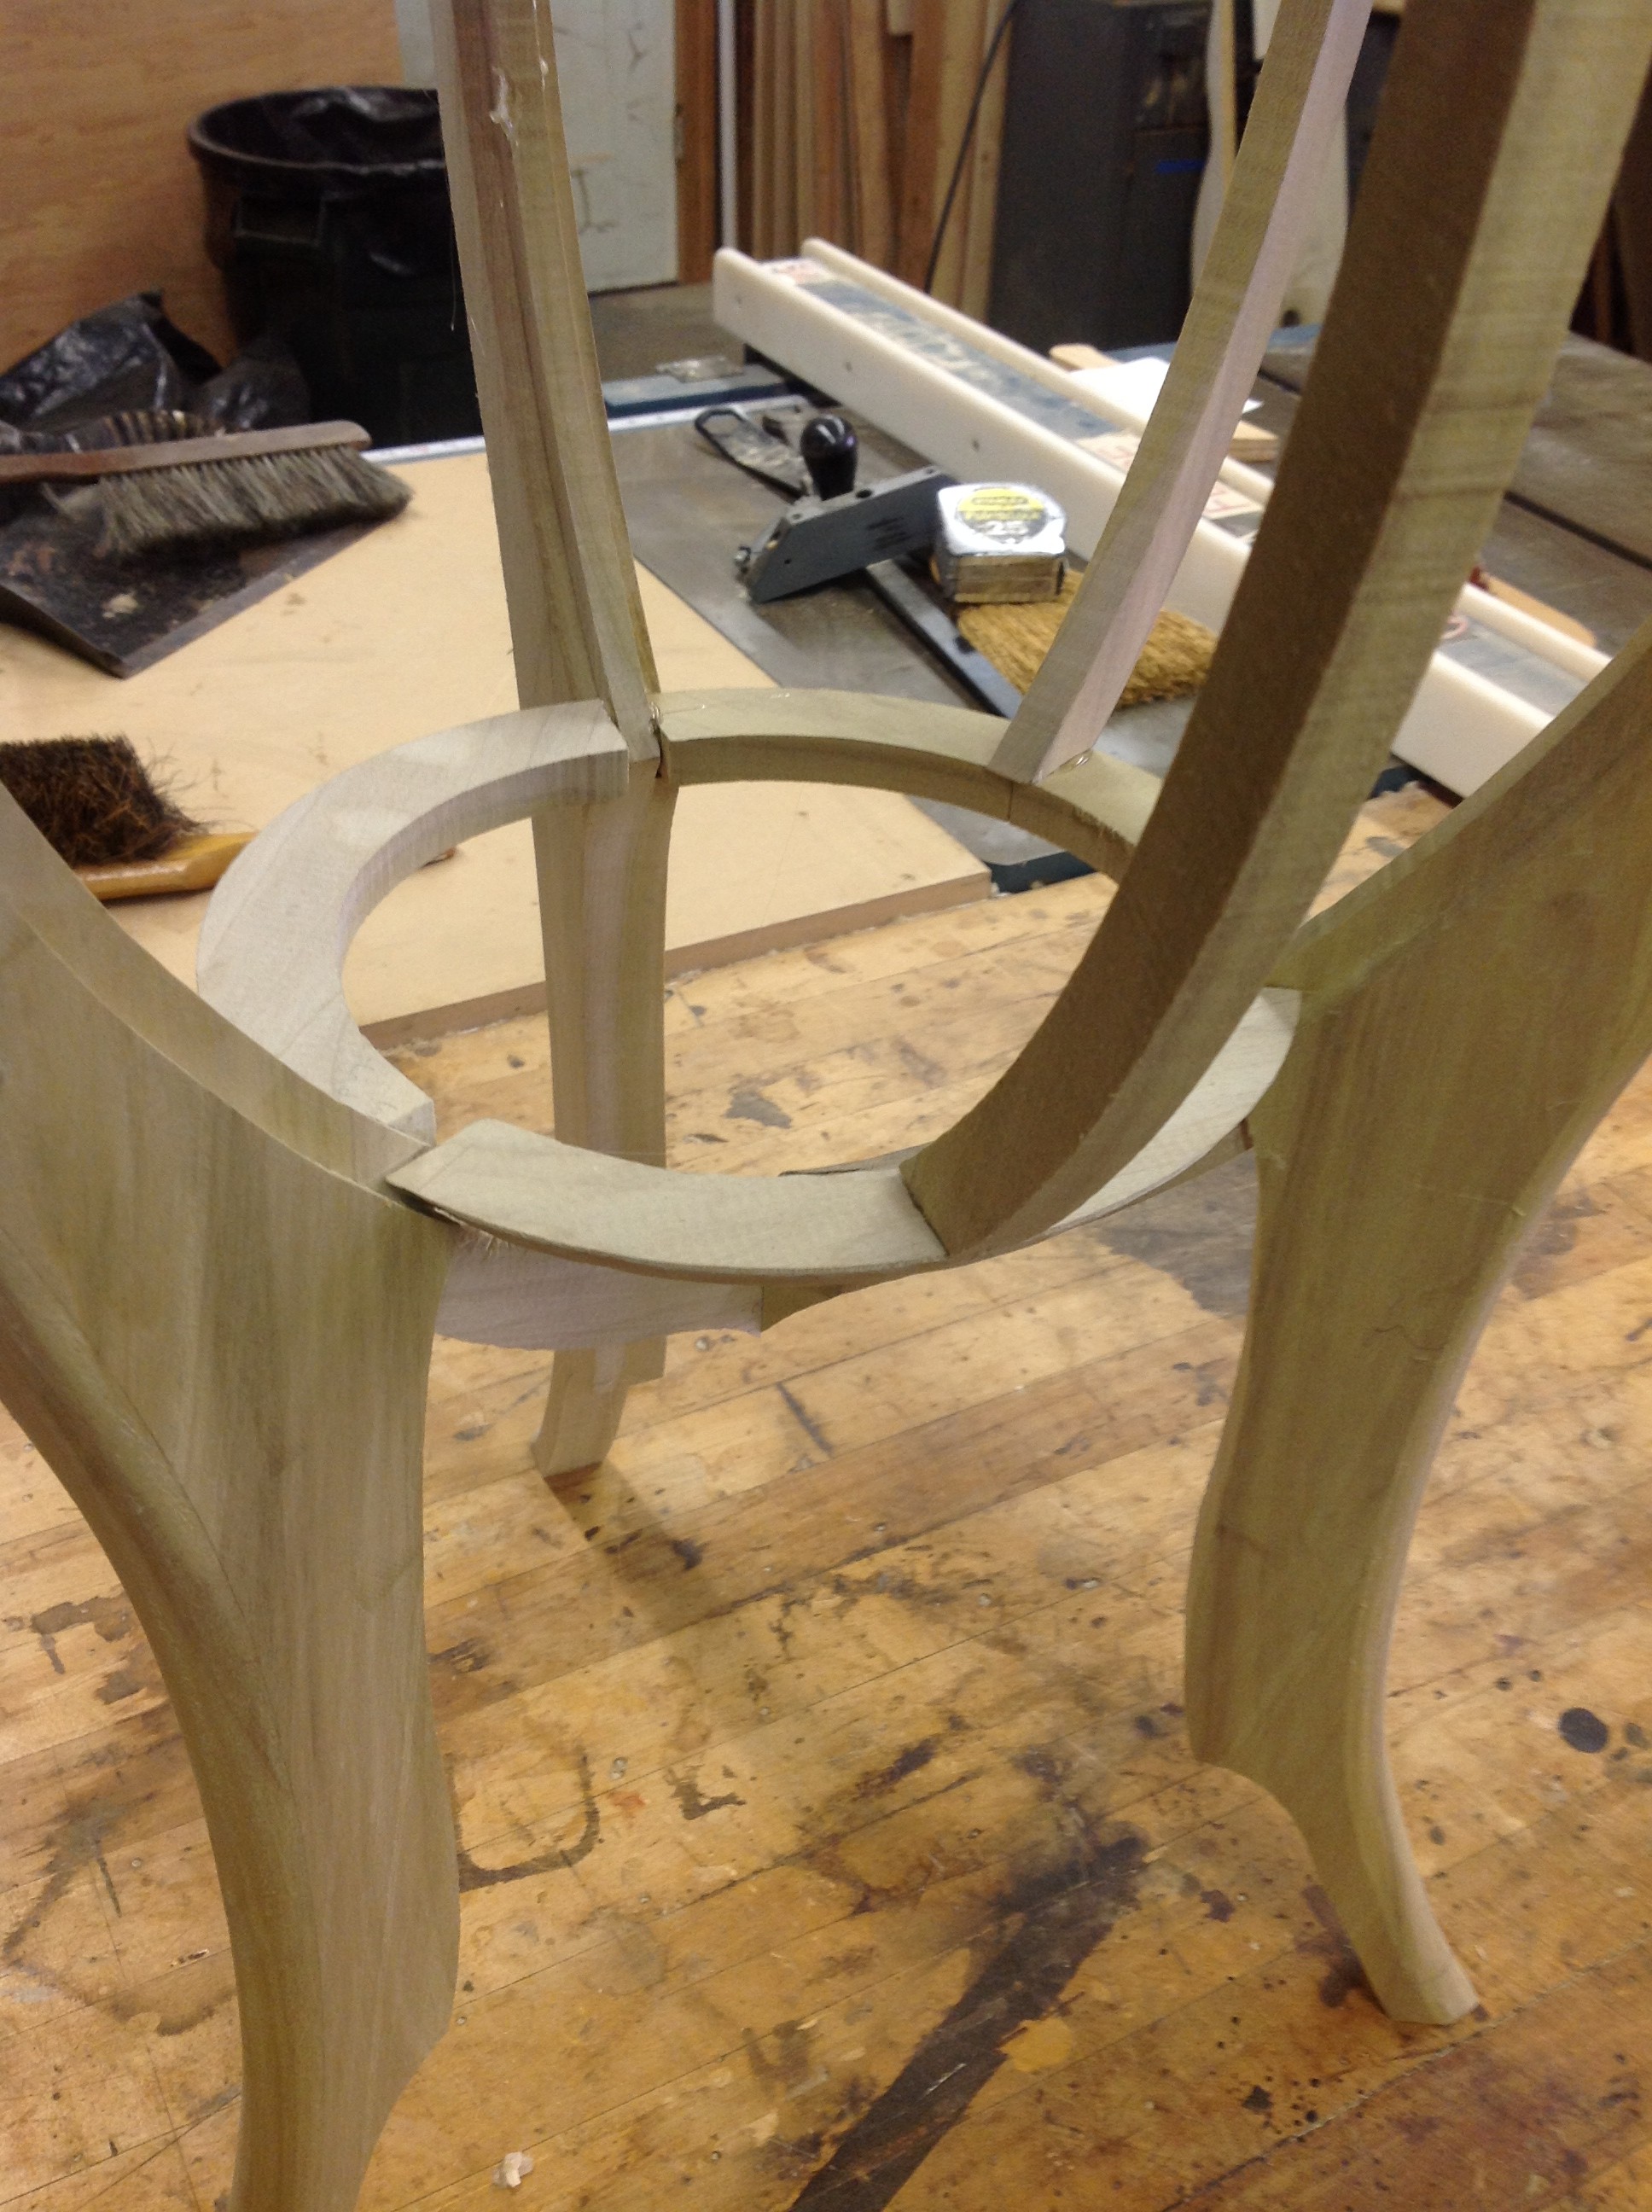
After the sketches I moved on to a scale model. After the scale model was done and I was relatively satisfied with the shape I moved on to a full sized drawing on 1/4” MDF. The full sized drawings give me a way to refine the shape and resolve some of the parts. I usually do 2 or three views depending on the piece. I use the full size drawings to copy and trace the leg shapes onto wood. In the case of this piece of furniture I discovered in the sketches stage, especially when I tried to draw the shape with the CAD program Sketch-up, that there were going to be some tricky connections. The aprons were going to be a challenge. So I made a full sized mock-up of the frame in poplar.
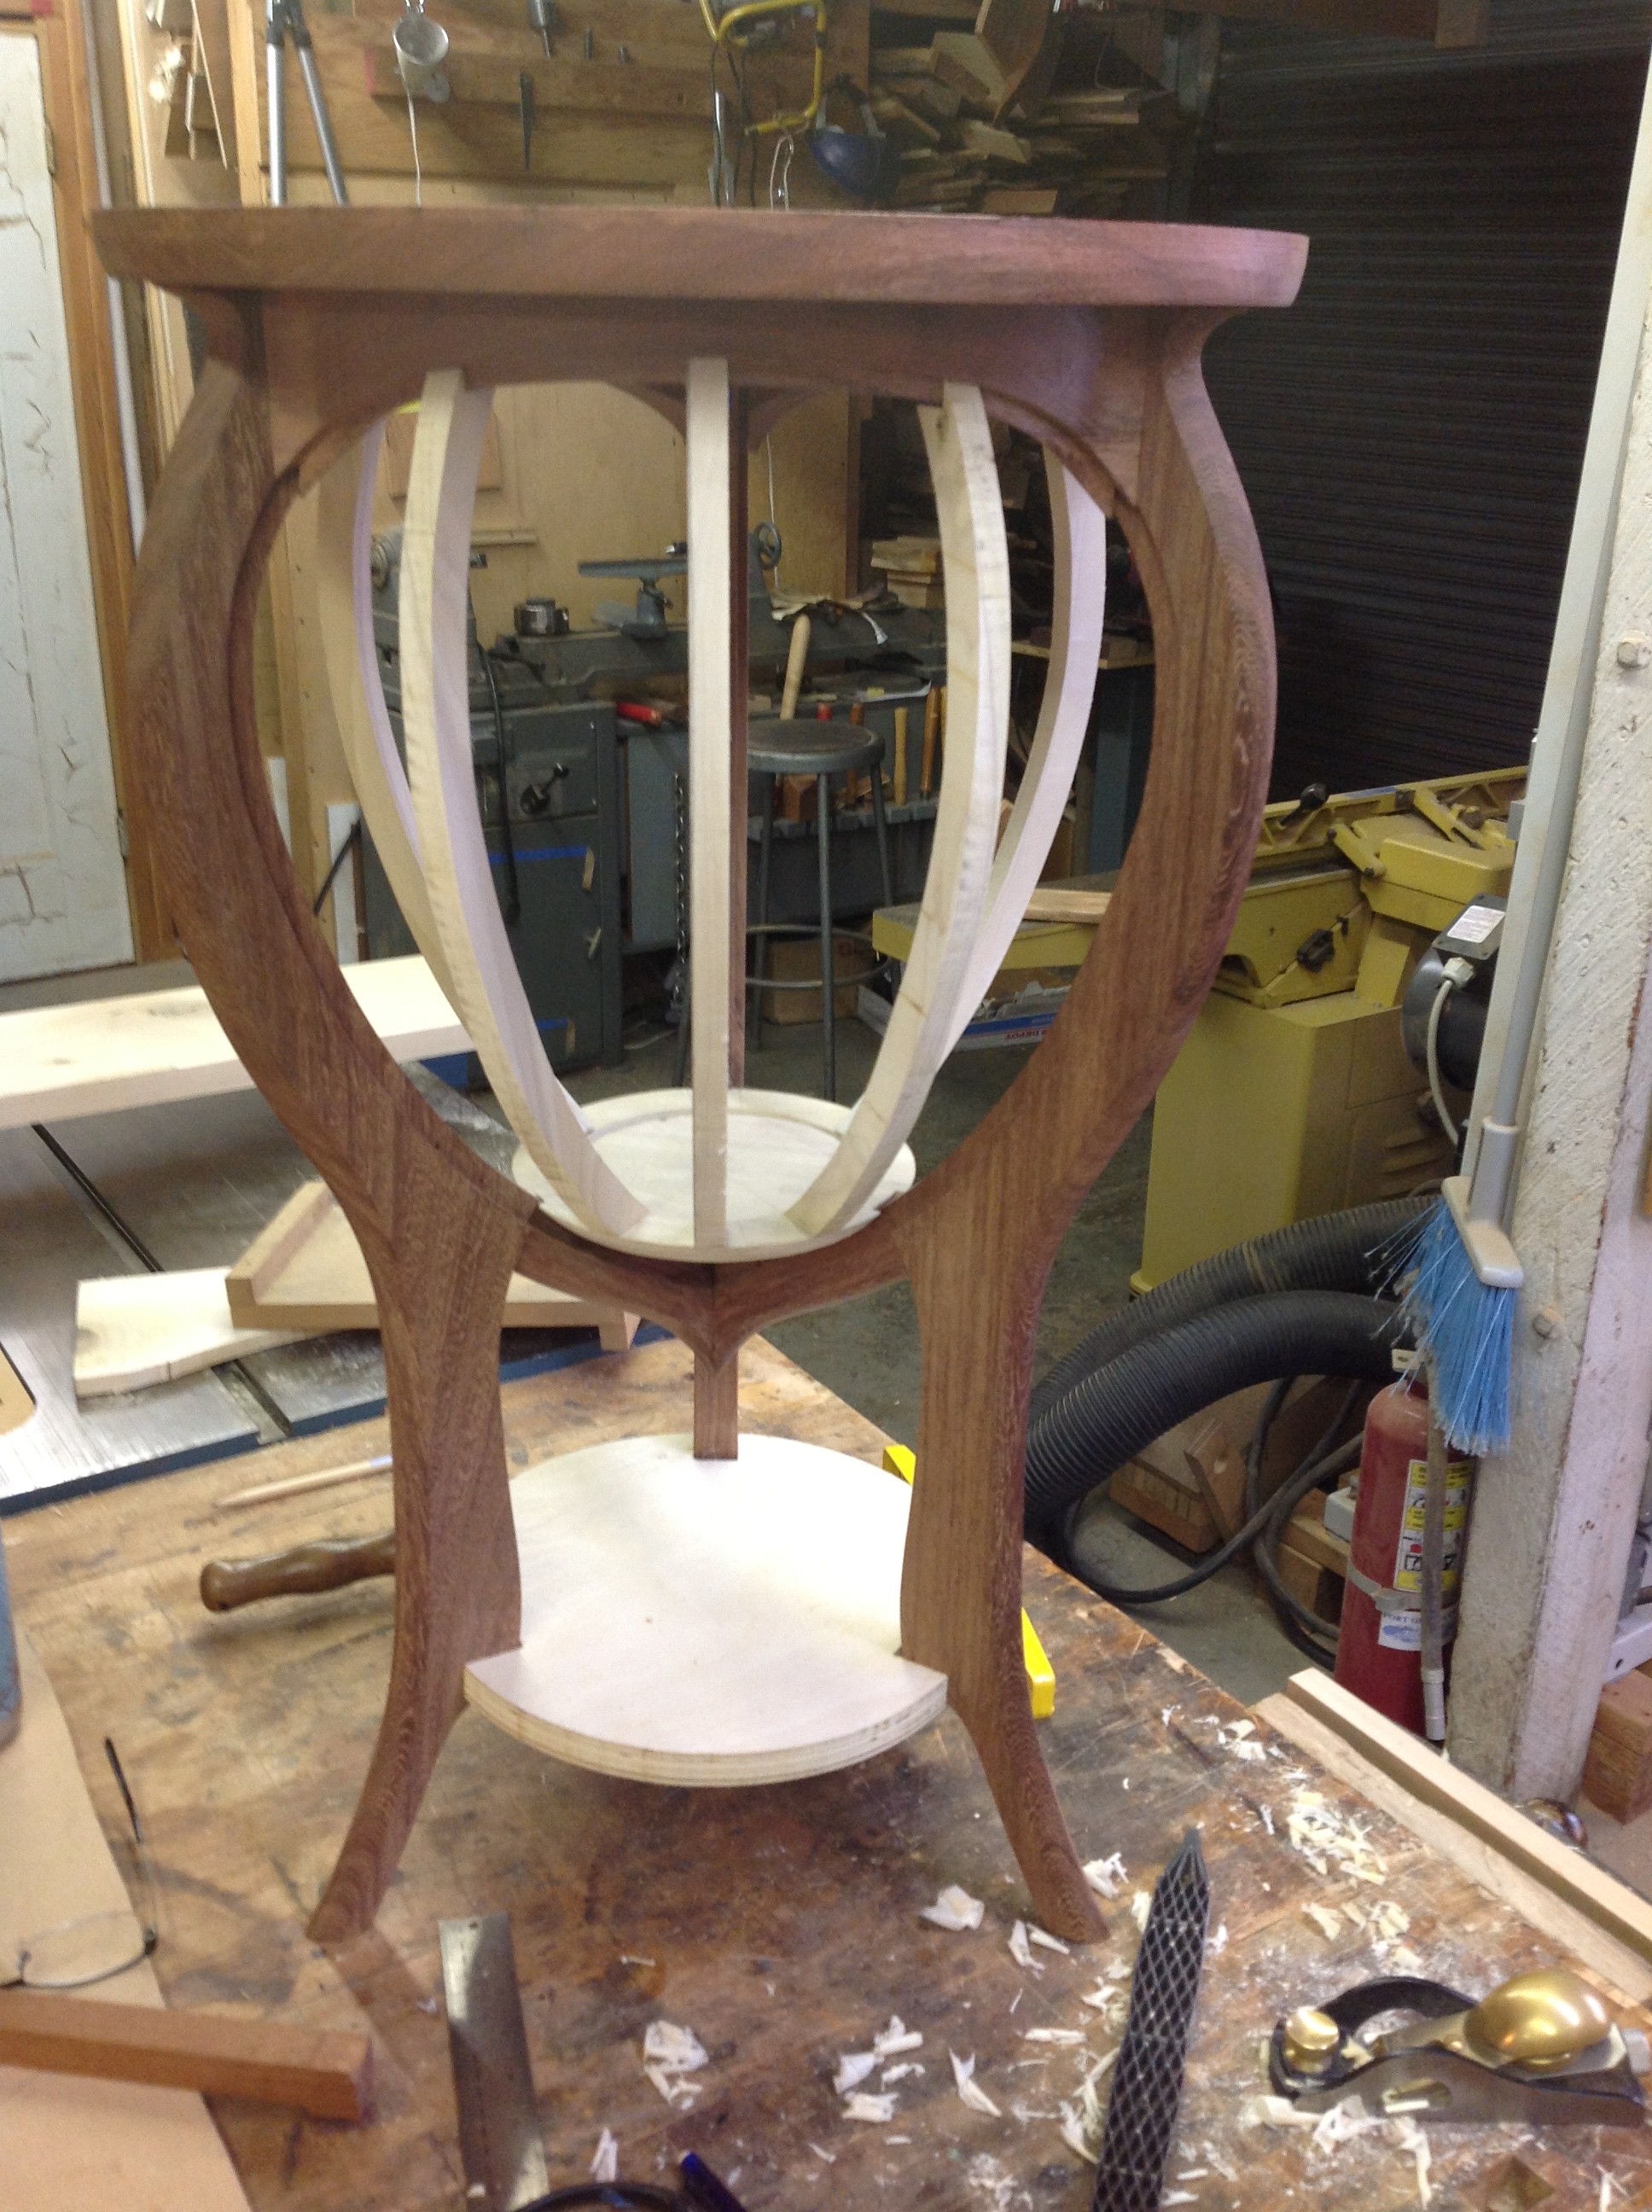
I cut out the legs, then the top and an apron blank.
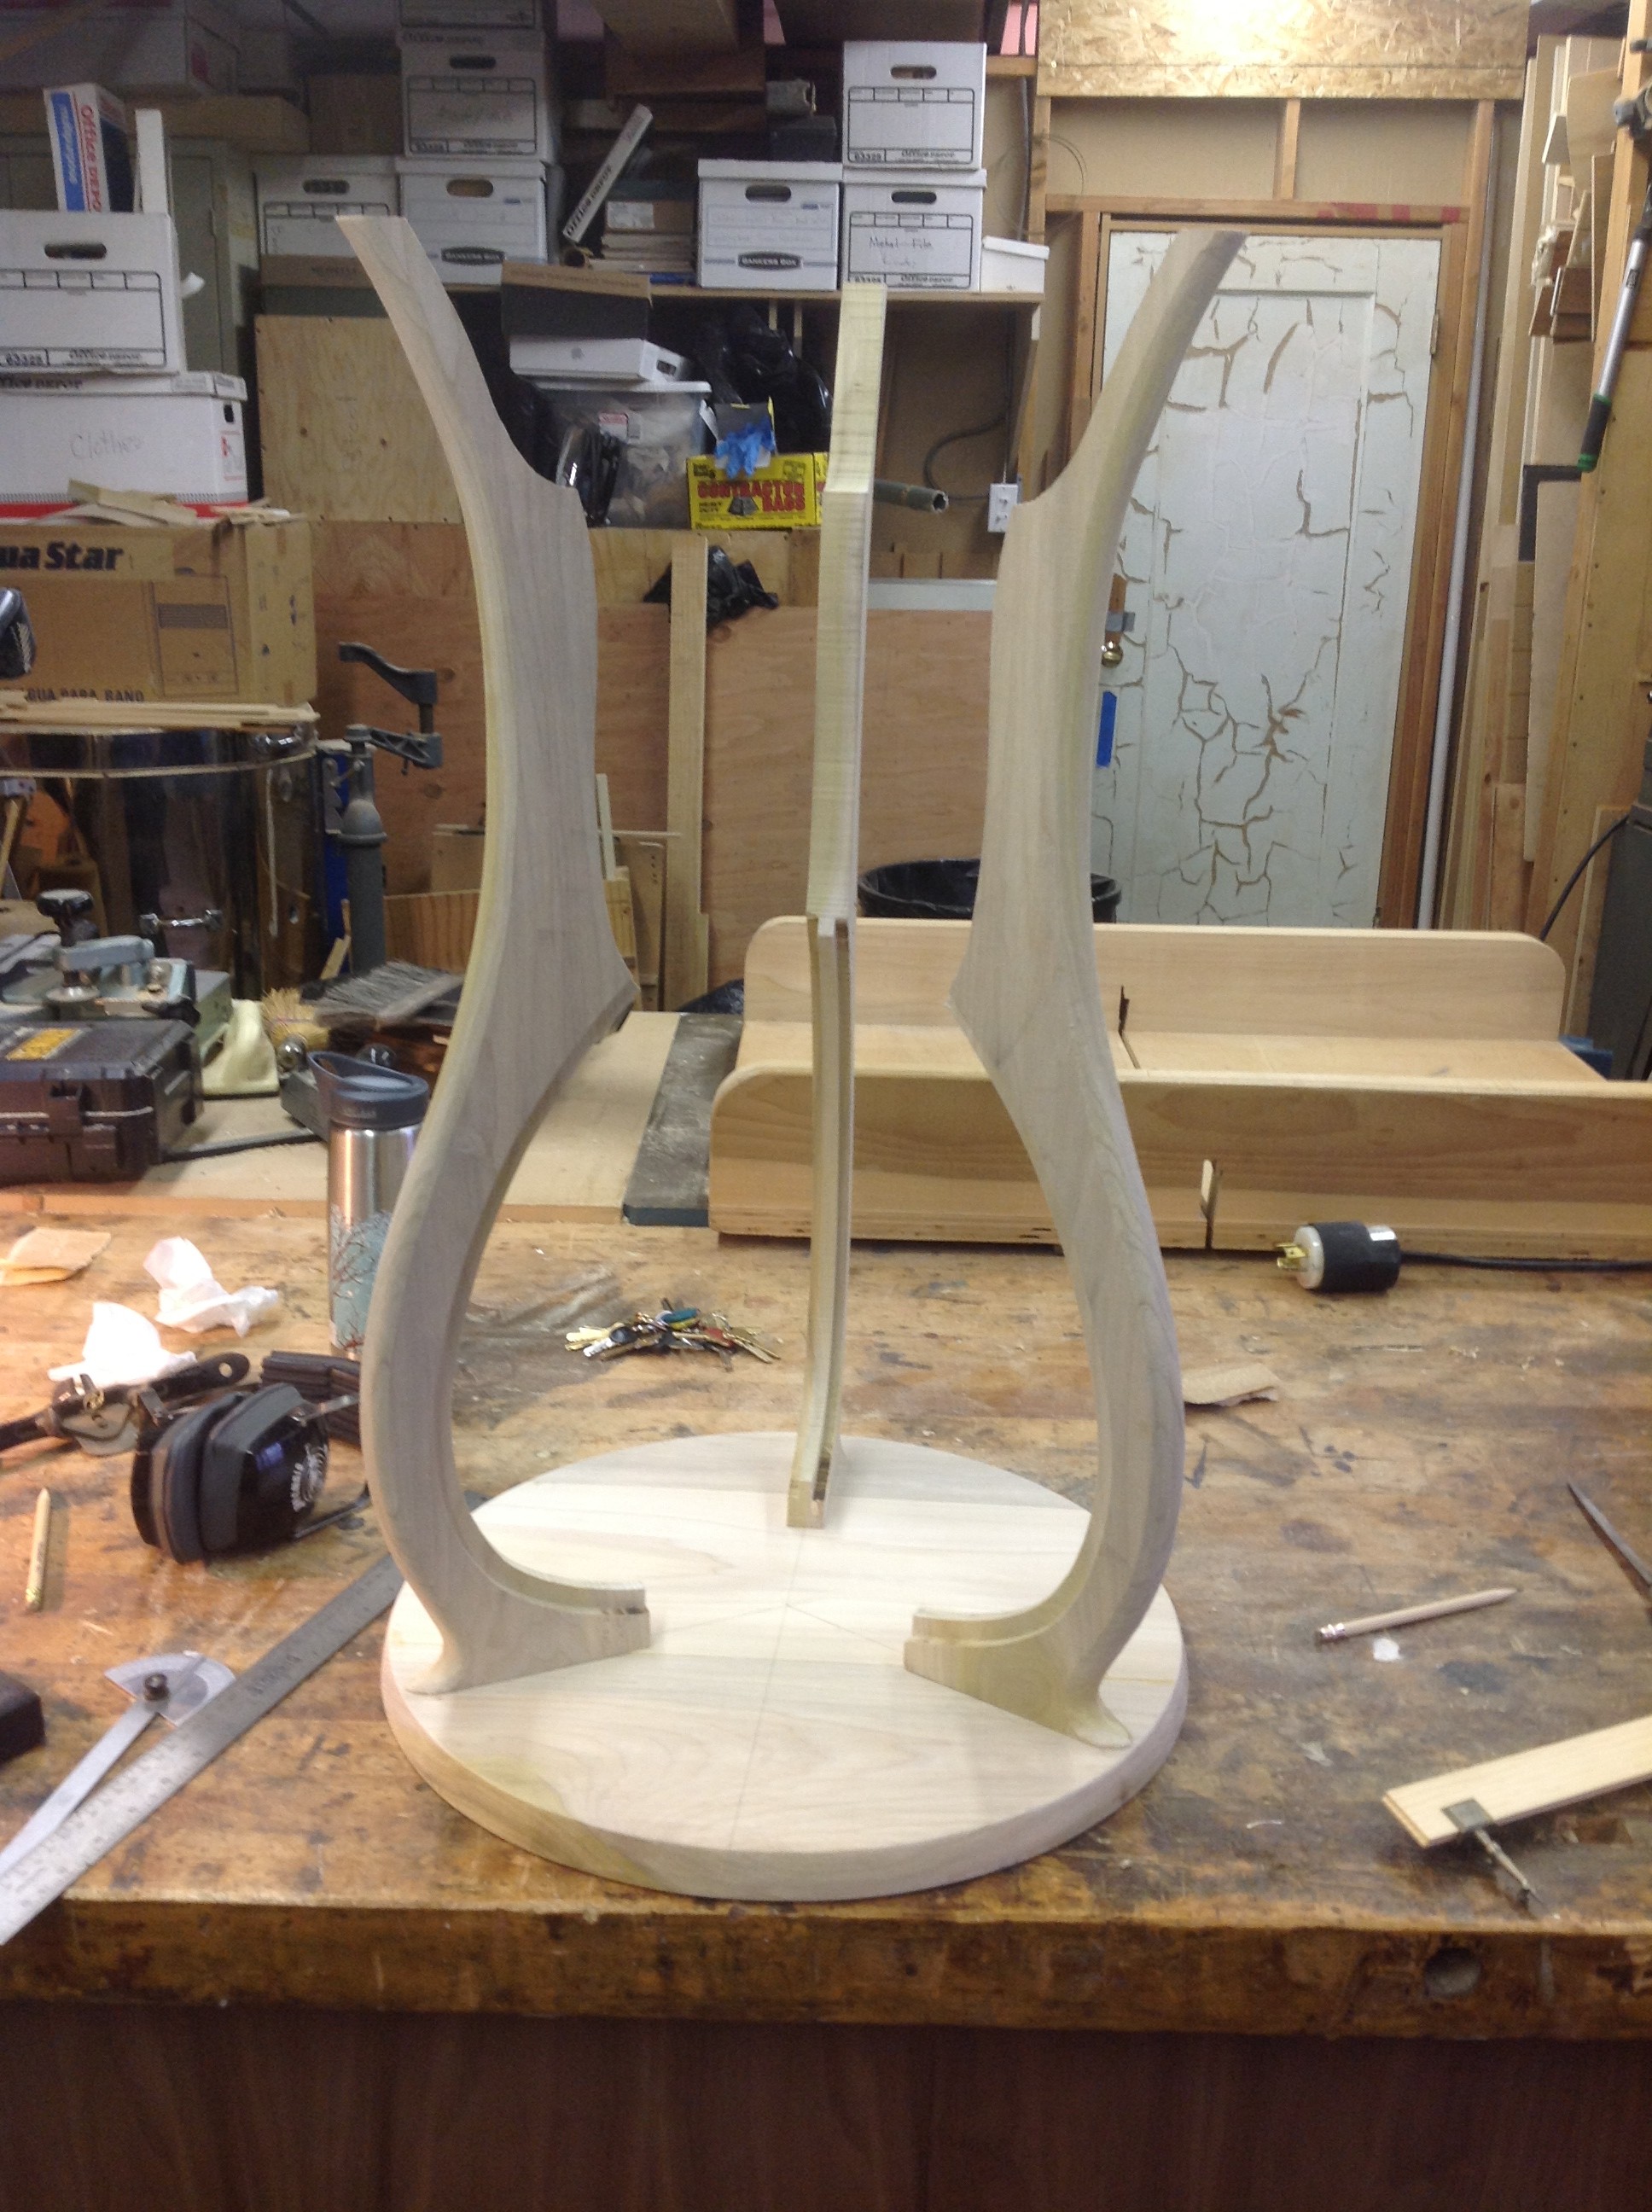
It was a little tricky to get the curve from the apron to the leg to flow nicely, but that is what mock ups are especially good at determining.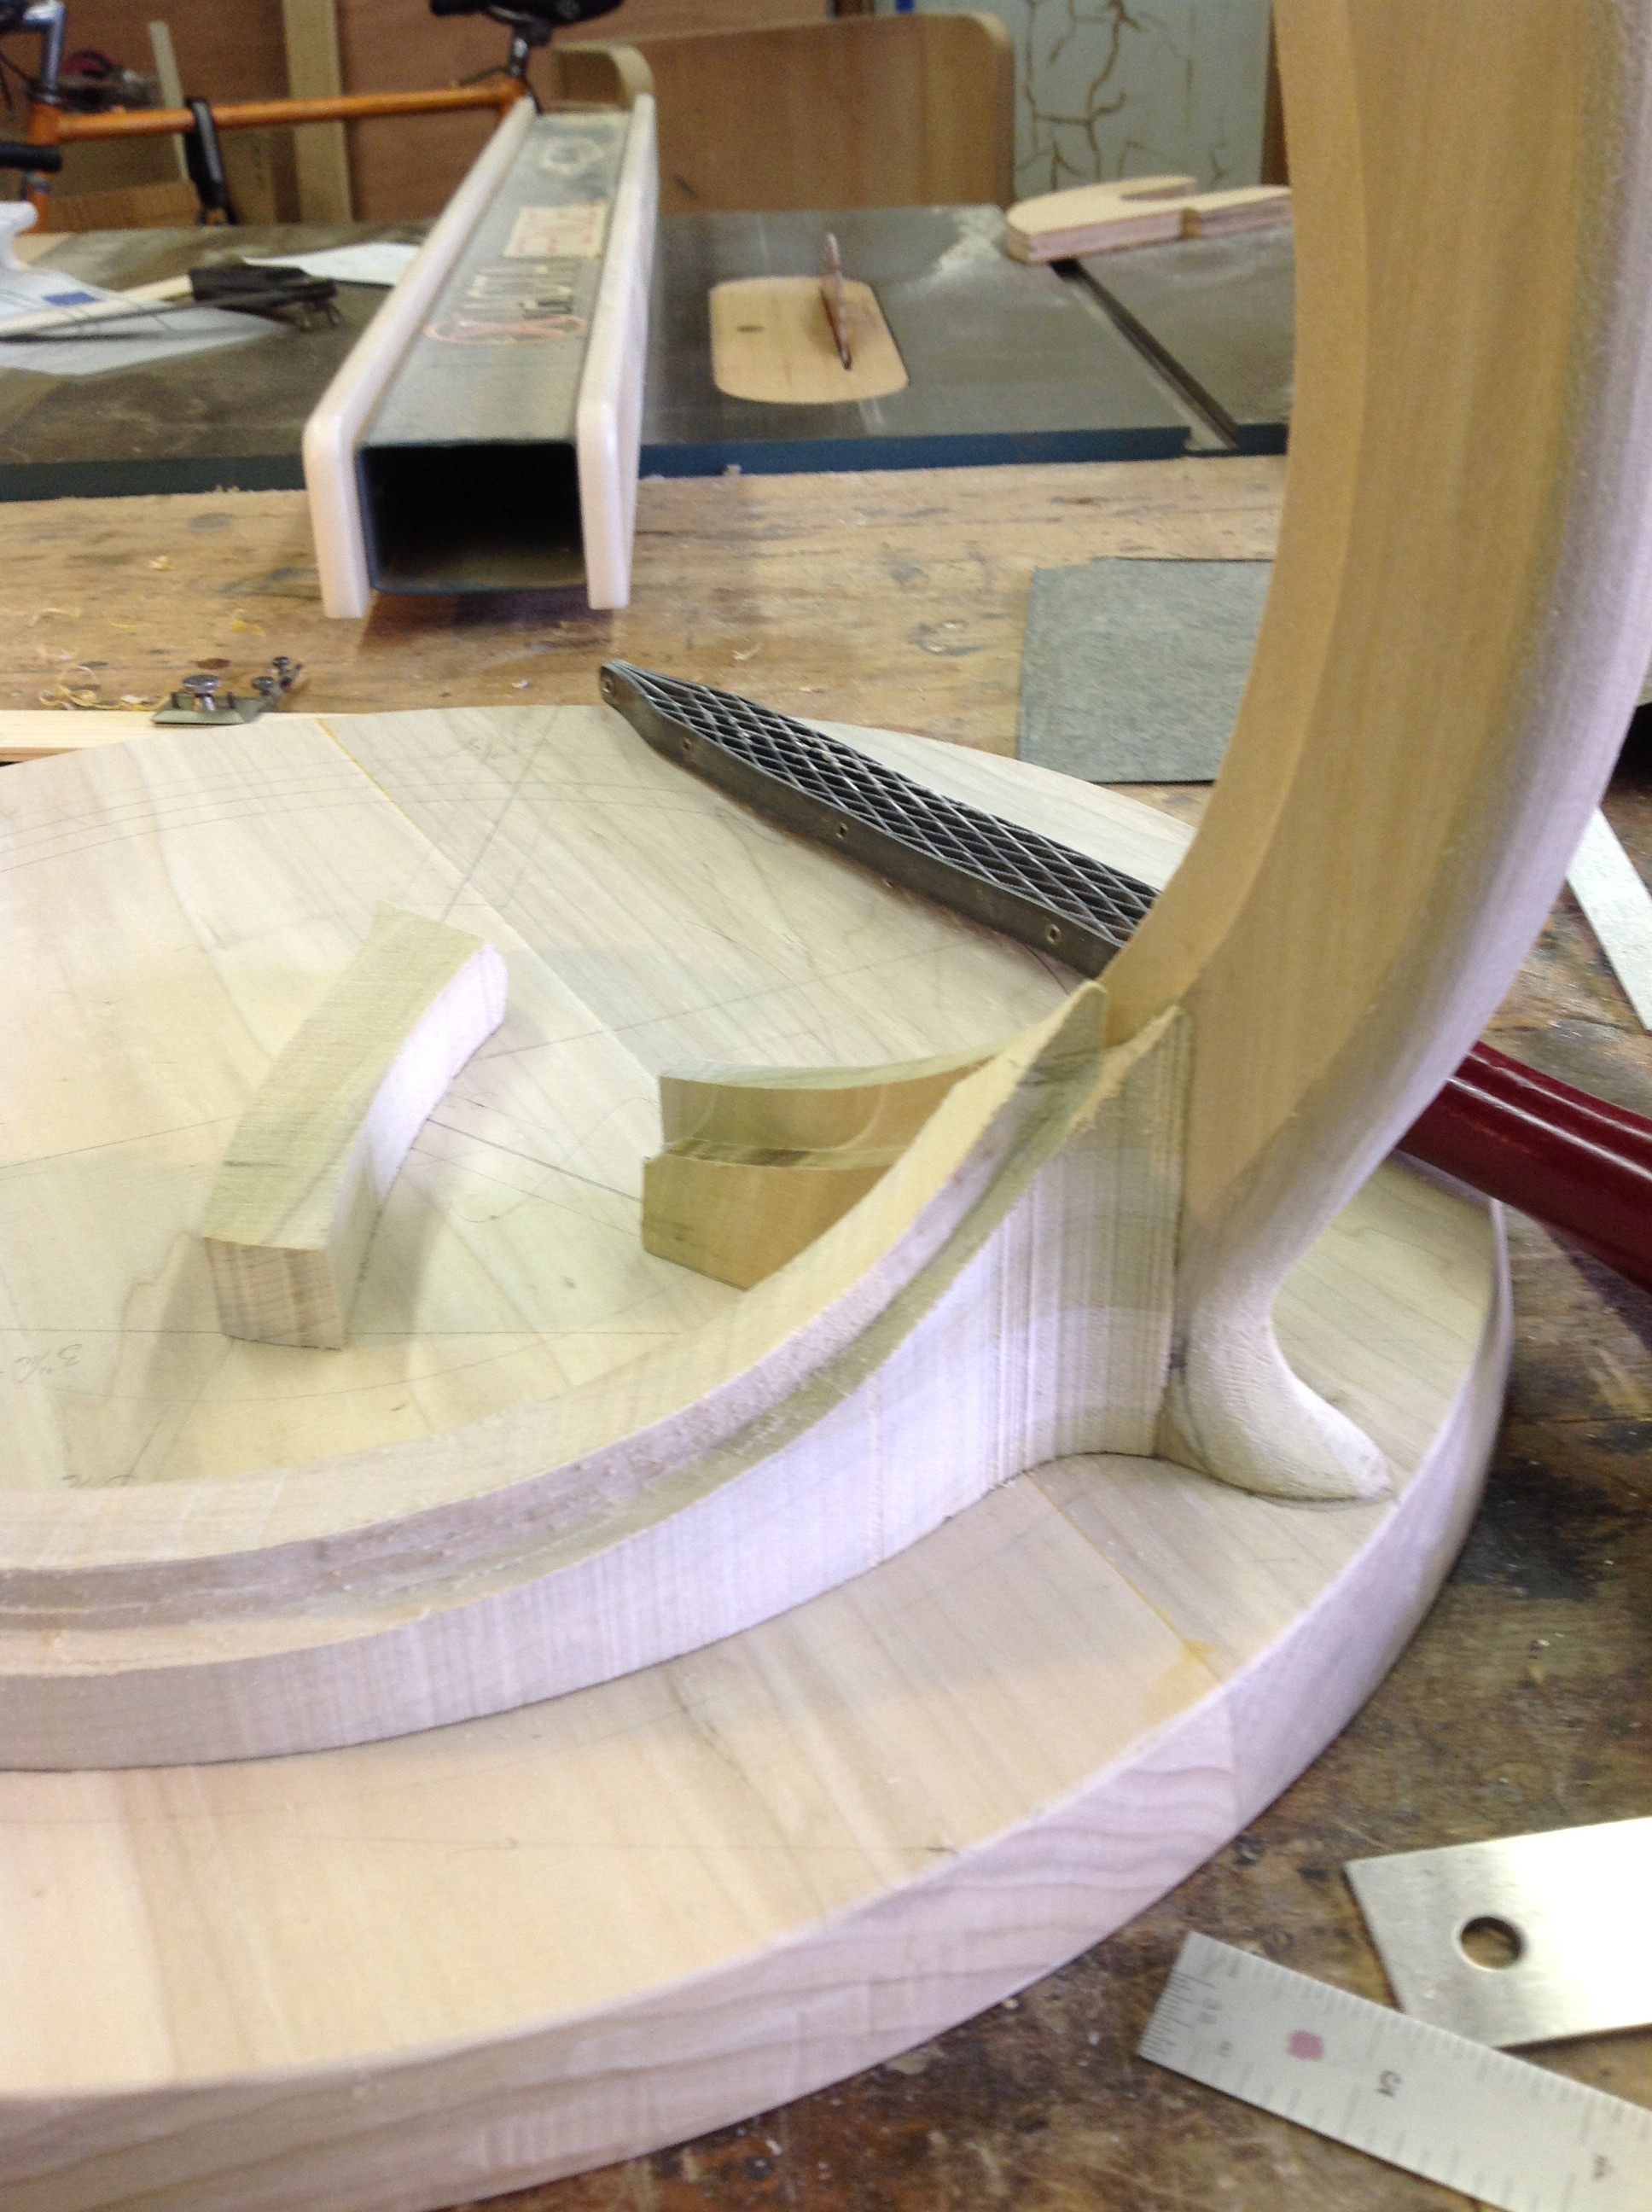
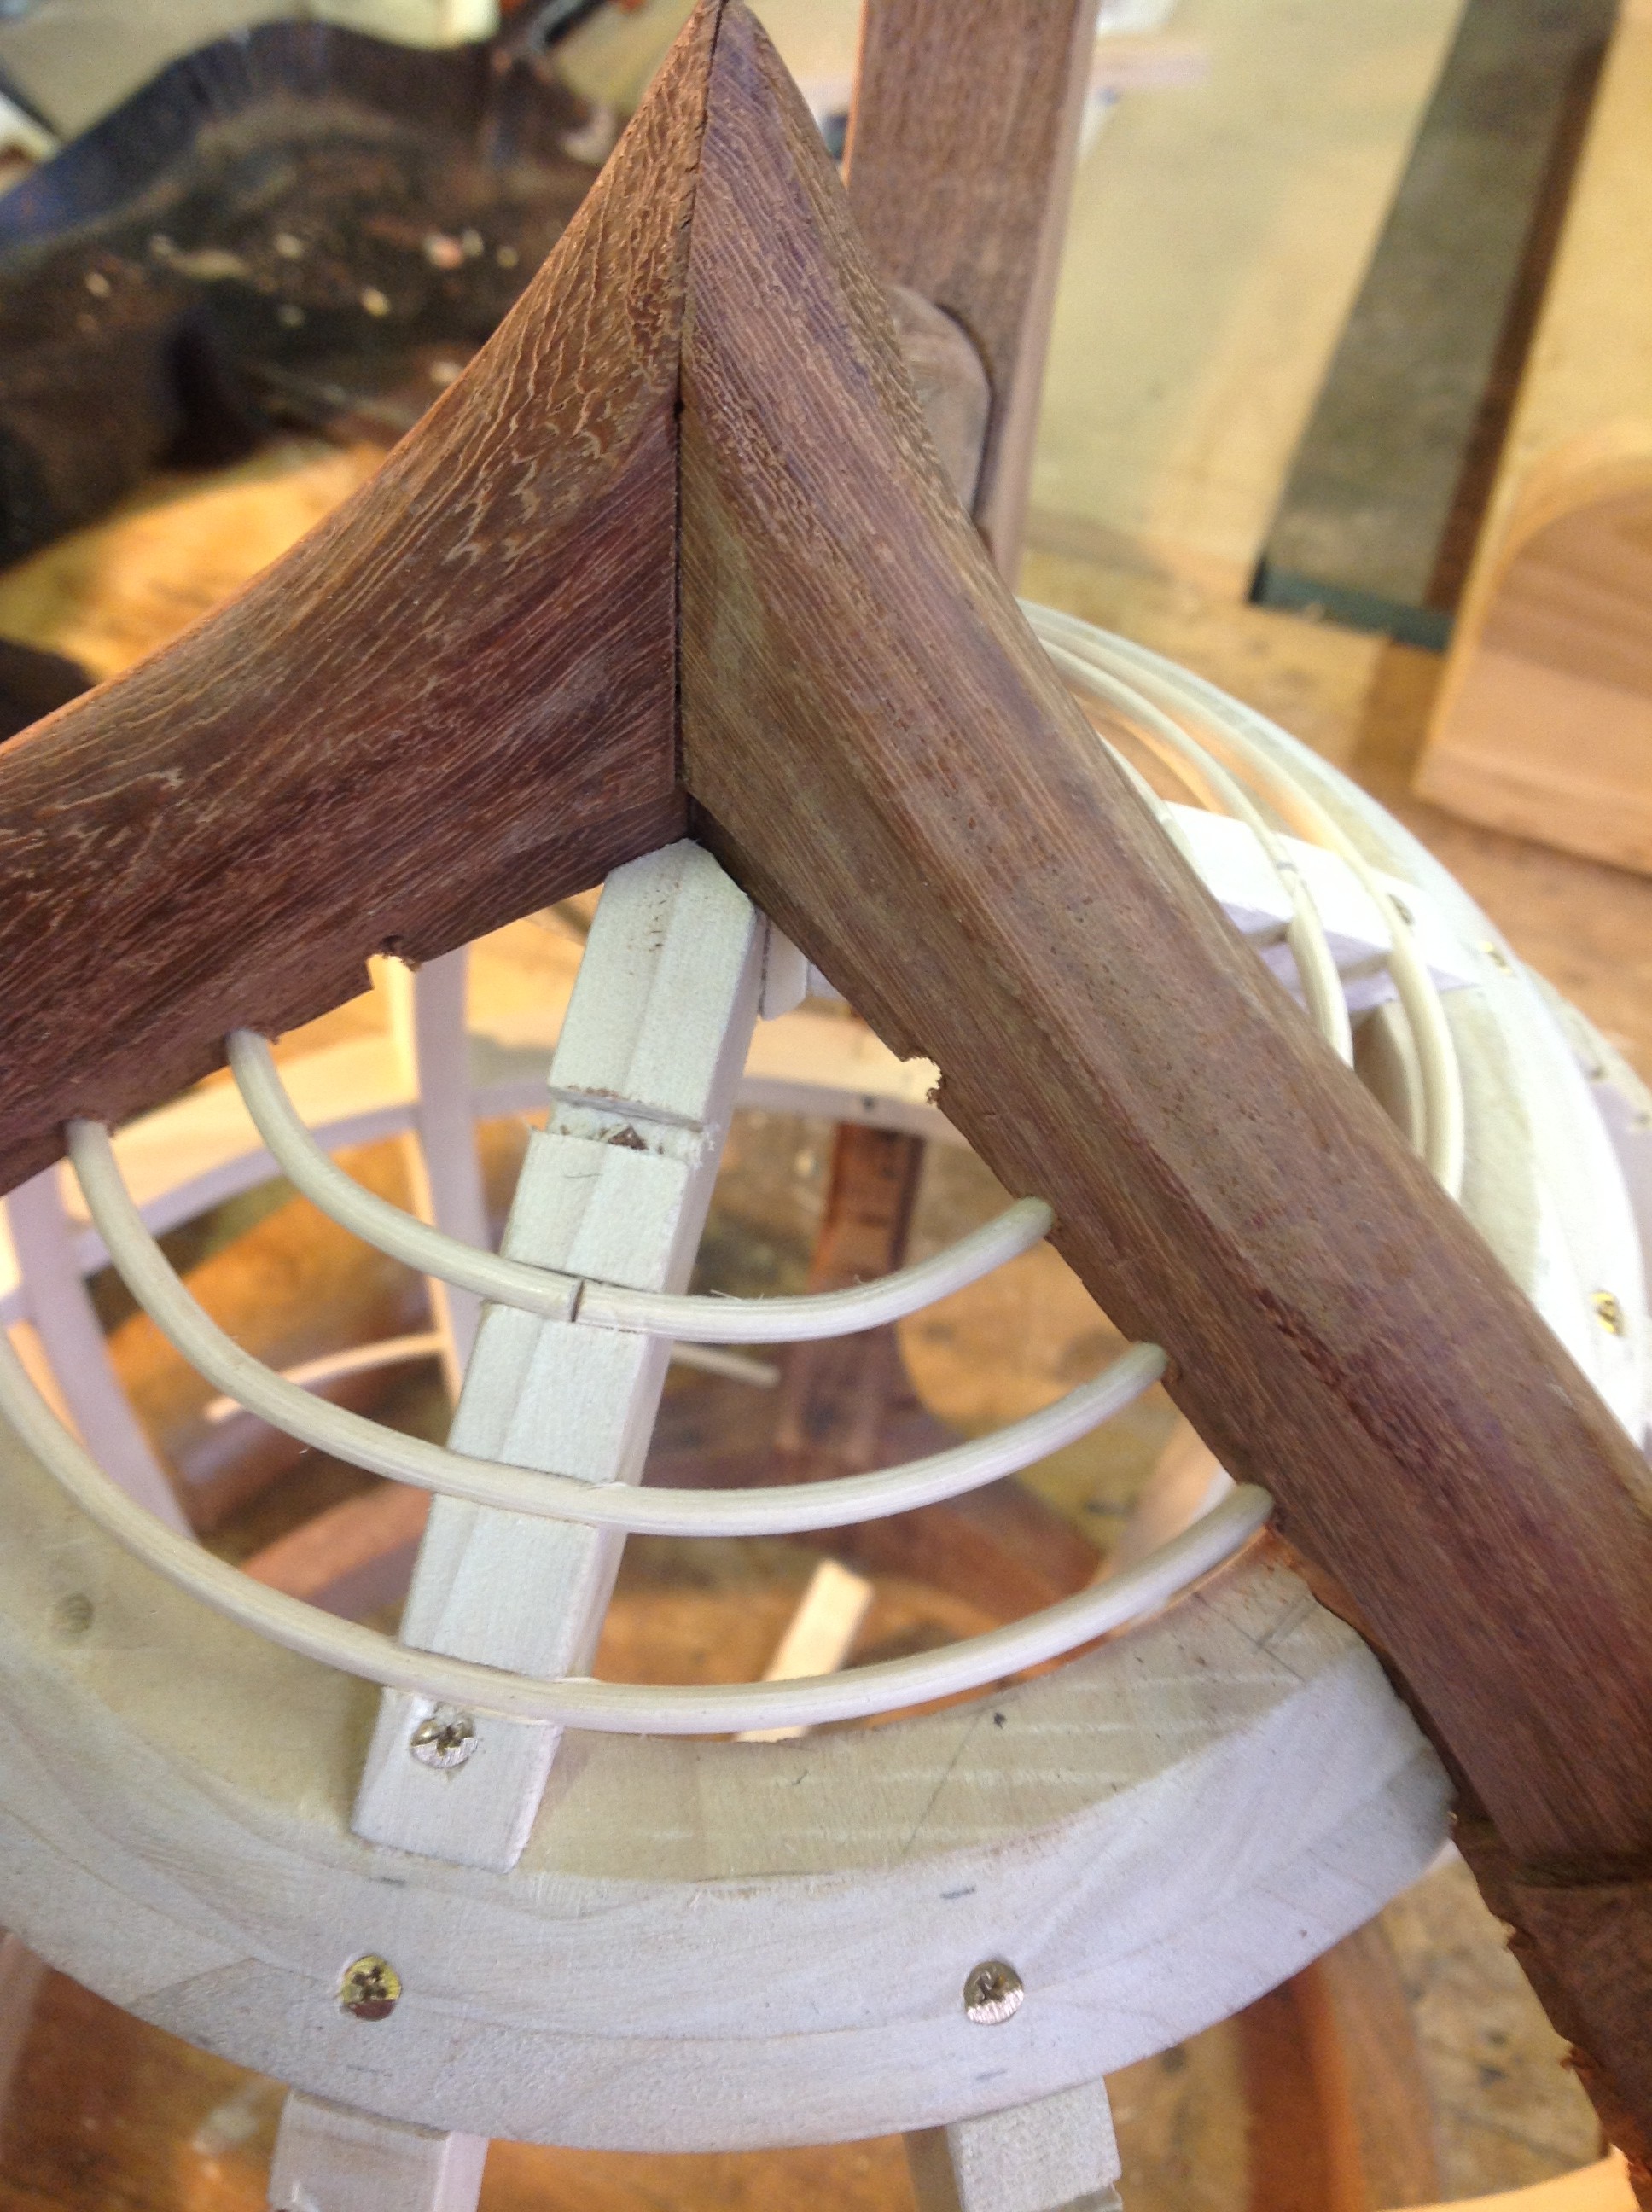
Next was figuring out the connection at the base of the “Egg” shape. The three pieces meet at angles and are built with tiny splines holding the pieces in place.
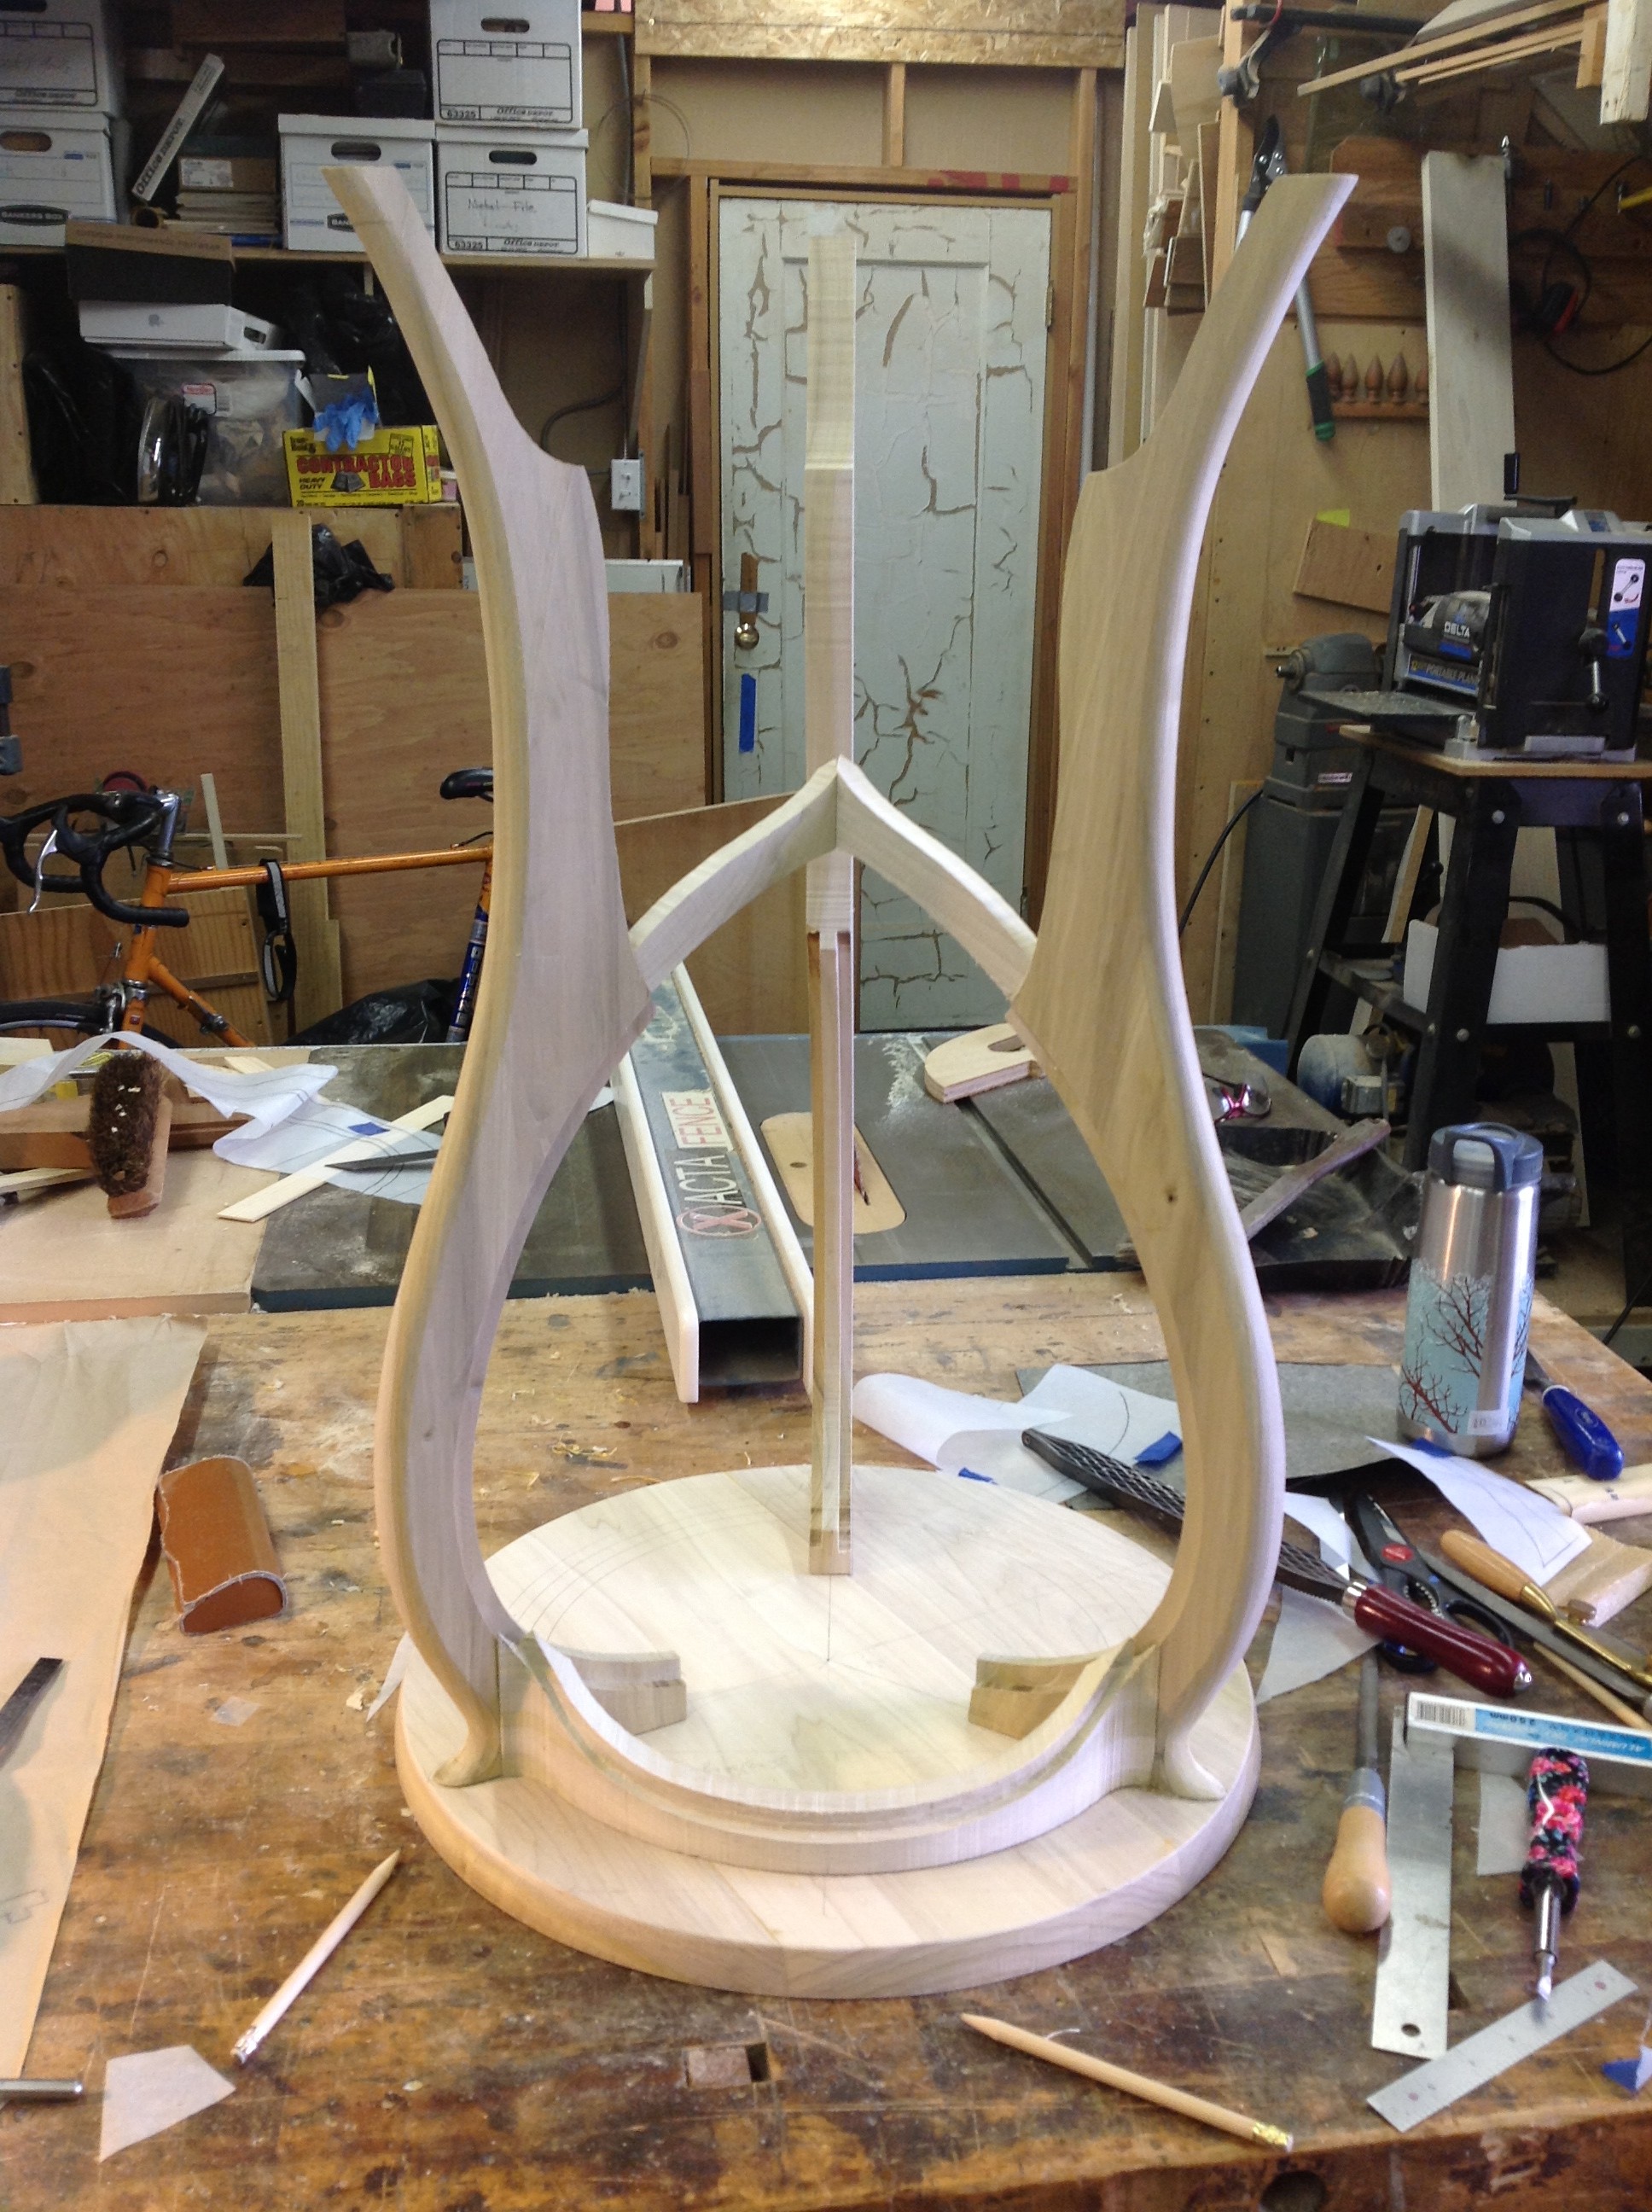
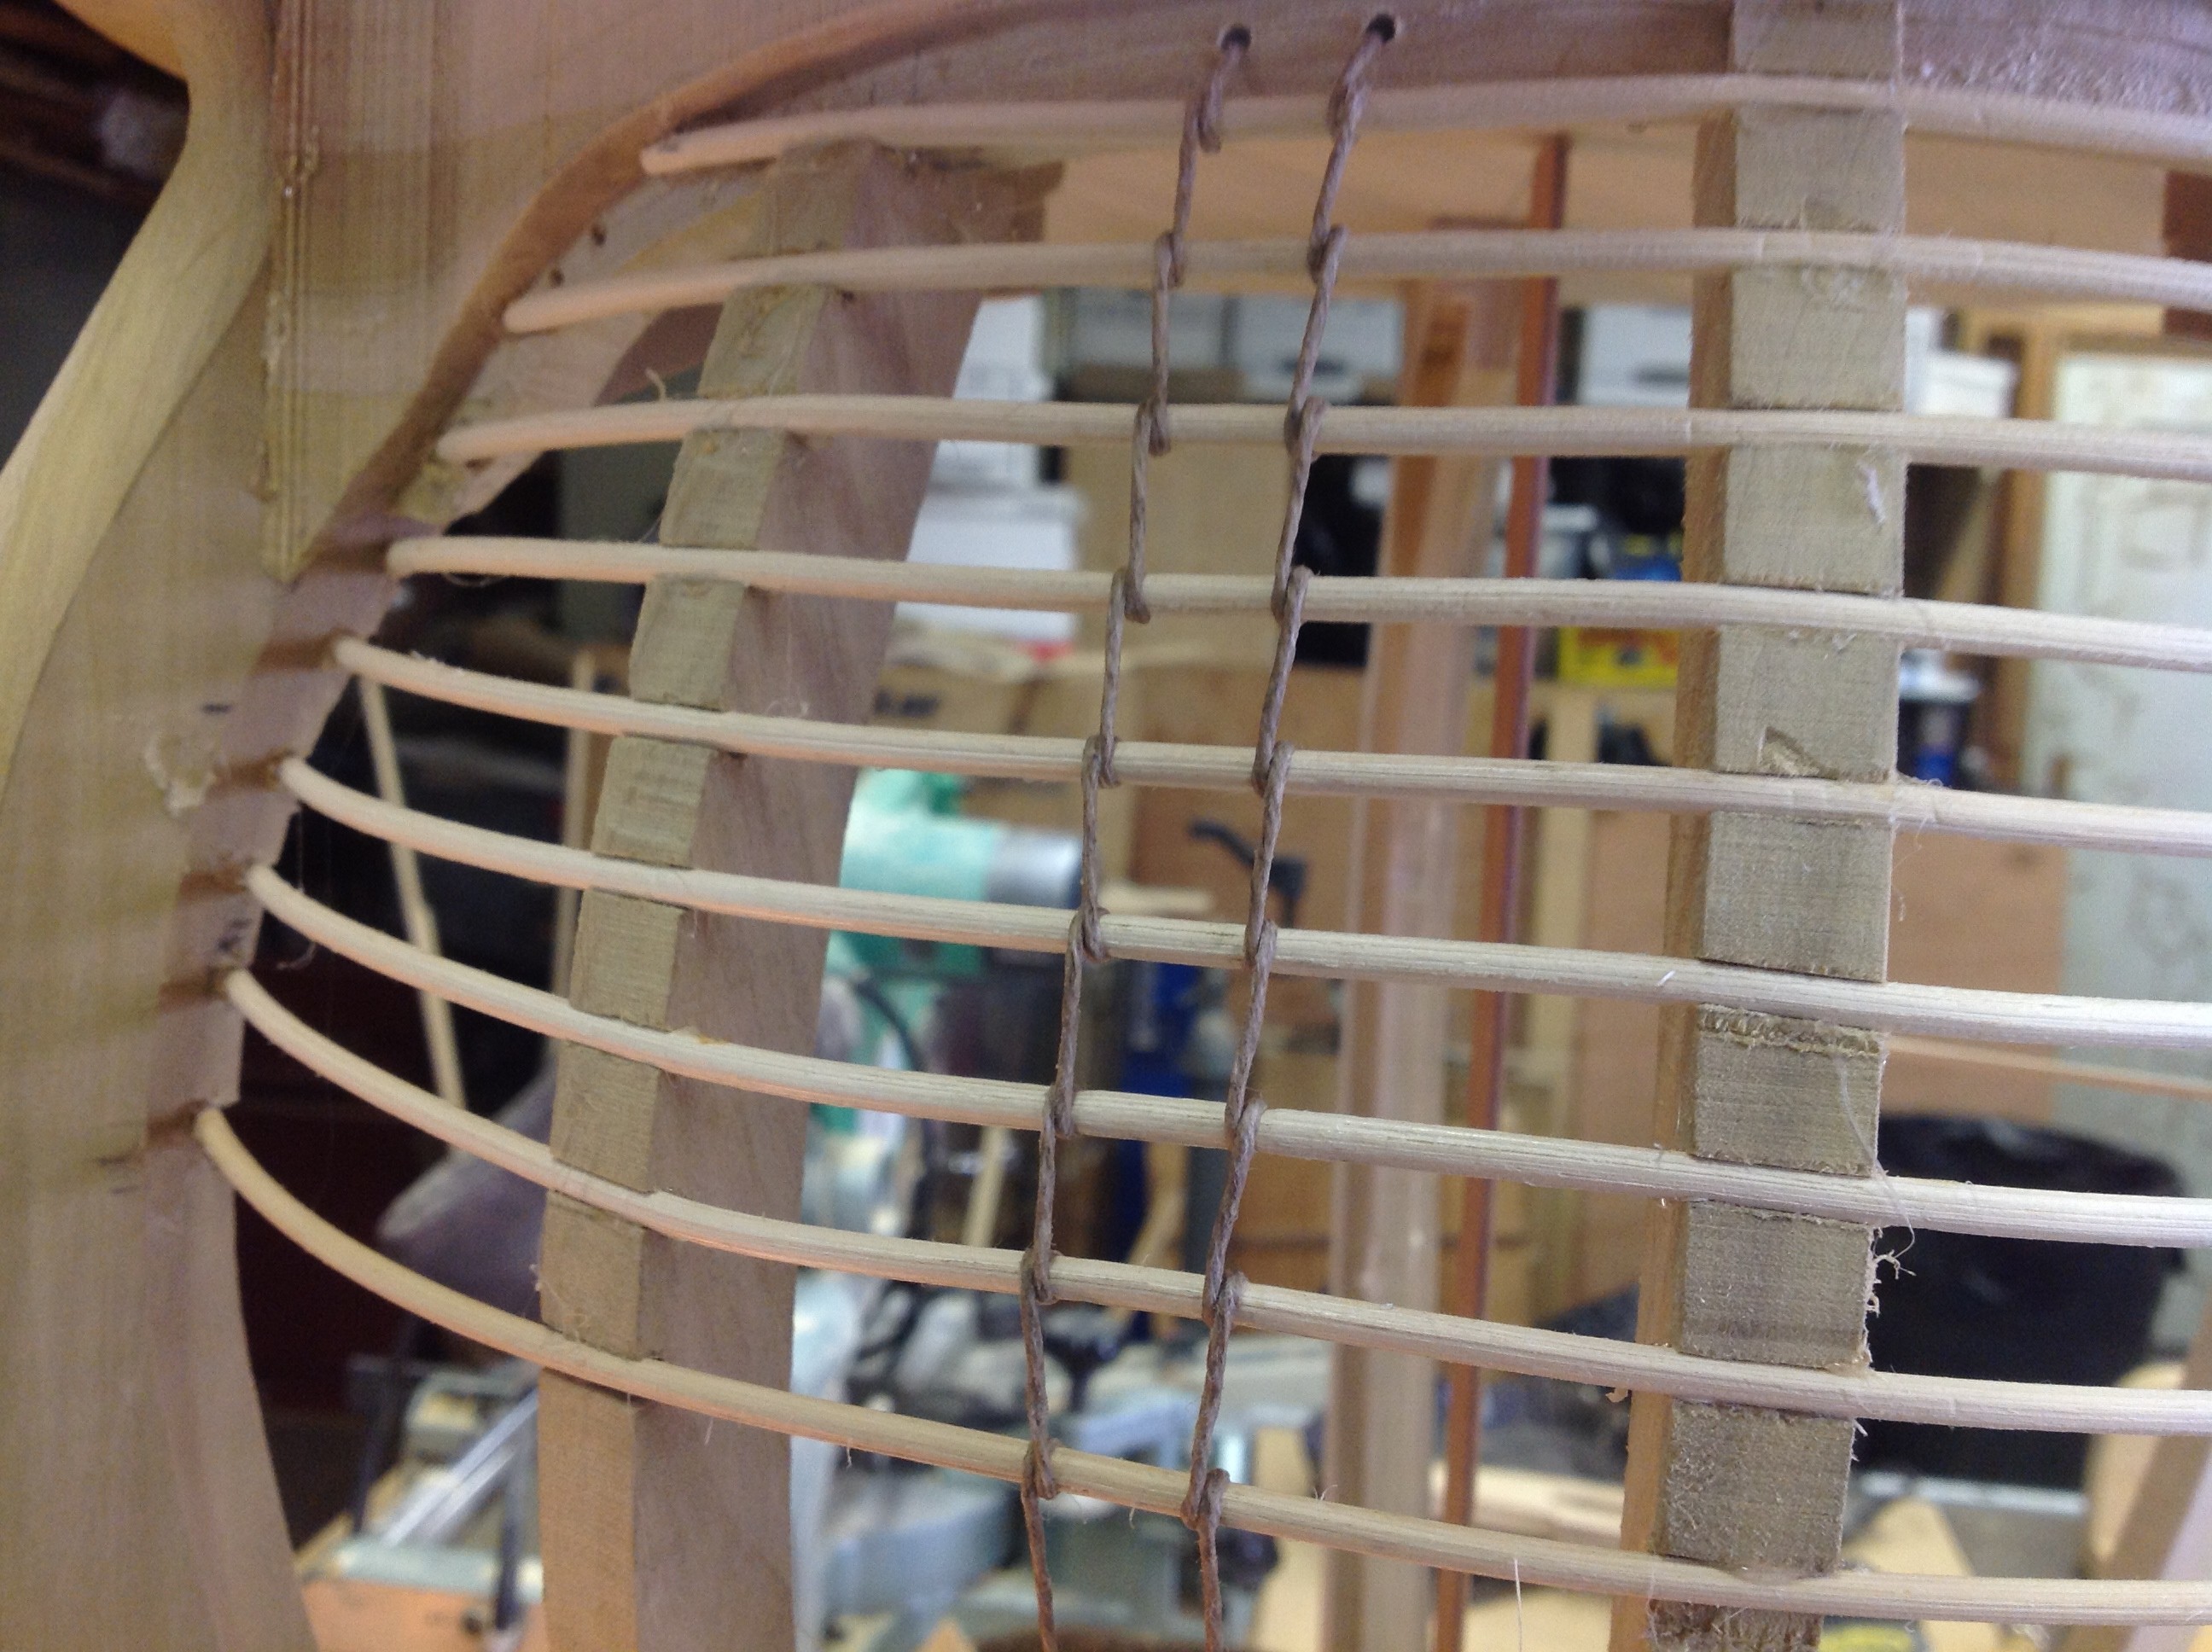
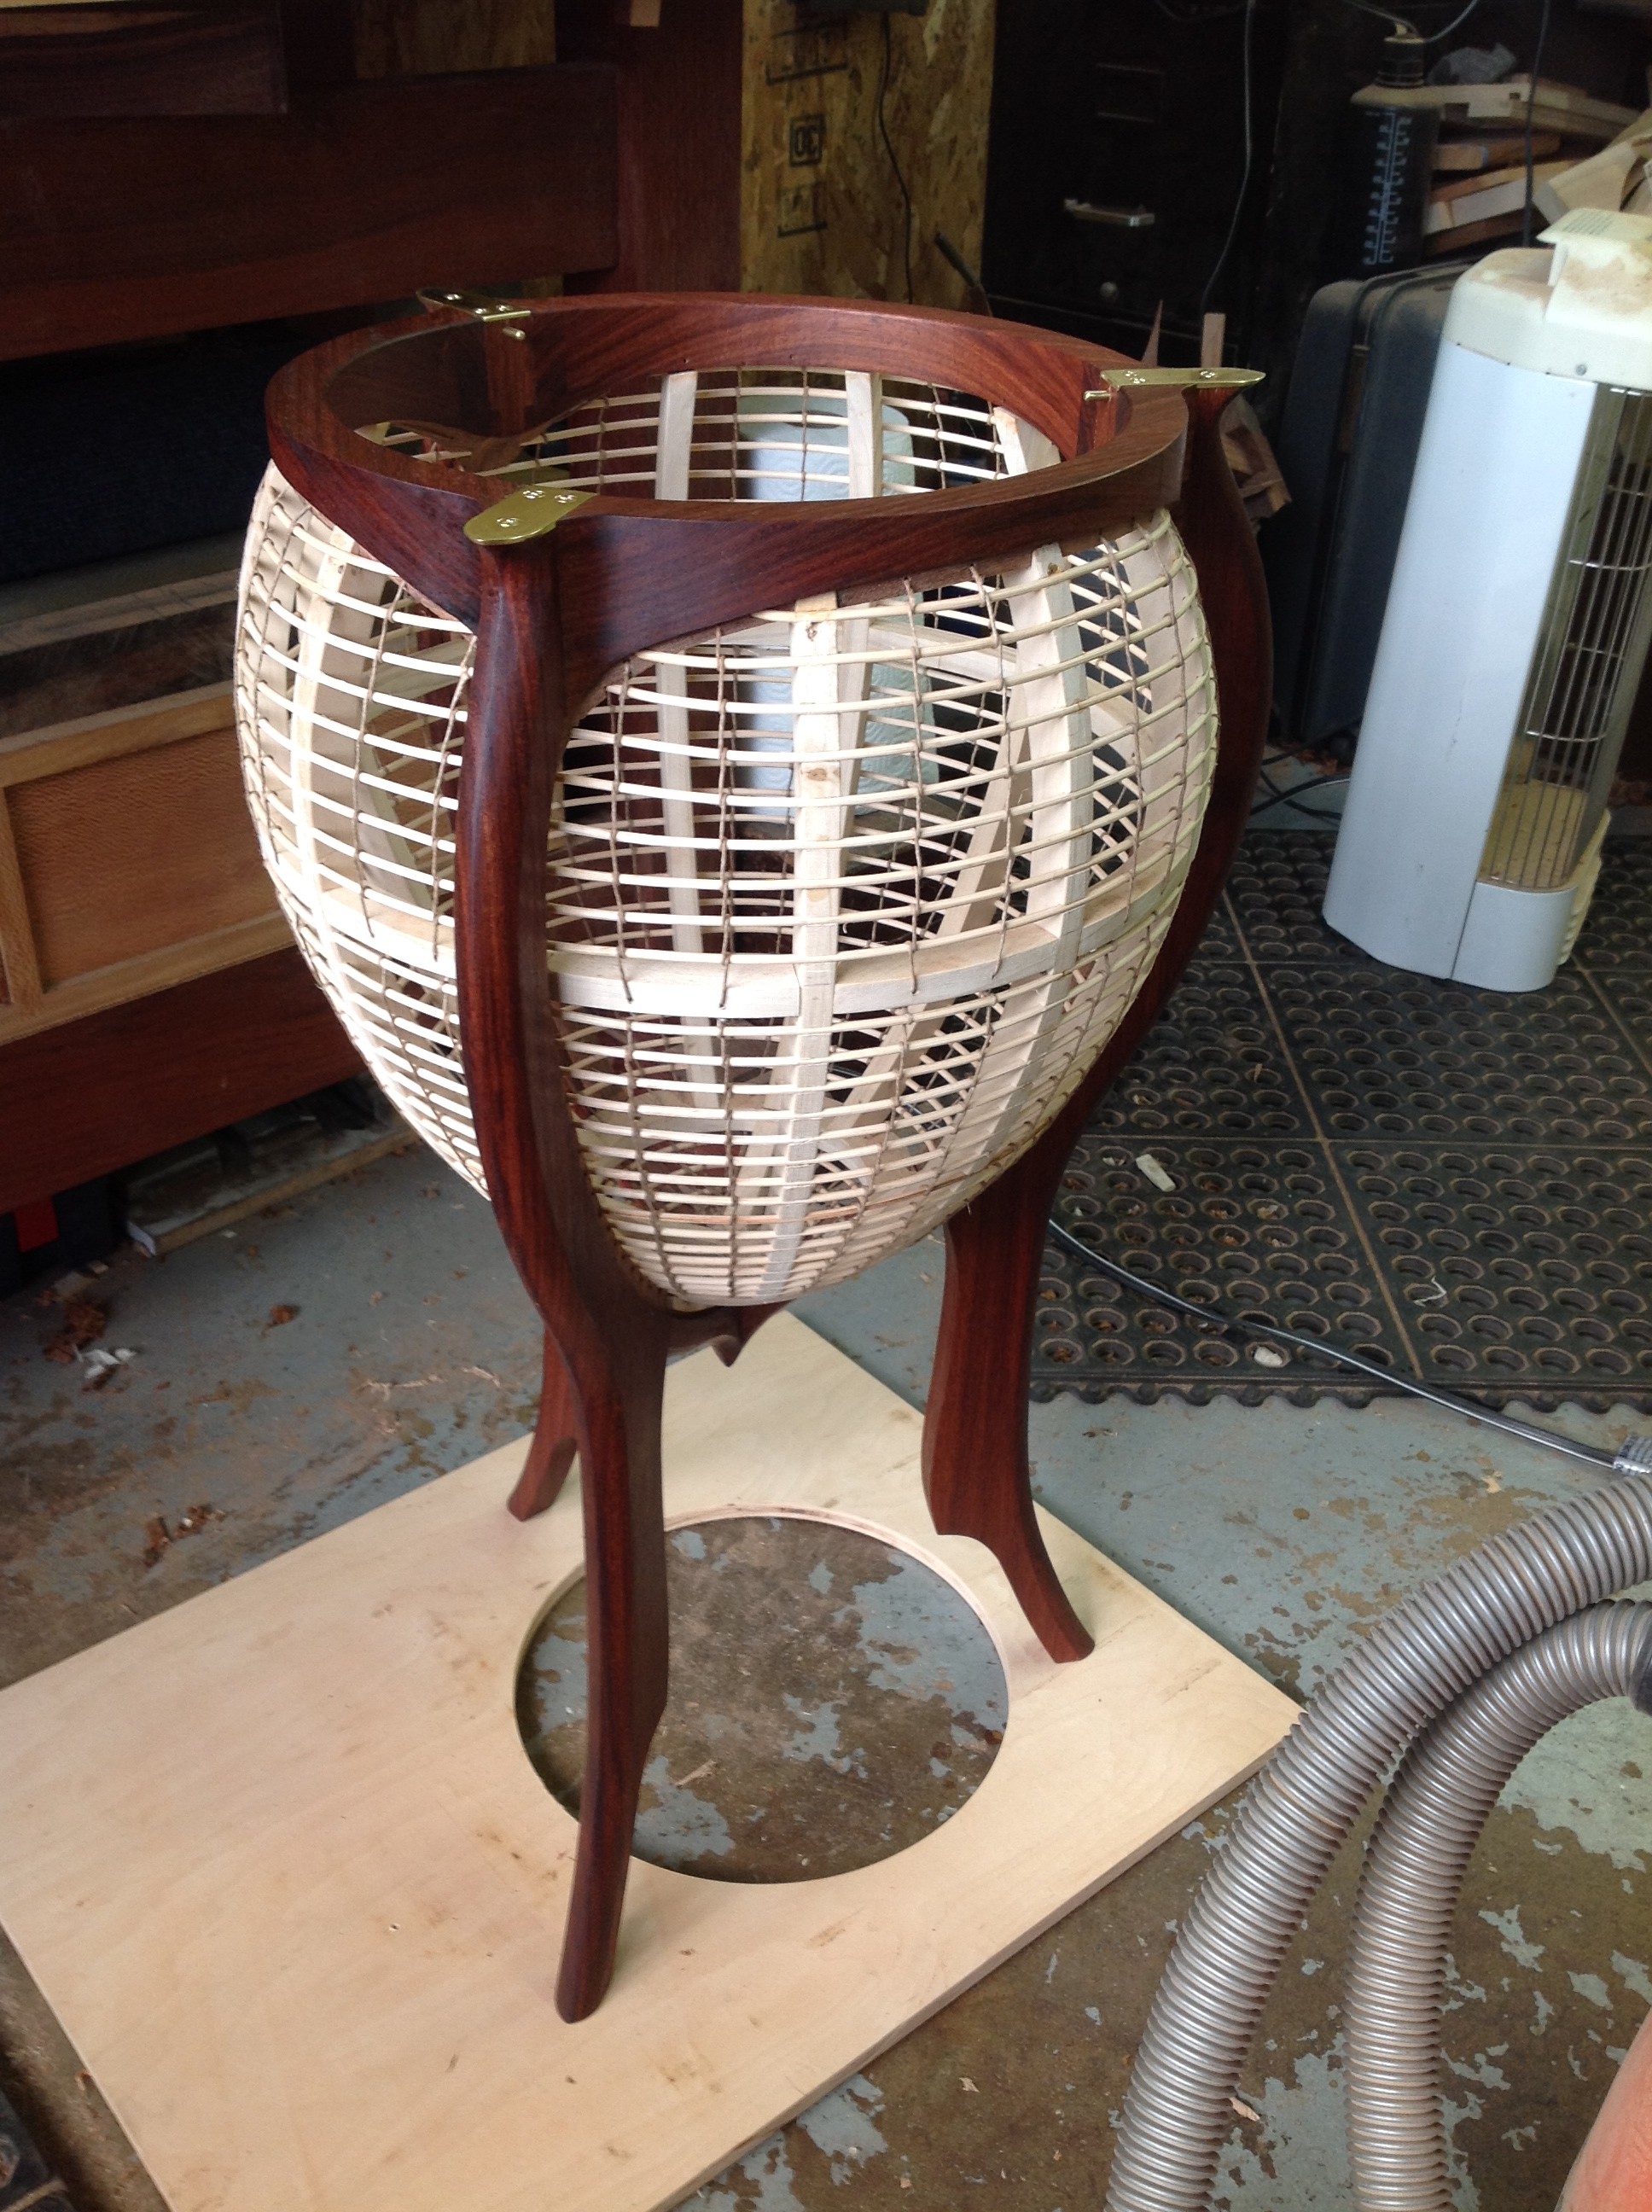
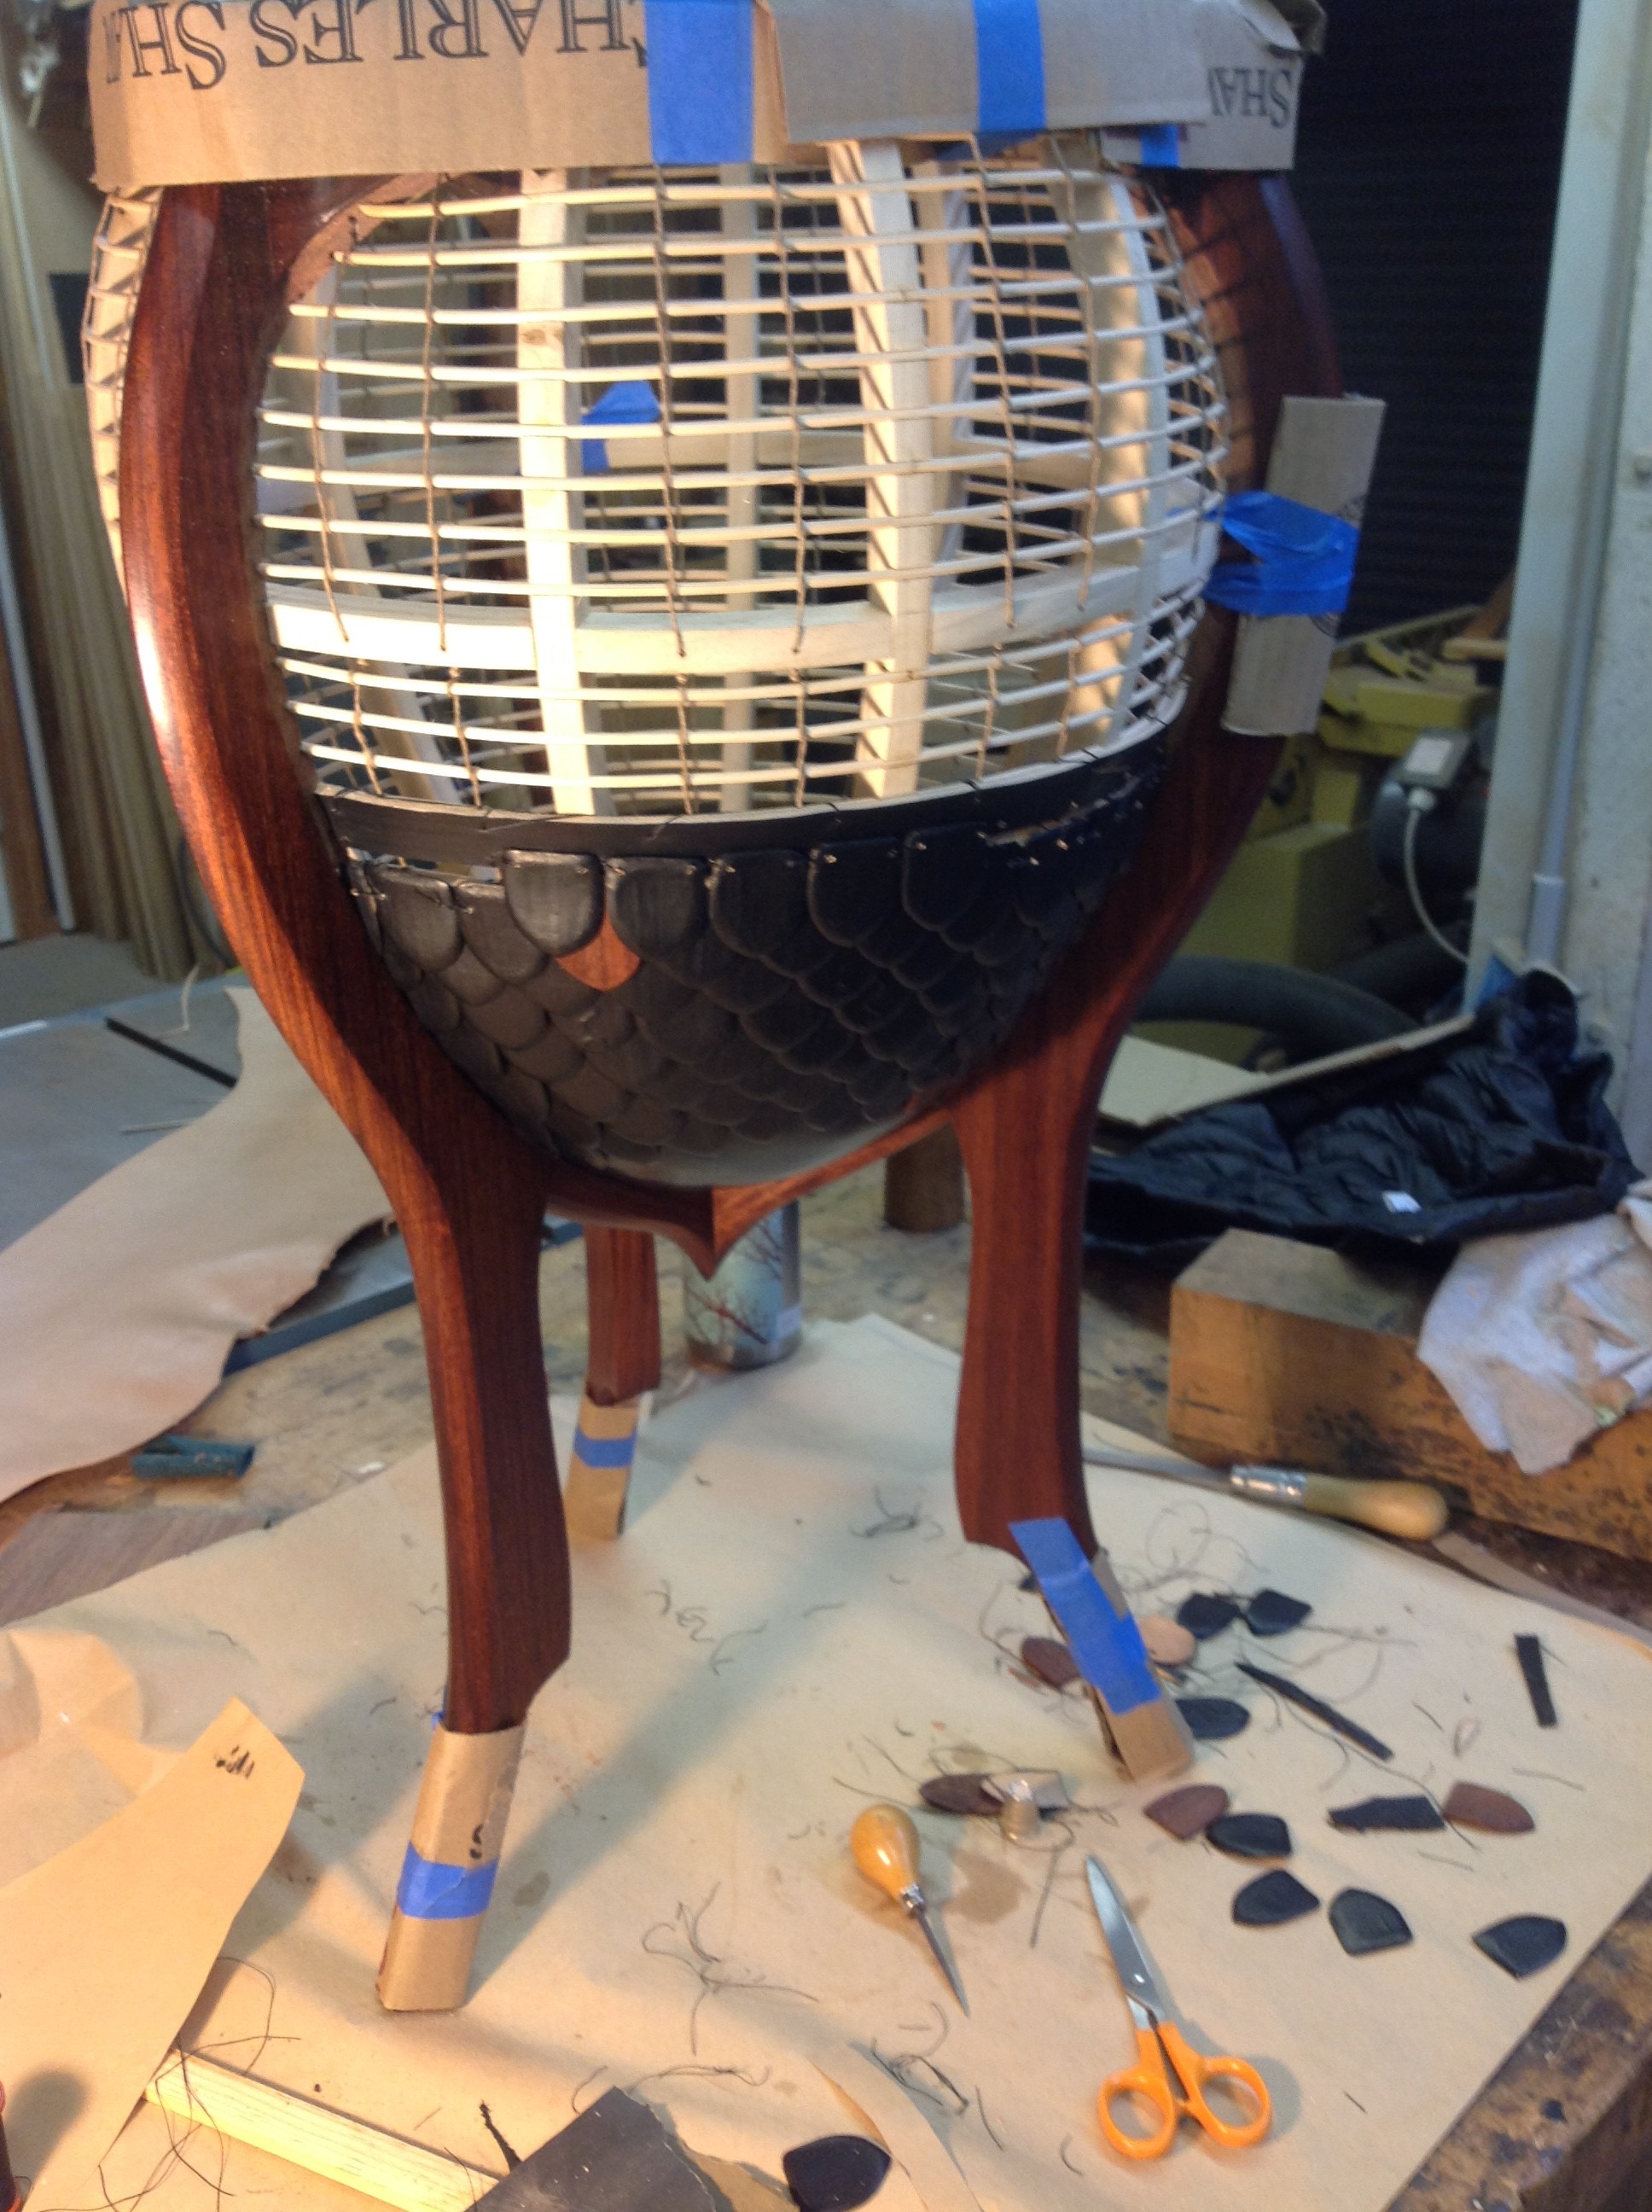
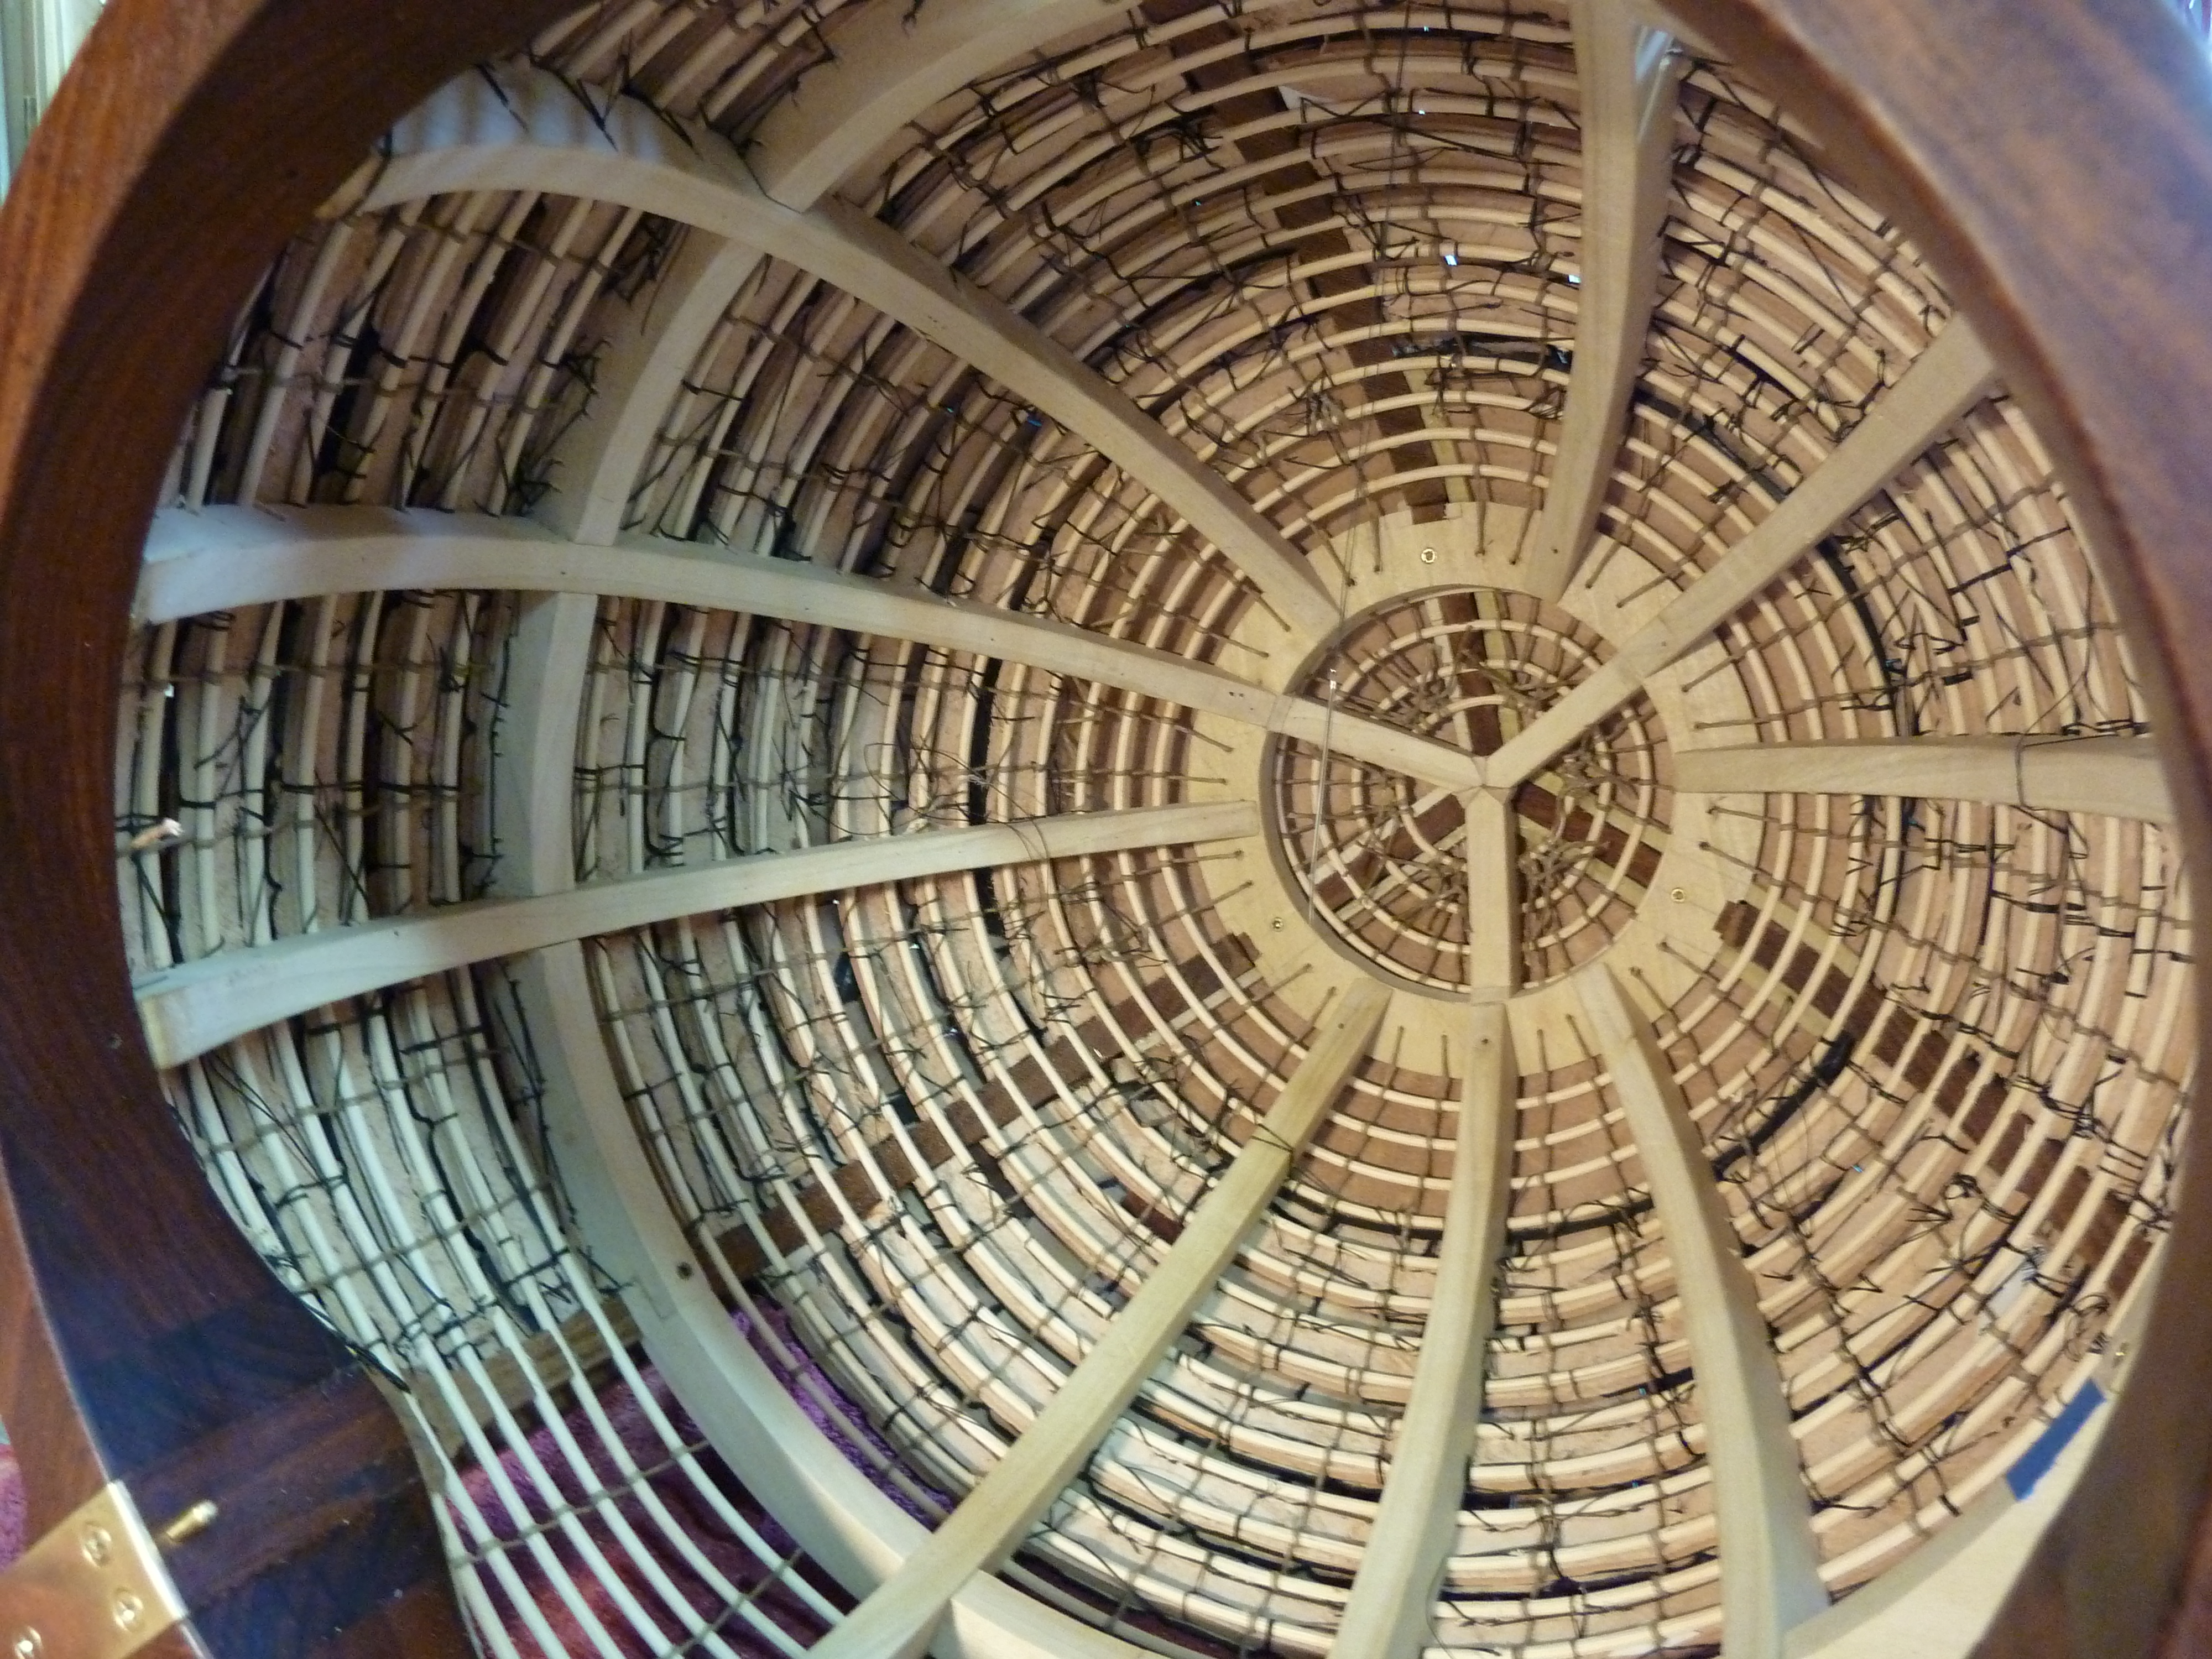
After the table parts were done I was ready to figure out what sort of framework I needed to support the scales. I decided to use a wooden grid with reeds supported between. The first version was with the wooden frame pieces running horizontally but I soon decided that would be a lot more work, since each level would be different from the one above and below.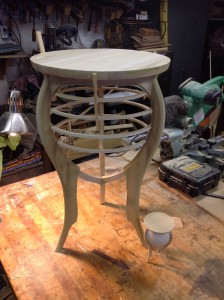
I changed the orientation of the support frame and ran them vertically based off of a ring at the point where the legs become more vertical.

The Legs and vertical supports got notches cut in them to hold the reeds. Even with the notches I found that the reeds seemed a little too flexible, so I used waxed linen string in pairs in each vertical section to stiffen it up.
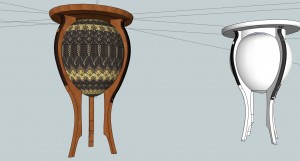
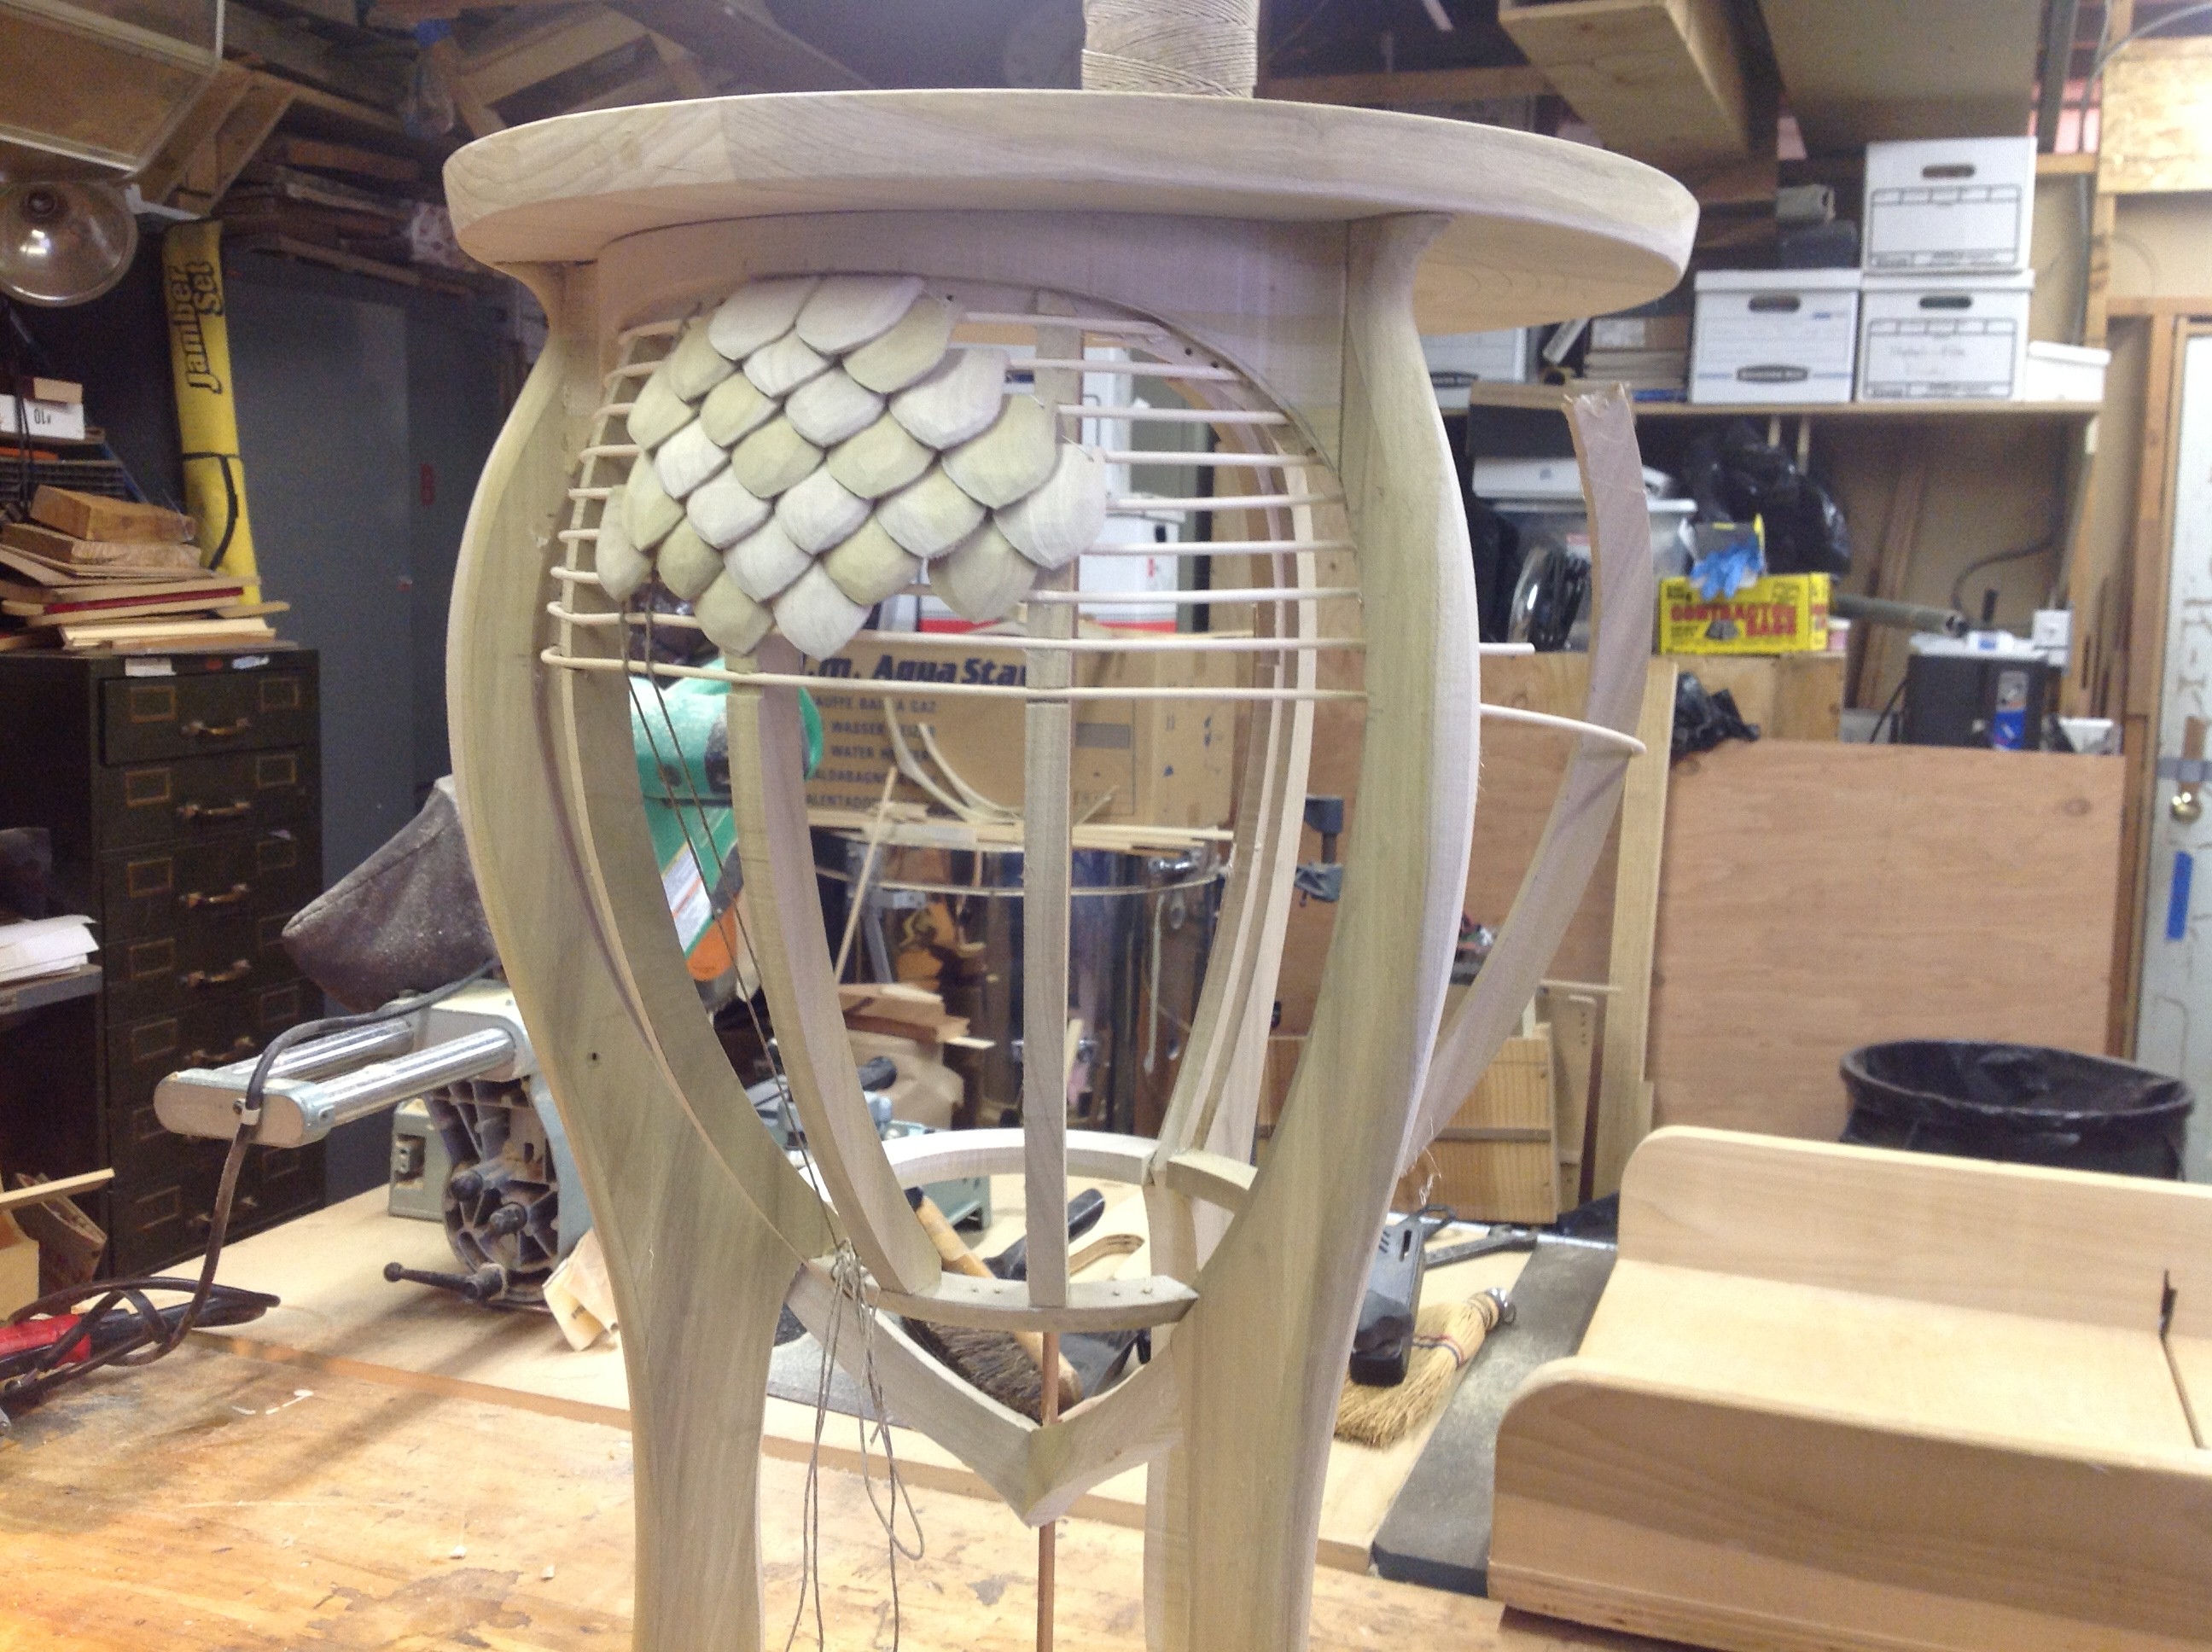
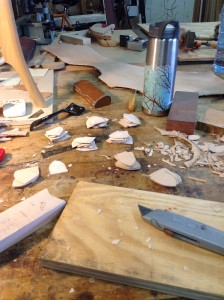
Next I made some quick wooden scales and experimented with how they would look and what would happen when they got to the edges.
The Final Version of the Leather Scale Table


The final version of the table was made in FSC Machiche. Machiche is a hard, dense, heavy wood from the tropical Americas.
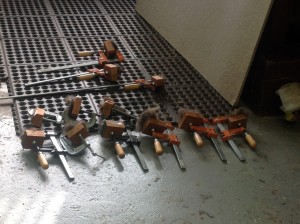
The glue up required some curved clamping cauls, strap clamps and a circle of plywood notched for the legs so that everything would get equal pressure and stay lined up symmetrically.

 I left the plywood circle in place on the lower legs while I installed the poplar ribs so that everything would stay aligned.
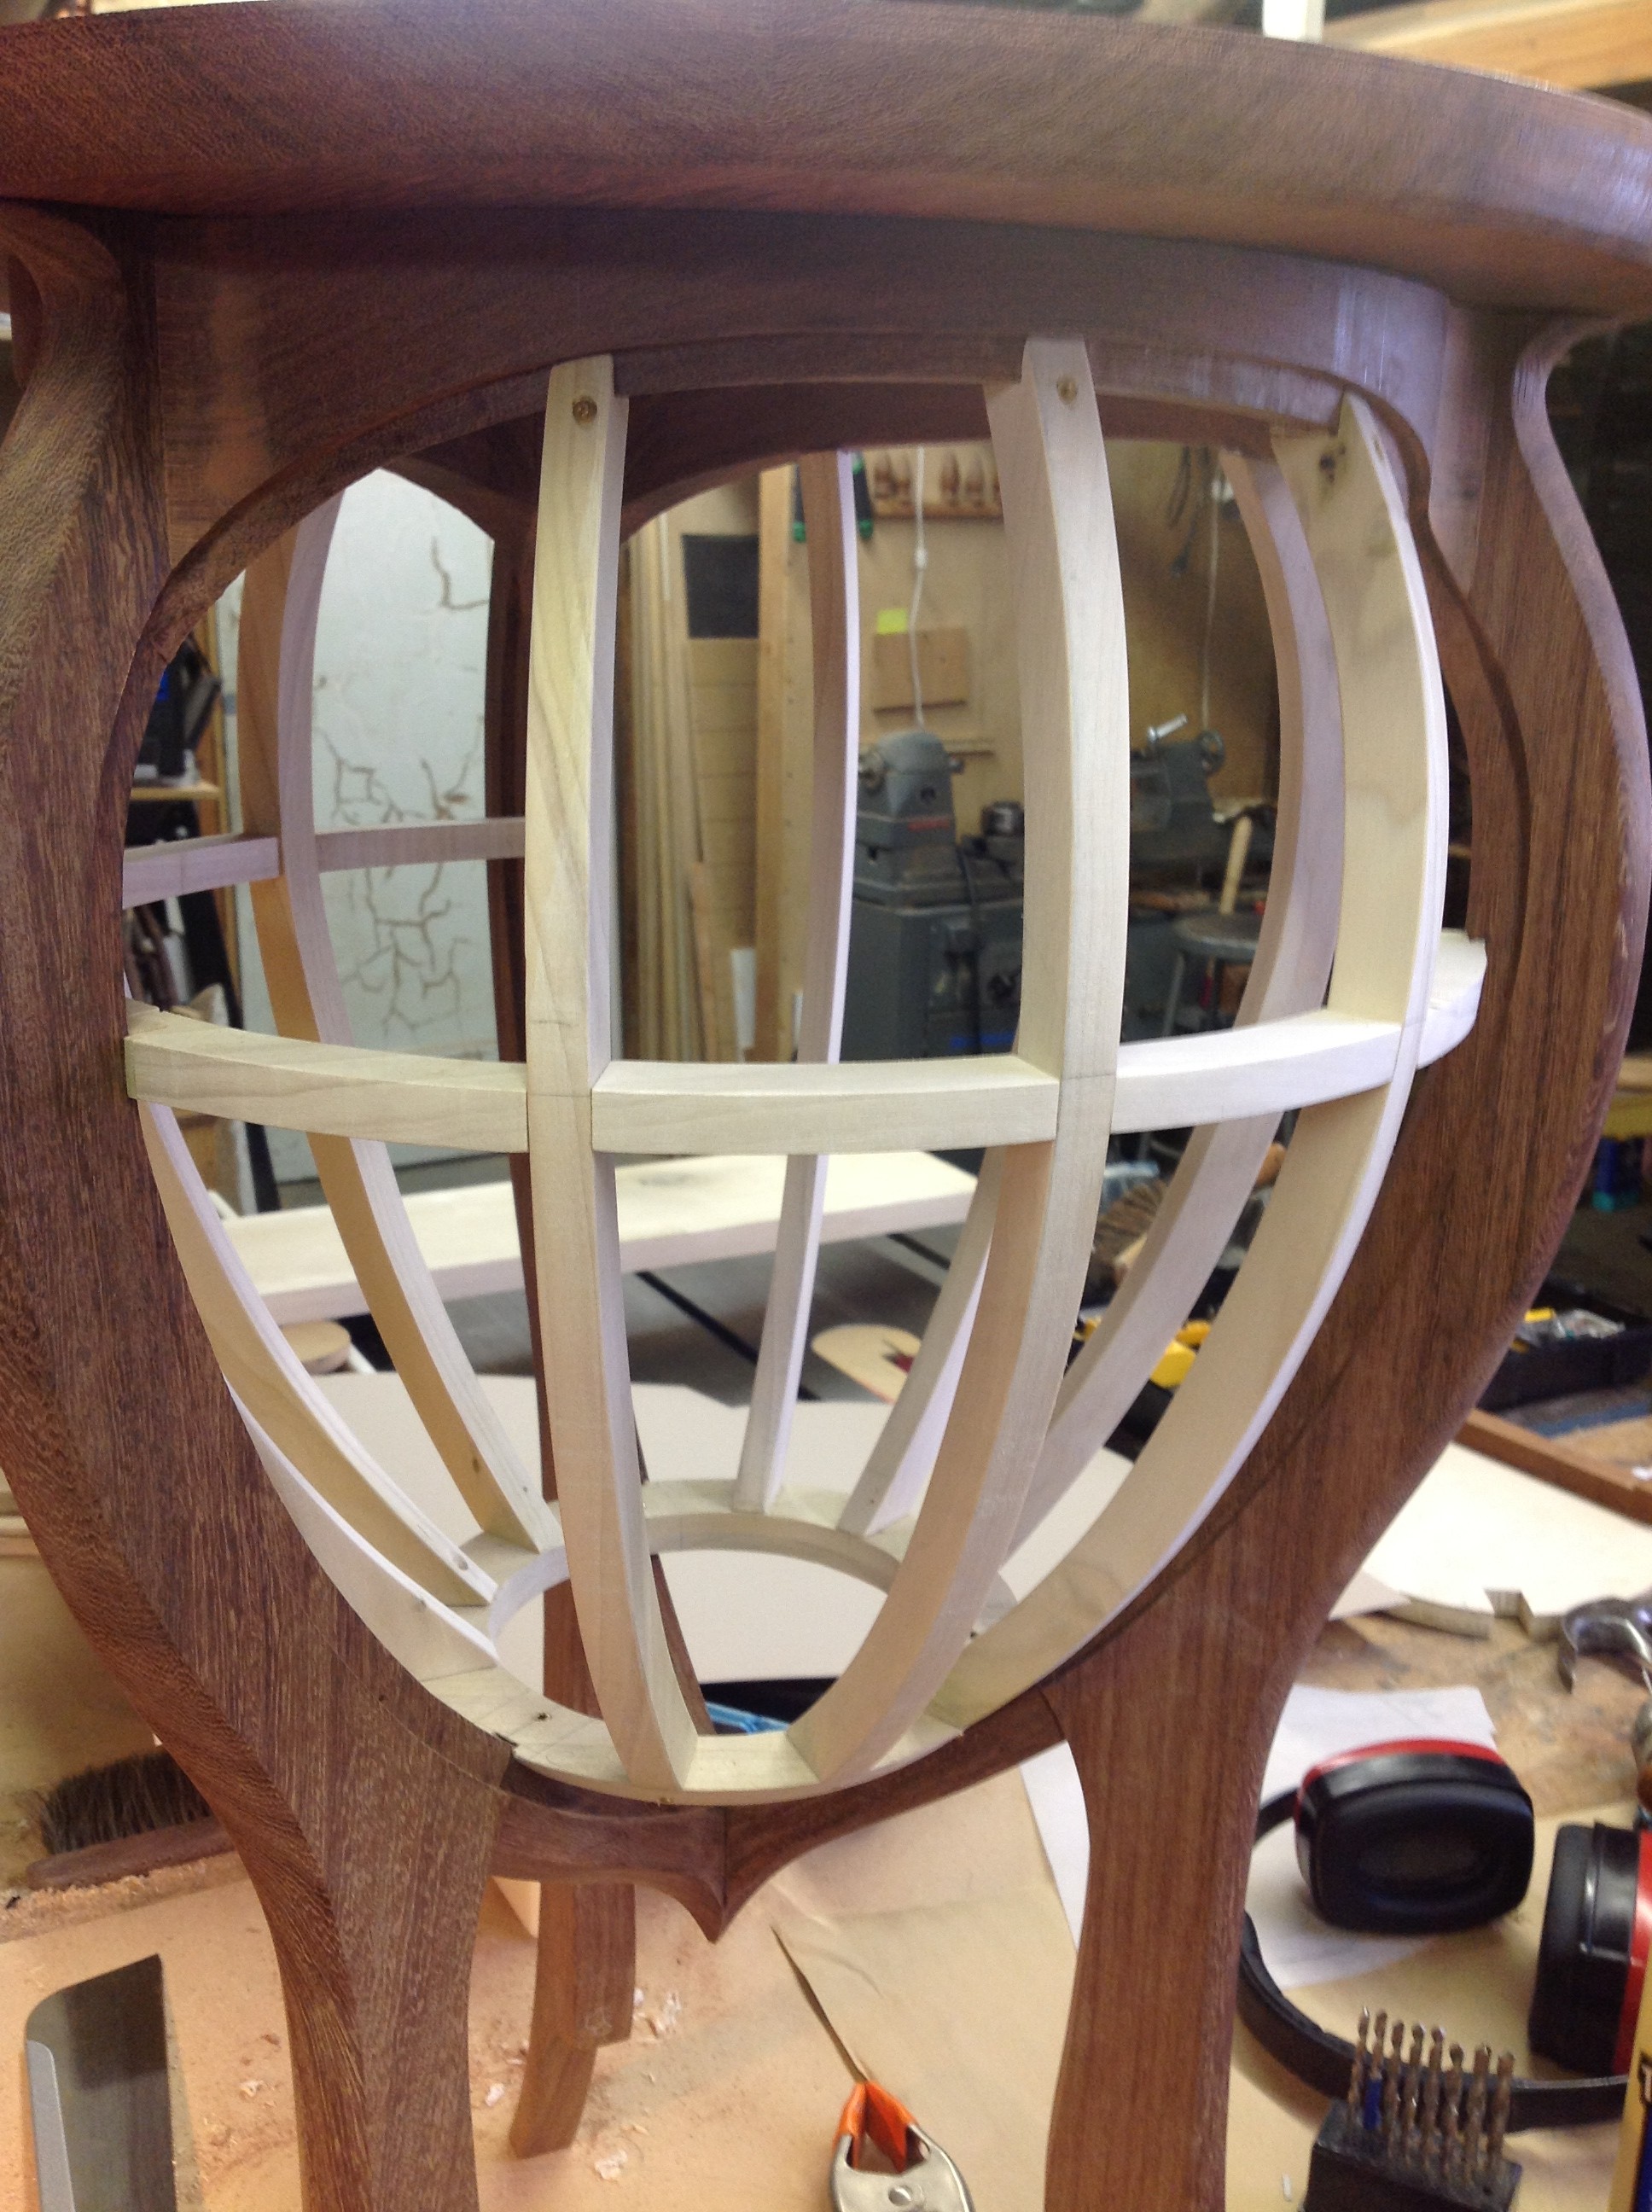

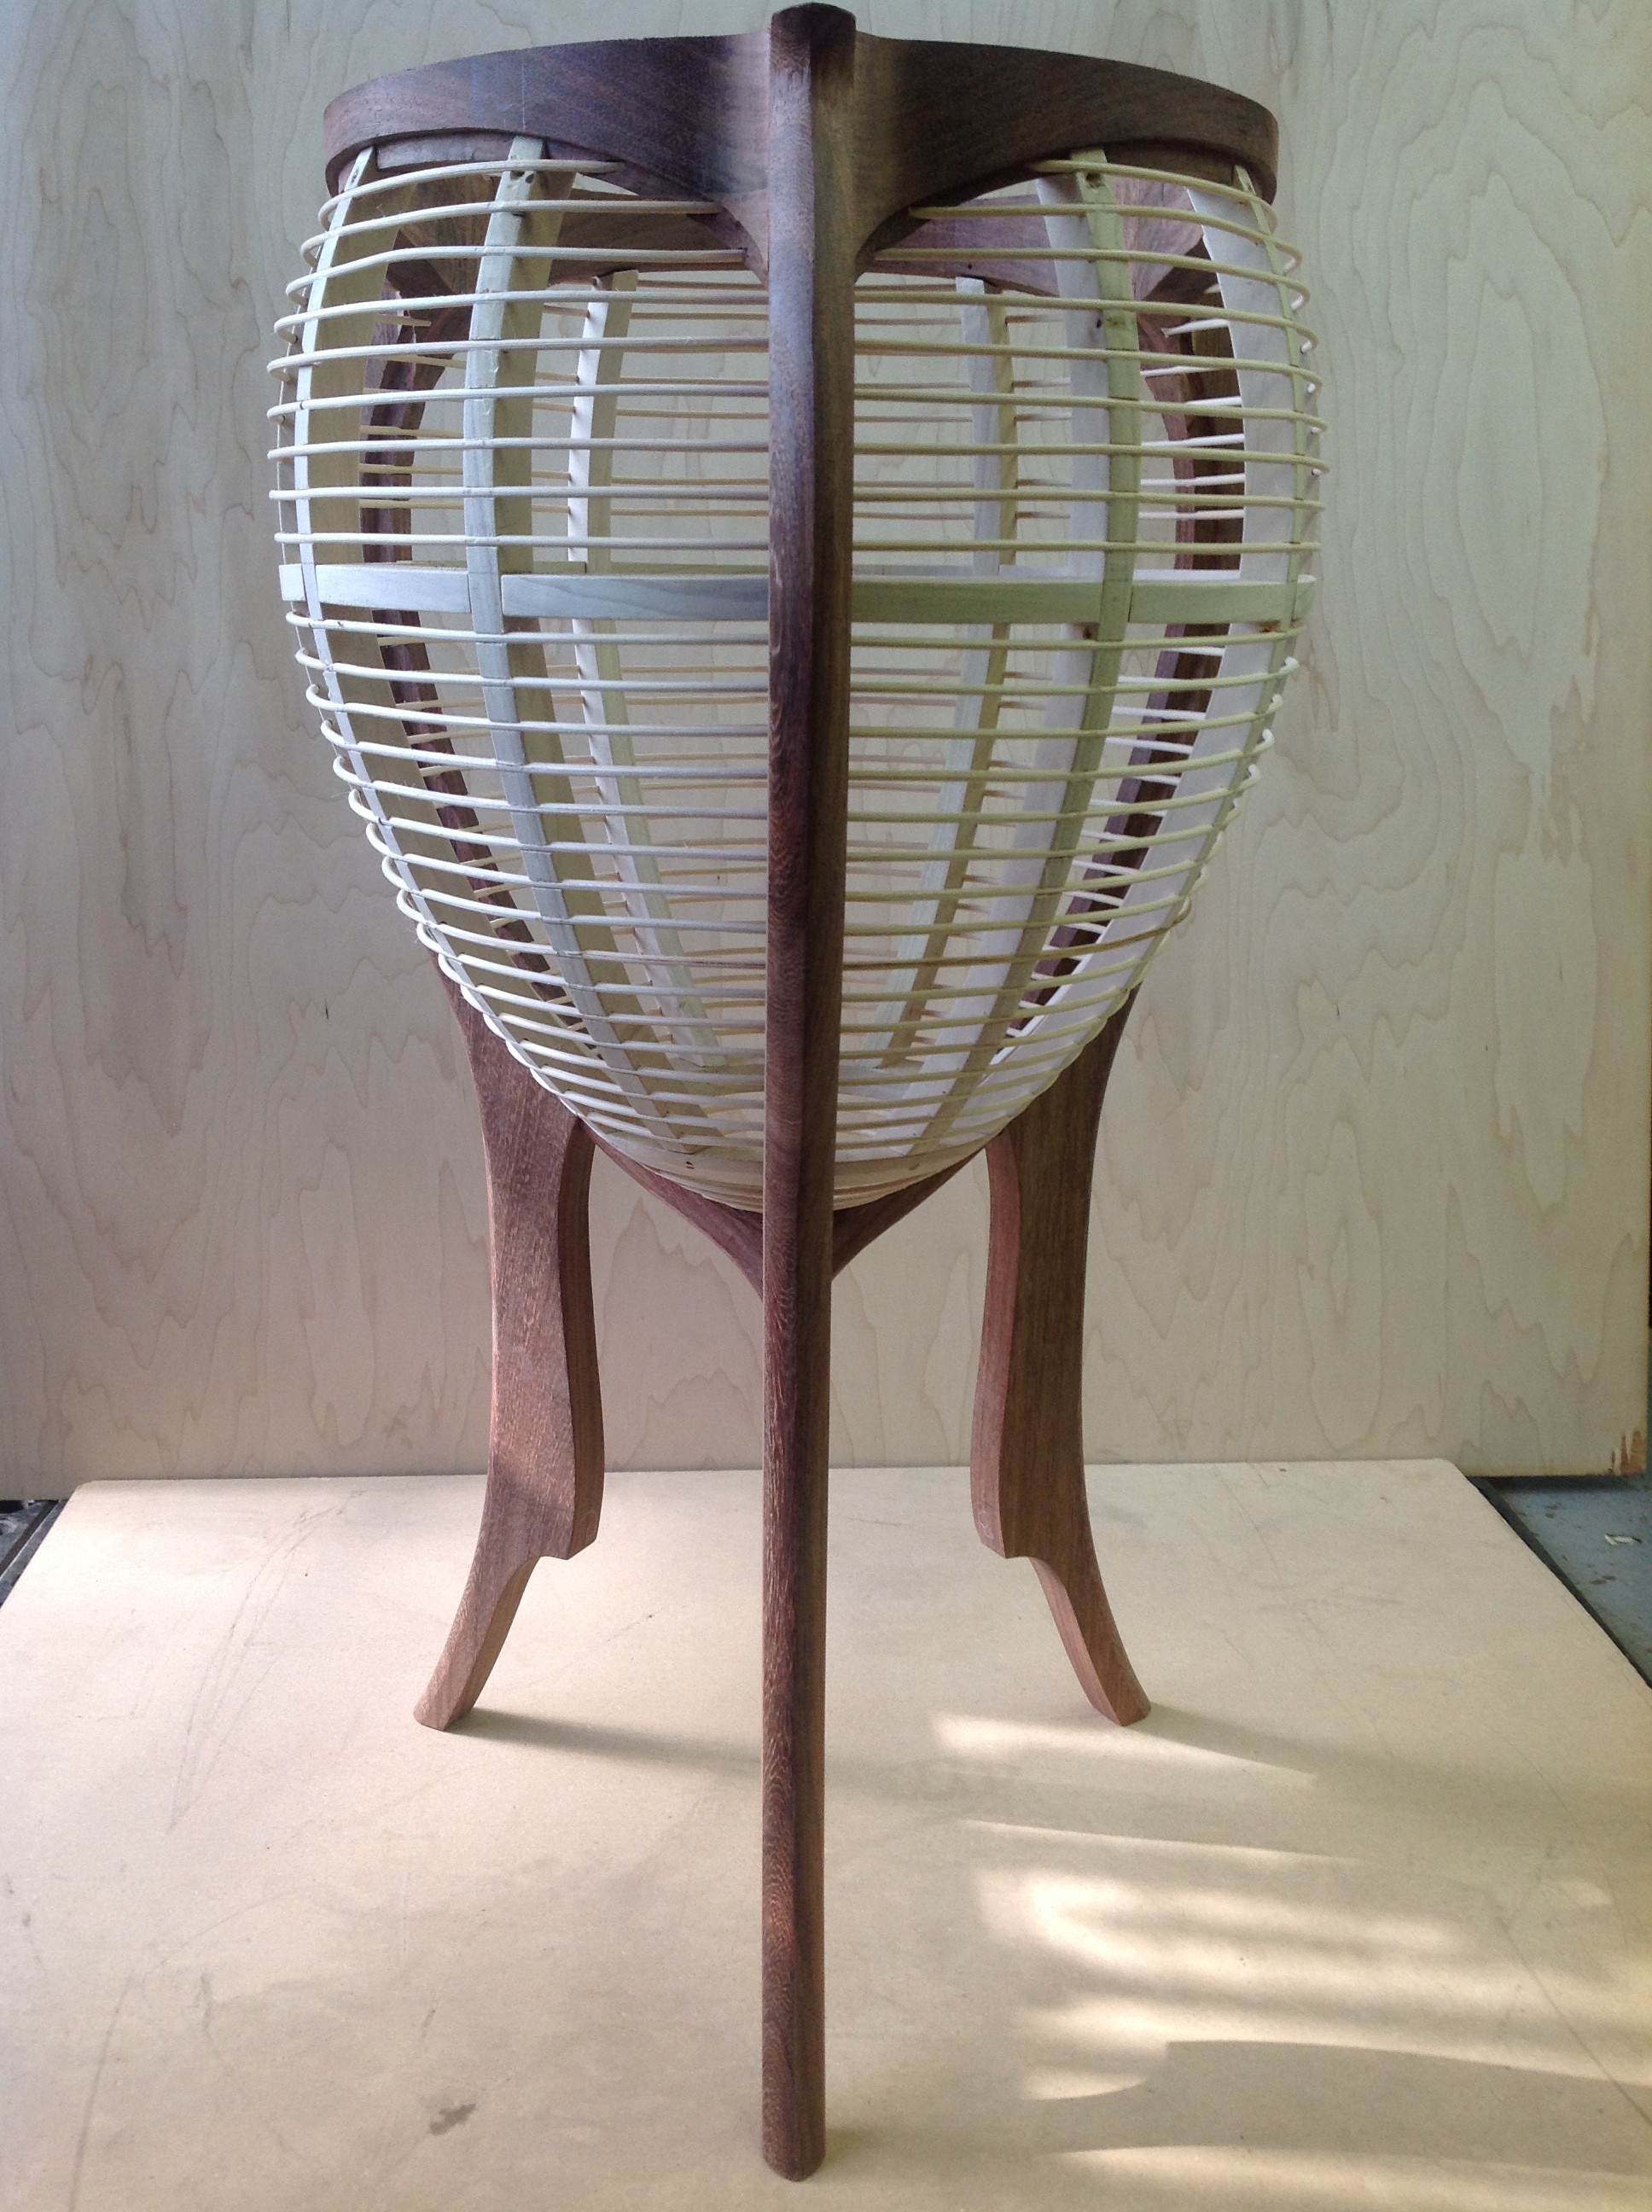
I really liked the way the Machiche table frame and the light colored poplar and reeding looked at this point!
Maybe I will need to revisit this look.
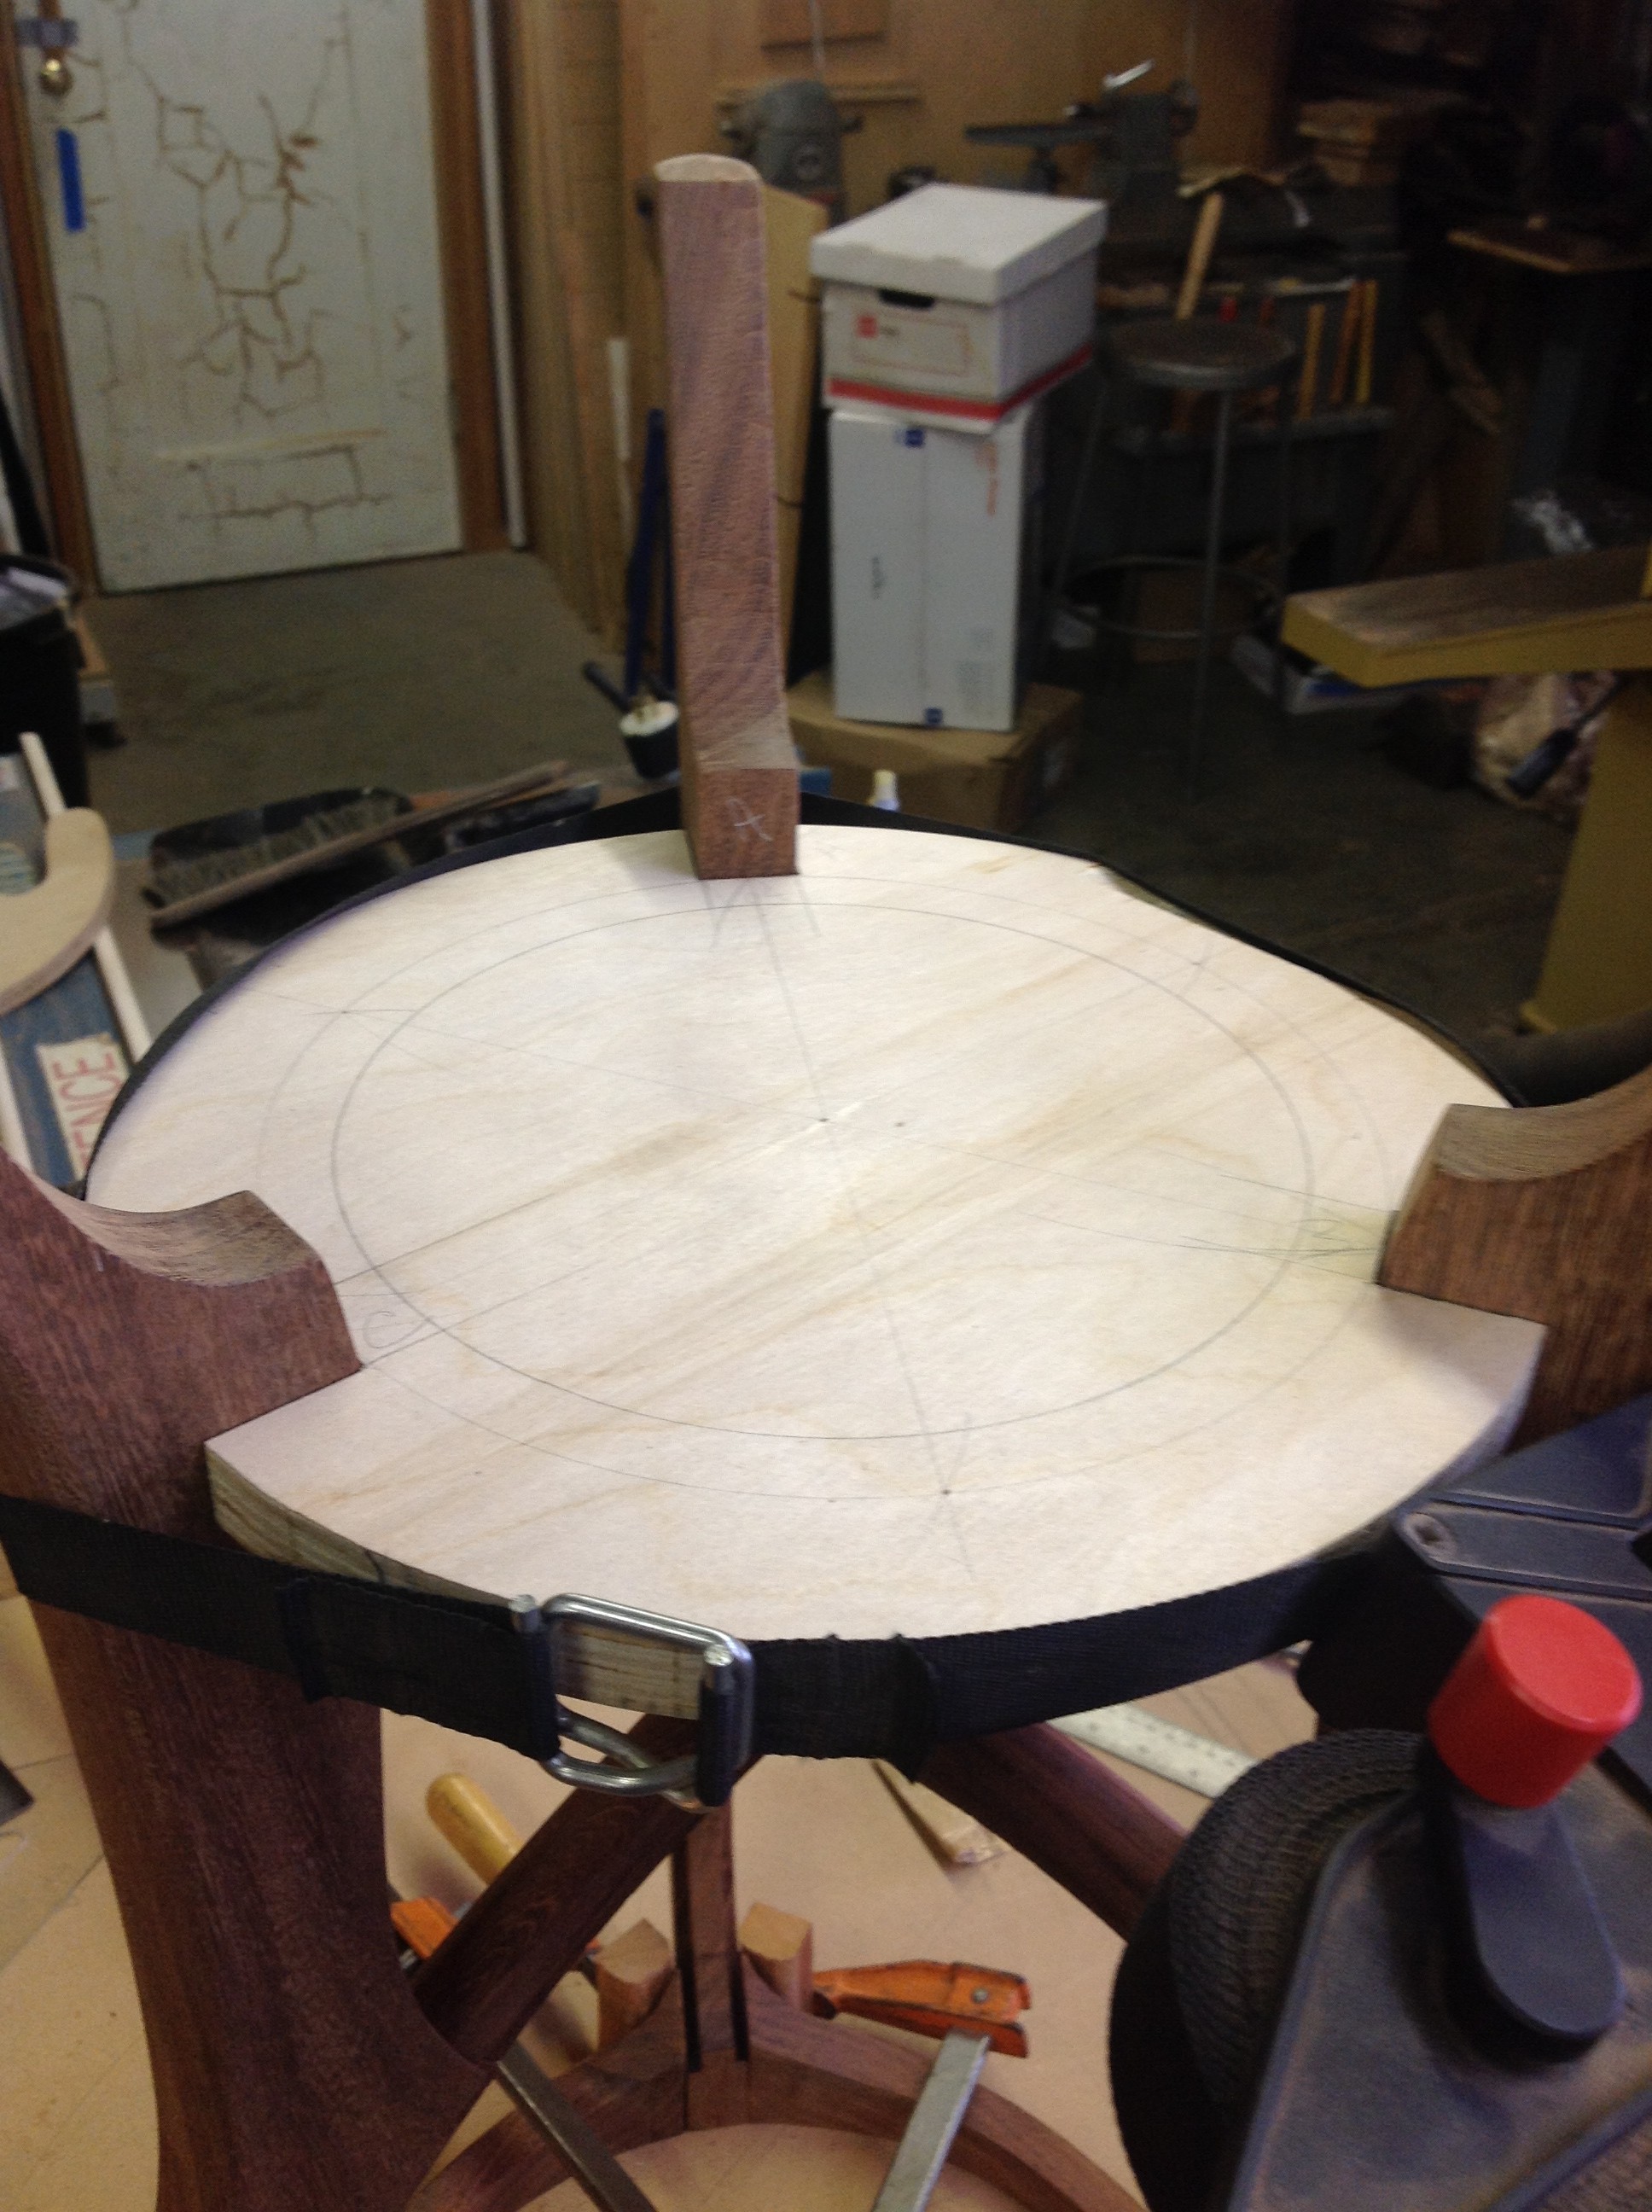
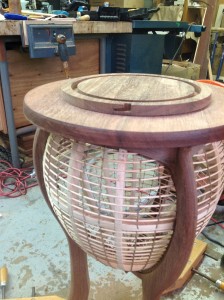
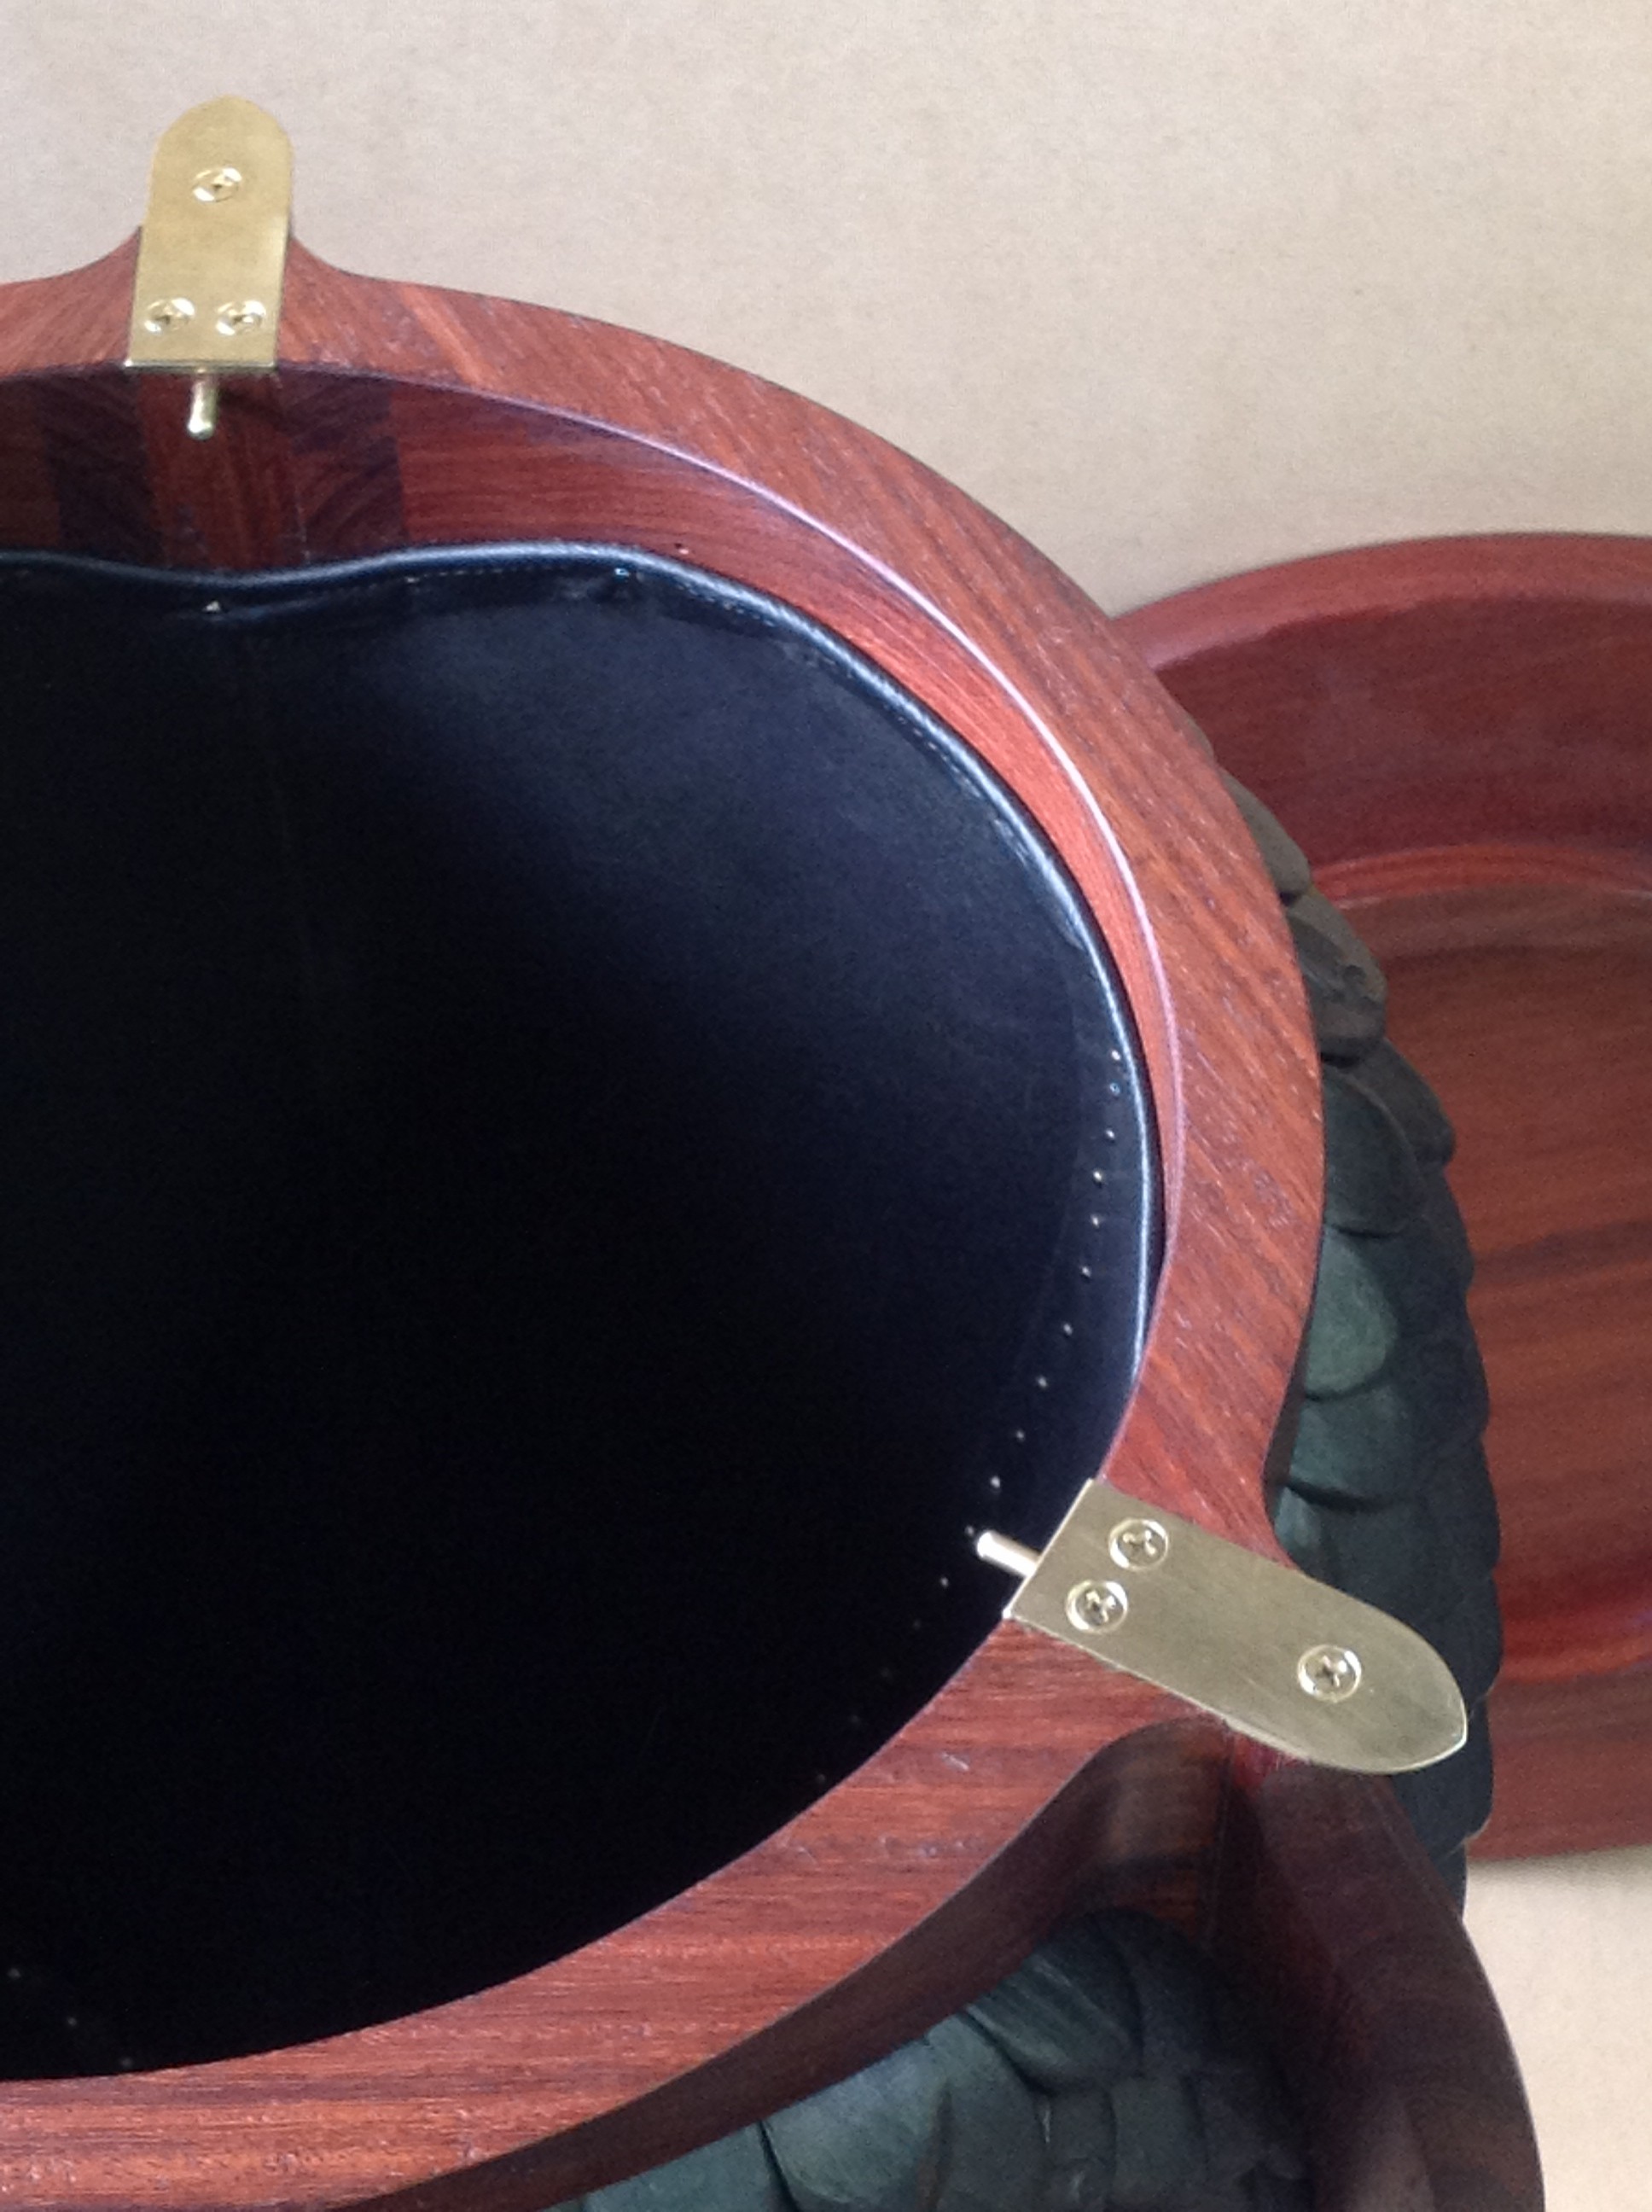
I envisioned the table having a functional storage space inside like the mid 1700”s furniture form called a “Work Table”, which was a rectangular table that had a top that hinged open to store knitting, embroidery projects or other handwork. The storage space was lined in silk fabric and the bottom of the bag could be seen with tassels on it below the apron of the table. This was my version. It would be difficult to hinge a round table top so I came up with a twist locking method to hold the top in place and still open the table when required.
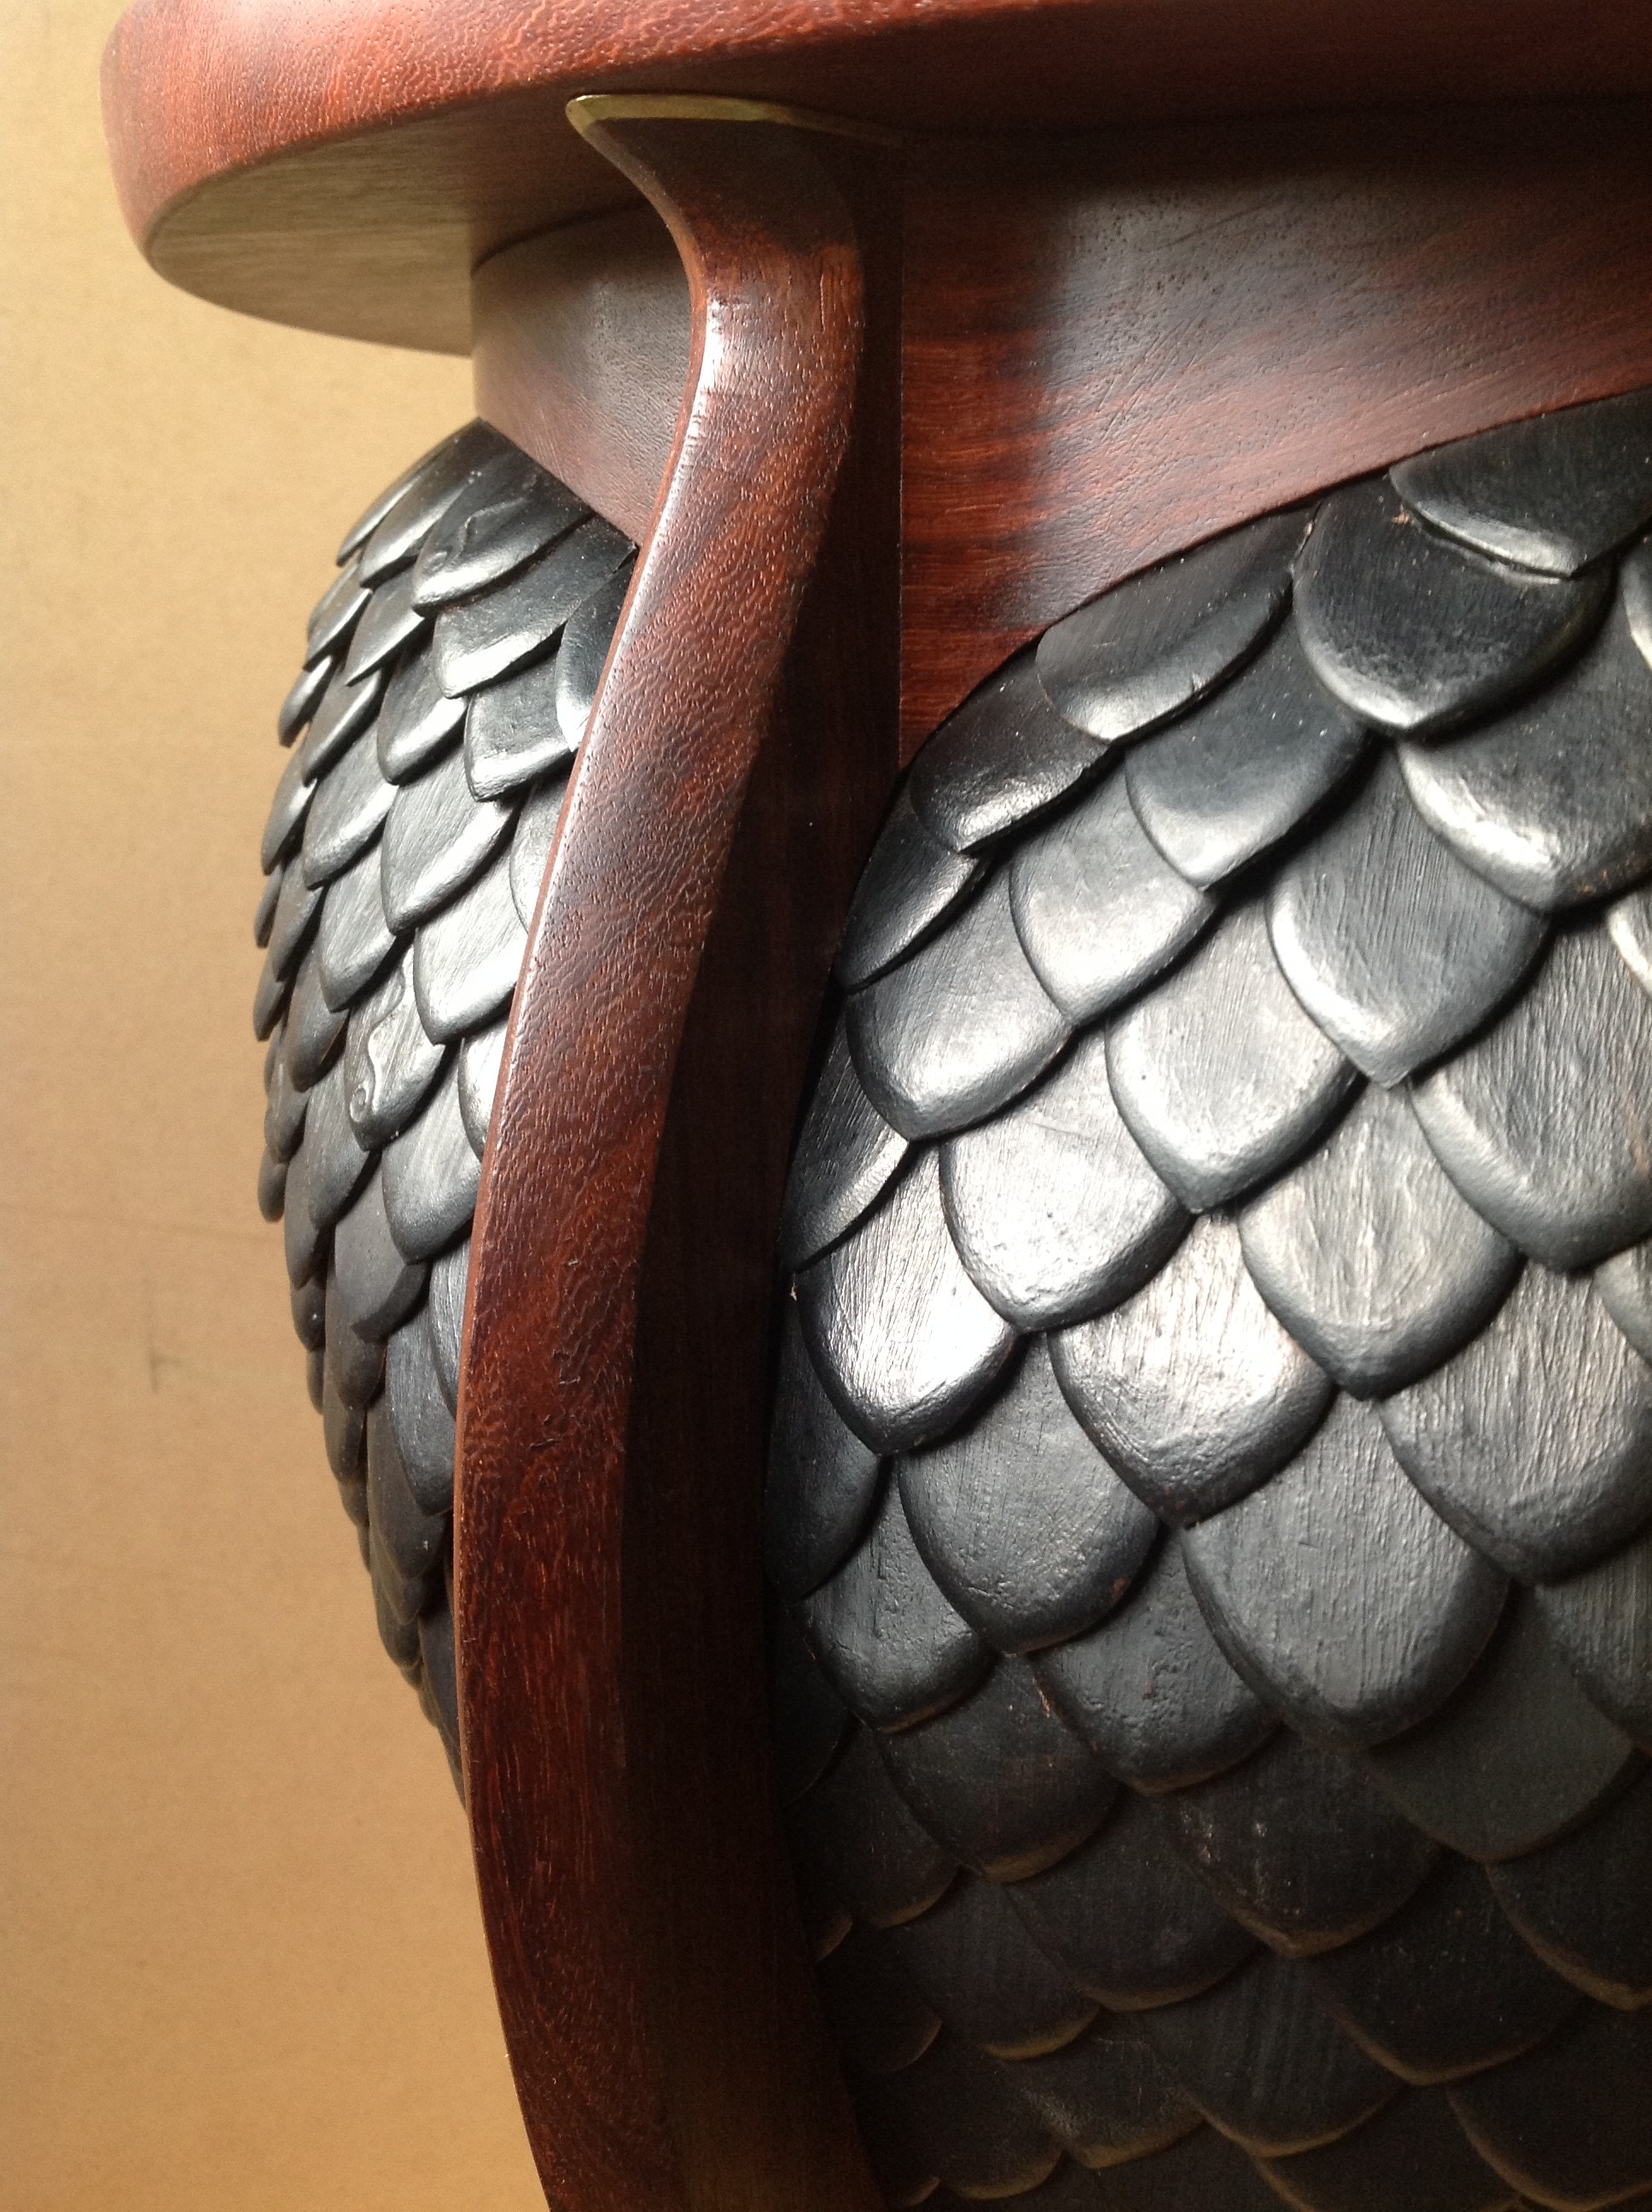
The lid got an inside ring with three slots spaced equidistant along the edge and the base got brass pins with brass leg caps to keep the leg end grain from breaking out when the table was lifted by it’s lid. The lid also got brass plates above the slots to protect the end grain of the ring.


The brass parts were taken off and all of the Machiche parts of the table got several coats of Watco oil finish before getting rubbed out.
The Leather Scales
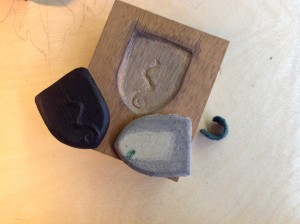
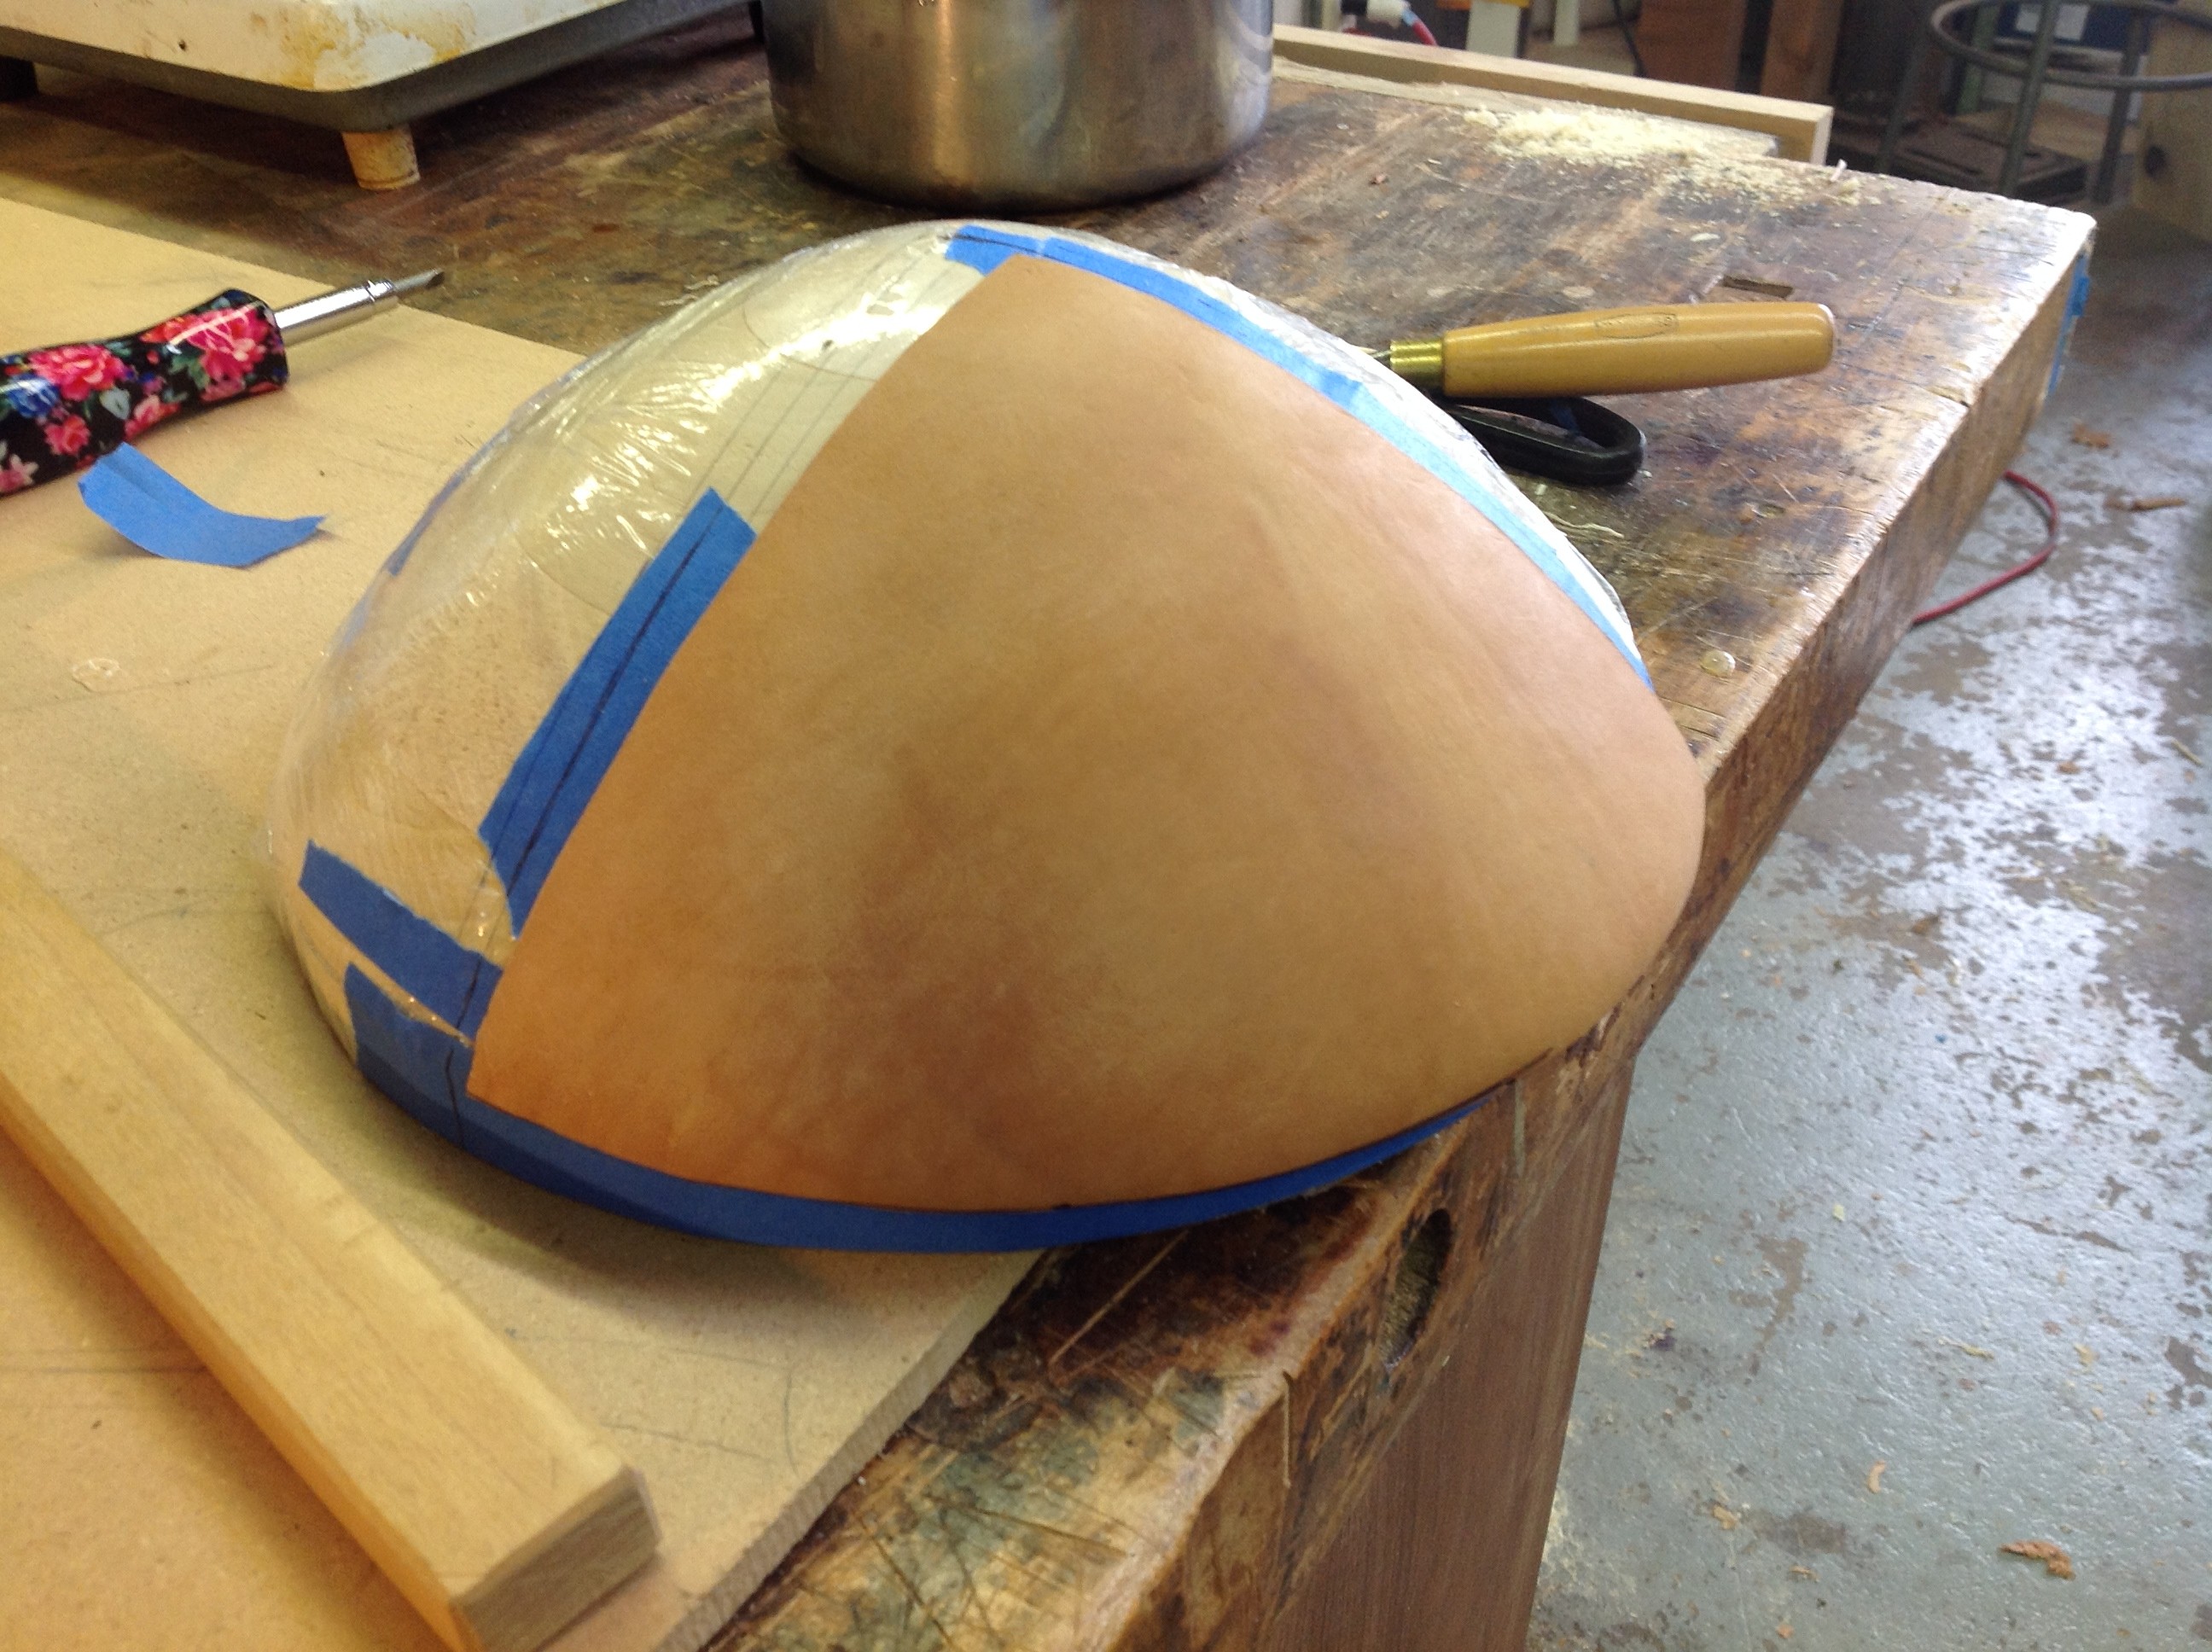
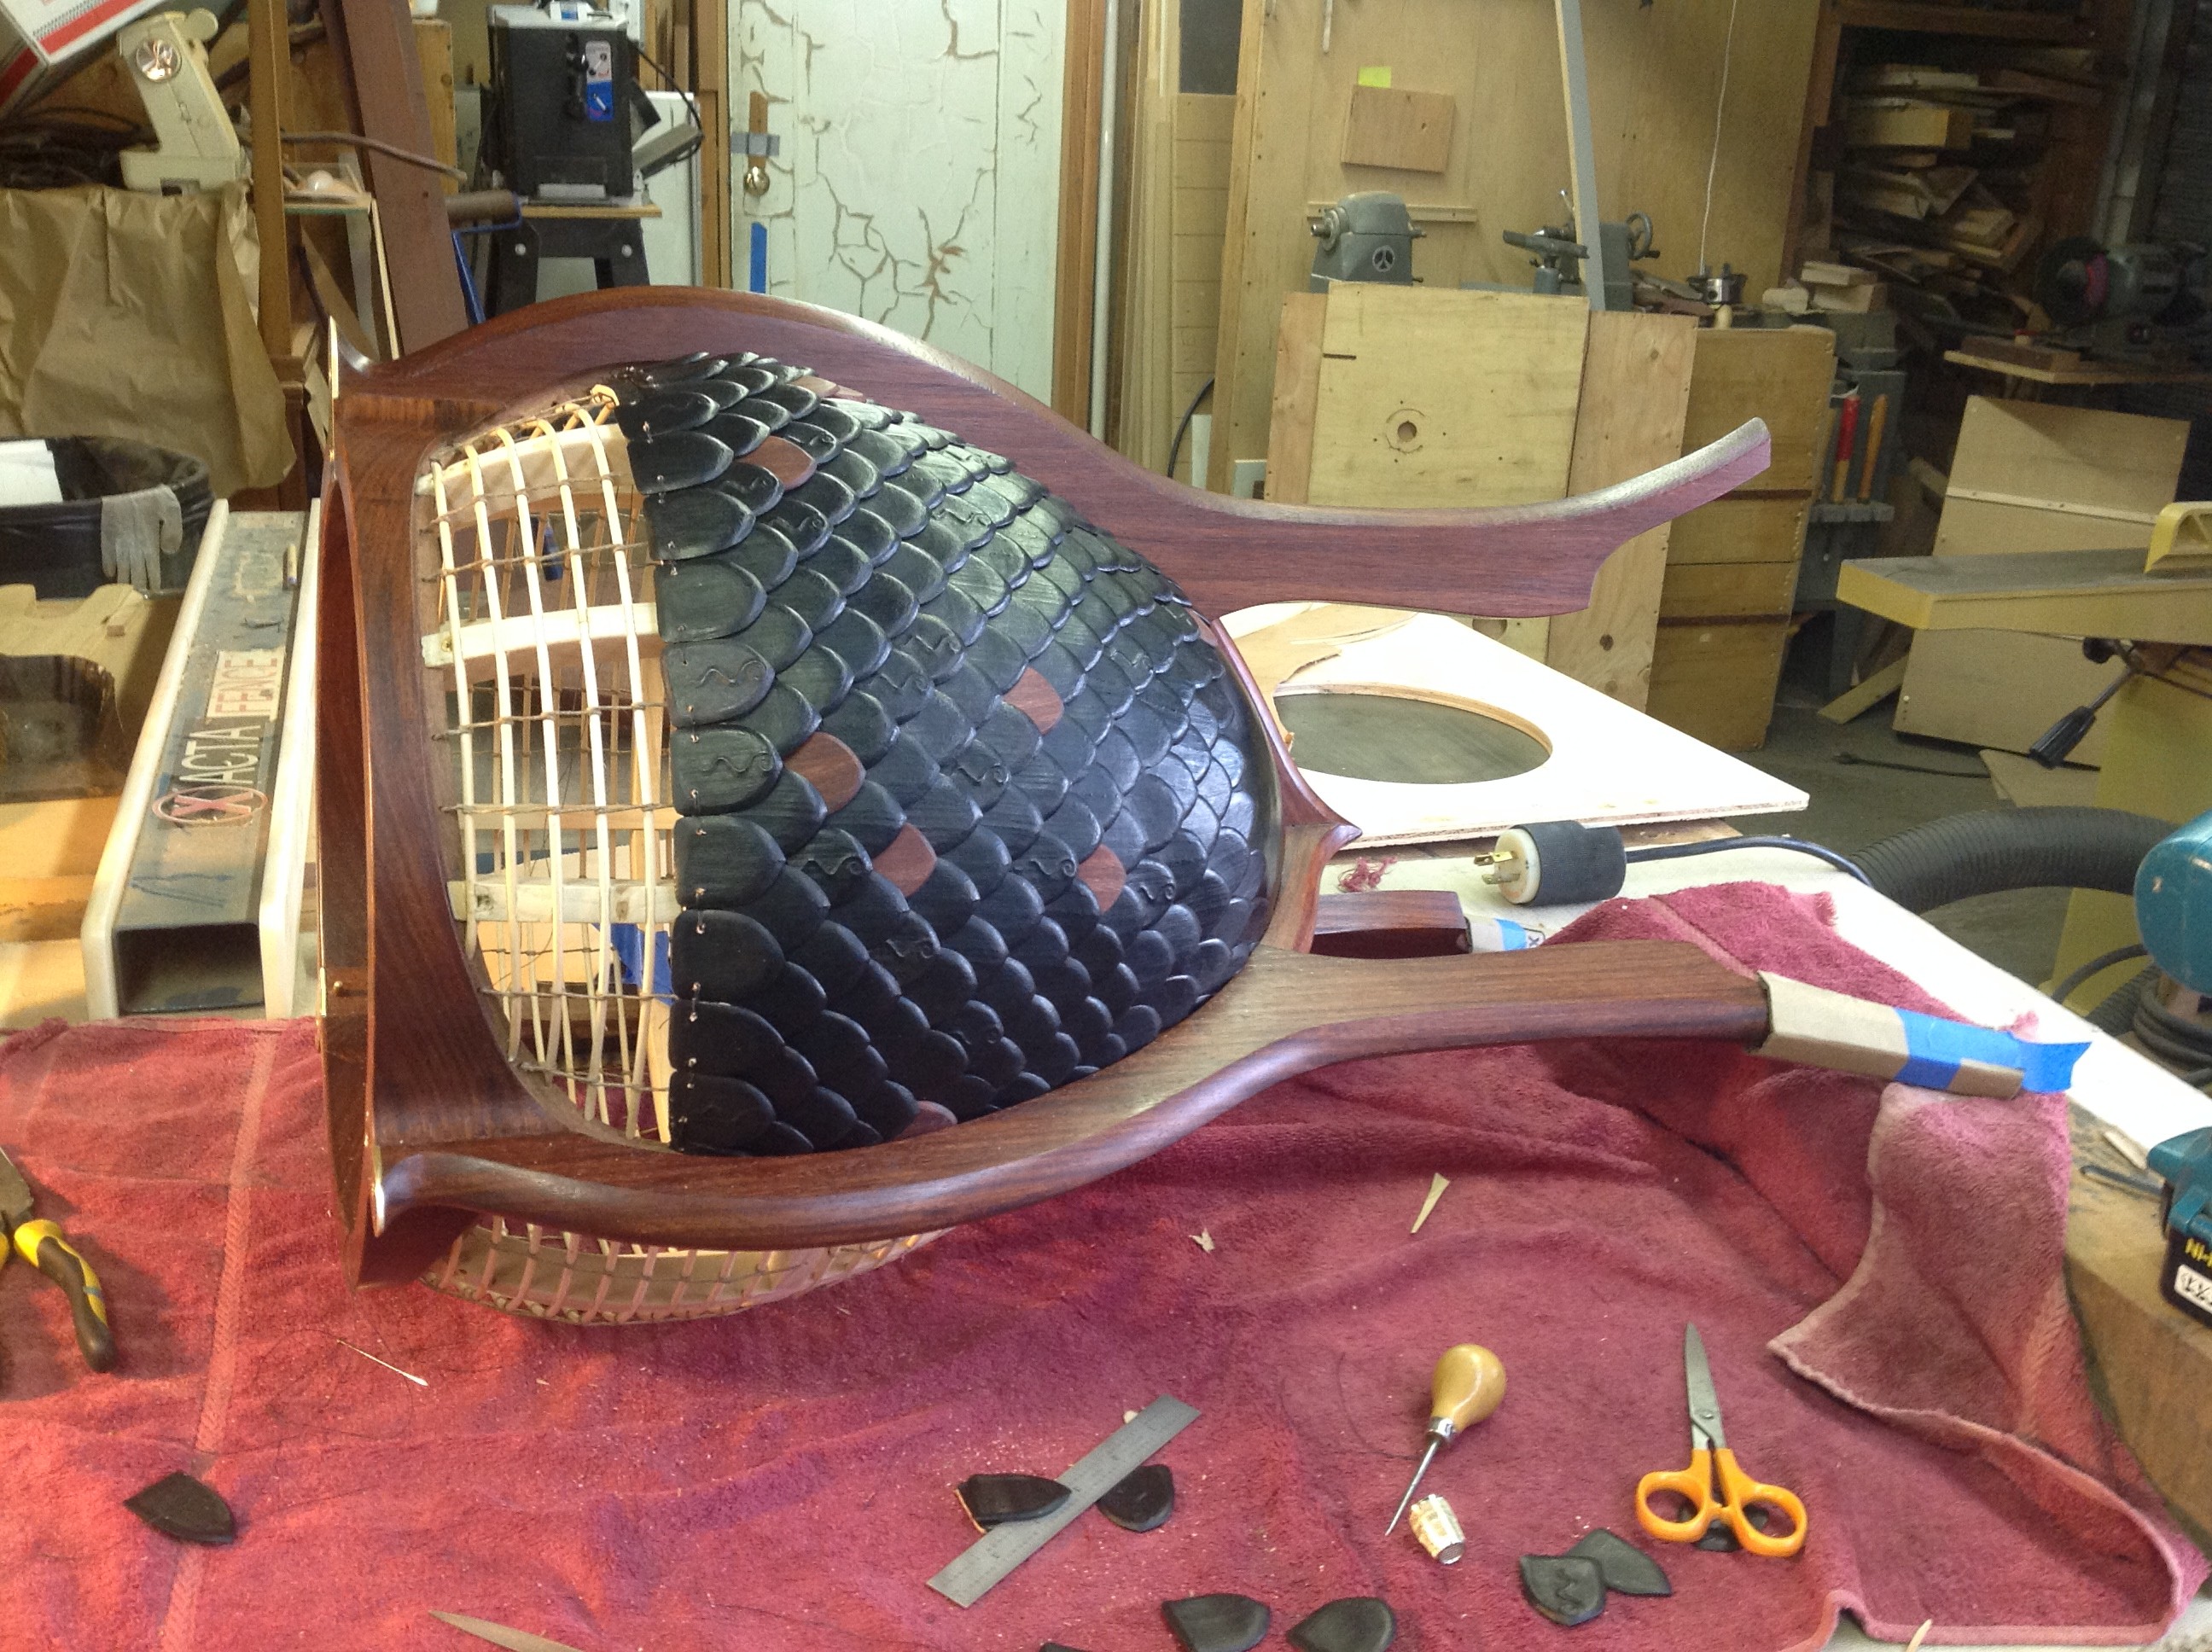
The leather scales were made form Veg-tanned cowhide bellies, which forms well. Each scale was cut a little large, boiled in water a few minutes then put in an individual mold with a wooden backing caul and a wade of cool fleece then clamped for about 1/2 hour before it was unclamped and allowed to dry completely. Then the scale was trimmed to its final shape and finally blackened
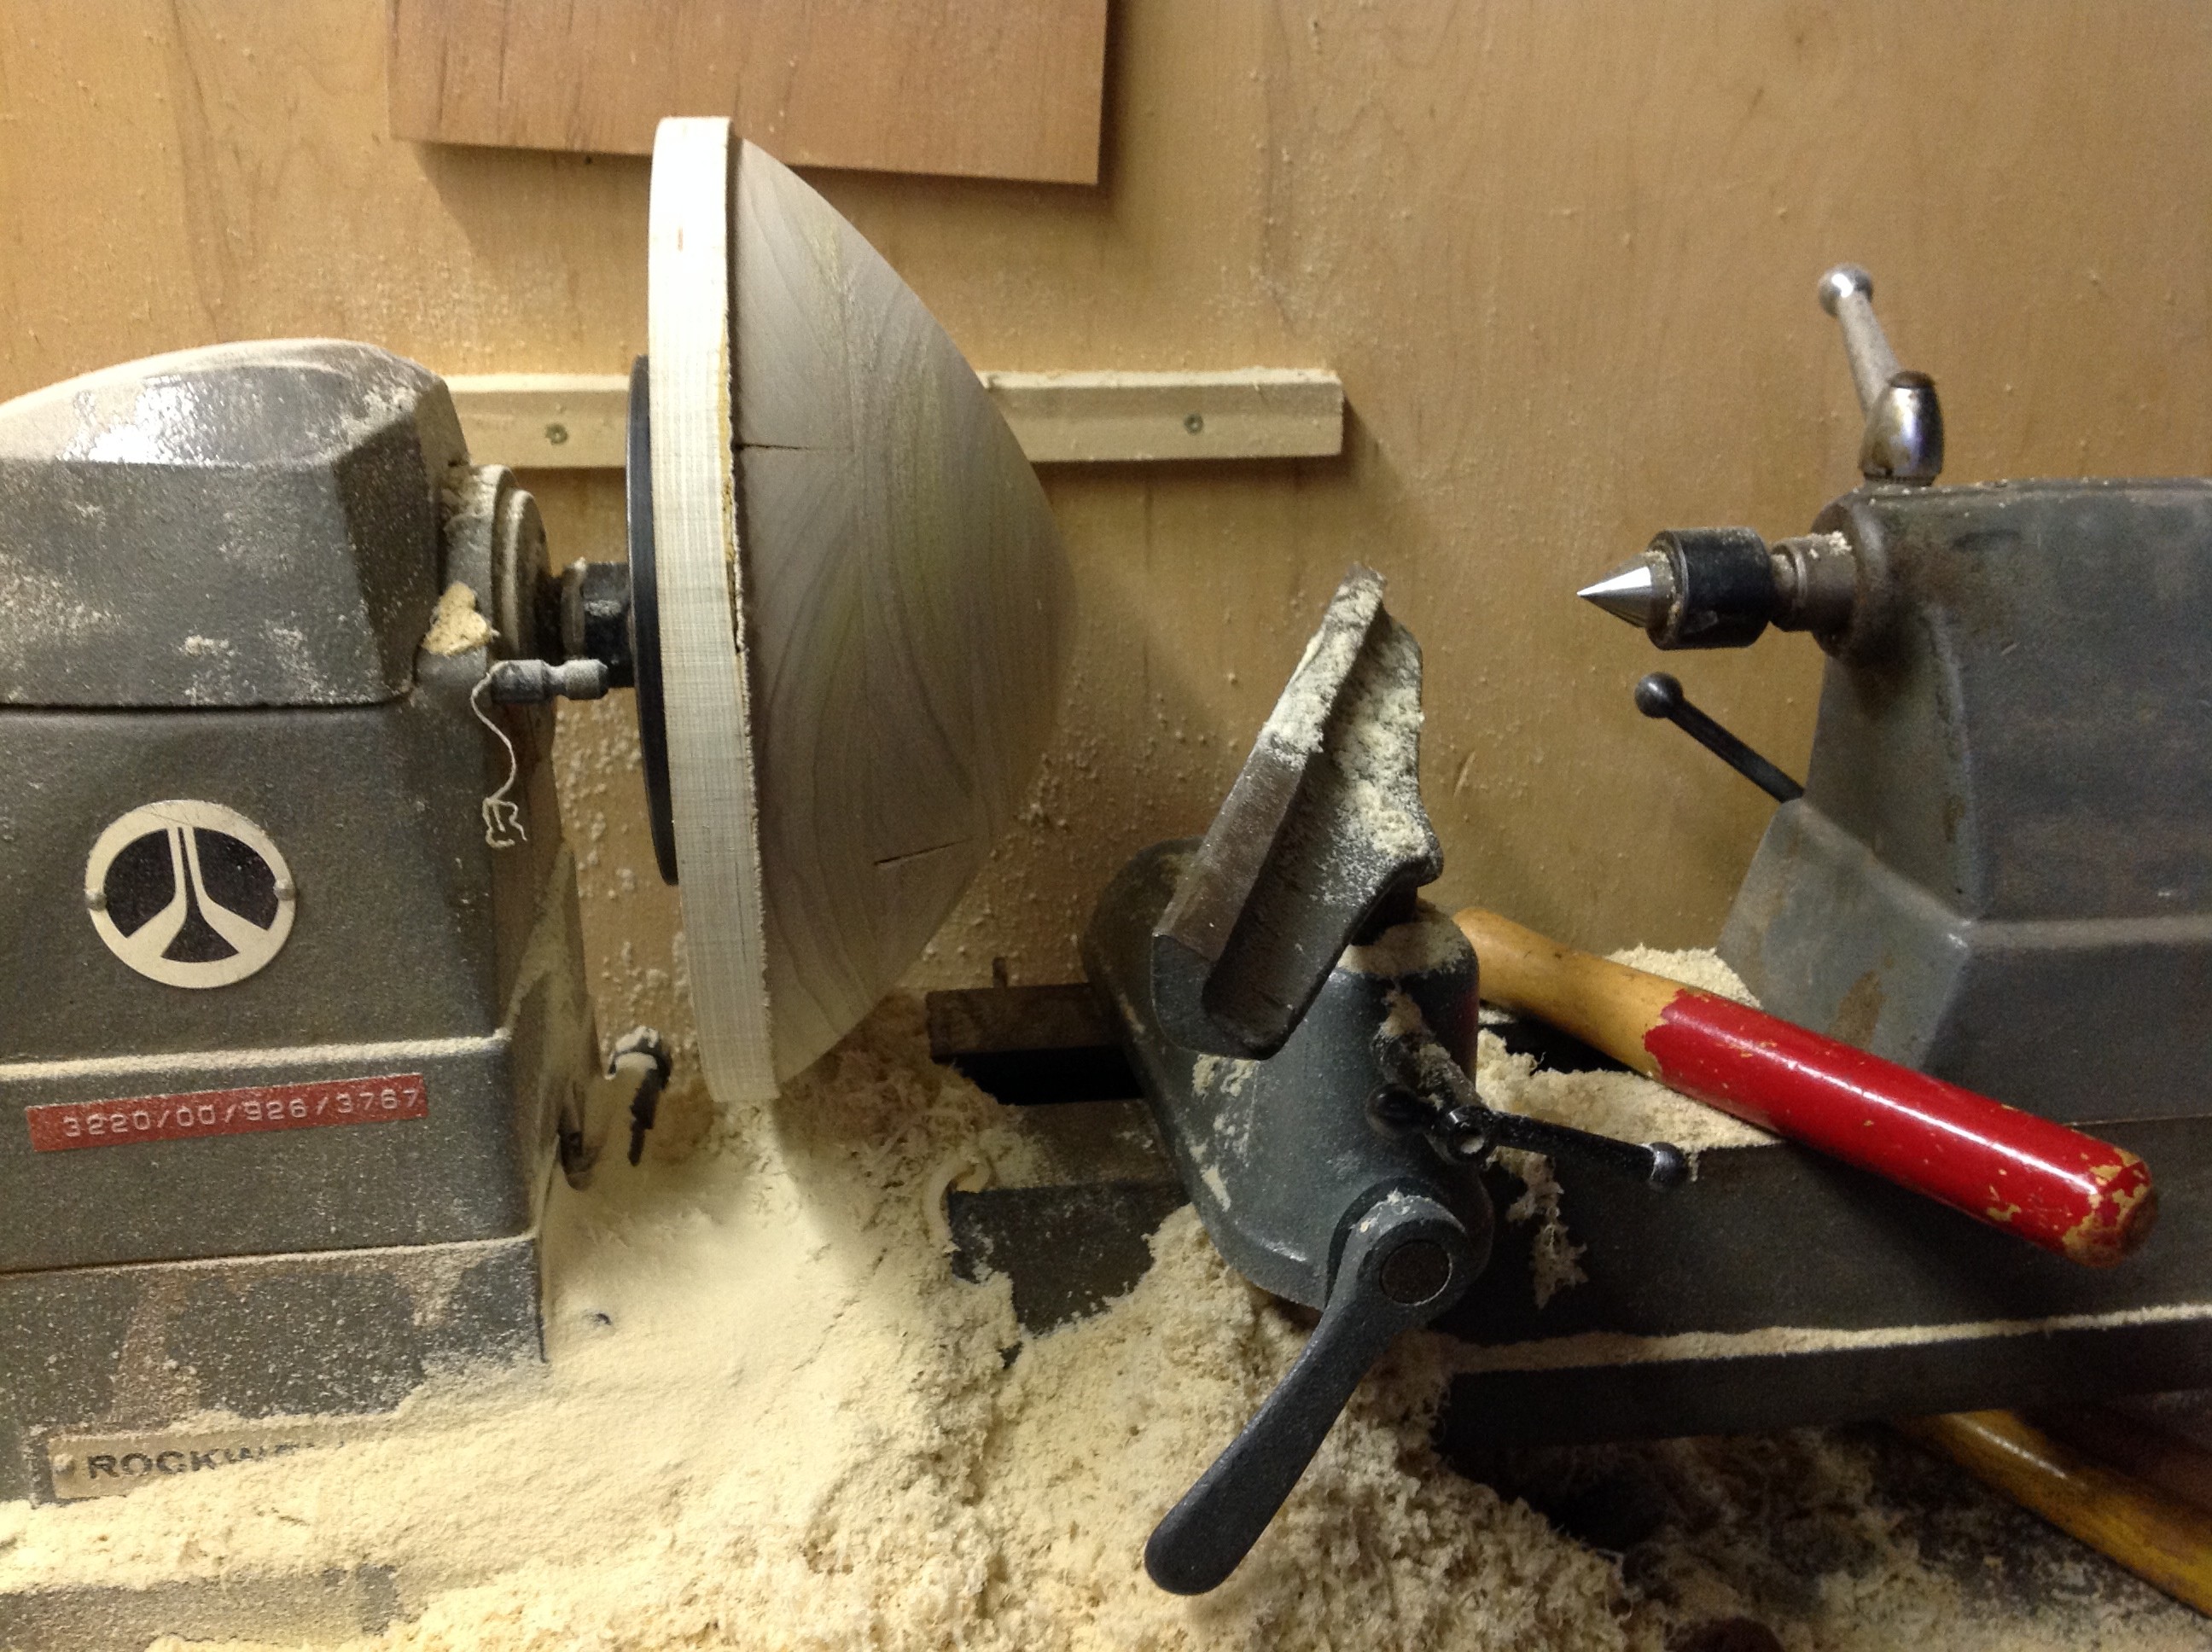
My scales were all the same size and in nature objects with scales, like pinecones have bigger scales on the areas where the object is widest then they get smaller as they go toward the narrow ends. I decided to cap the bottom of the egg portion of the table with plain leather to avoid some of the problems there. To make the leather cap I turned a cone shape like the bottom of the egg on my lathe to use as a form for molding the leather pieces.
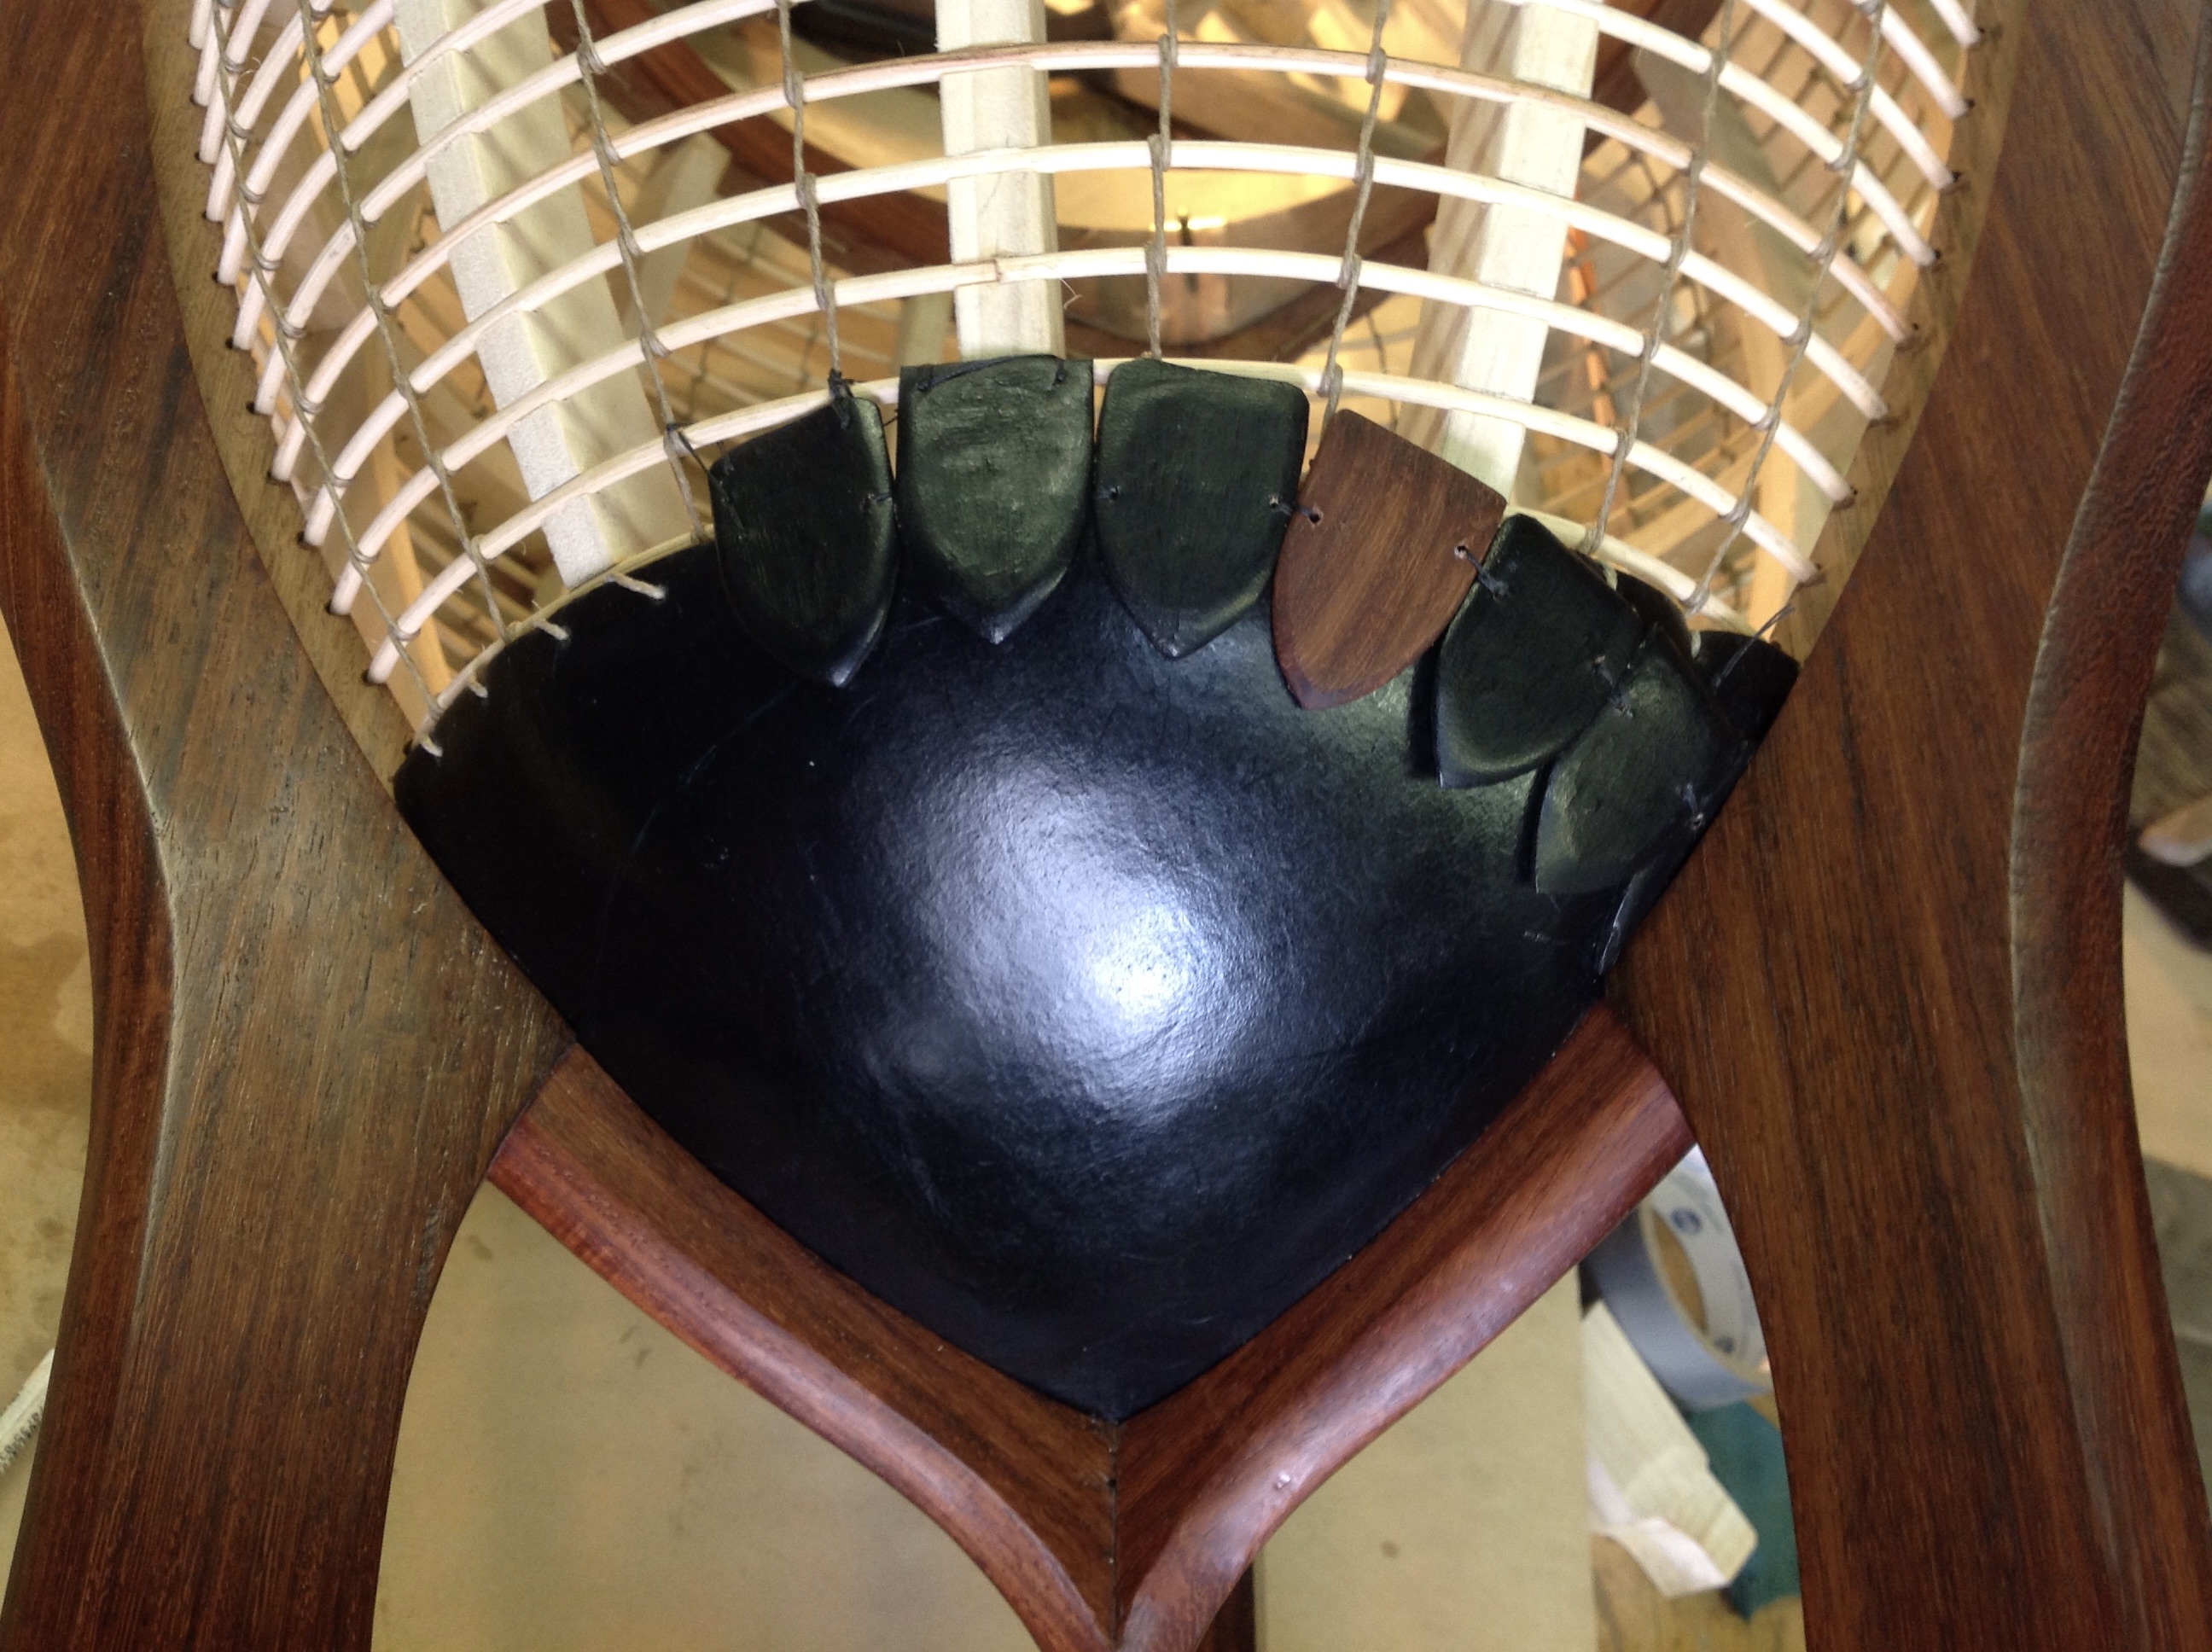
Once the leather was formed and blackened, the pieces were fit into the rabbet in the frame and stitched onto the reeds. Next came the scales, starting at the bottom. Each scale is sewn in a row to the reeds.I thought that some varied would be needed in the sea of black scales, so I make a few dozen wooden ones and also molded some of the leather scales with an embossed design on them. In the end I thought the wooden scales were distracting, so I blackened them, but I liked the leather scales with the embossing.
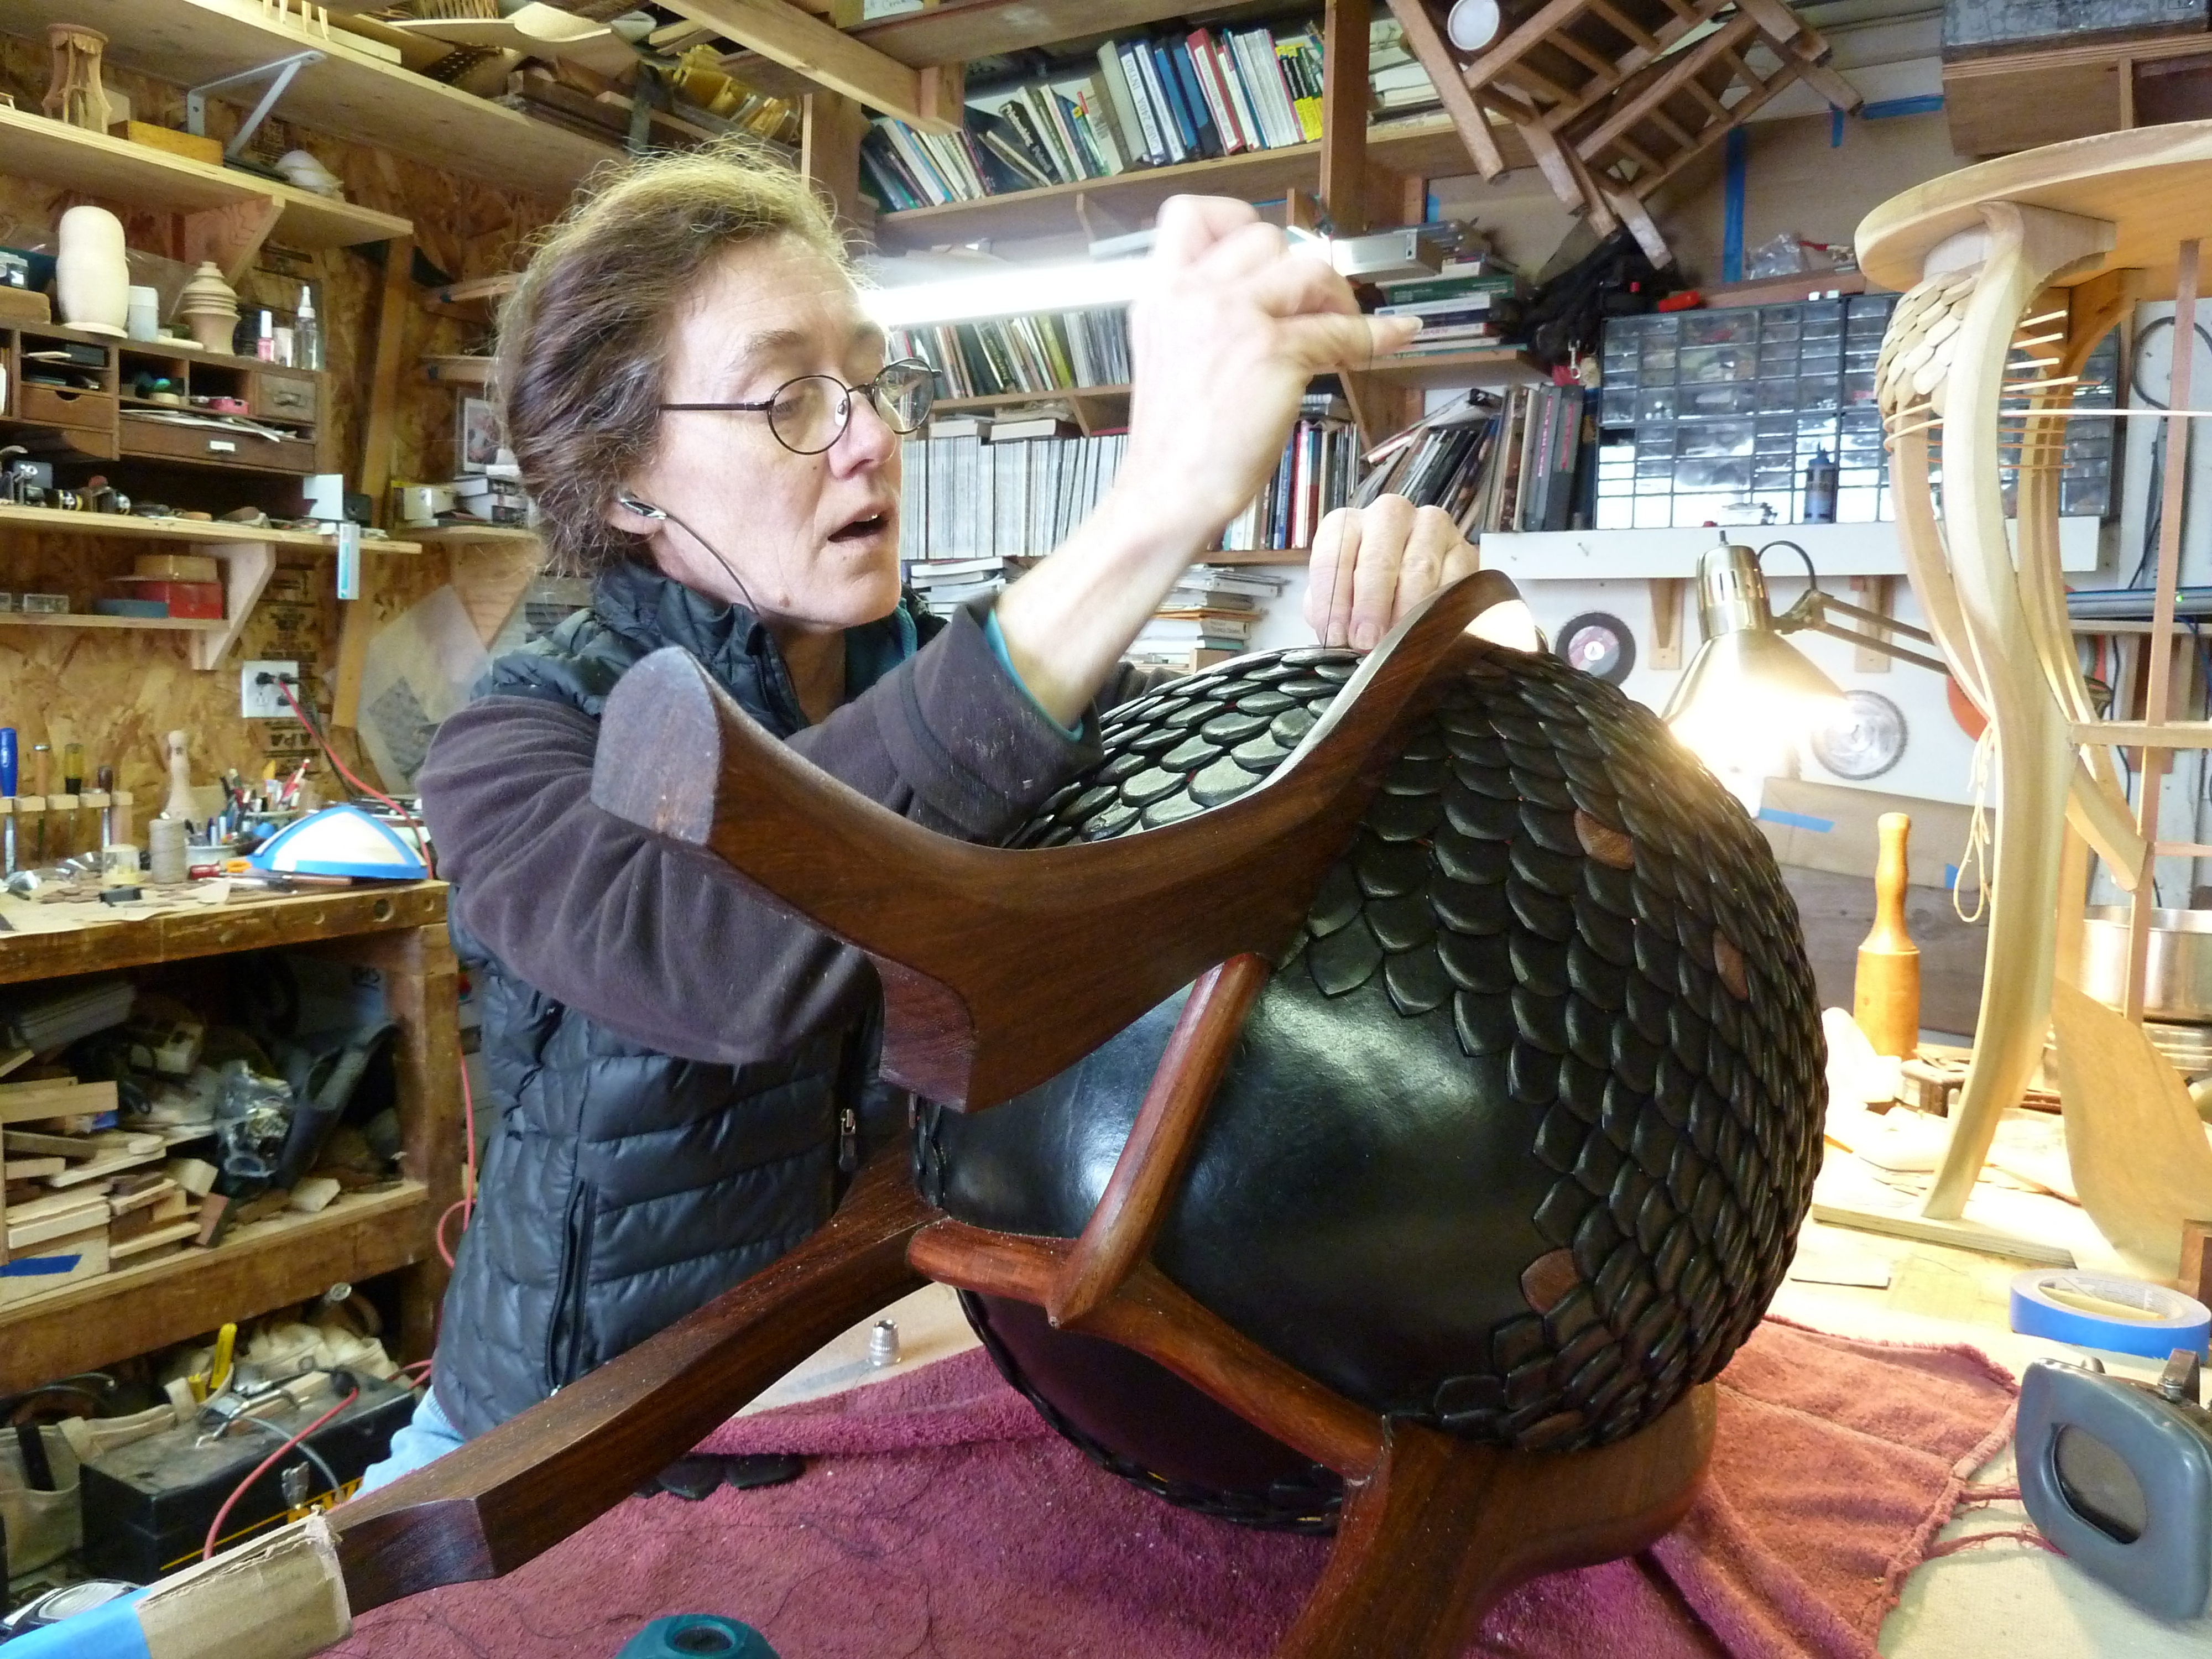
I spent quite a few days stitching scales onto the framework.
The inside before the leather lining was added.
Leave a Reply
You must be logged in to post a comment.