Construction of the Curved Chair
 The Curved Chair started by playing with the historical form of a “Hall Chair”, which began as an uncomfortable chair that was used for employees to sit on when they got payed by their employers. Furniture designers latched on to this form due to the fun they could have with how it looked without concern for it being comfortable or even practical. I was playing with curved shapes and began with some drawings and a scale mock up. I also really liked the simplicity of Tage Frid’s chair with a very narrow seat and wanted to include that concept. In the photo of the scale model you can see how I added a longer seat with some paper to the original model to give it more balance.

I also did a full size mock up of the seat area to see about width, distance from the back and to see how comfortable it was.
Here is the mock up showing the curve of the back, the height of the seat, distance of the seat from the back and the front leg to see if it got in the way of people’s feet. It seemed ok.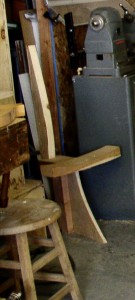
Next was making the form to bend the interior pieces of the back on. The form is make of MDF pieces screwed together.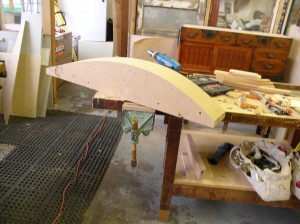
The back of the chair was planned as a sandwich of materials. I liked the look of the back tapering from about 7/8” at the top to about 1 1/4” at the bottom. To do that the inner most material, some cottonwood, was tapered in a jig with my planer. On each side of that was a layer of bending plywood and on the outside surfaces I attached 1/8” maple pieces.
To bend the cottonwood tapered pieces I rigged a simple steamer made of plywood with a propane camp stove underneath a big pot of water. When each piece had been steamed for an appropriate length of time it was quickly transferred to the form and clamped down with a hardboard cover and cauls.
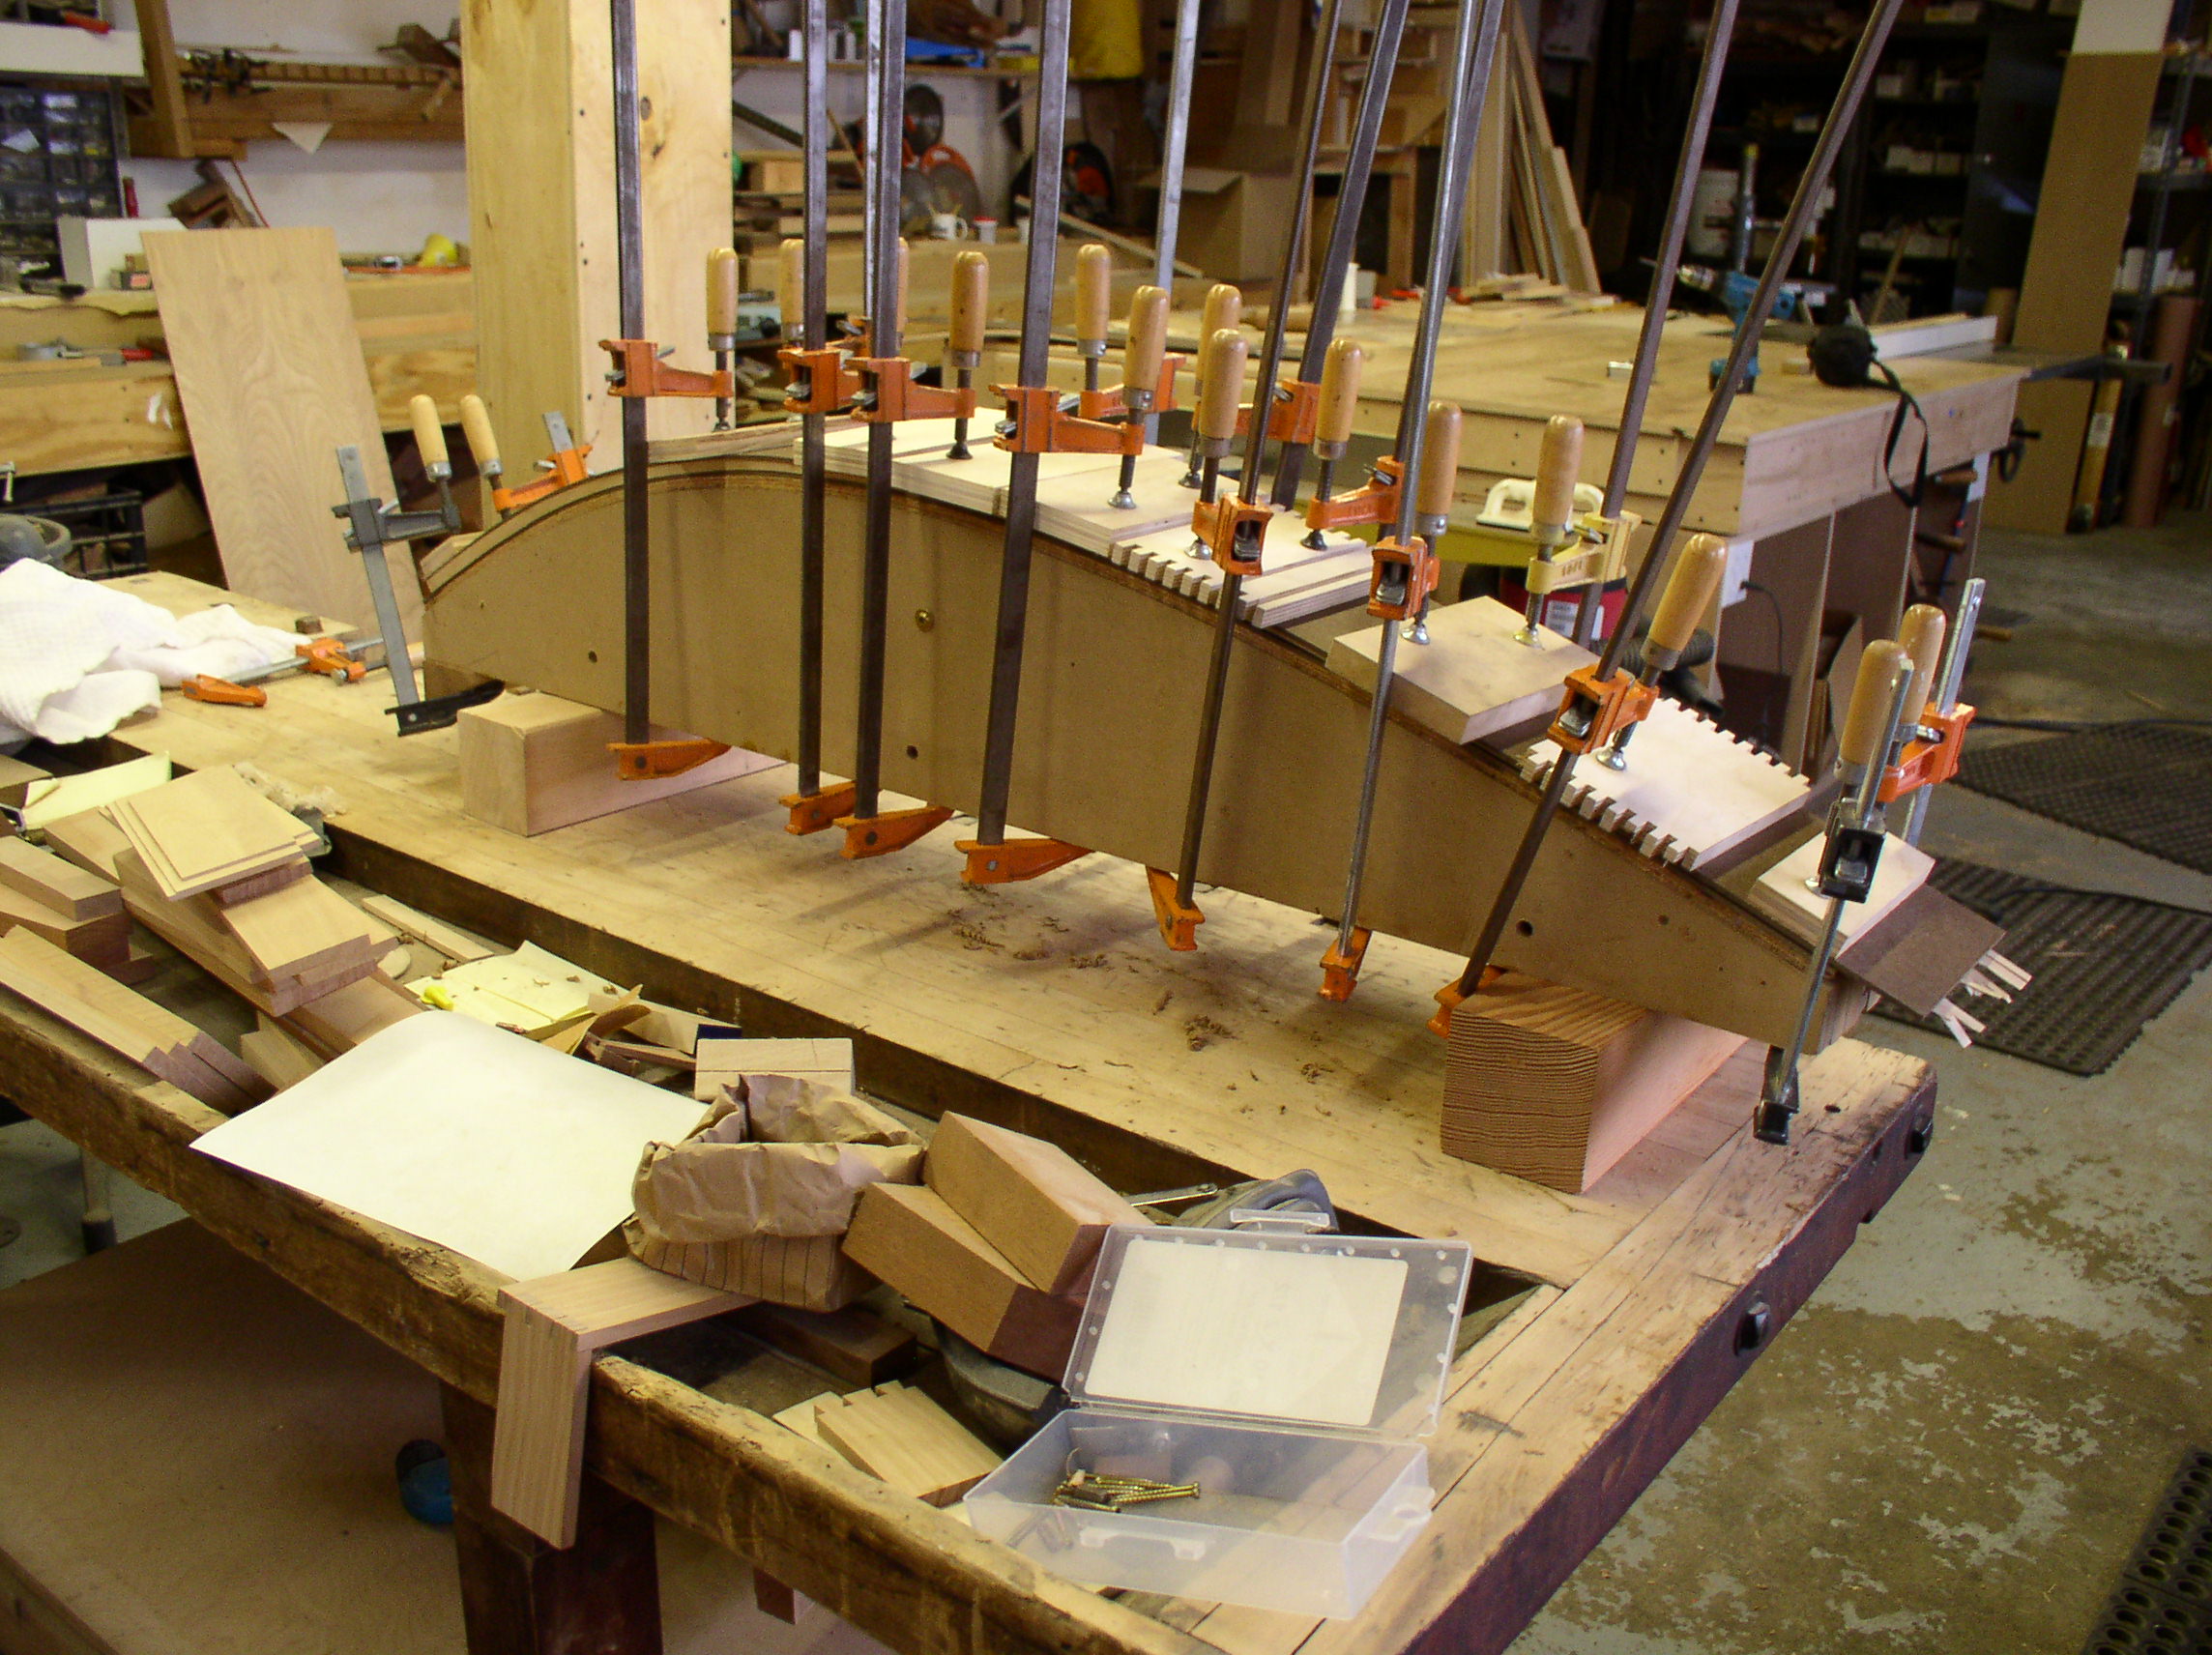
Next came the larger form to clamp up the entire back. It was made of spaced plywood shapes with a hardboard cover and a solid plywood base. The cottonwood center sandwiched between bending plywood layers got bent first. To do the vacuum bending I found on-line instructions for making a vacuum press that runs off of a compressor or compressed air system. The vacuum bag was made of heavy vinyl. Once the base layers of the back came out of the press, I attached solid maple pieces on the edges before putting the face maple skins on in the press.
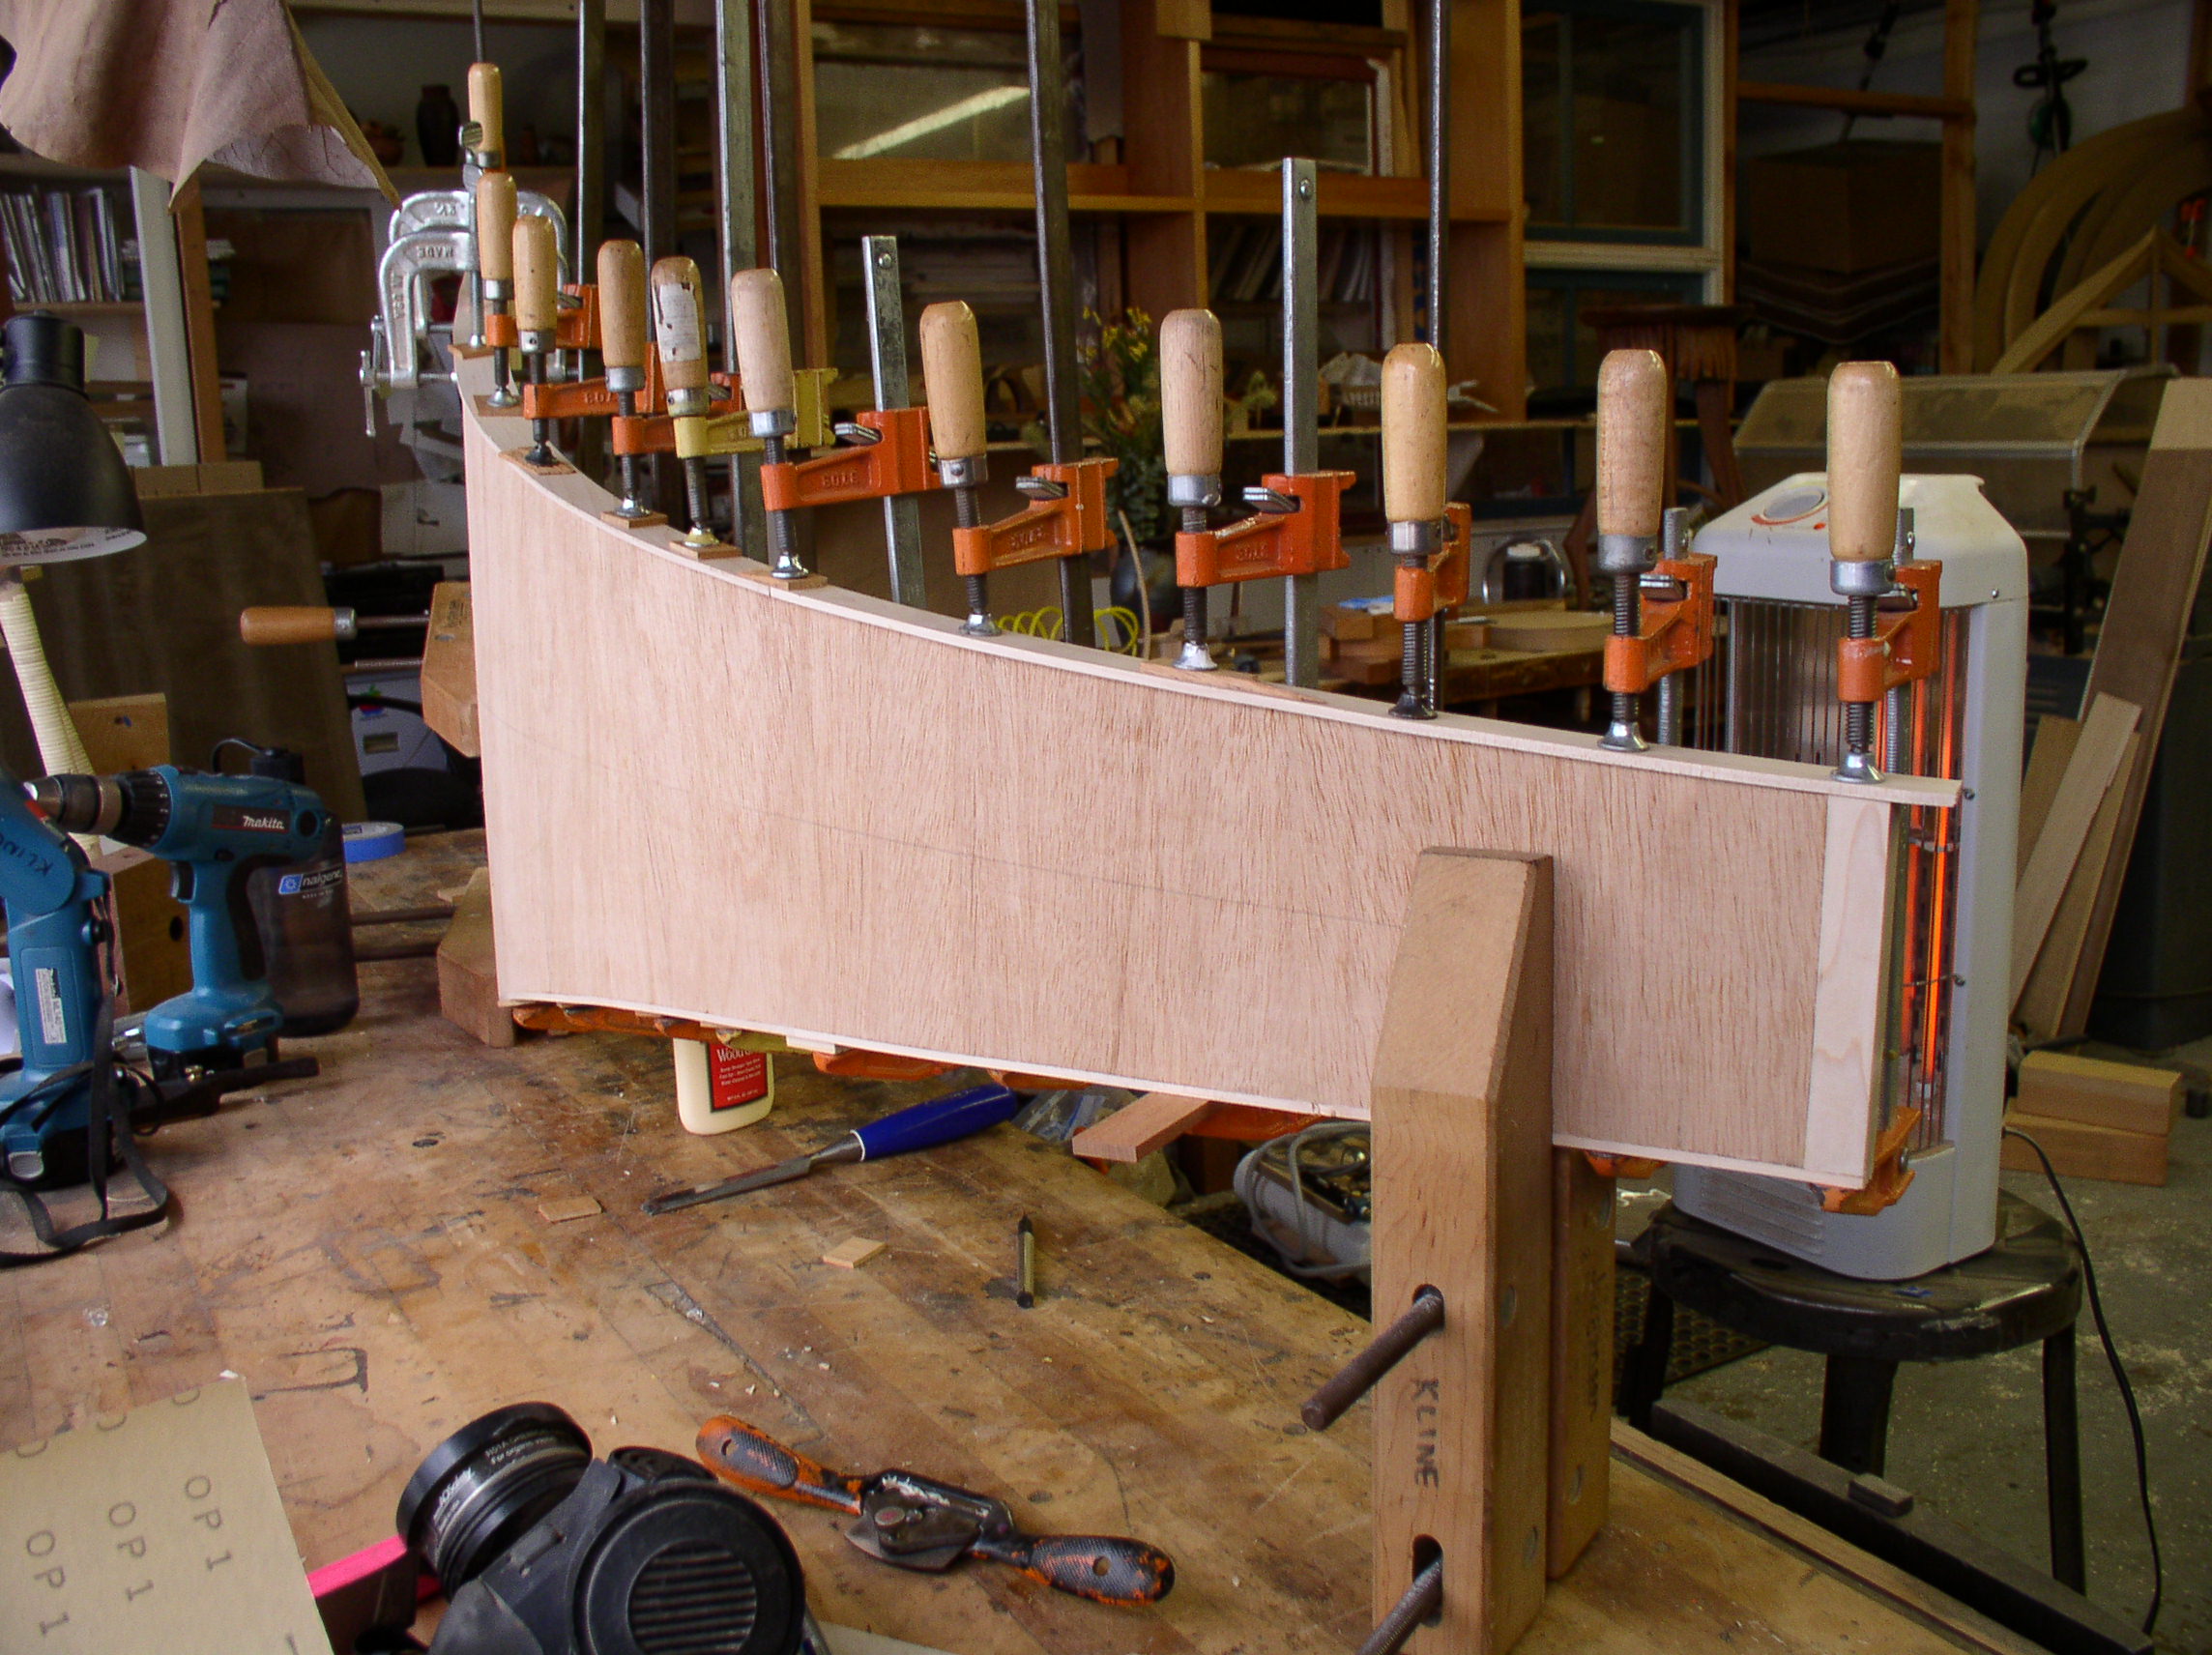 Here is the large back form with the back pieces in the vacuum bag attached to the homemade vacuum press and compressor. The only problem I had with the system was the noise that the compressor made. It had to cycle on and off for about 8 hrs. It worked much better on the compressed air system at school, since the compressor there was a long way away.
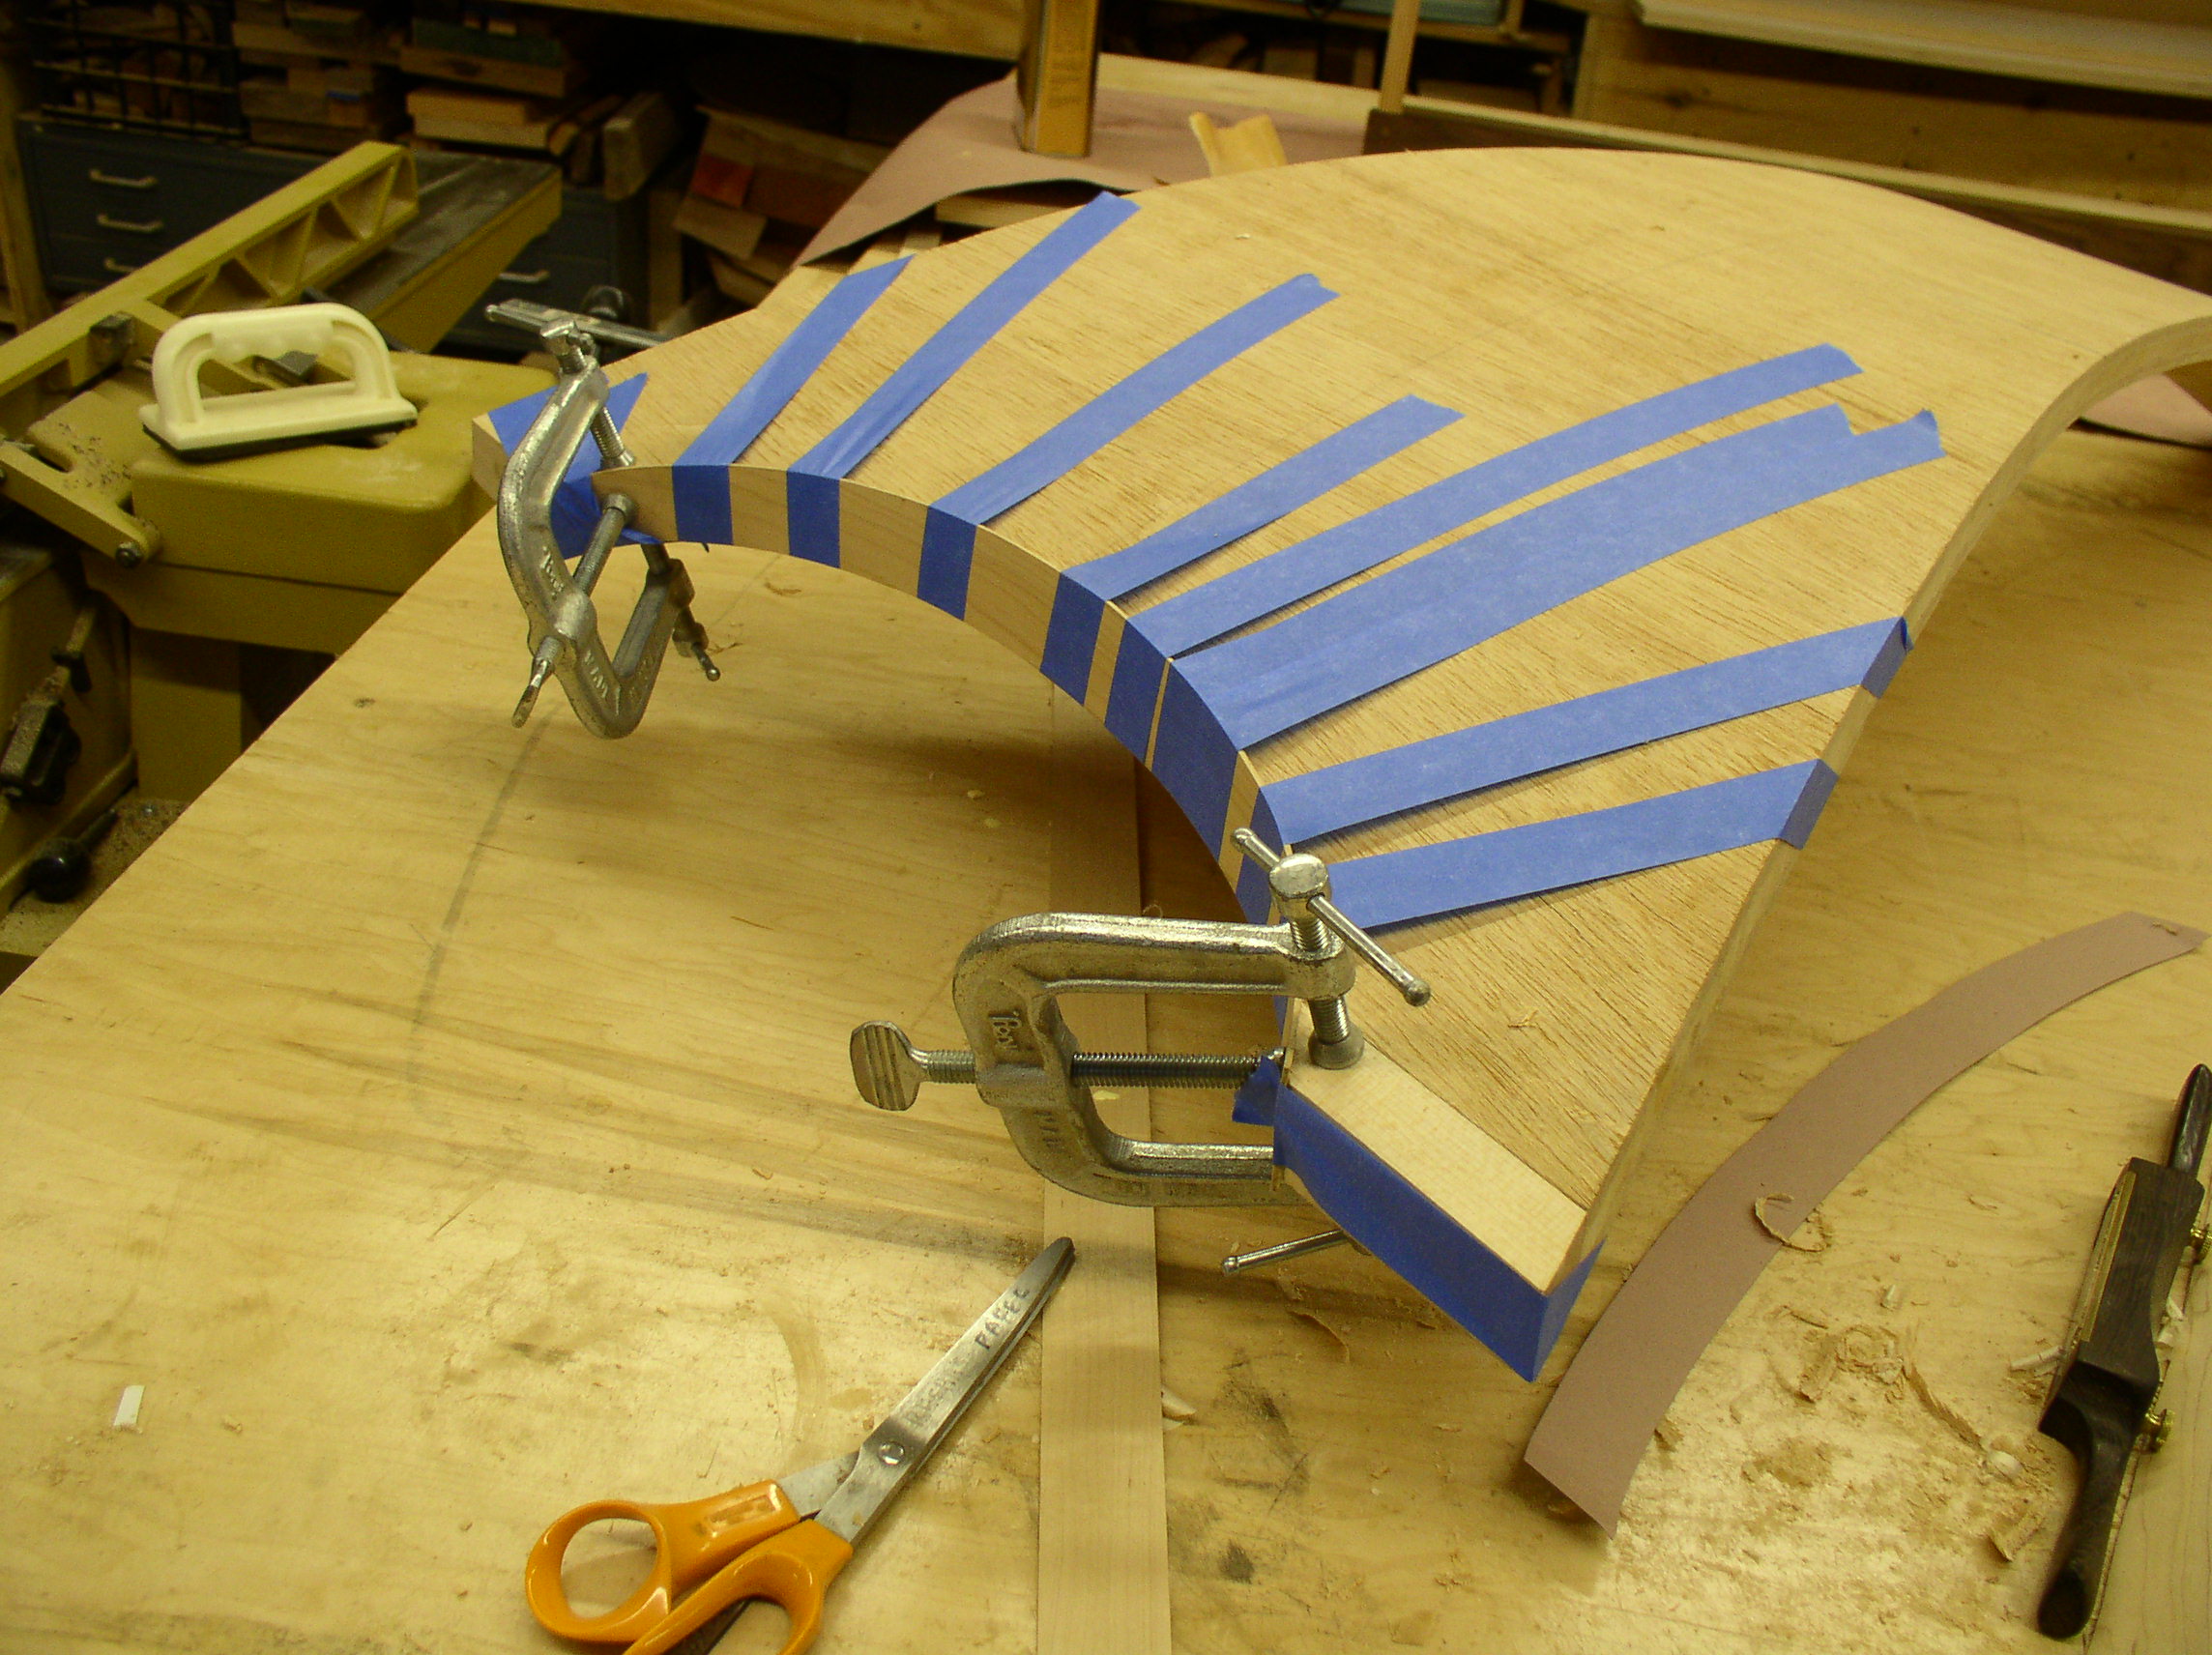
 After turning off the compressor and vacuum press, I left the back clamped on the form over night, then pulled it out in the morning. The edges of the maple skins were trimmed down to the maple edges I put on earlier and now the back had it’s shape.
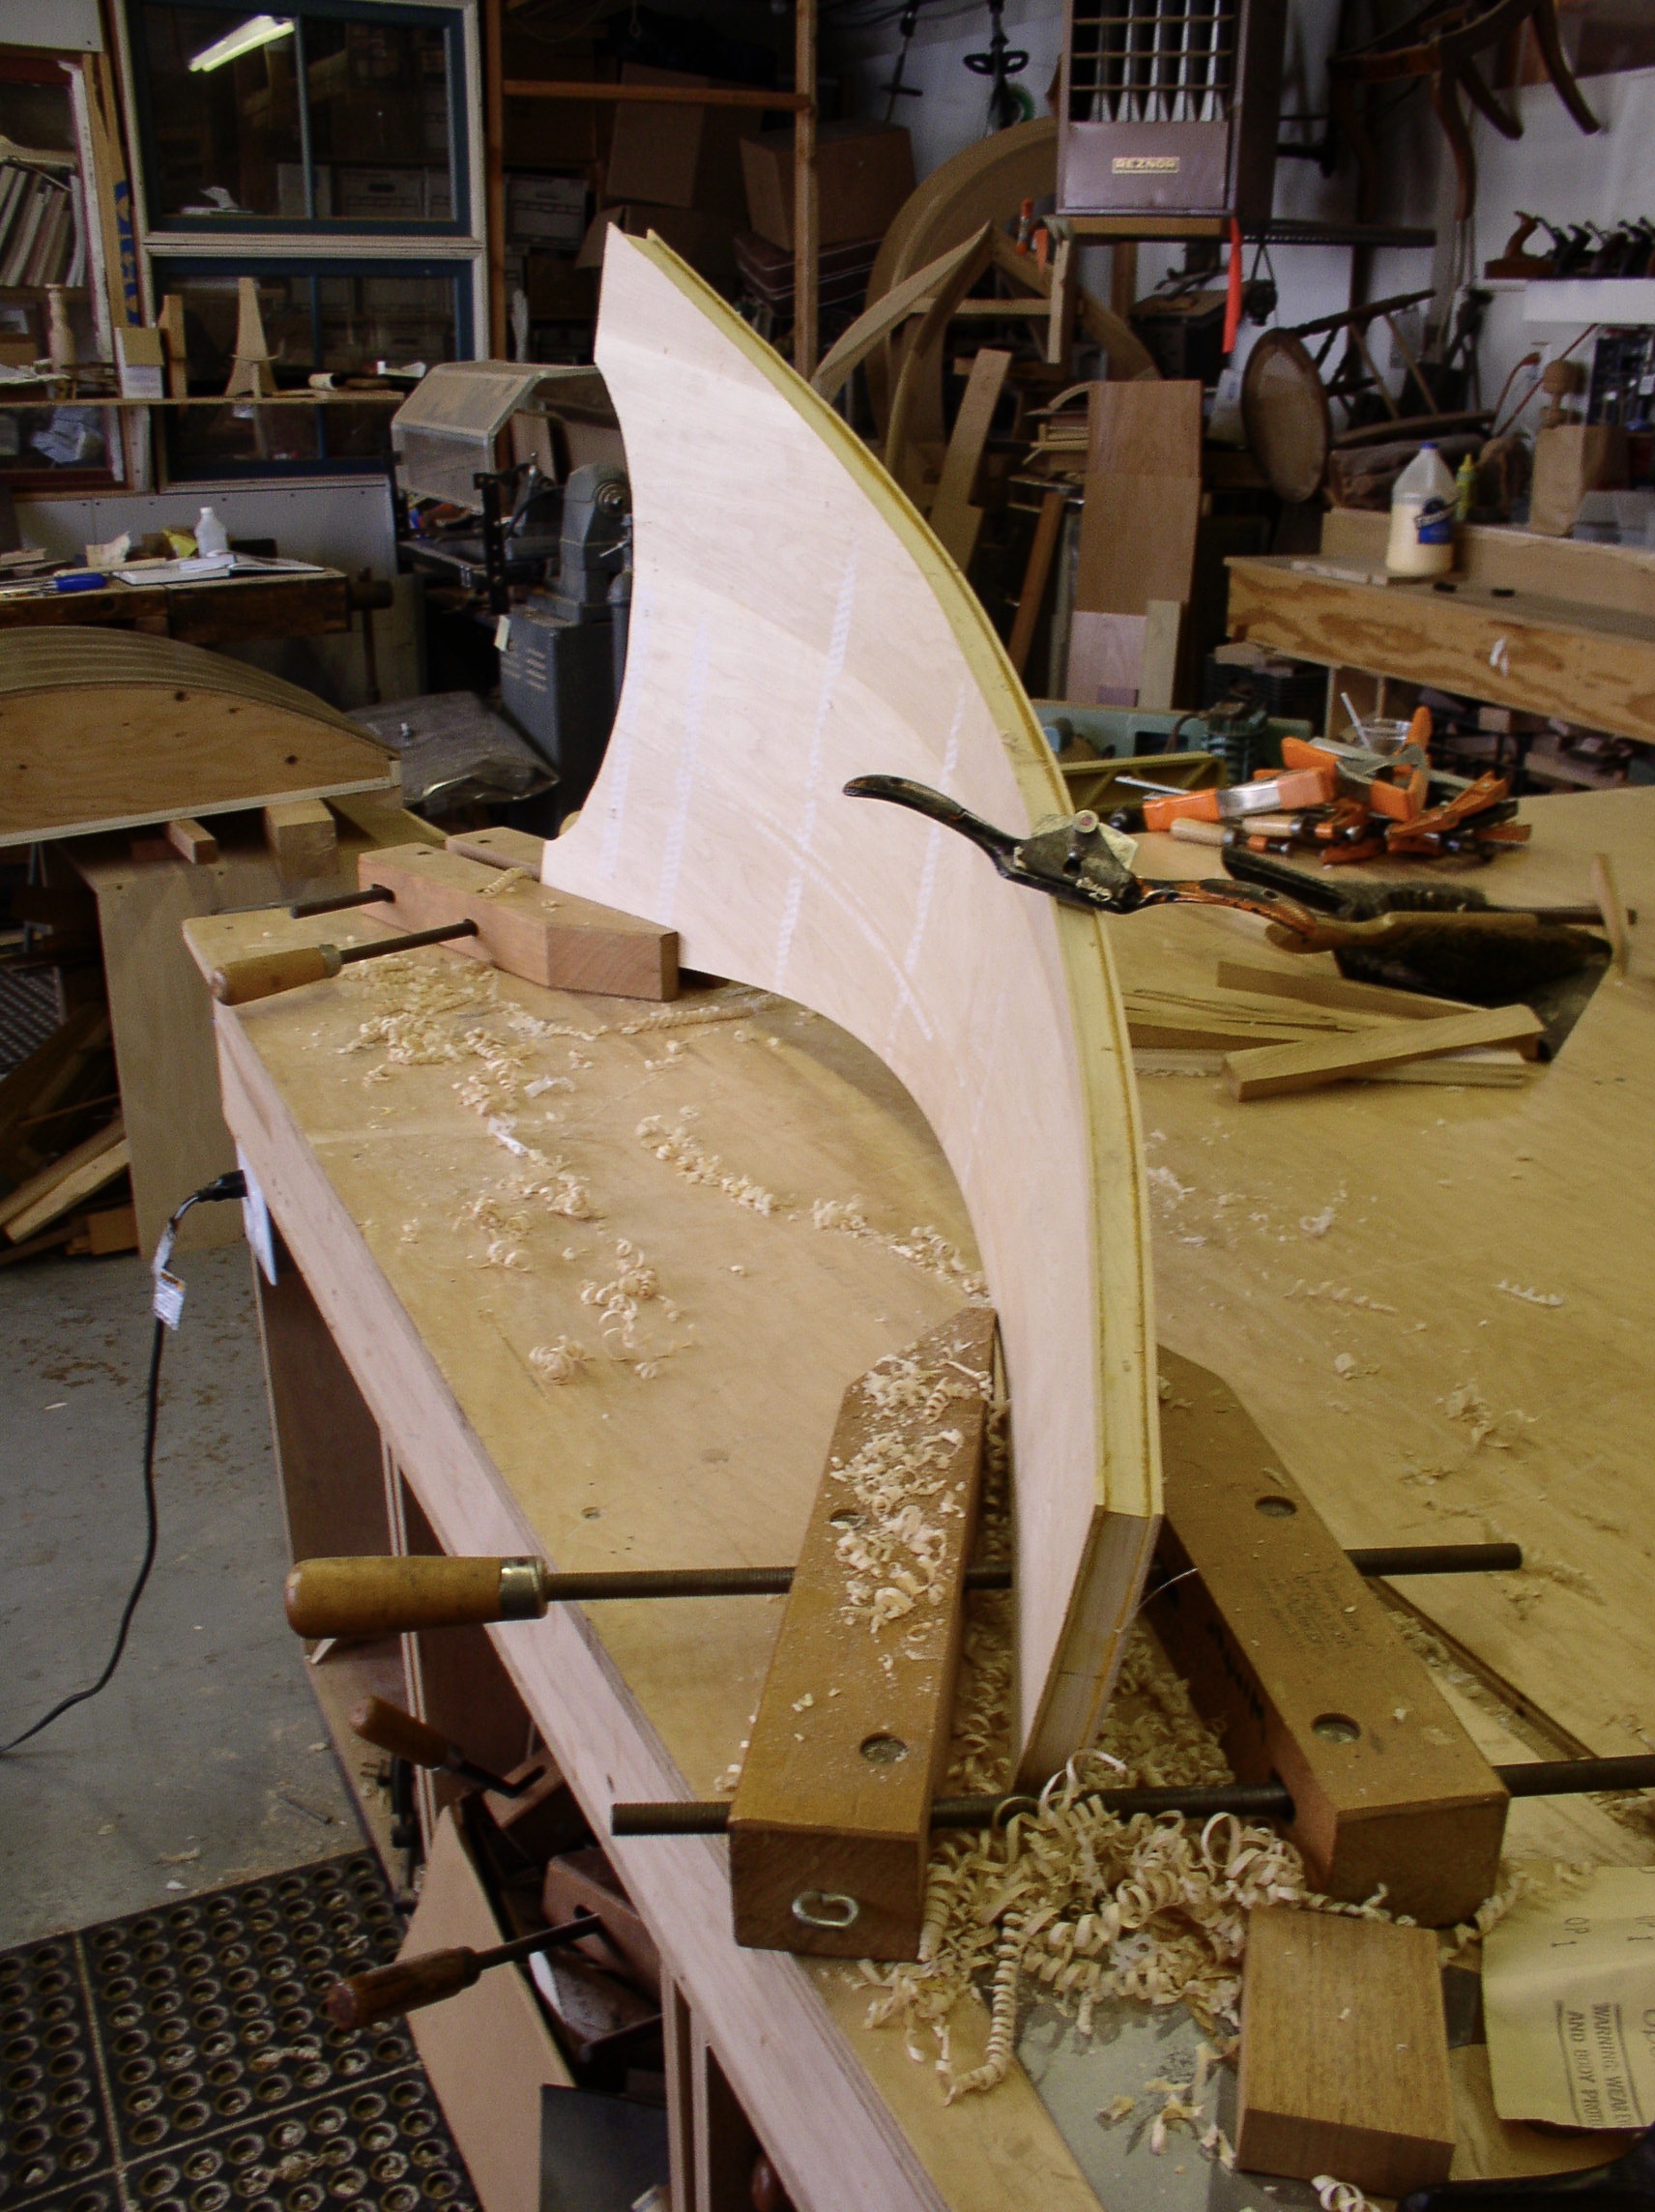
You can see there was a little “spring back” in the compared to the form. You can find formulas to calculate this. It depends on how many plys you are using and how thick they are. You can make your form to compensate for that movement.
Next came the seat. I needed to make a form for that too. The seat was made of solid maple veneers cut on my bandsaw. I took the form to school and had my students help with the process and we used the compressed air system there to run the vacuum press. That was much quieter.
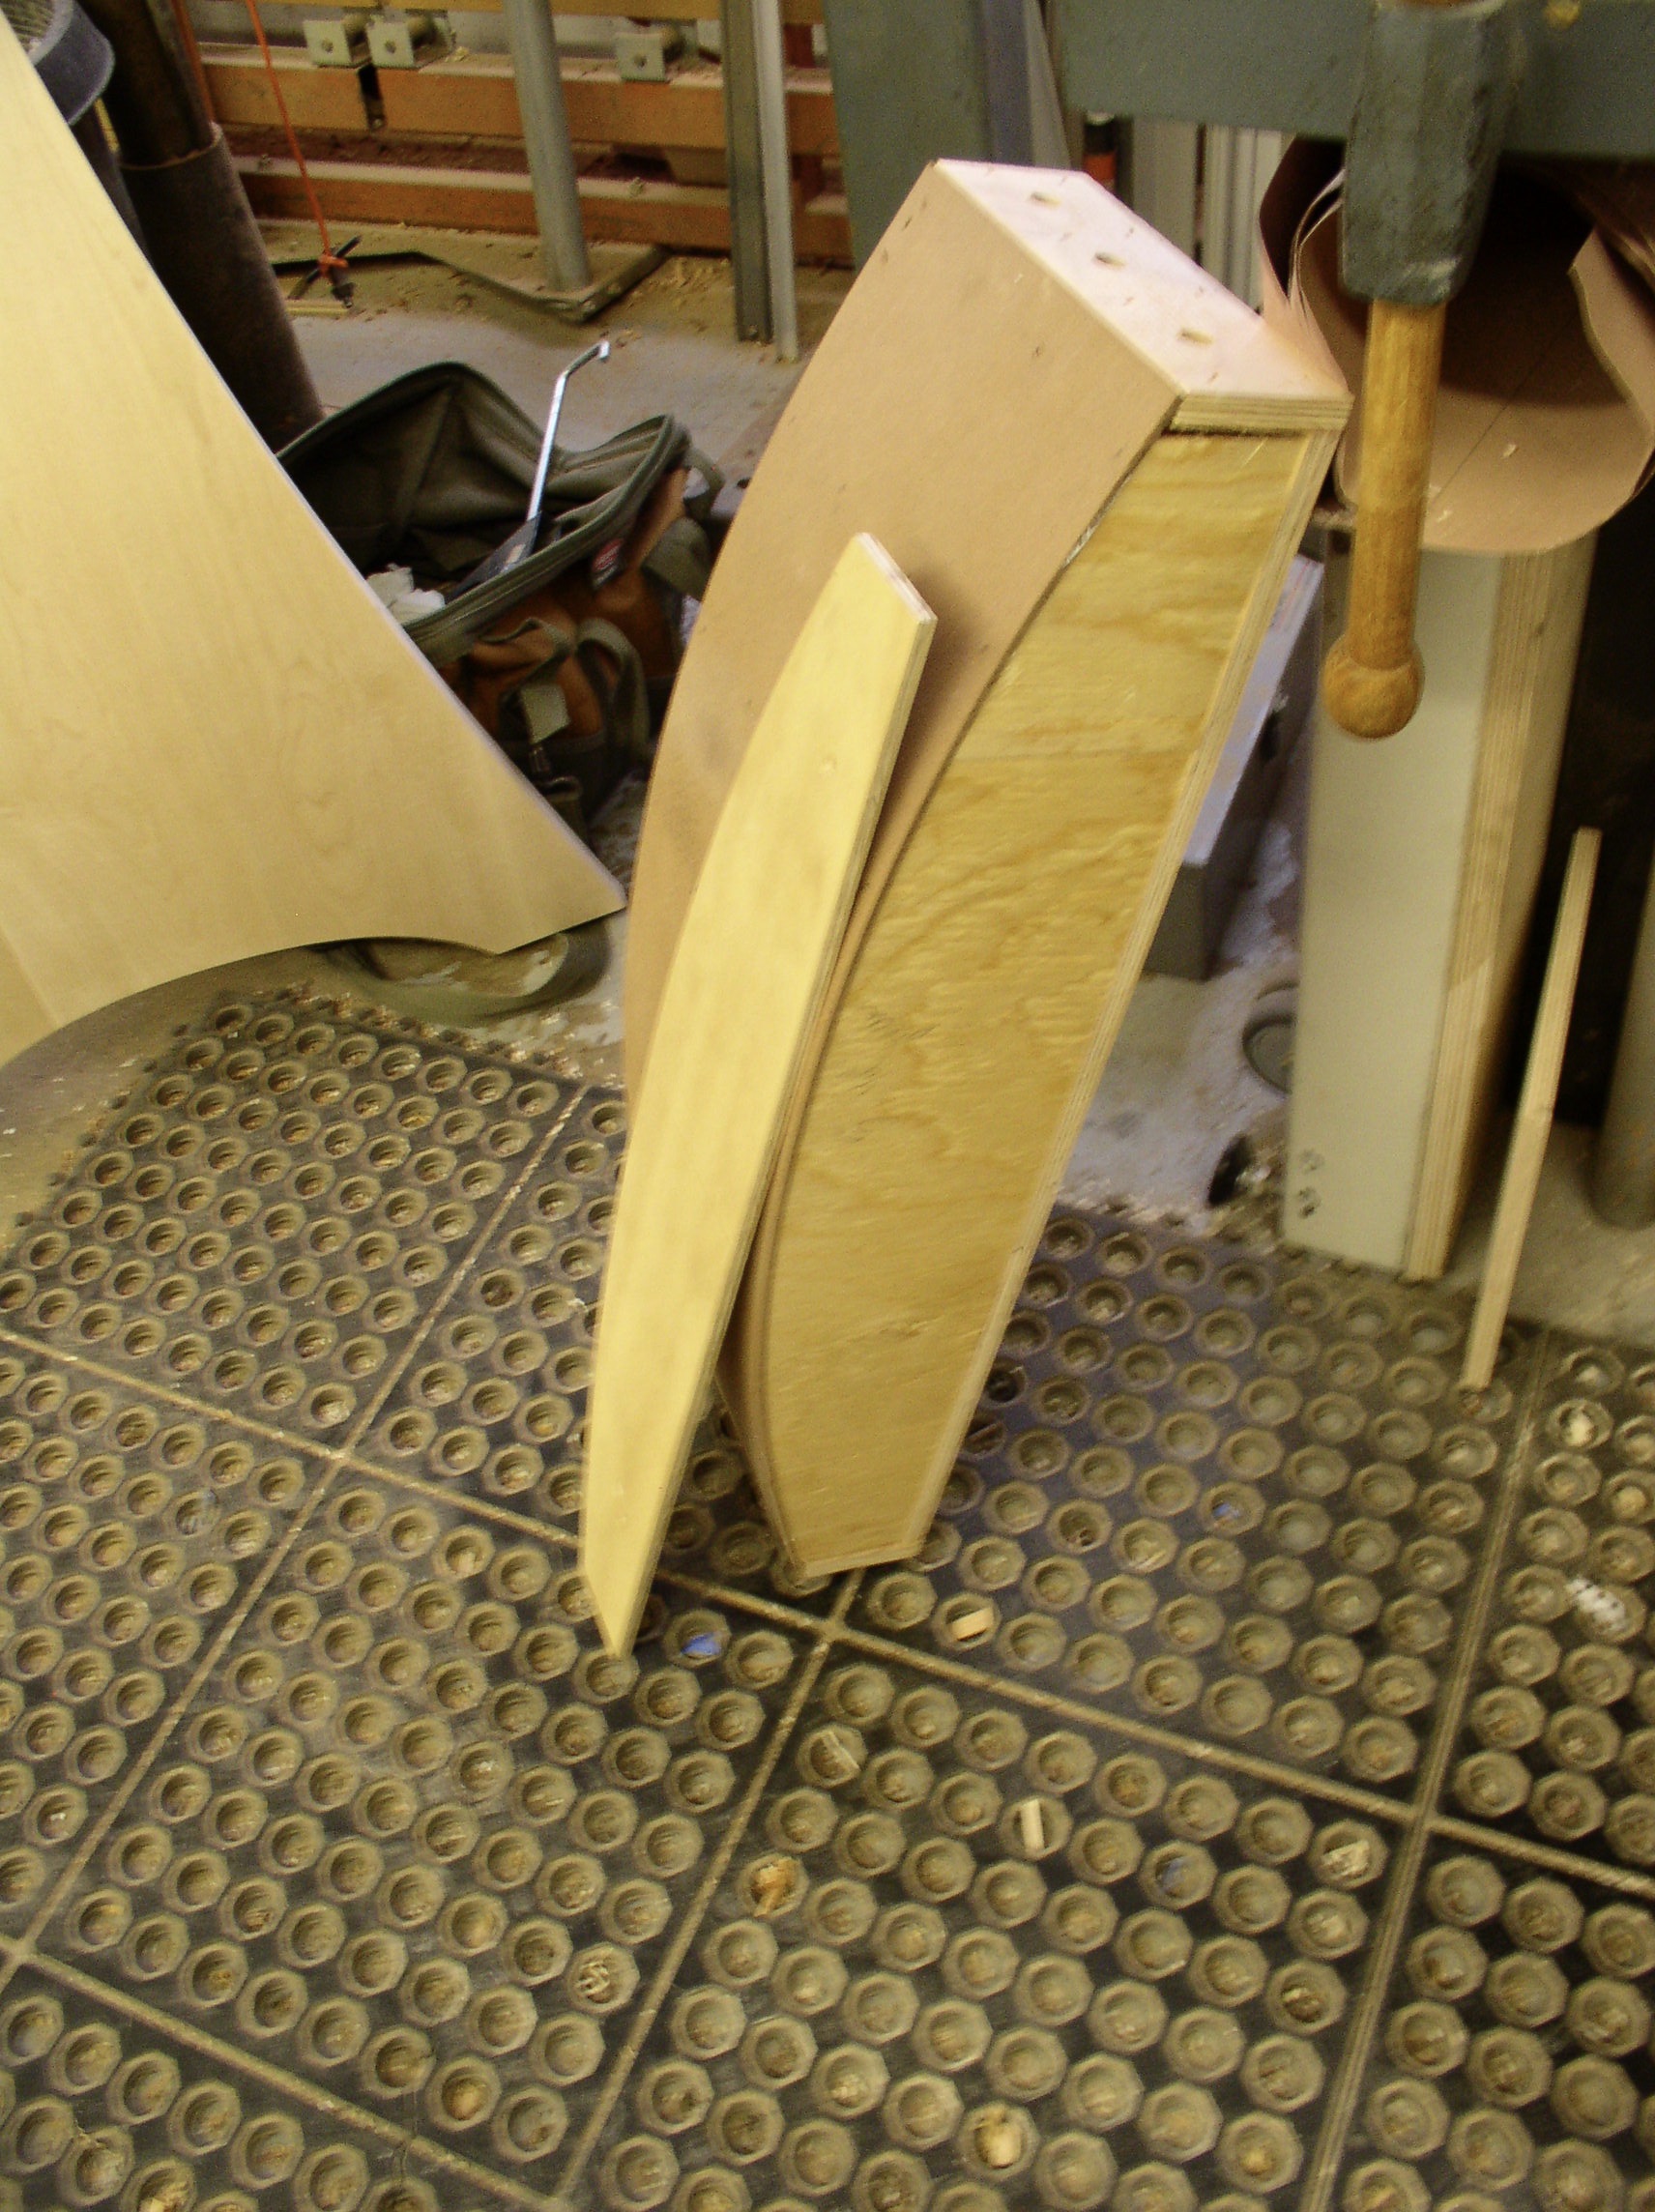
The front leg was next and it was glued up out of solid maple blocks. Then attached to a couple of plywood runs to control the distance to the saw as I hogged out the waste with repeated tablesaw cuts on each side.

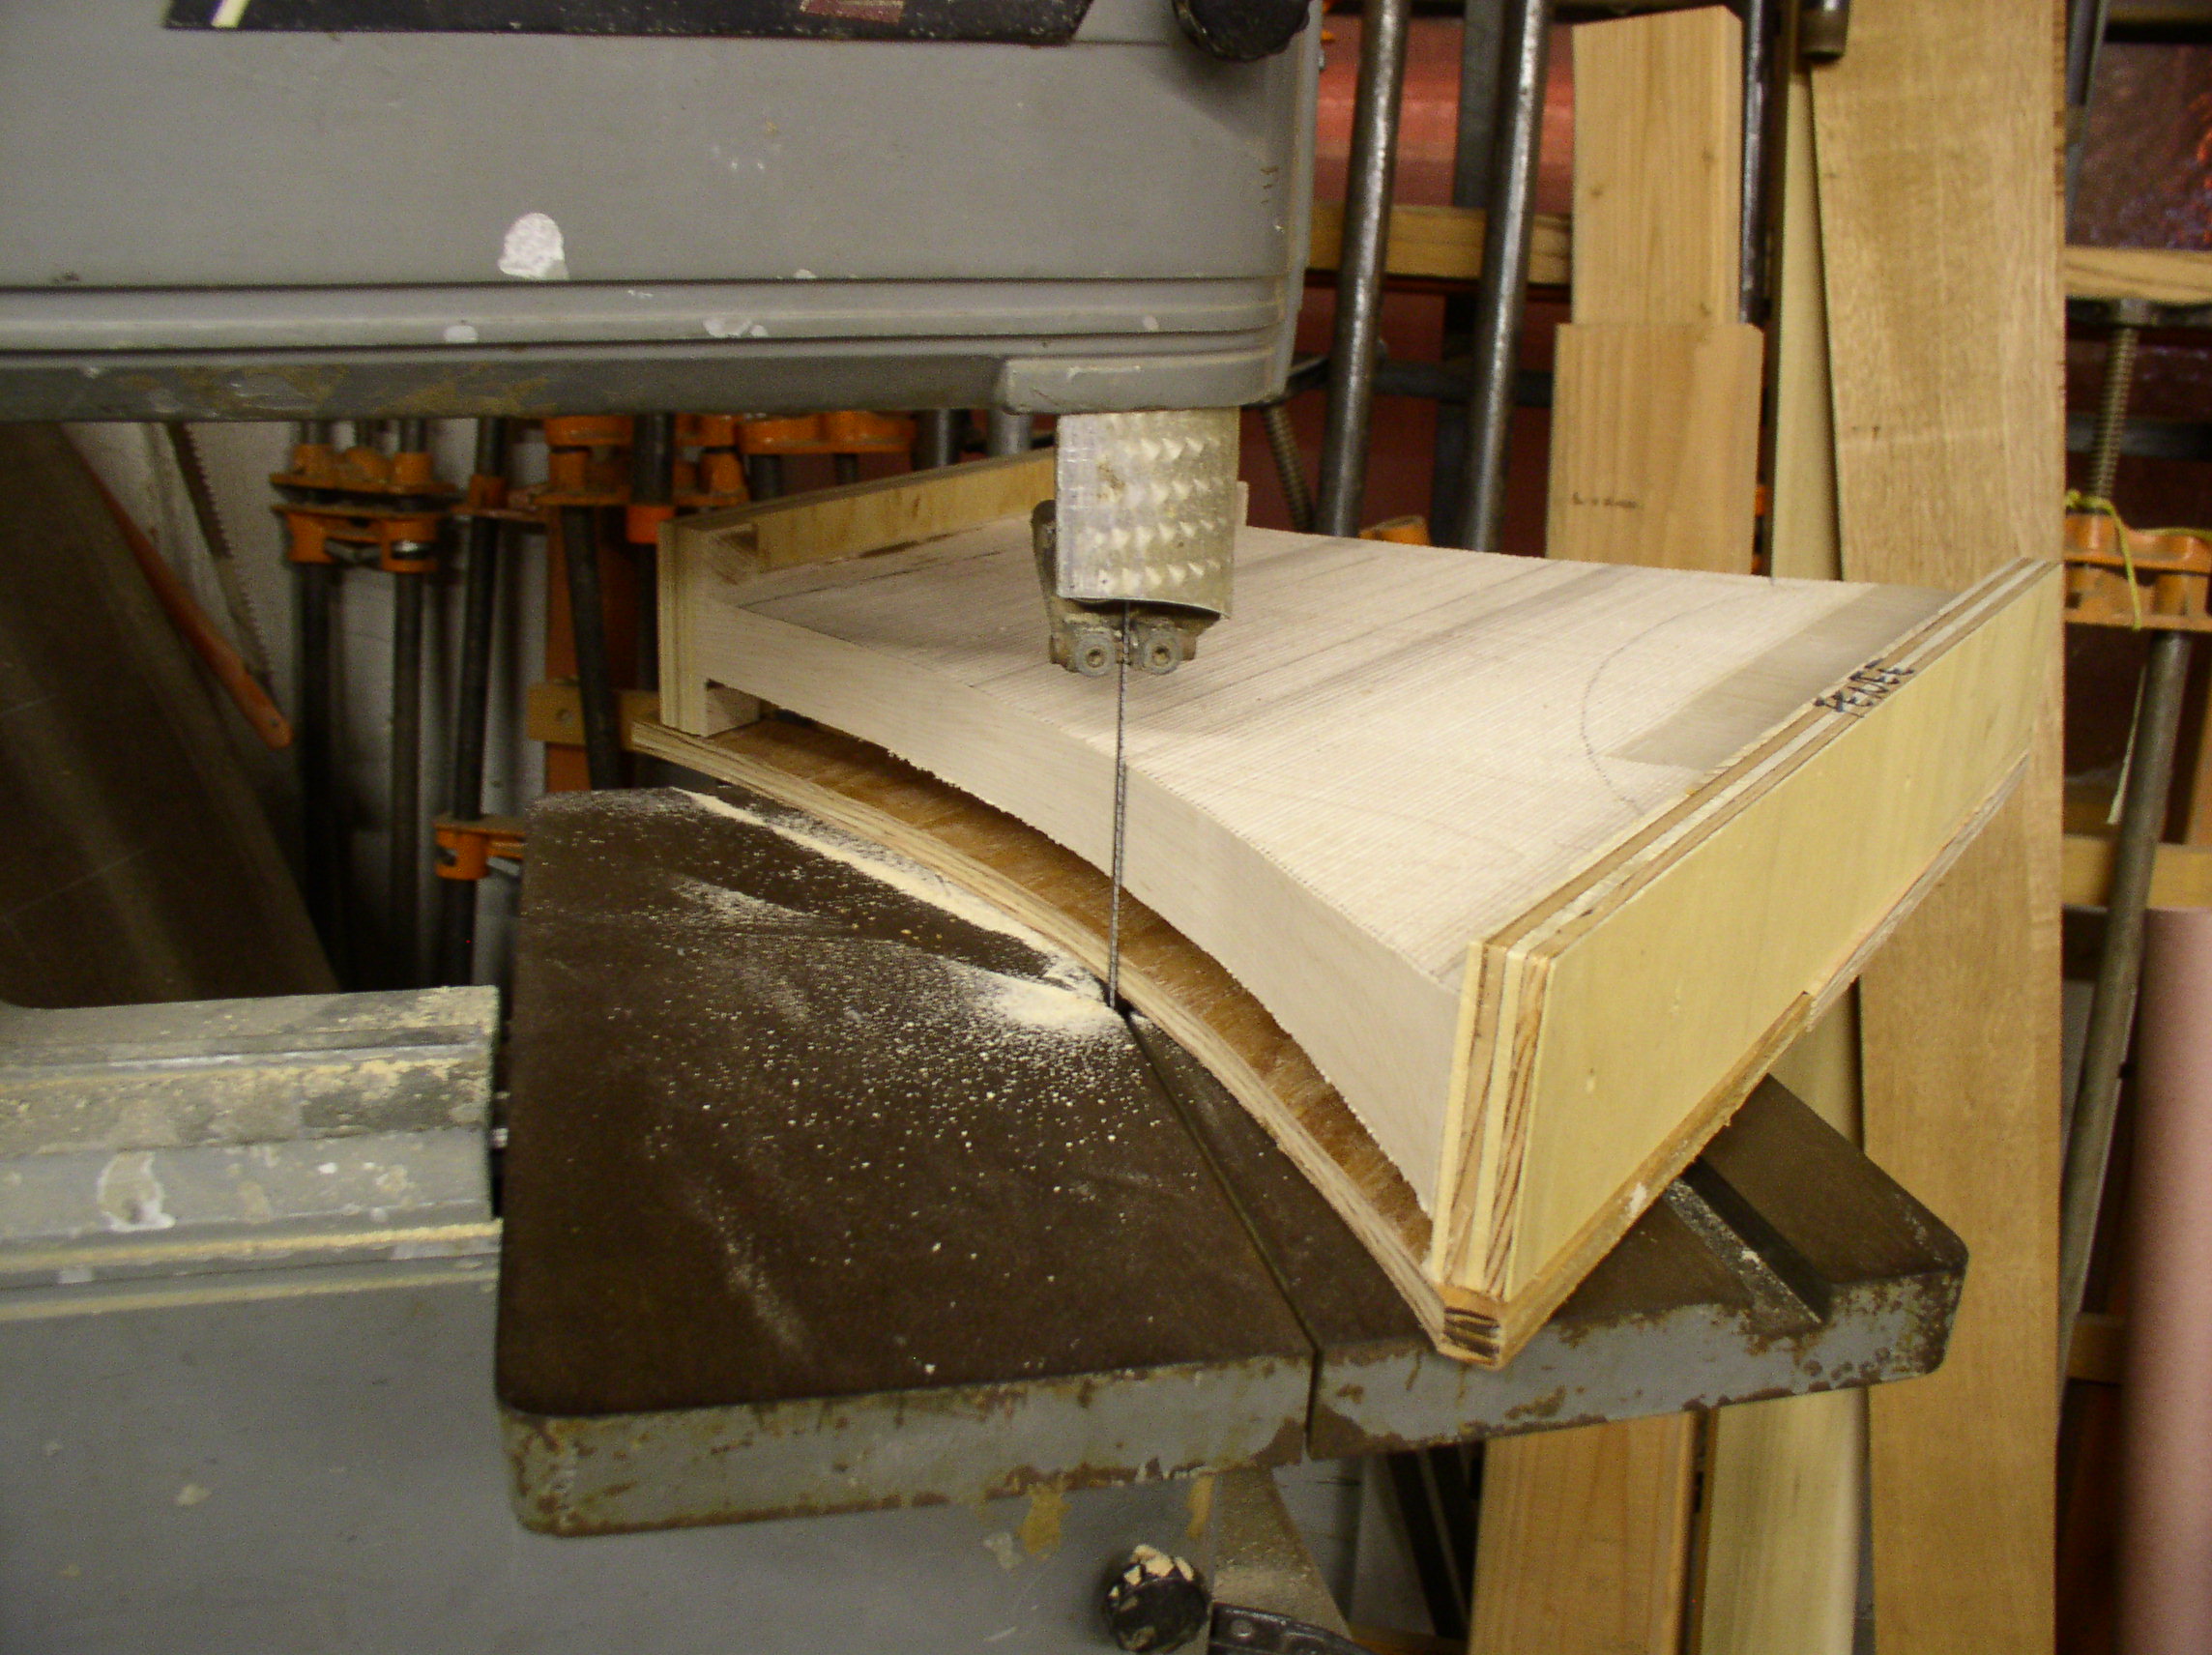
The leg was then further shaped on the bandsaw to define it’s additional curves.
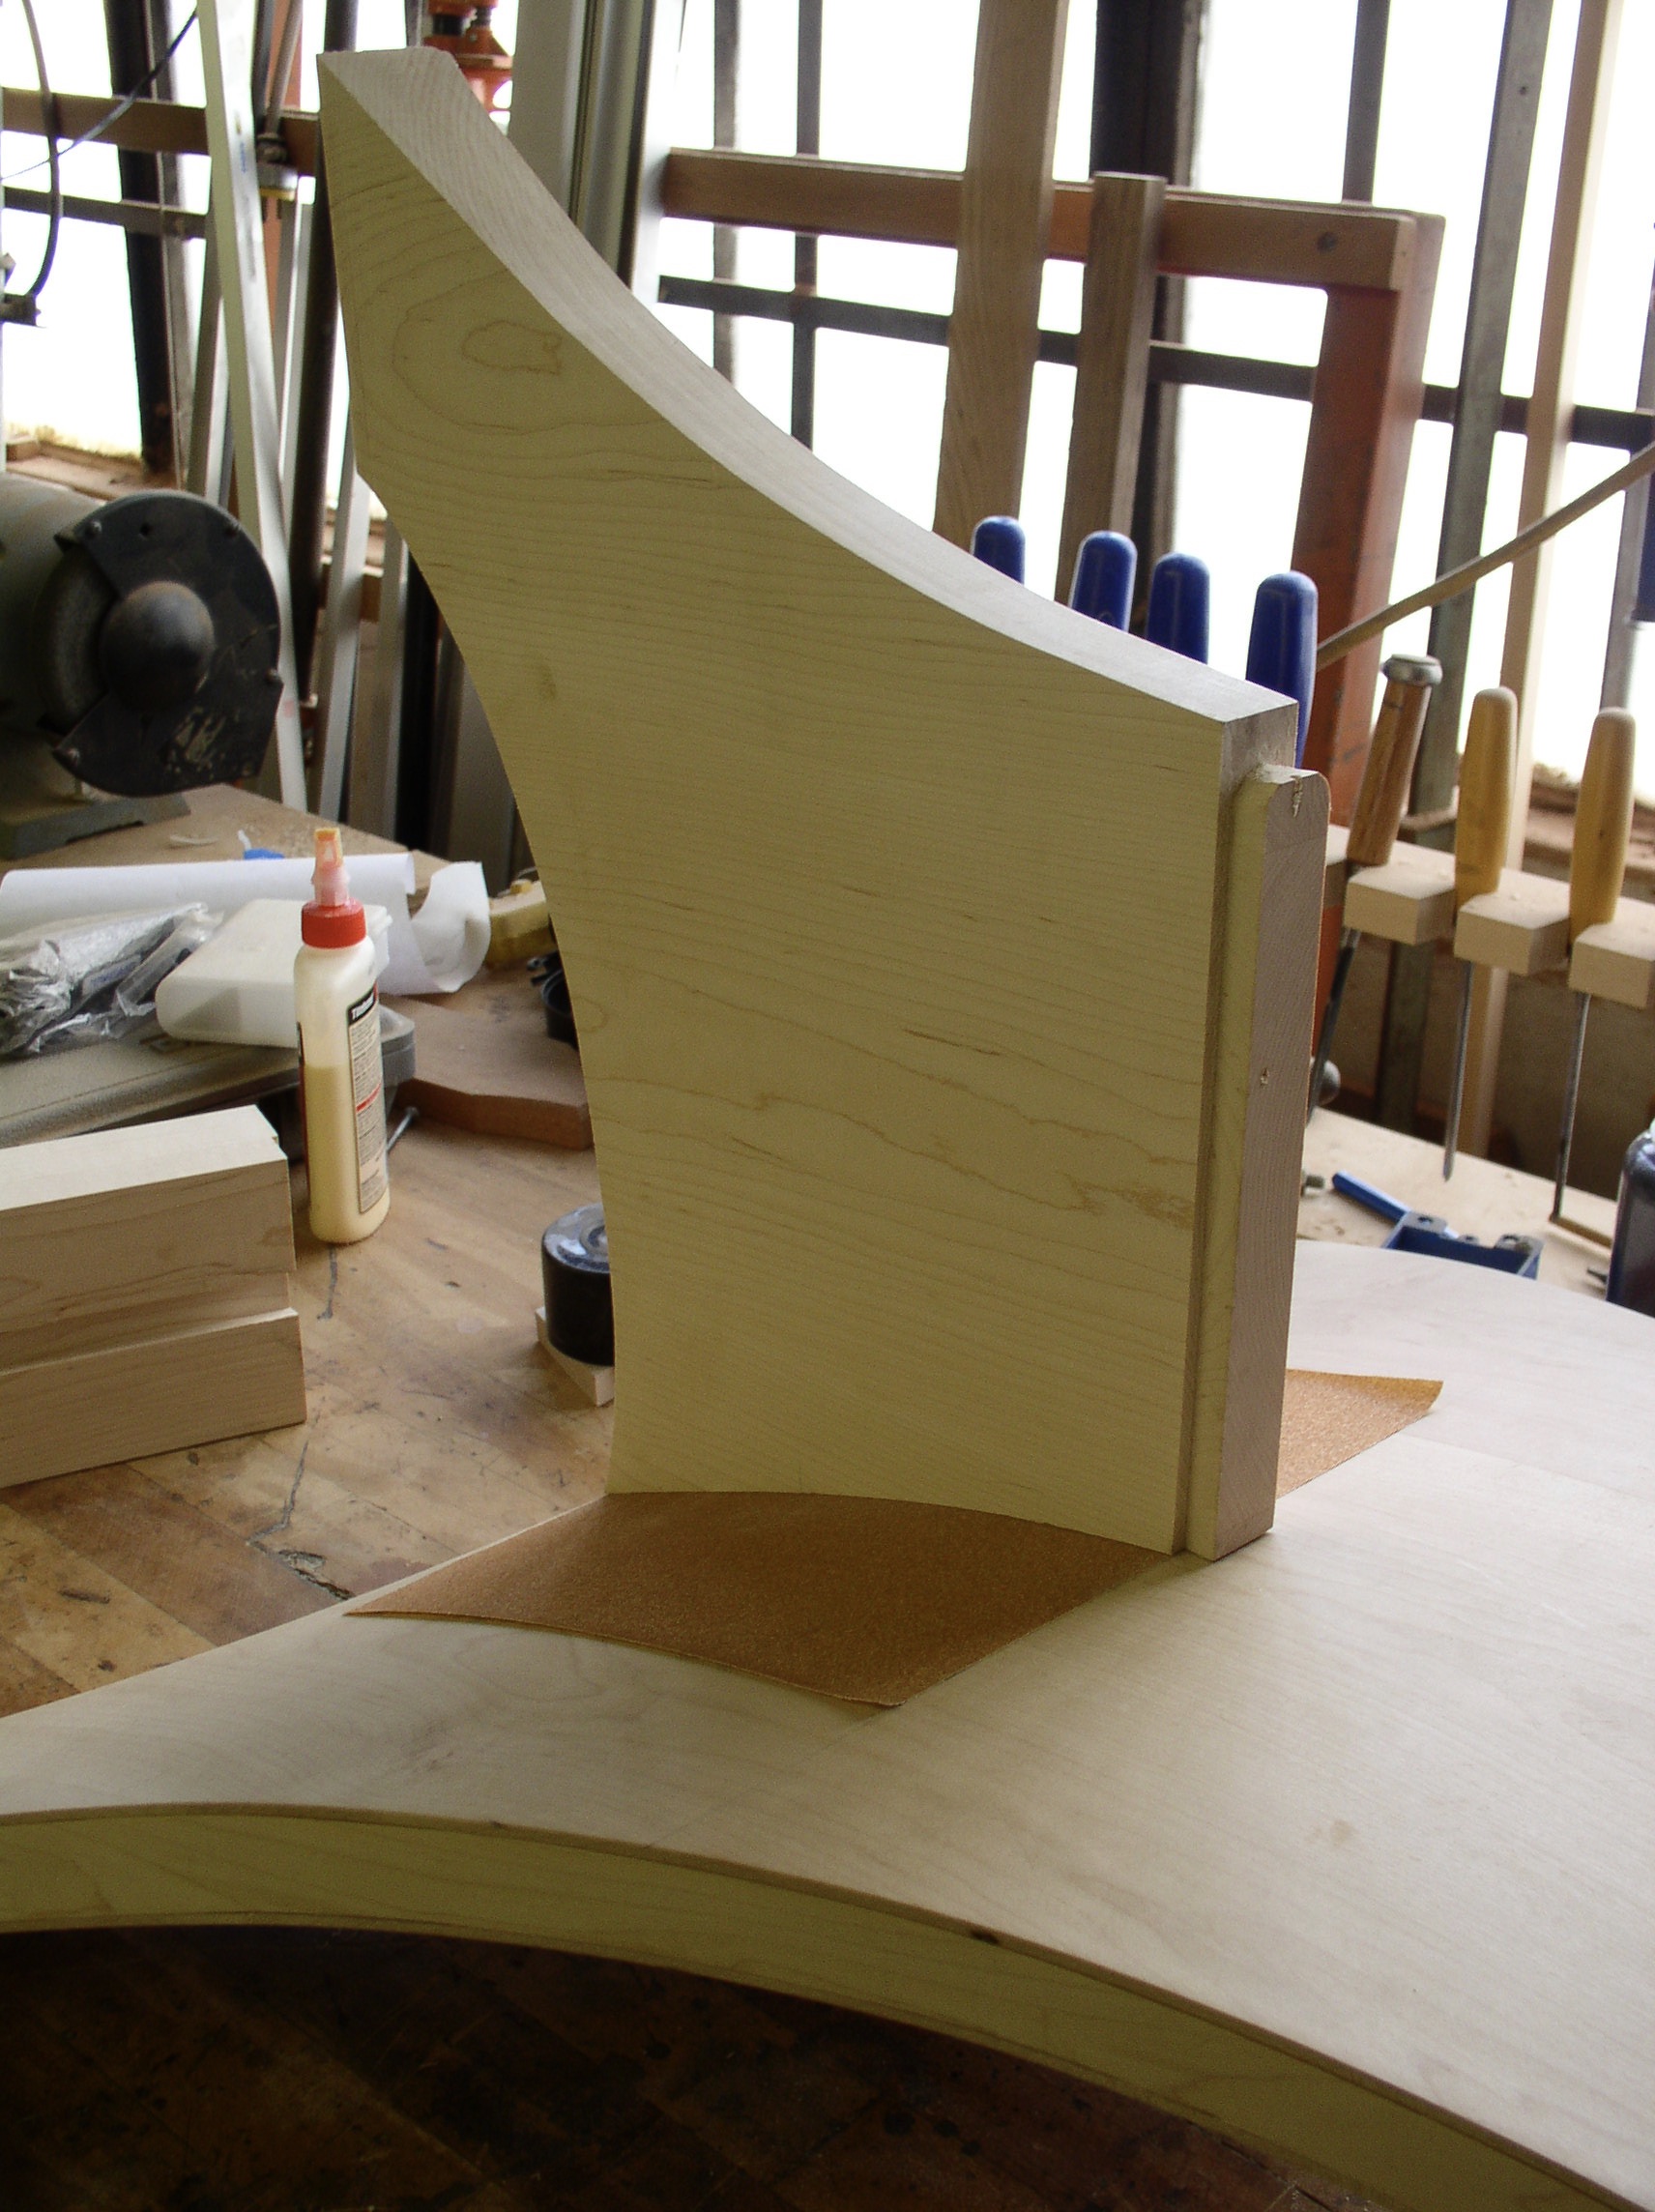 The leg got sanded and contoured to the back by rubbing it on a piece of sandpaper resting on the back. It also got a dovetail along it’s top edge so that the seat rest would be able to attach securely to the leg. The leg has a pair of loose tenons in mortises that secure the leg to the back as well.
Here is the chair so far:

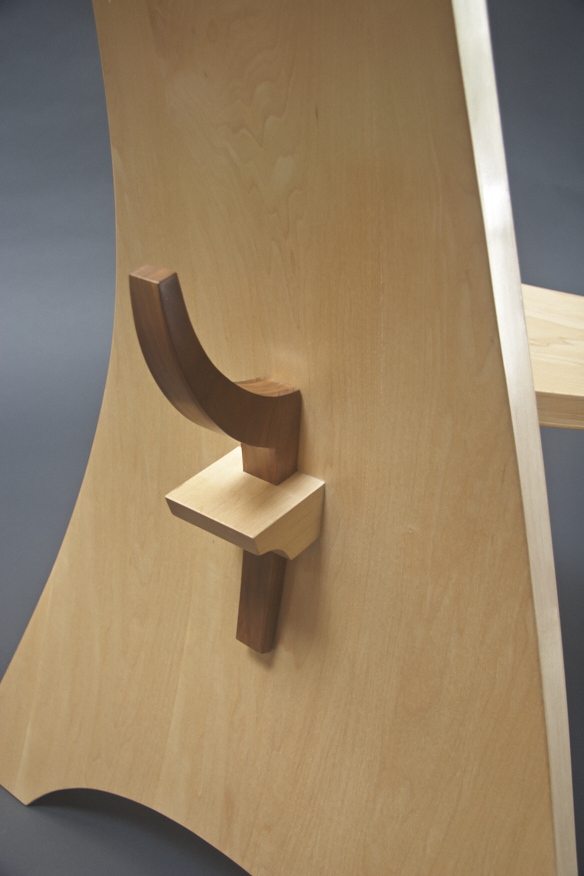
Next comes the seat rest. It is a very interesting piece all on it’s on and is generally not even noticed in the finished chair.
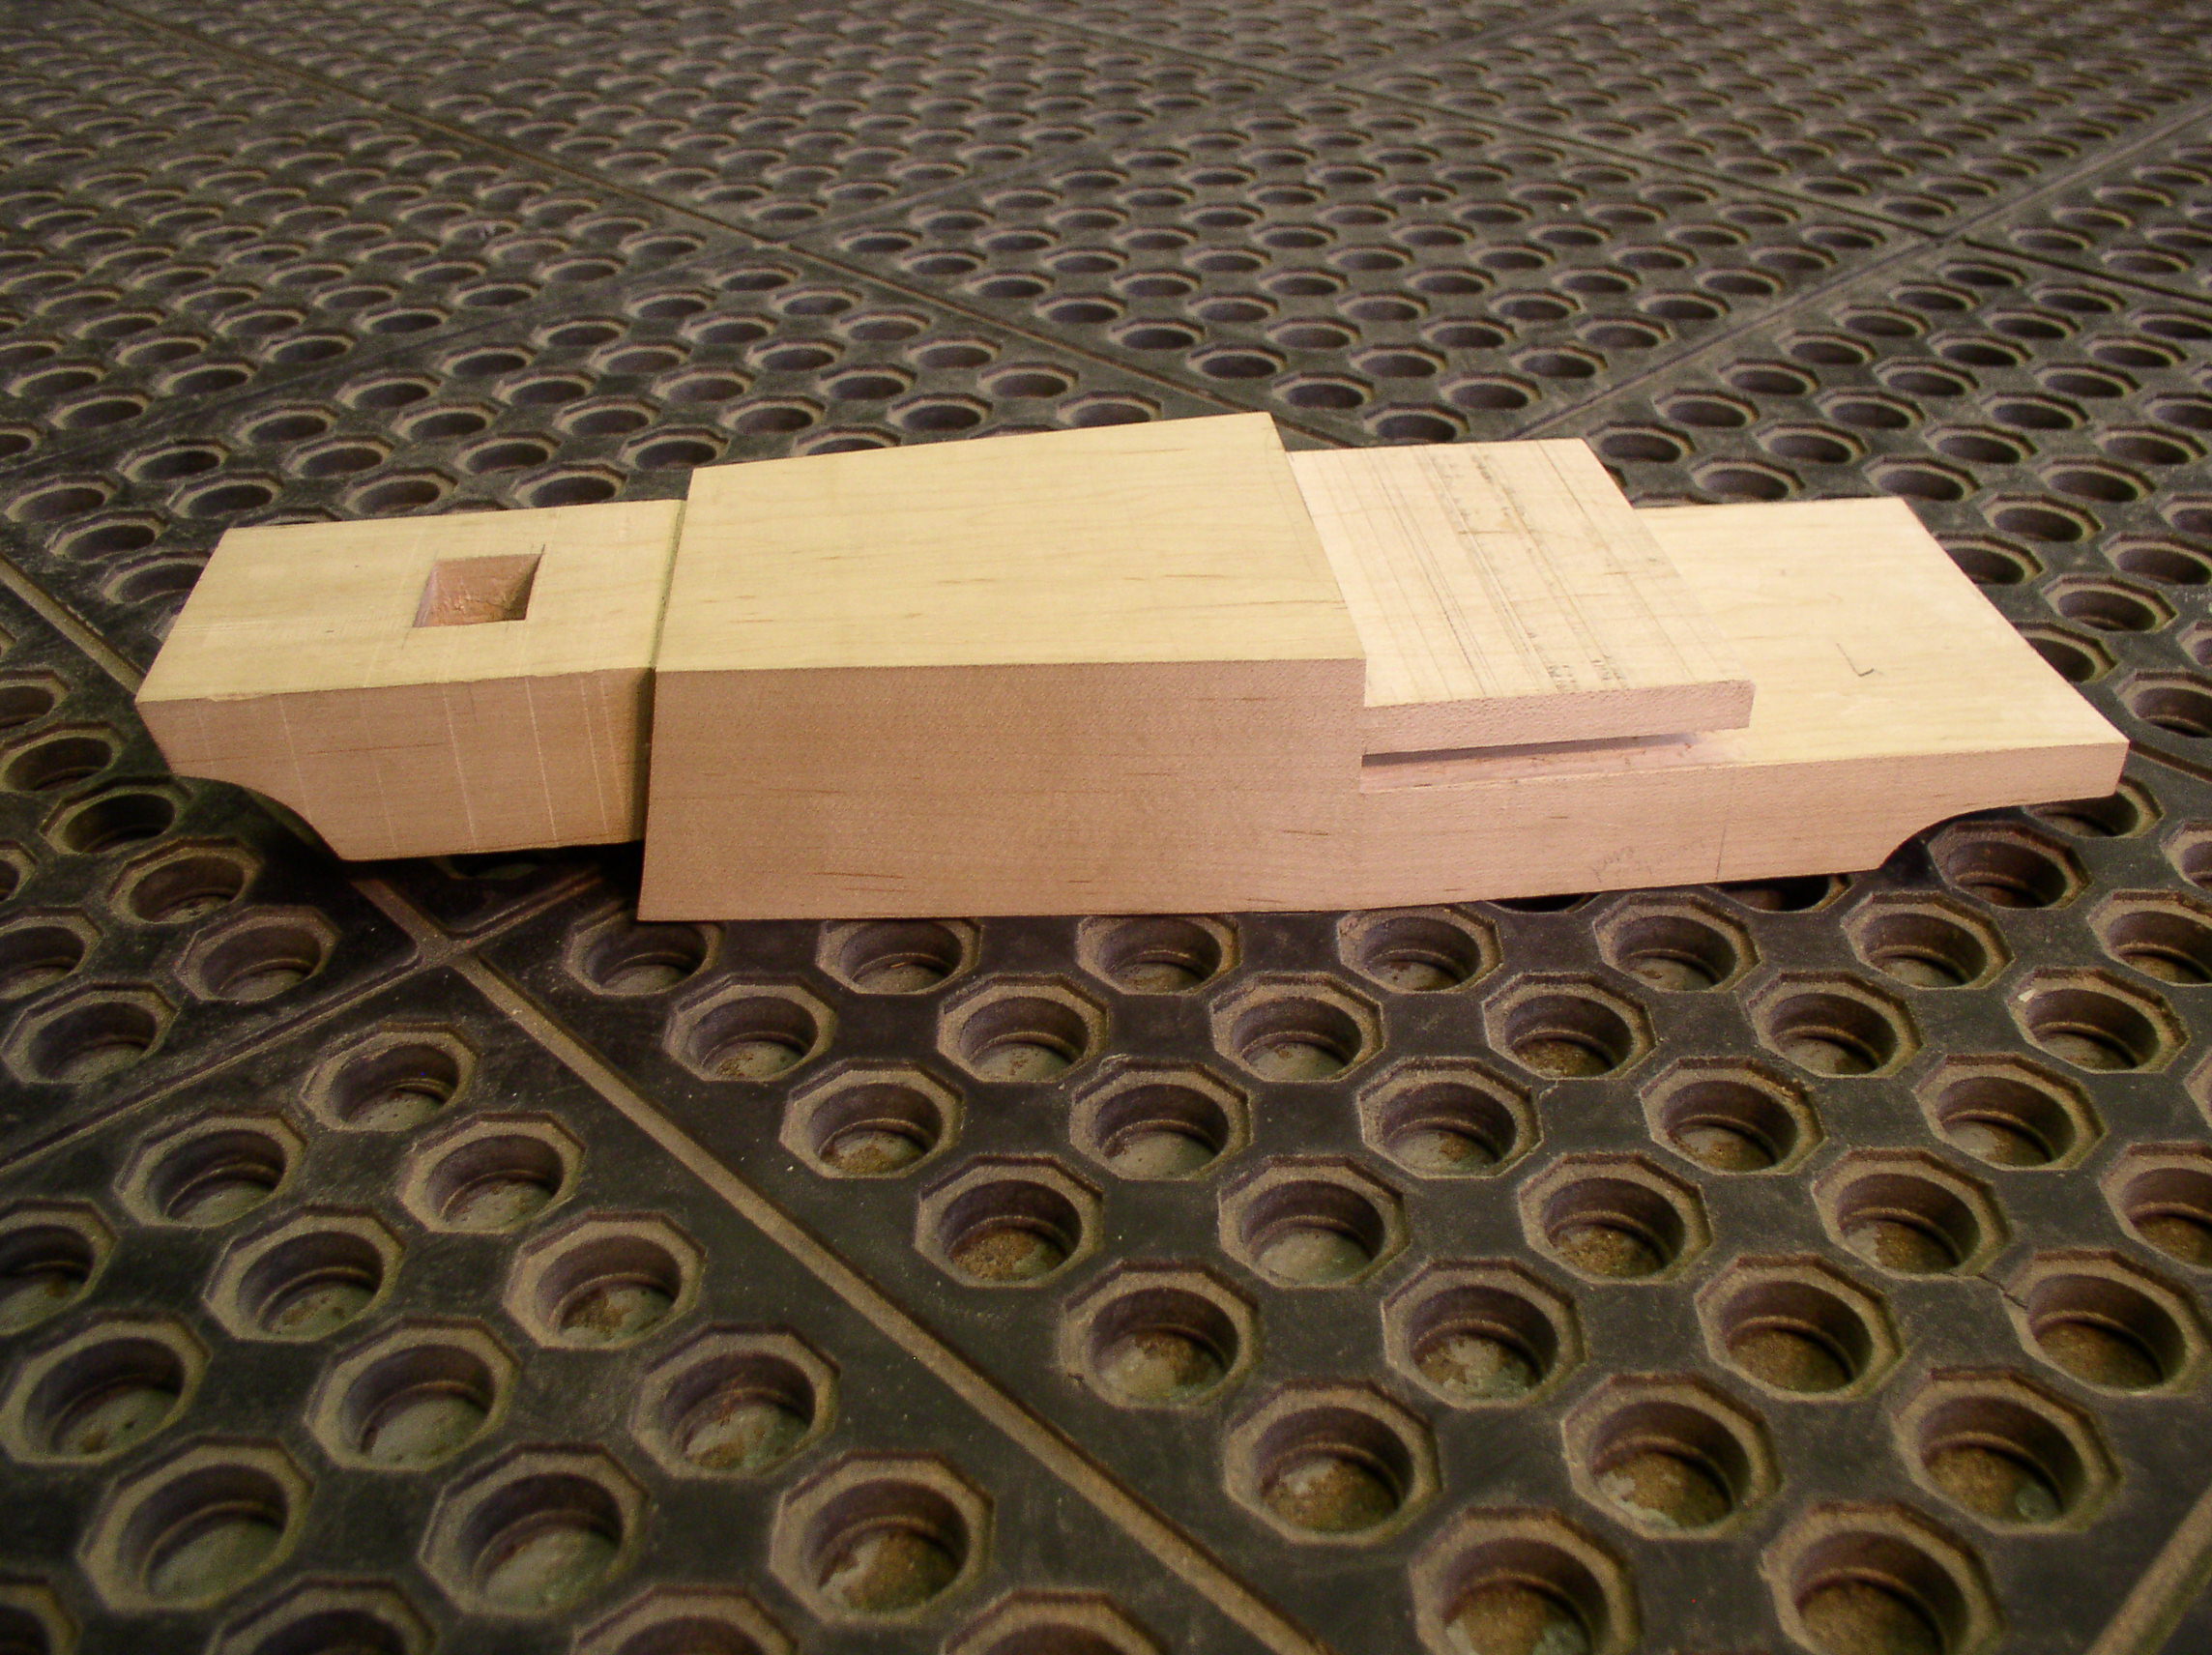
 The Seat Rest slides into a mortise in the chair seat, and is supported below with a section of maple, making the seat very stable.
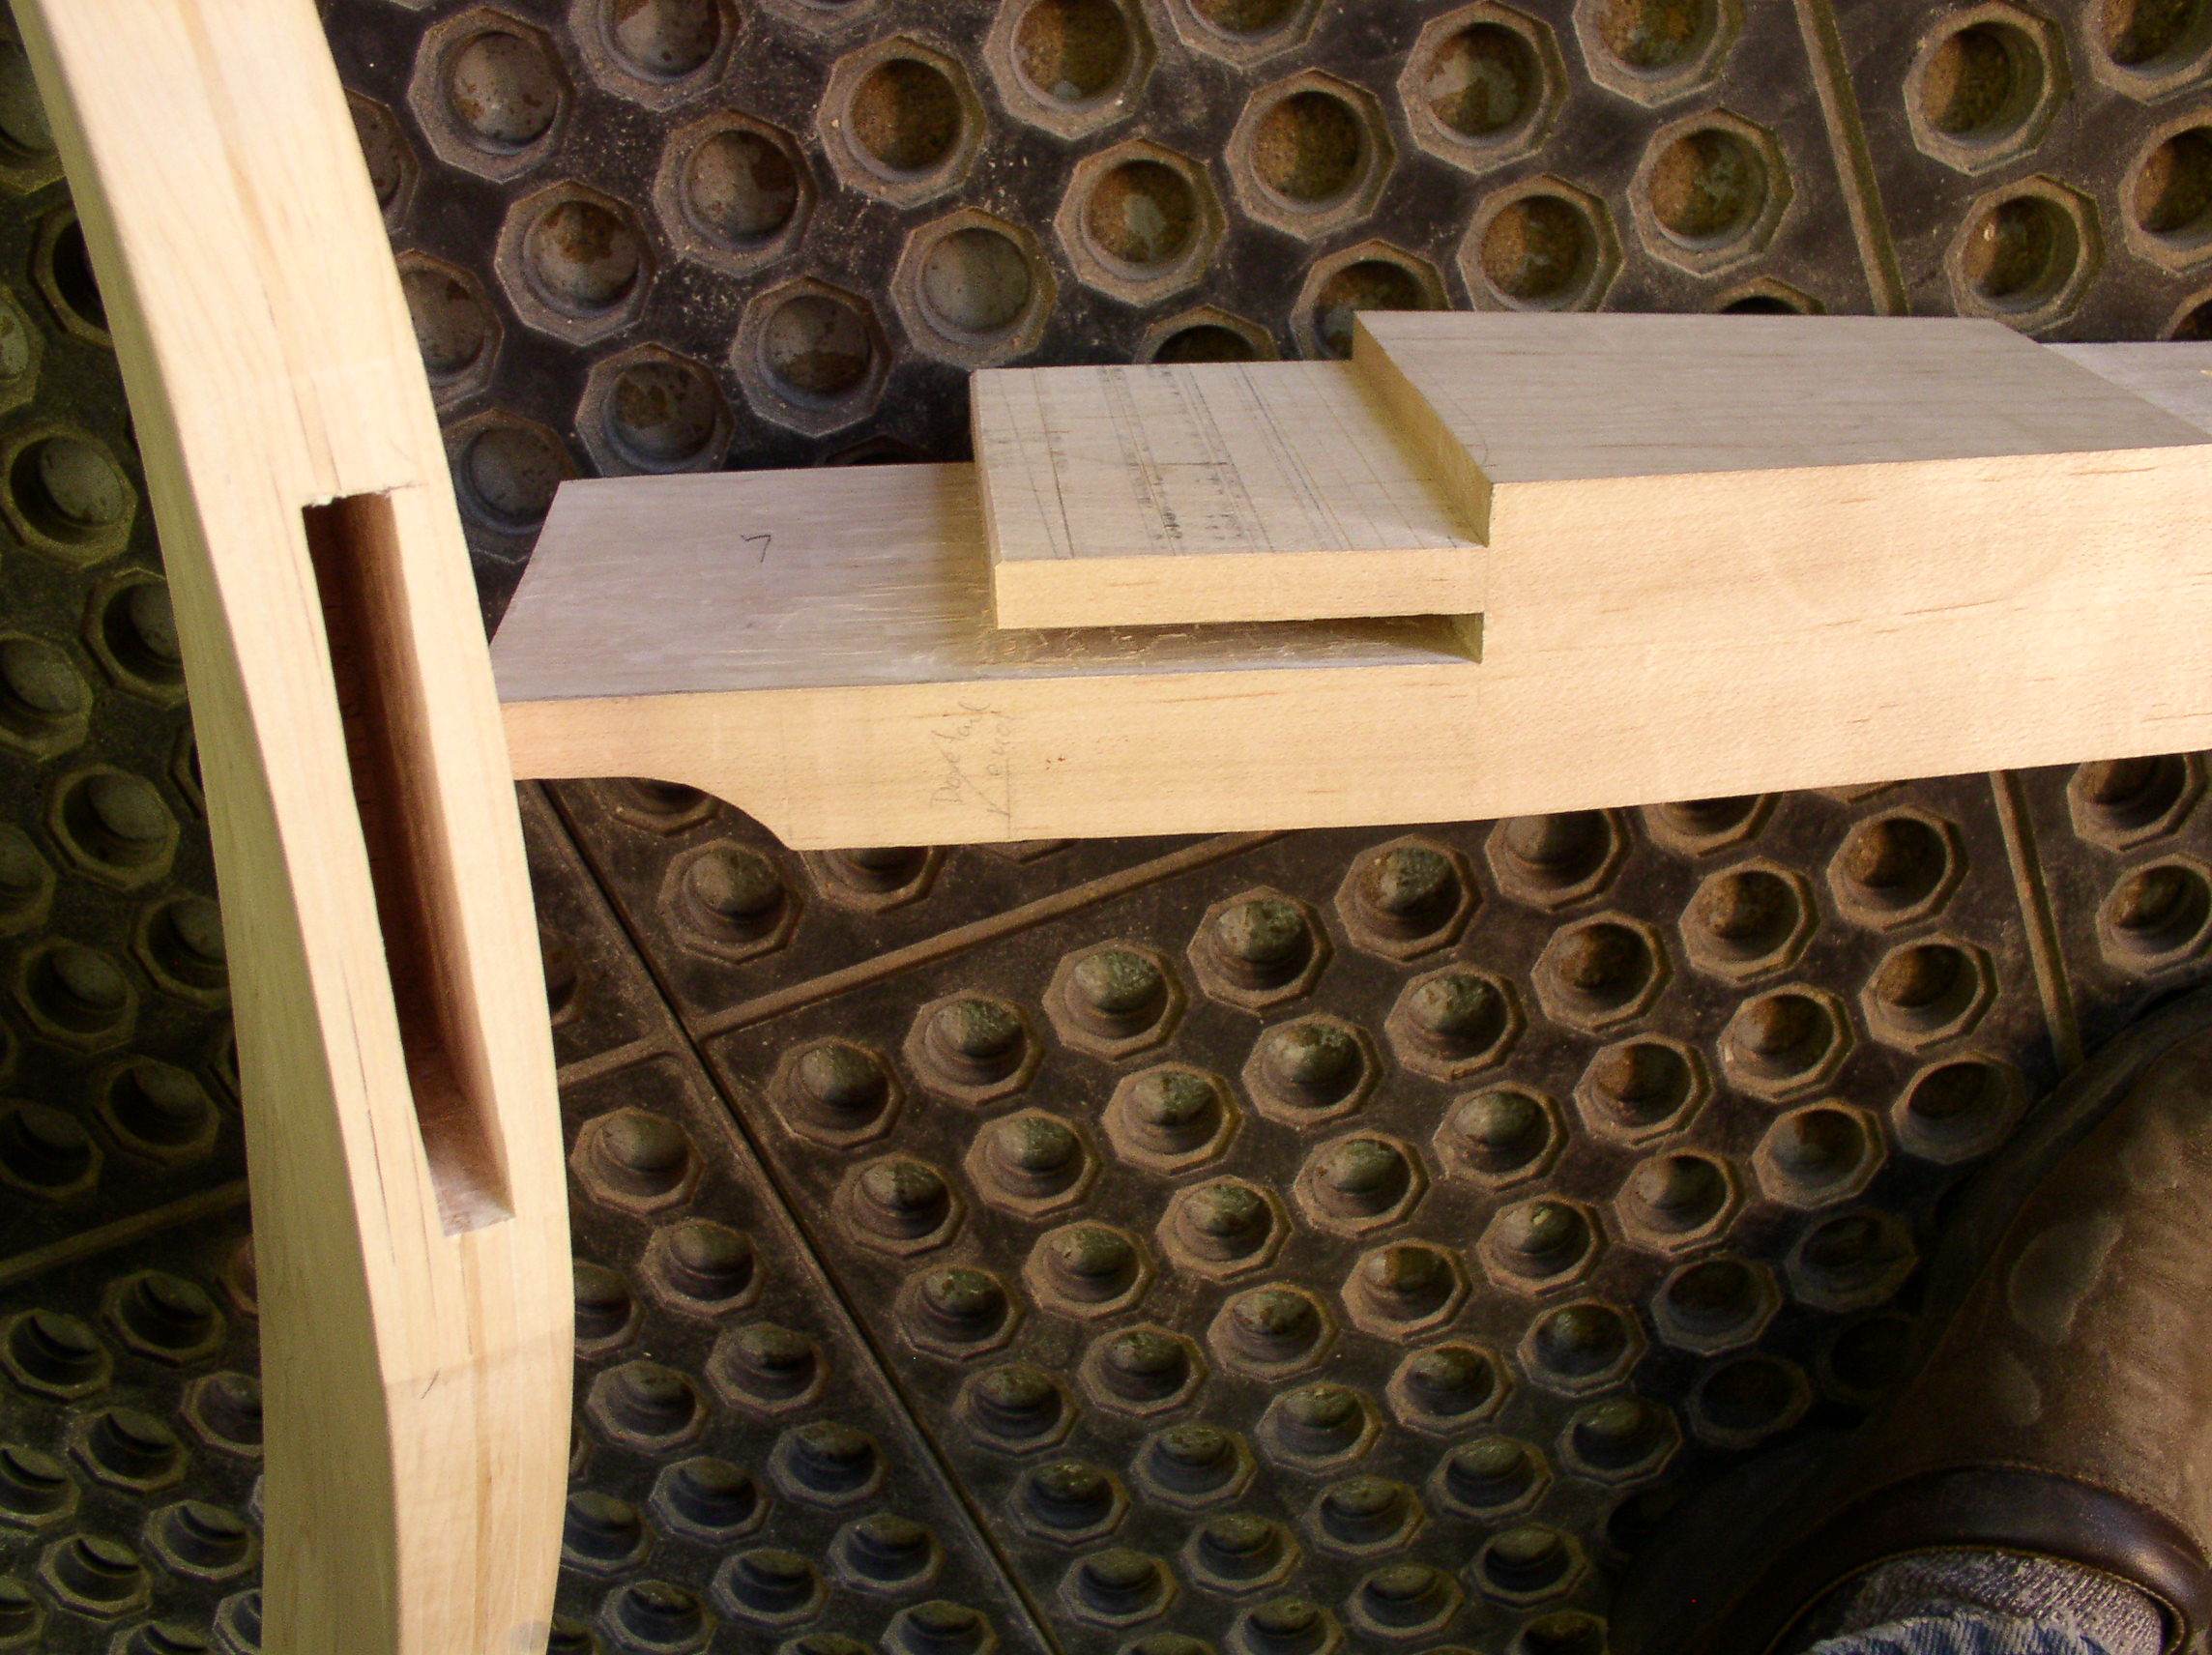
The seat pieces look so simple when they are done and yet each piece required many hours and many processes.
The chair was assembled and I experimented with several style if wedges for the back before I settled on the final version.
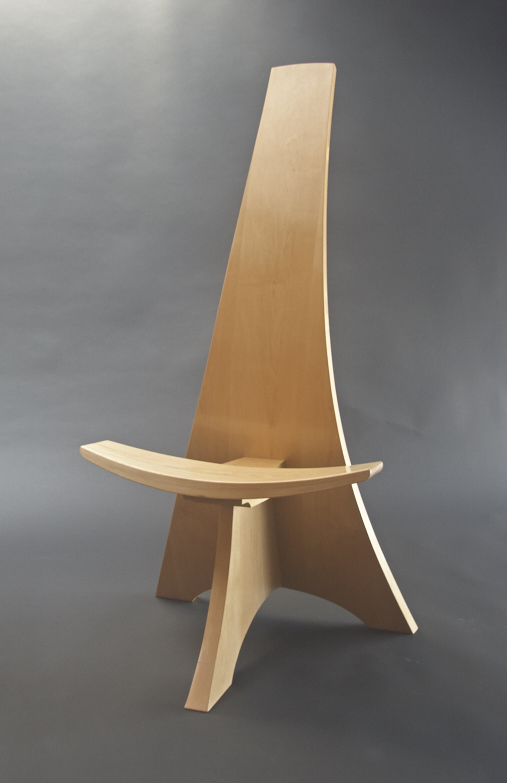
The chair then got a slight bevel on it’s feet where the chair touches the floor and I applied a number of coats of a clear water based finish before rubbing it out.

This chair turned out to be surprisingly comfortable to sit on!
Leave a Reply
You must be logged in to post a comment.