Constructing the Curved Caned Chair
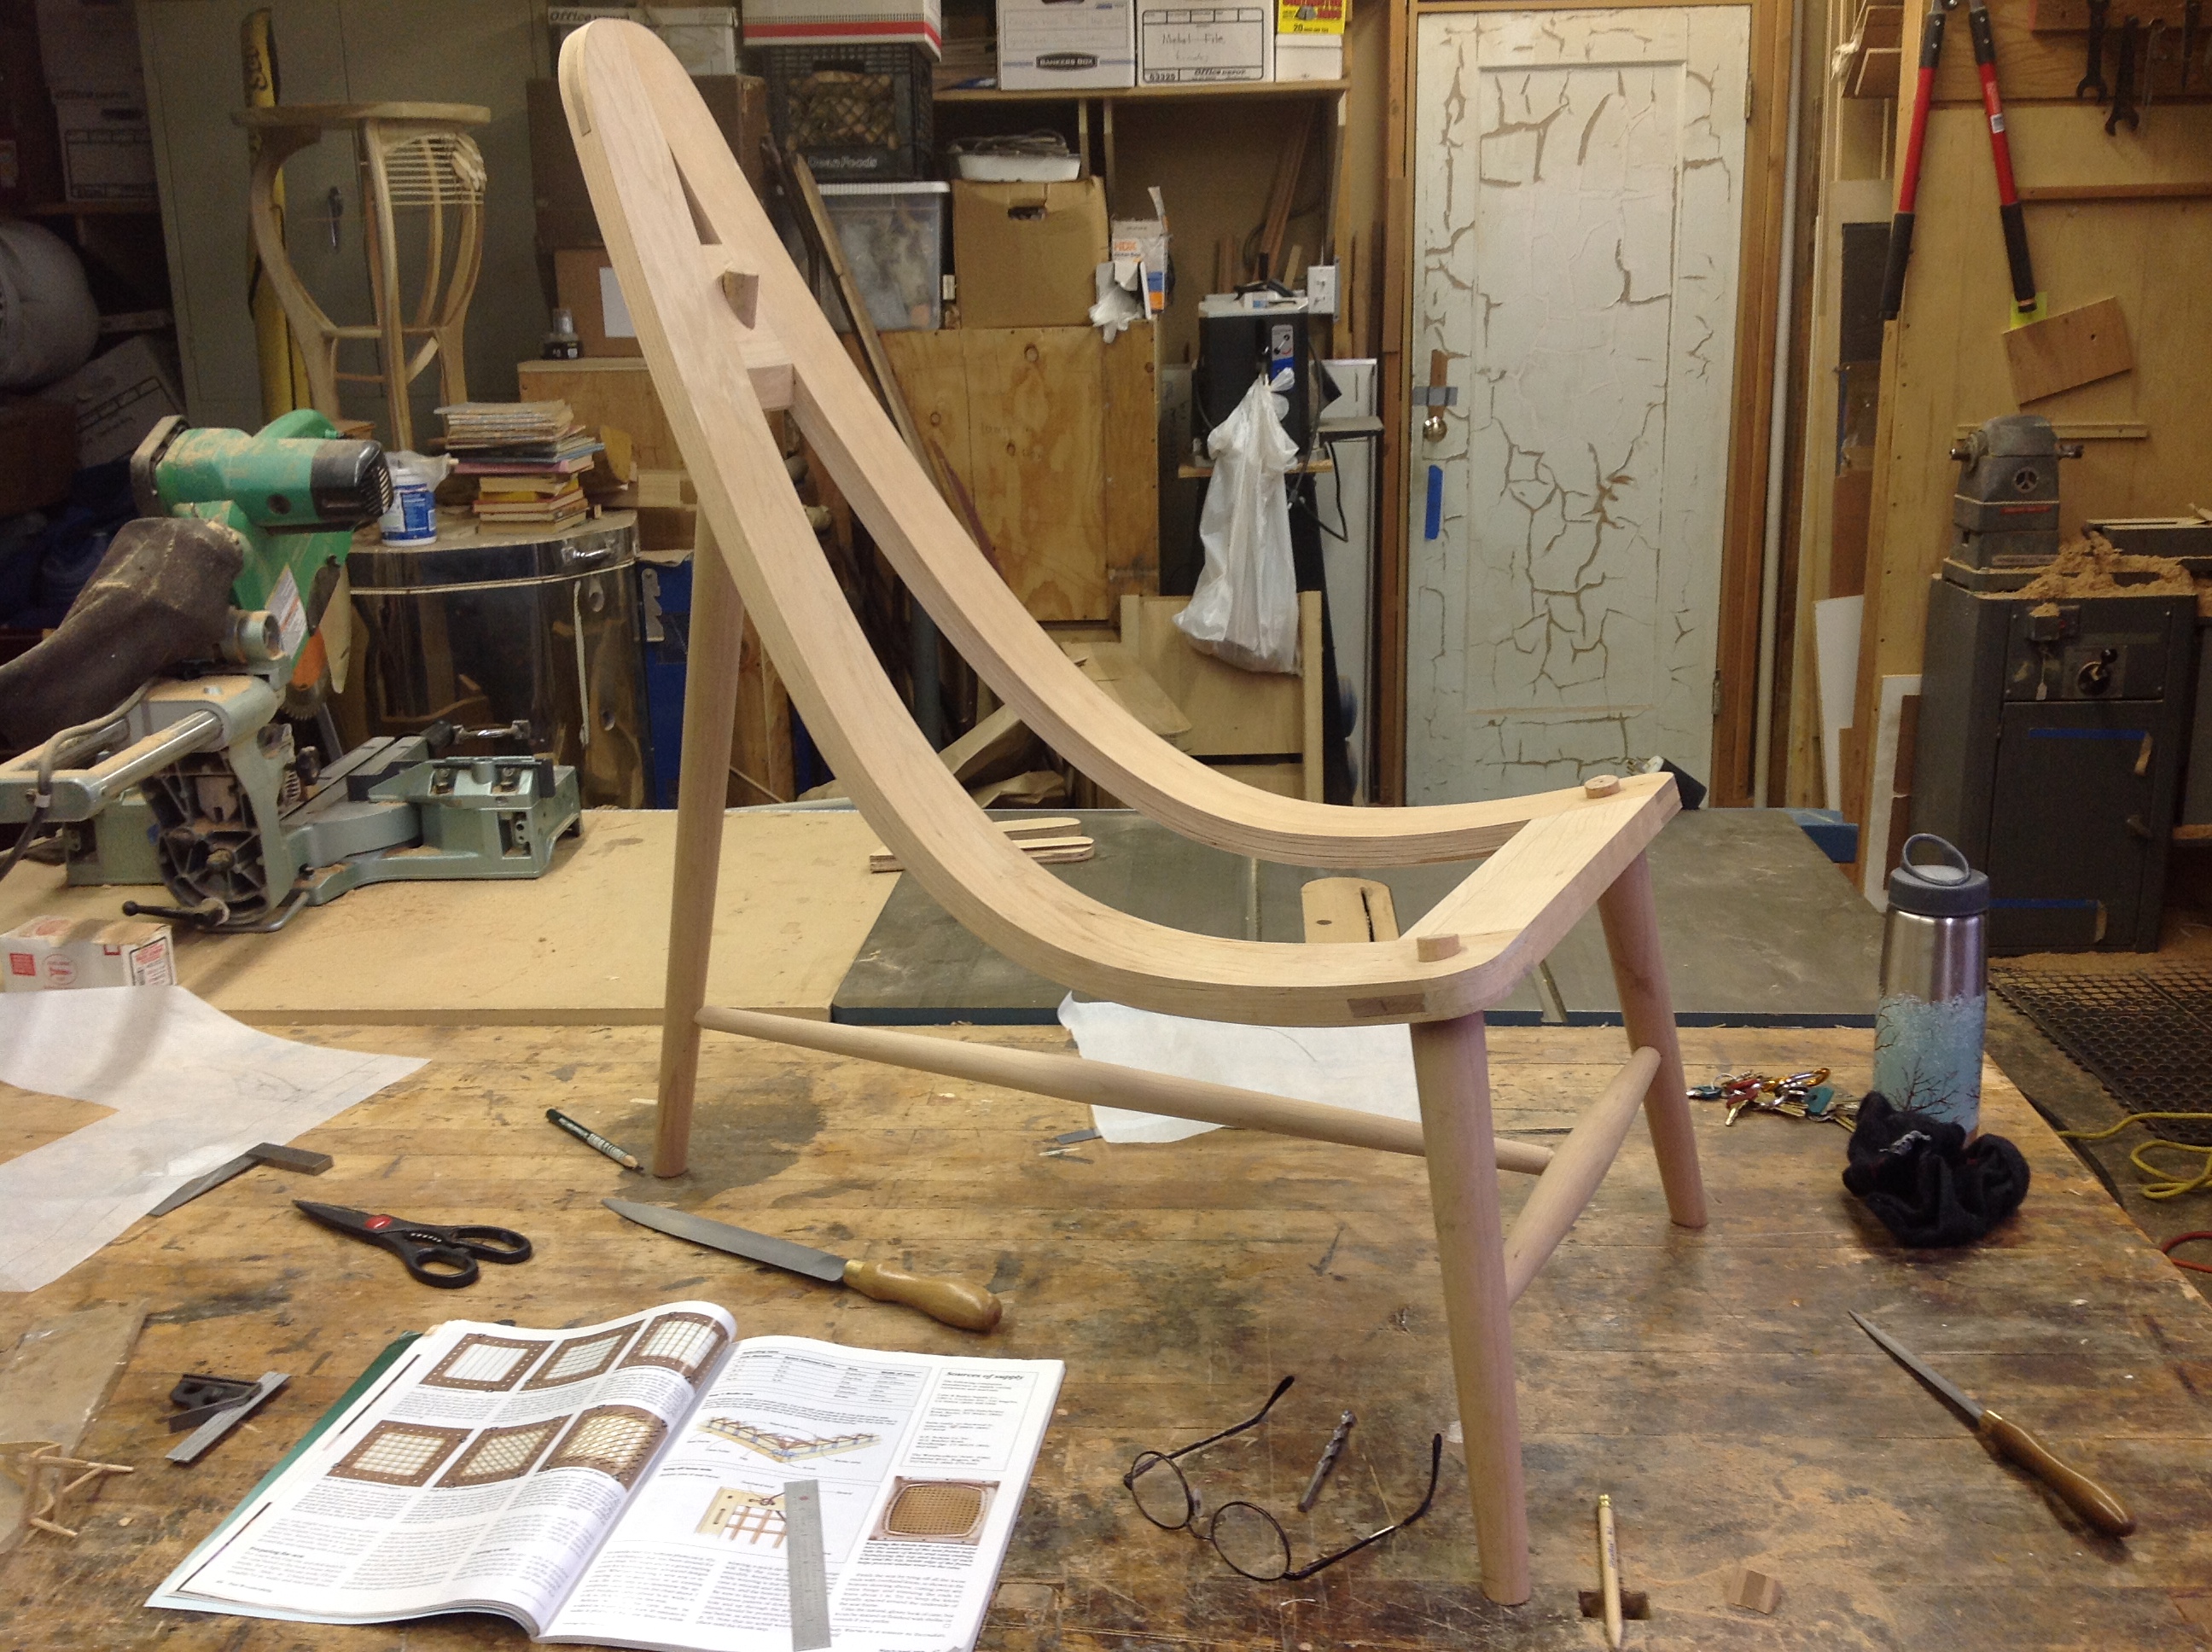
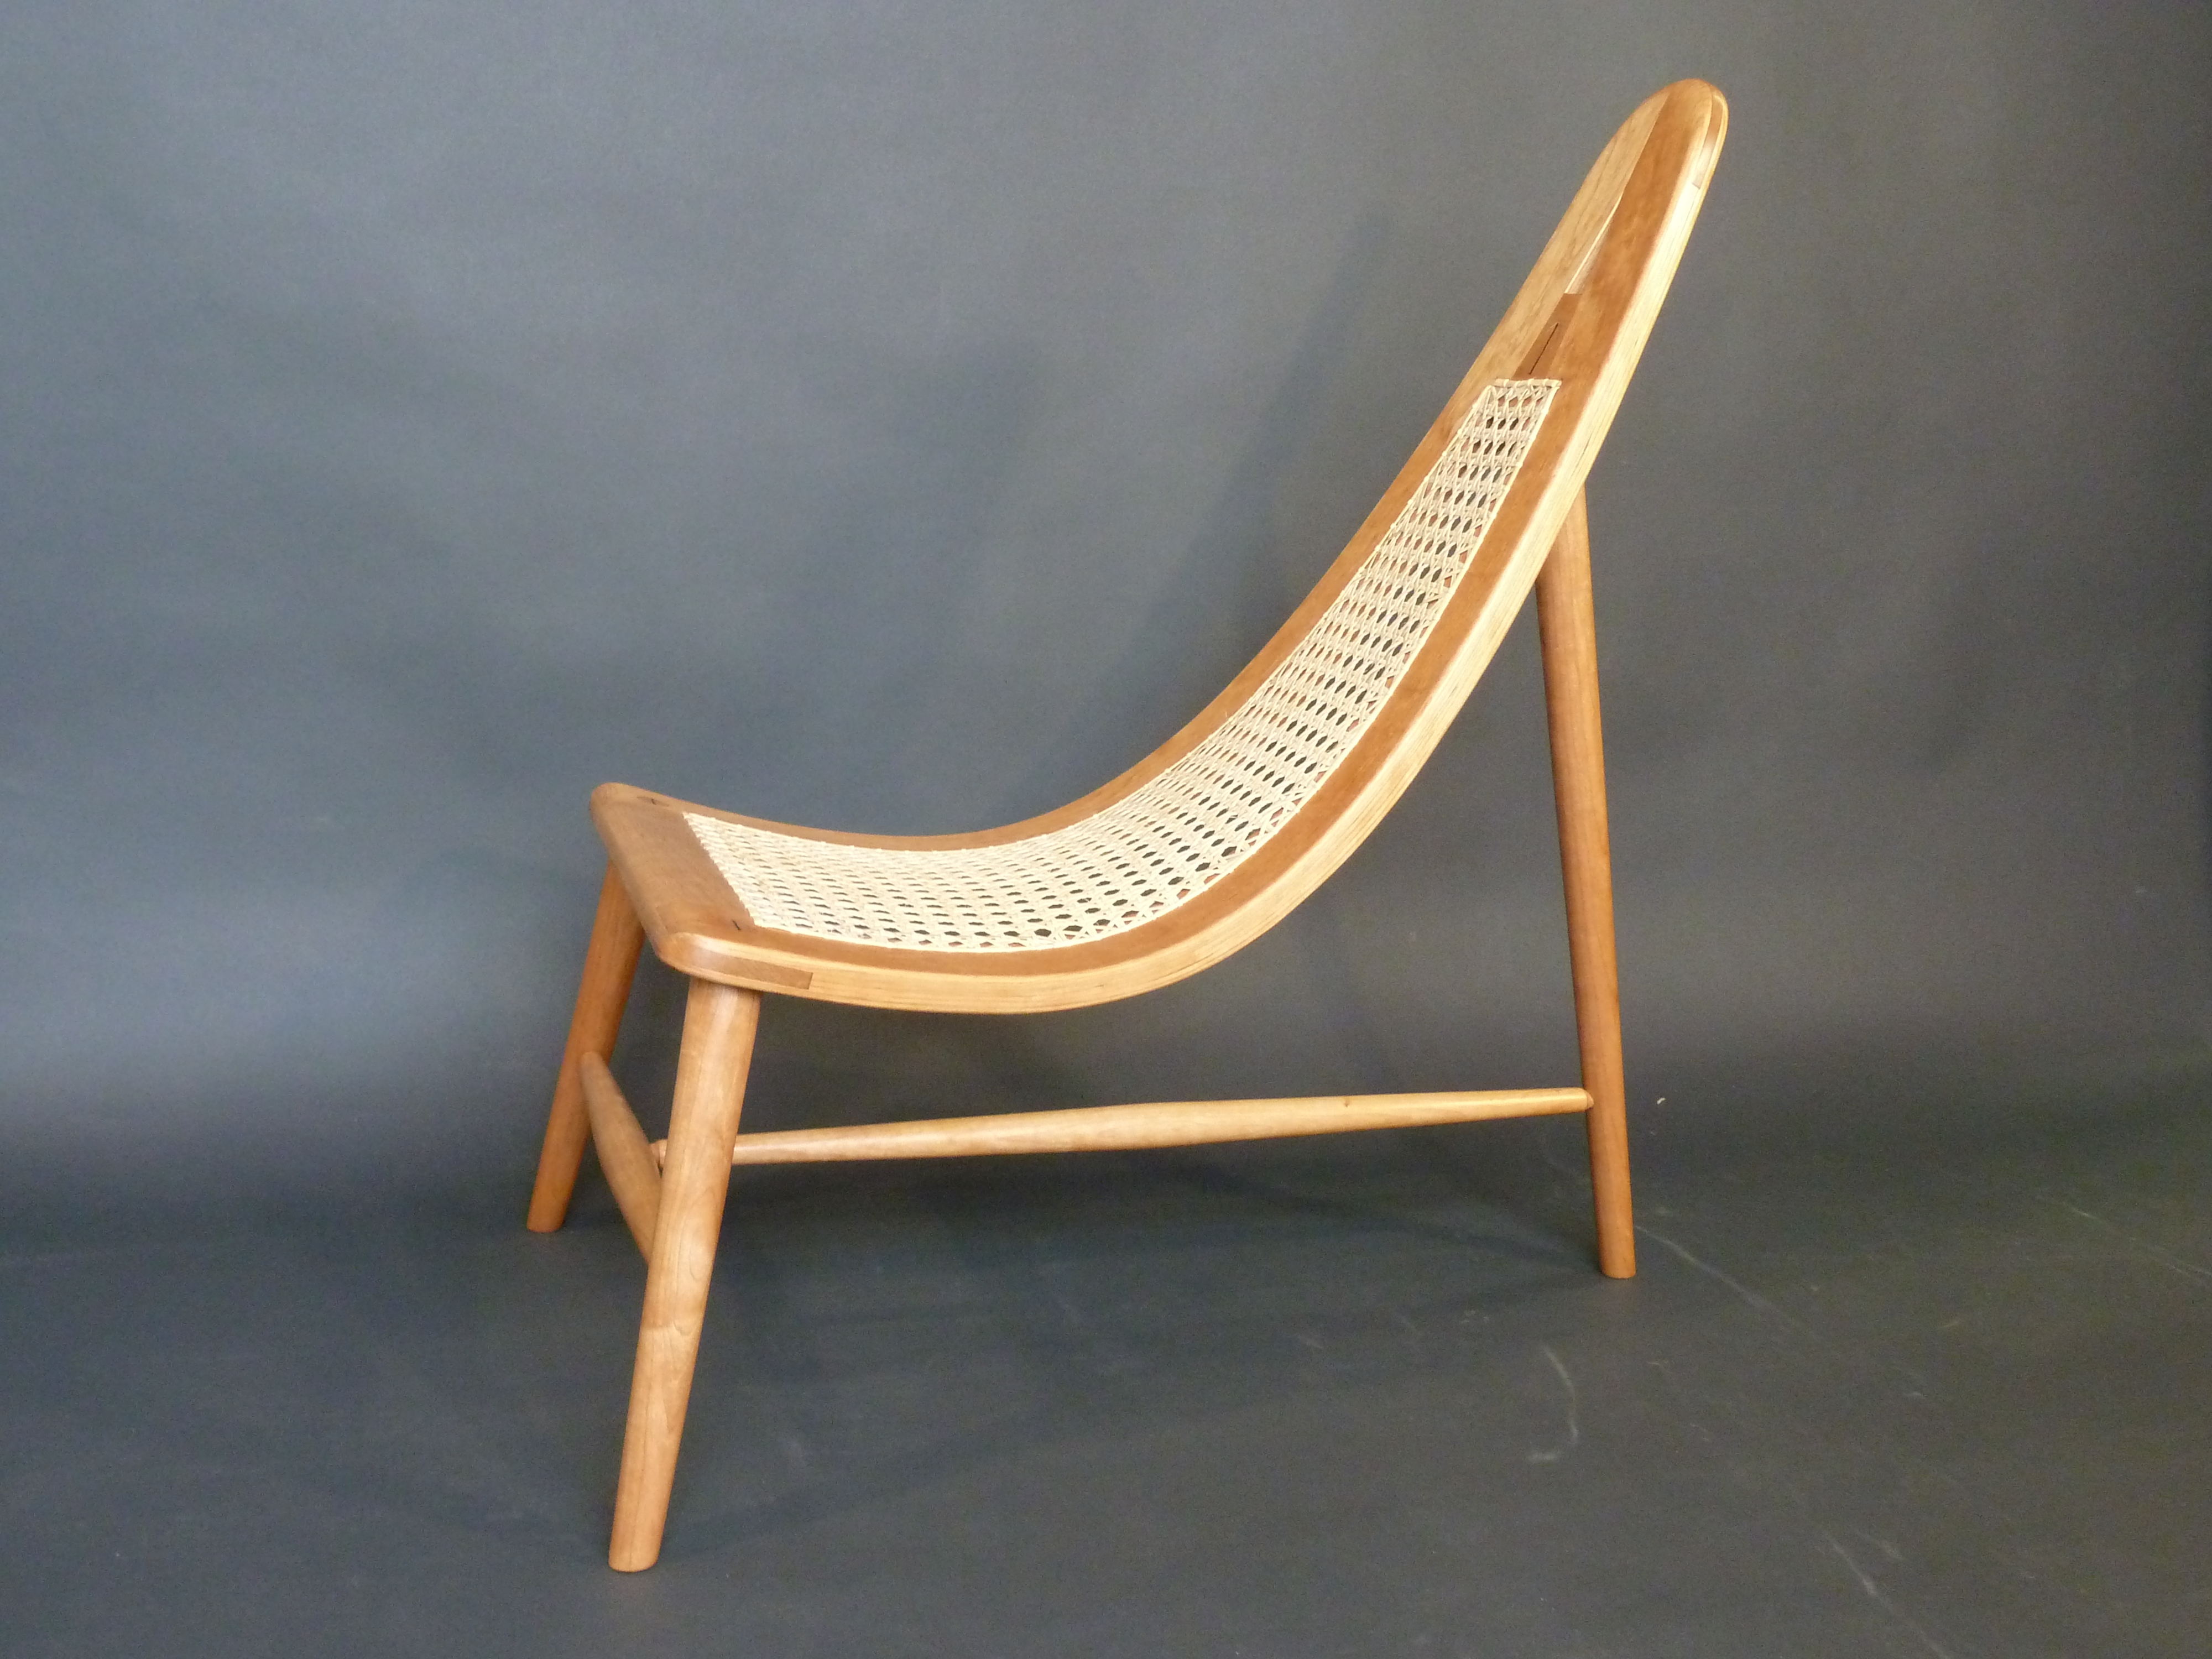
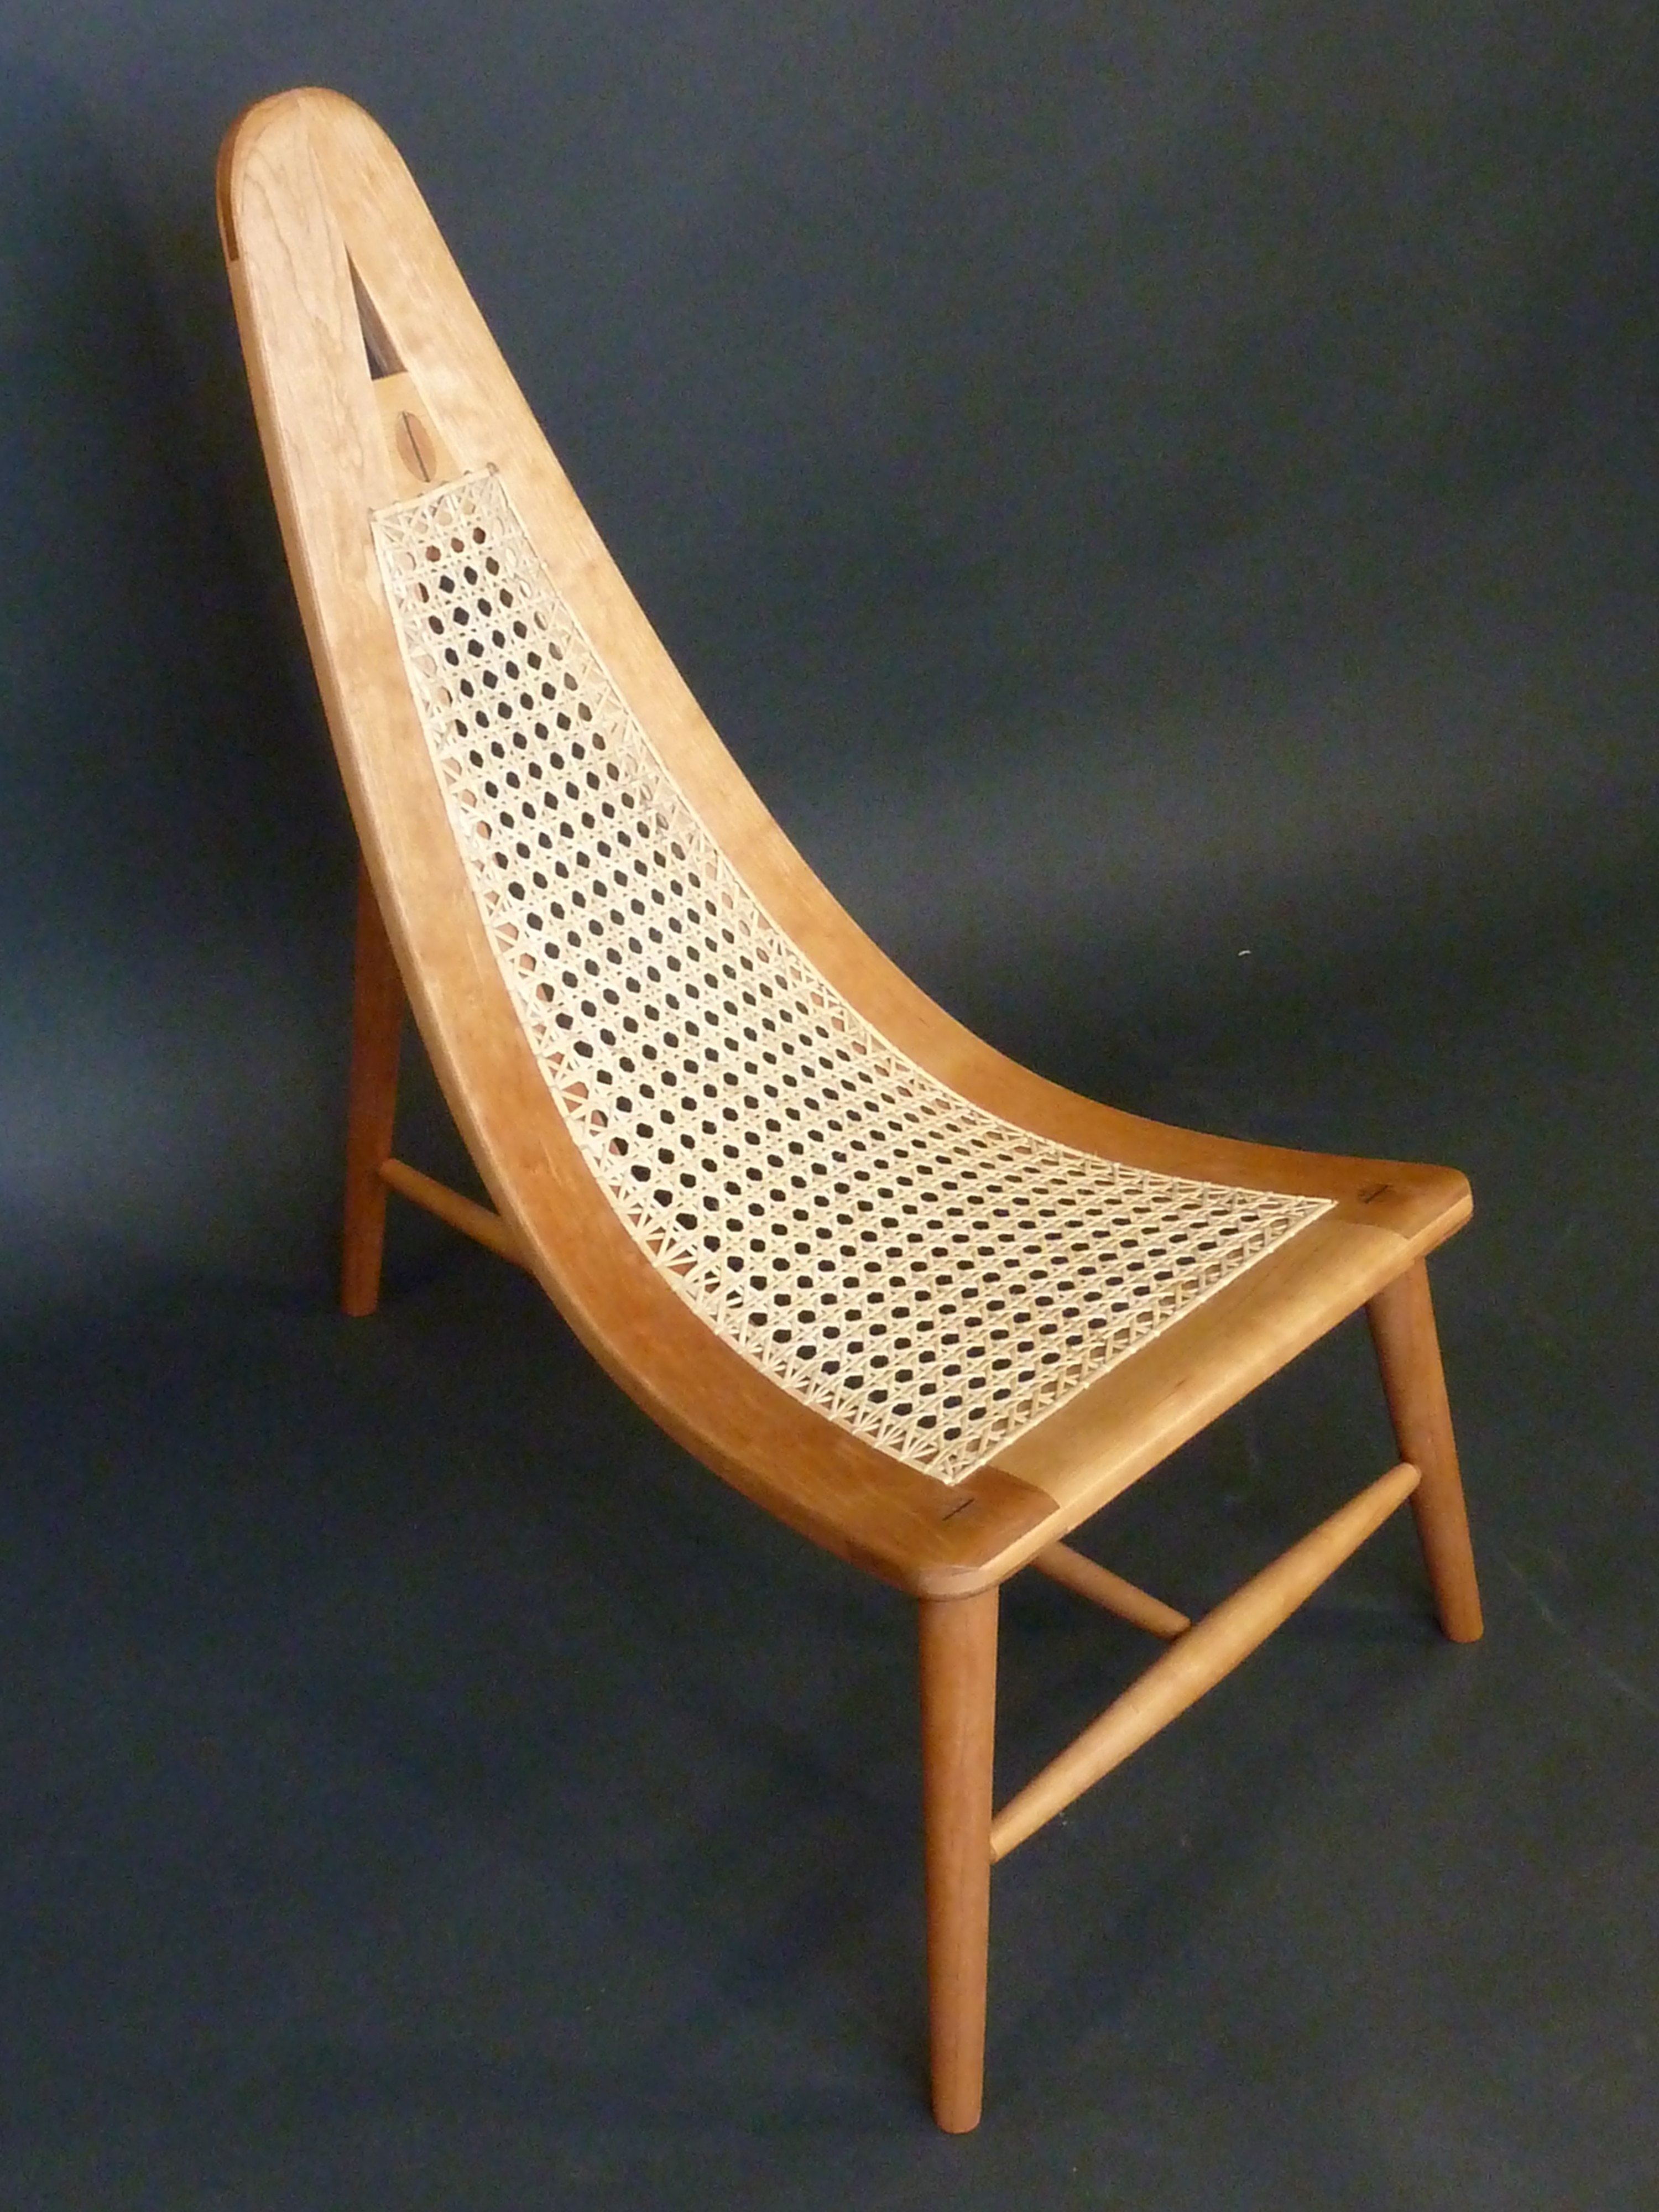
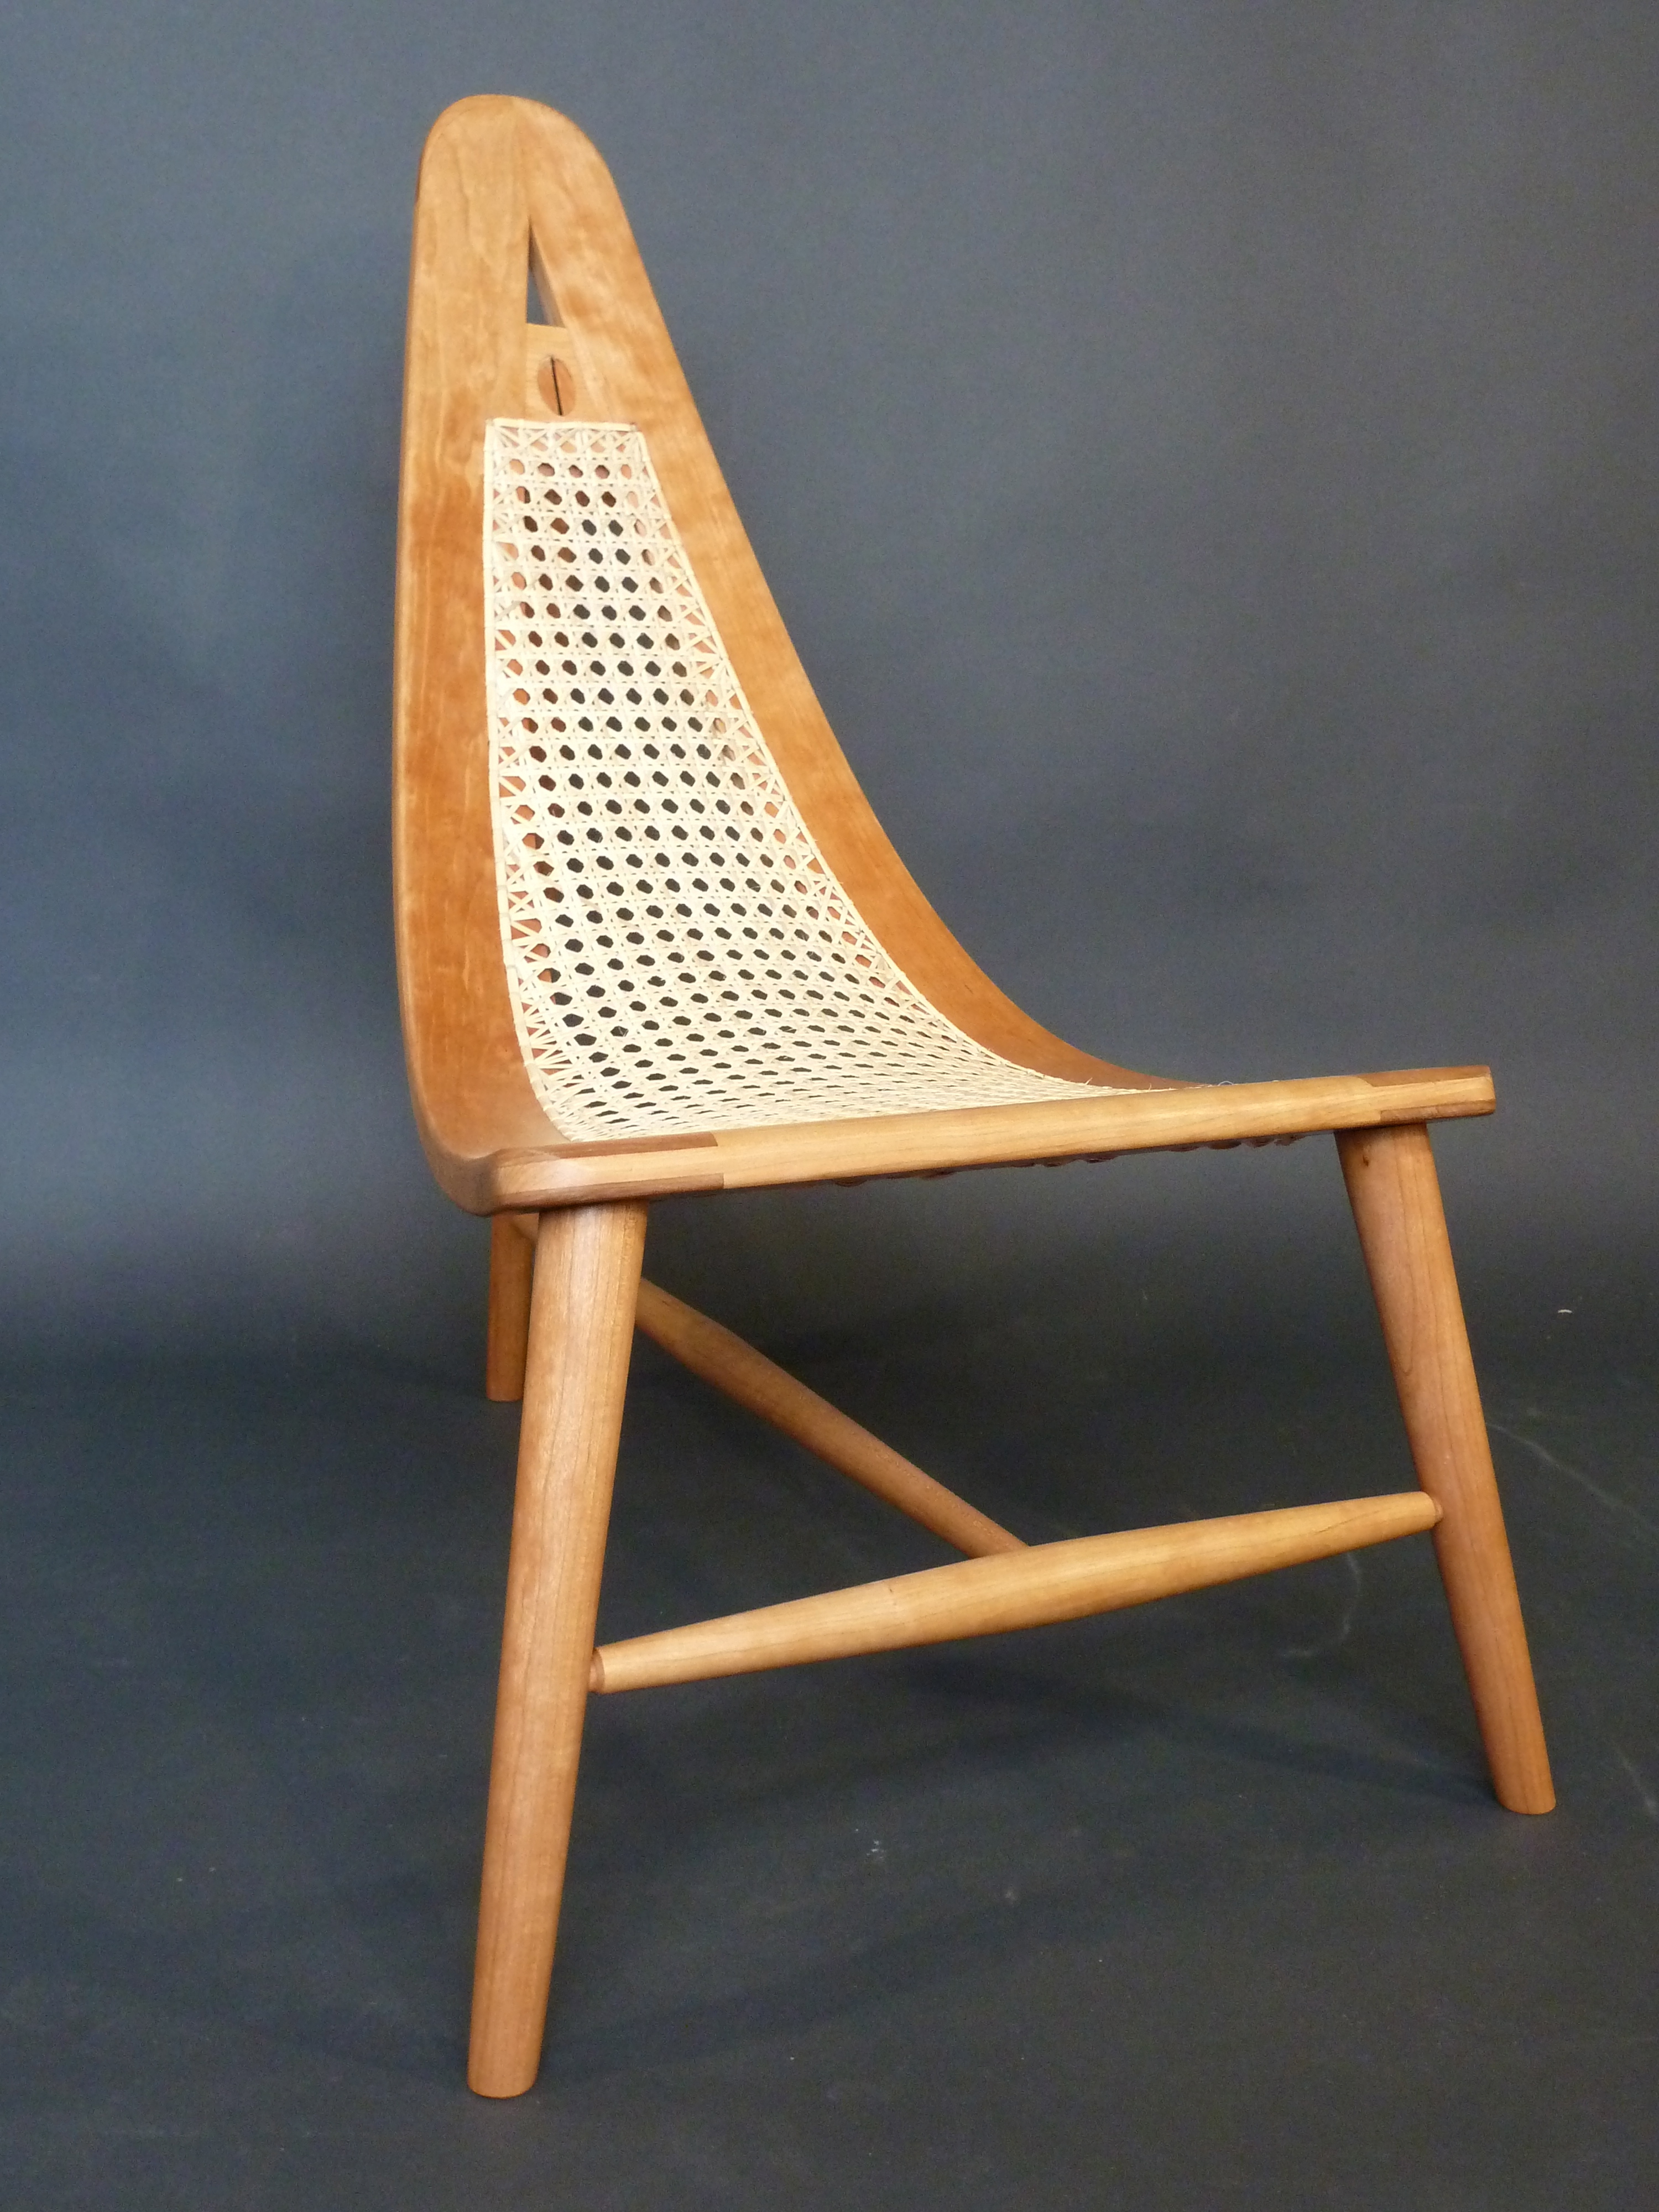 Made from turned legs and stretchers with a bent laminated frame and caning, this chair is light and strong, but not particularly comfortable. I do like how it looks though.
As with my other furniture pieces, this chair started with sketches and models then full sized drawings. 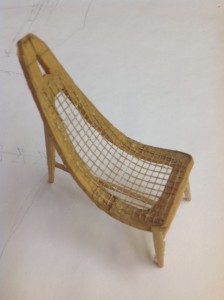
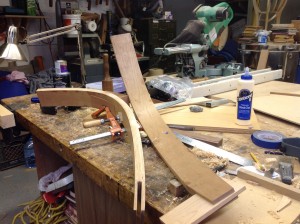
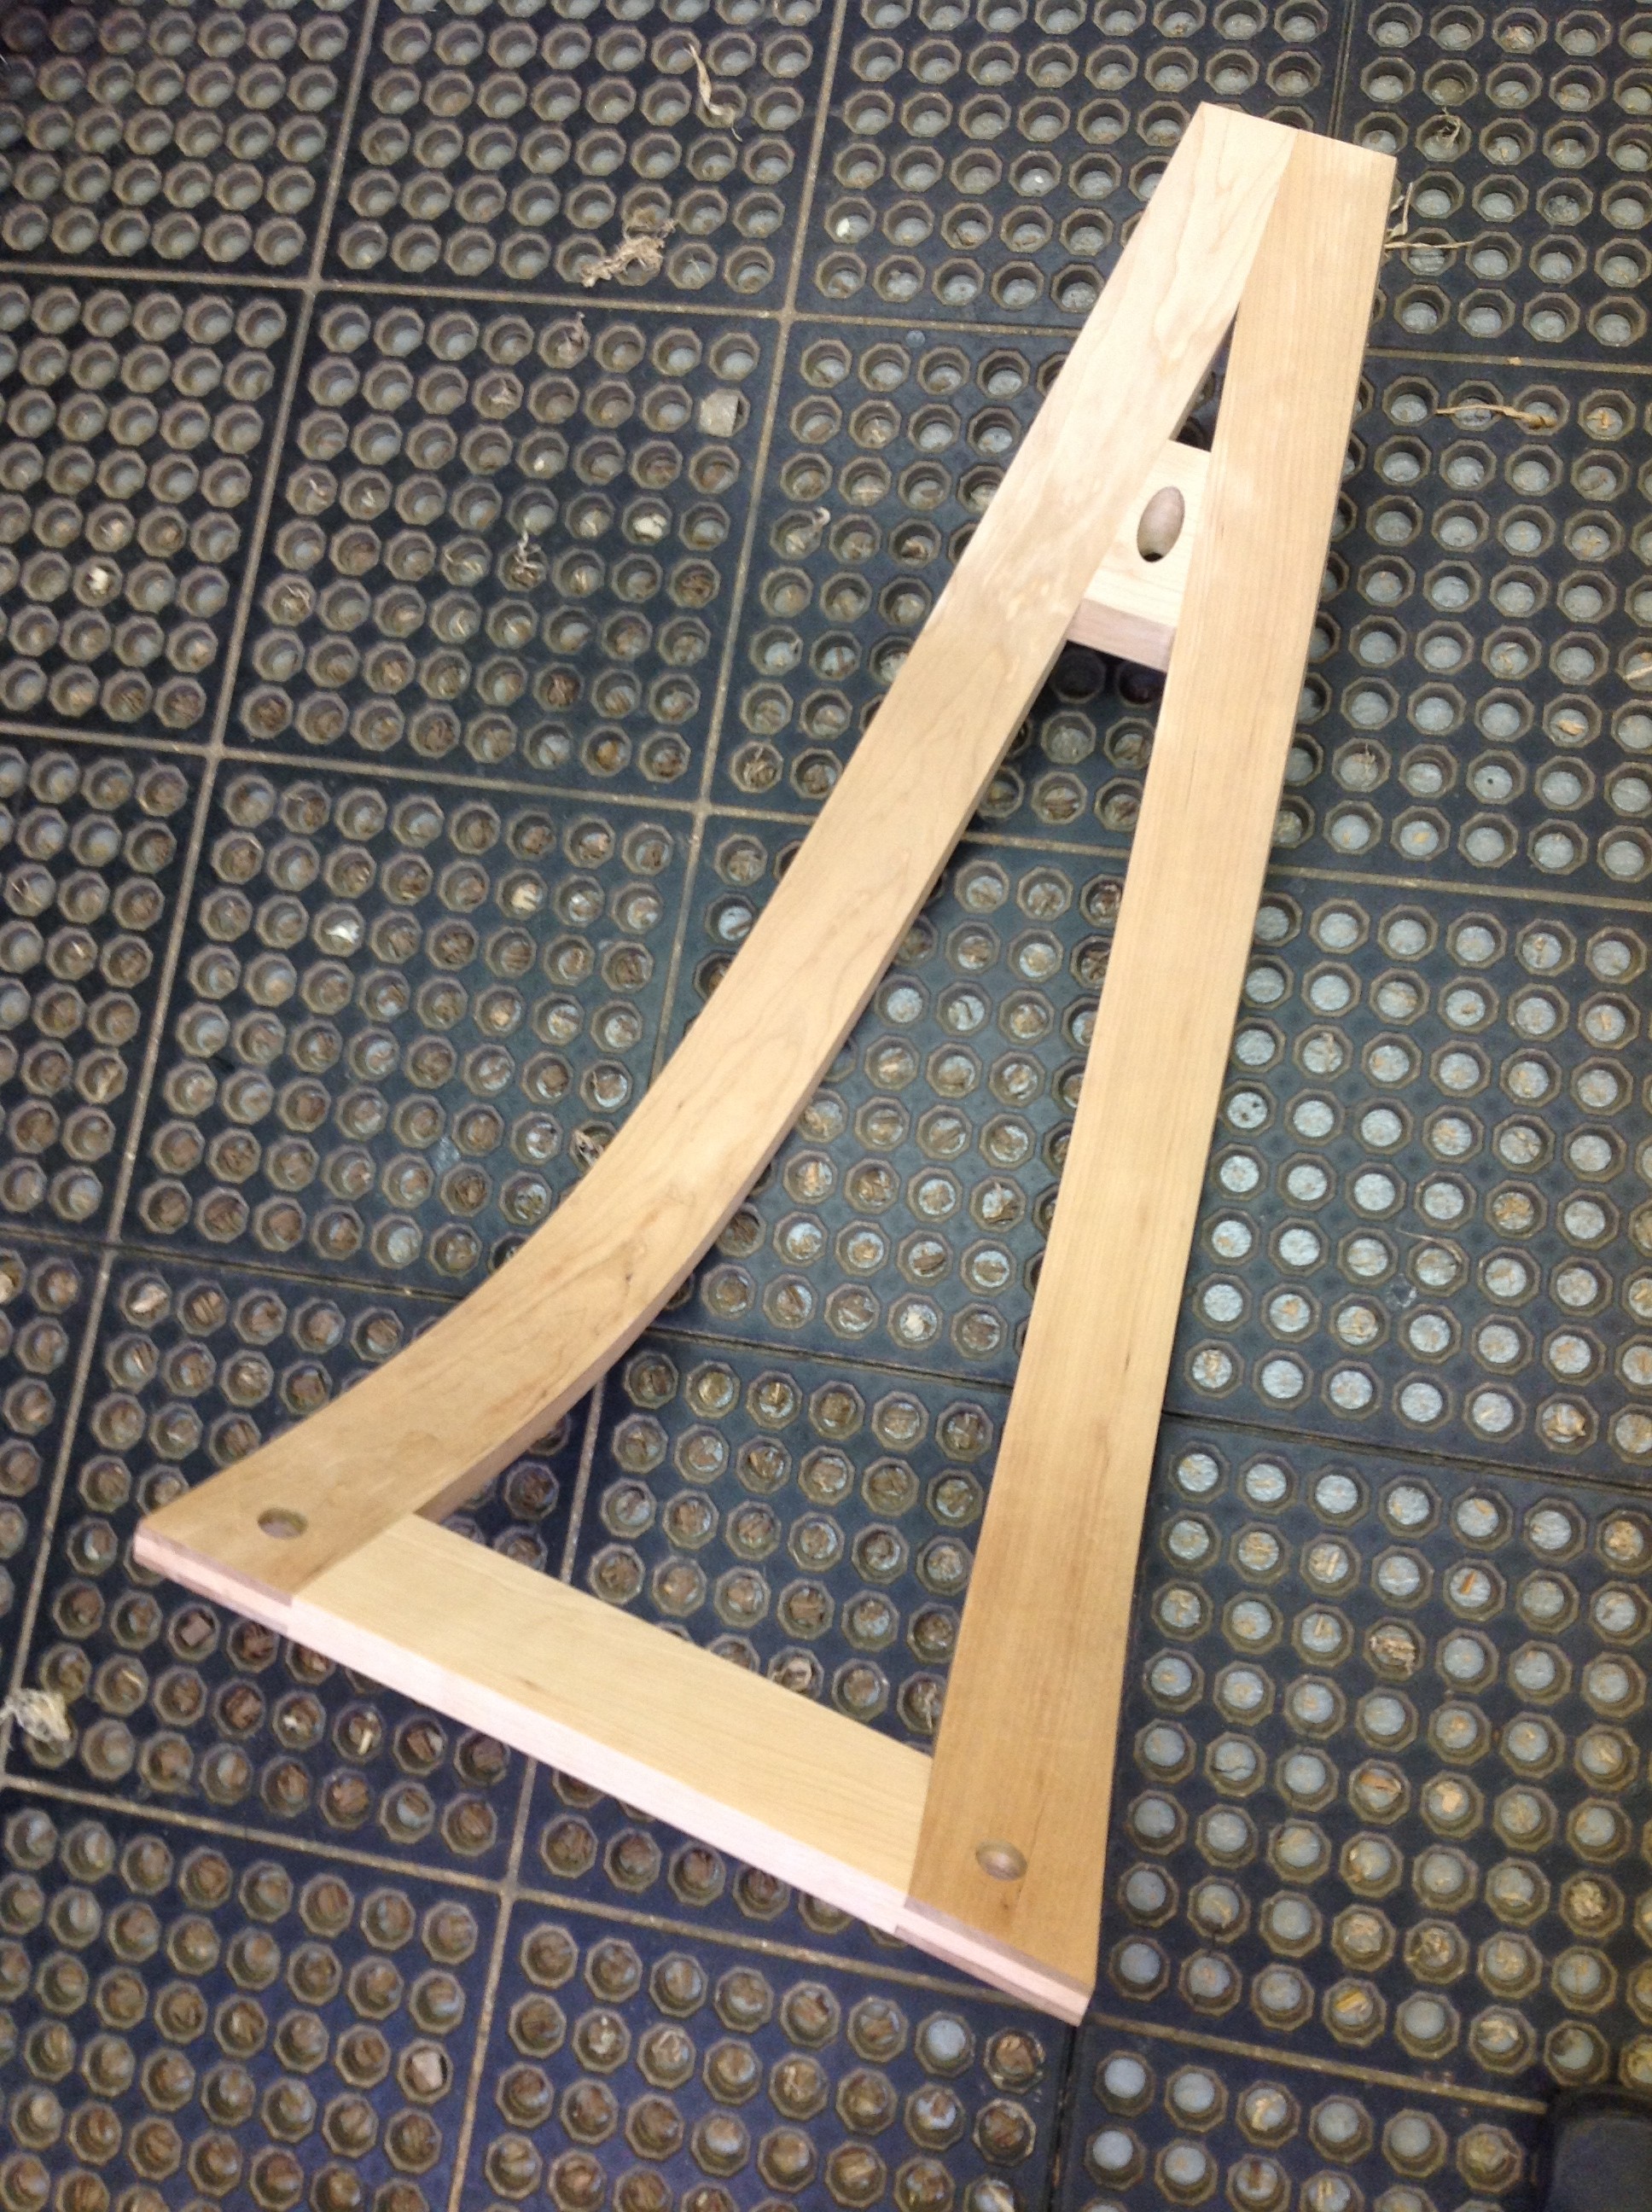
The construction of this chair began with a form to bend the curved seat frame on. I decided to to do a bent lamination to create these pieces rather than steam bending.

The chair is going to be cherry, so I ripped enough cherry strips for two glue ups and put waxed paper down on the form to keep it from sticking. I used a Urea Resin glue to do the glue up because it allows less creep in laminations than PVA glue. The downside is that it contains formaldehyde, so you need to wear gloves and wear a respirator when you use it. also in any sanding processes later. Urea Resin glues also have longer open times, so there is less rushing. 
 Once the bent frame pieces were formed I cut the top angle where the two pieces meet and notched them to accept the spline that locks them together. The angles and sizes of all pieces were predetermined in the design process when the full size drawing on 1/4″ MDF was made. I continually refer to the drawing as I work.
A spline is cut to the correct thickness and then I cut the cross piece that supports the back leg.

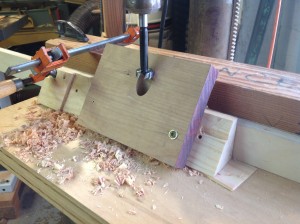
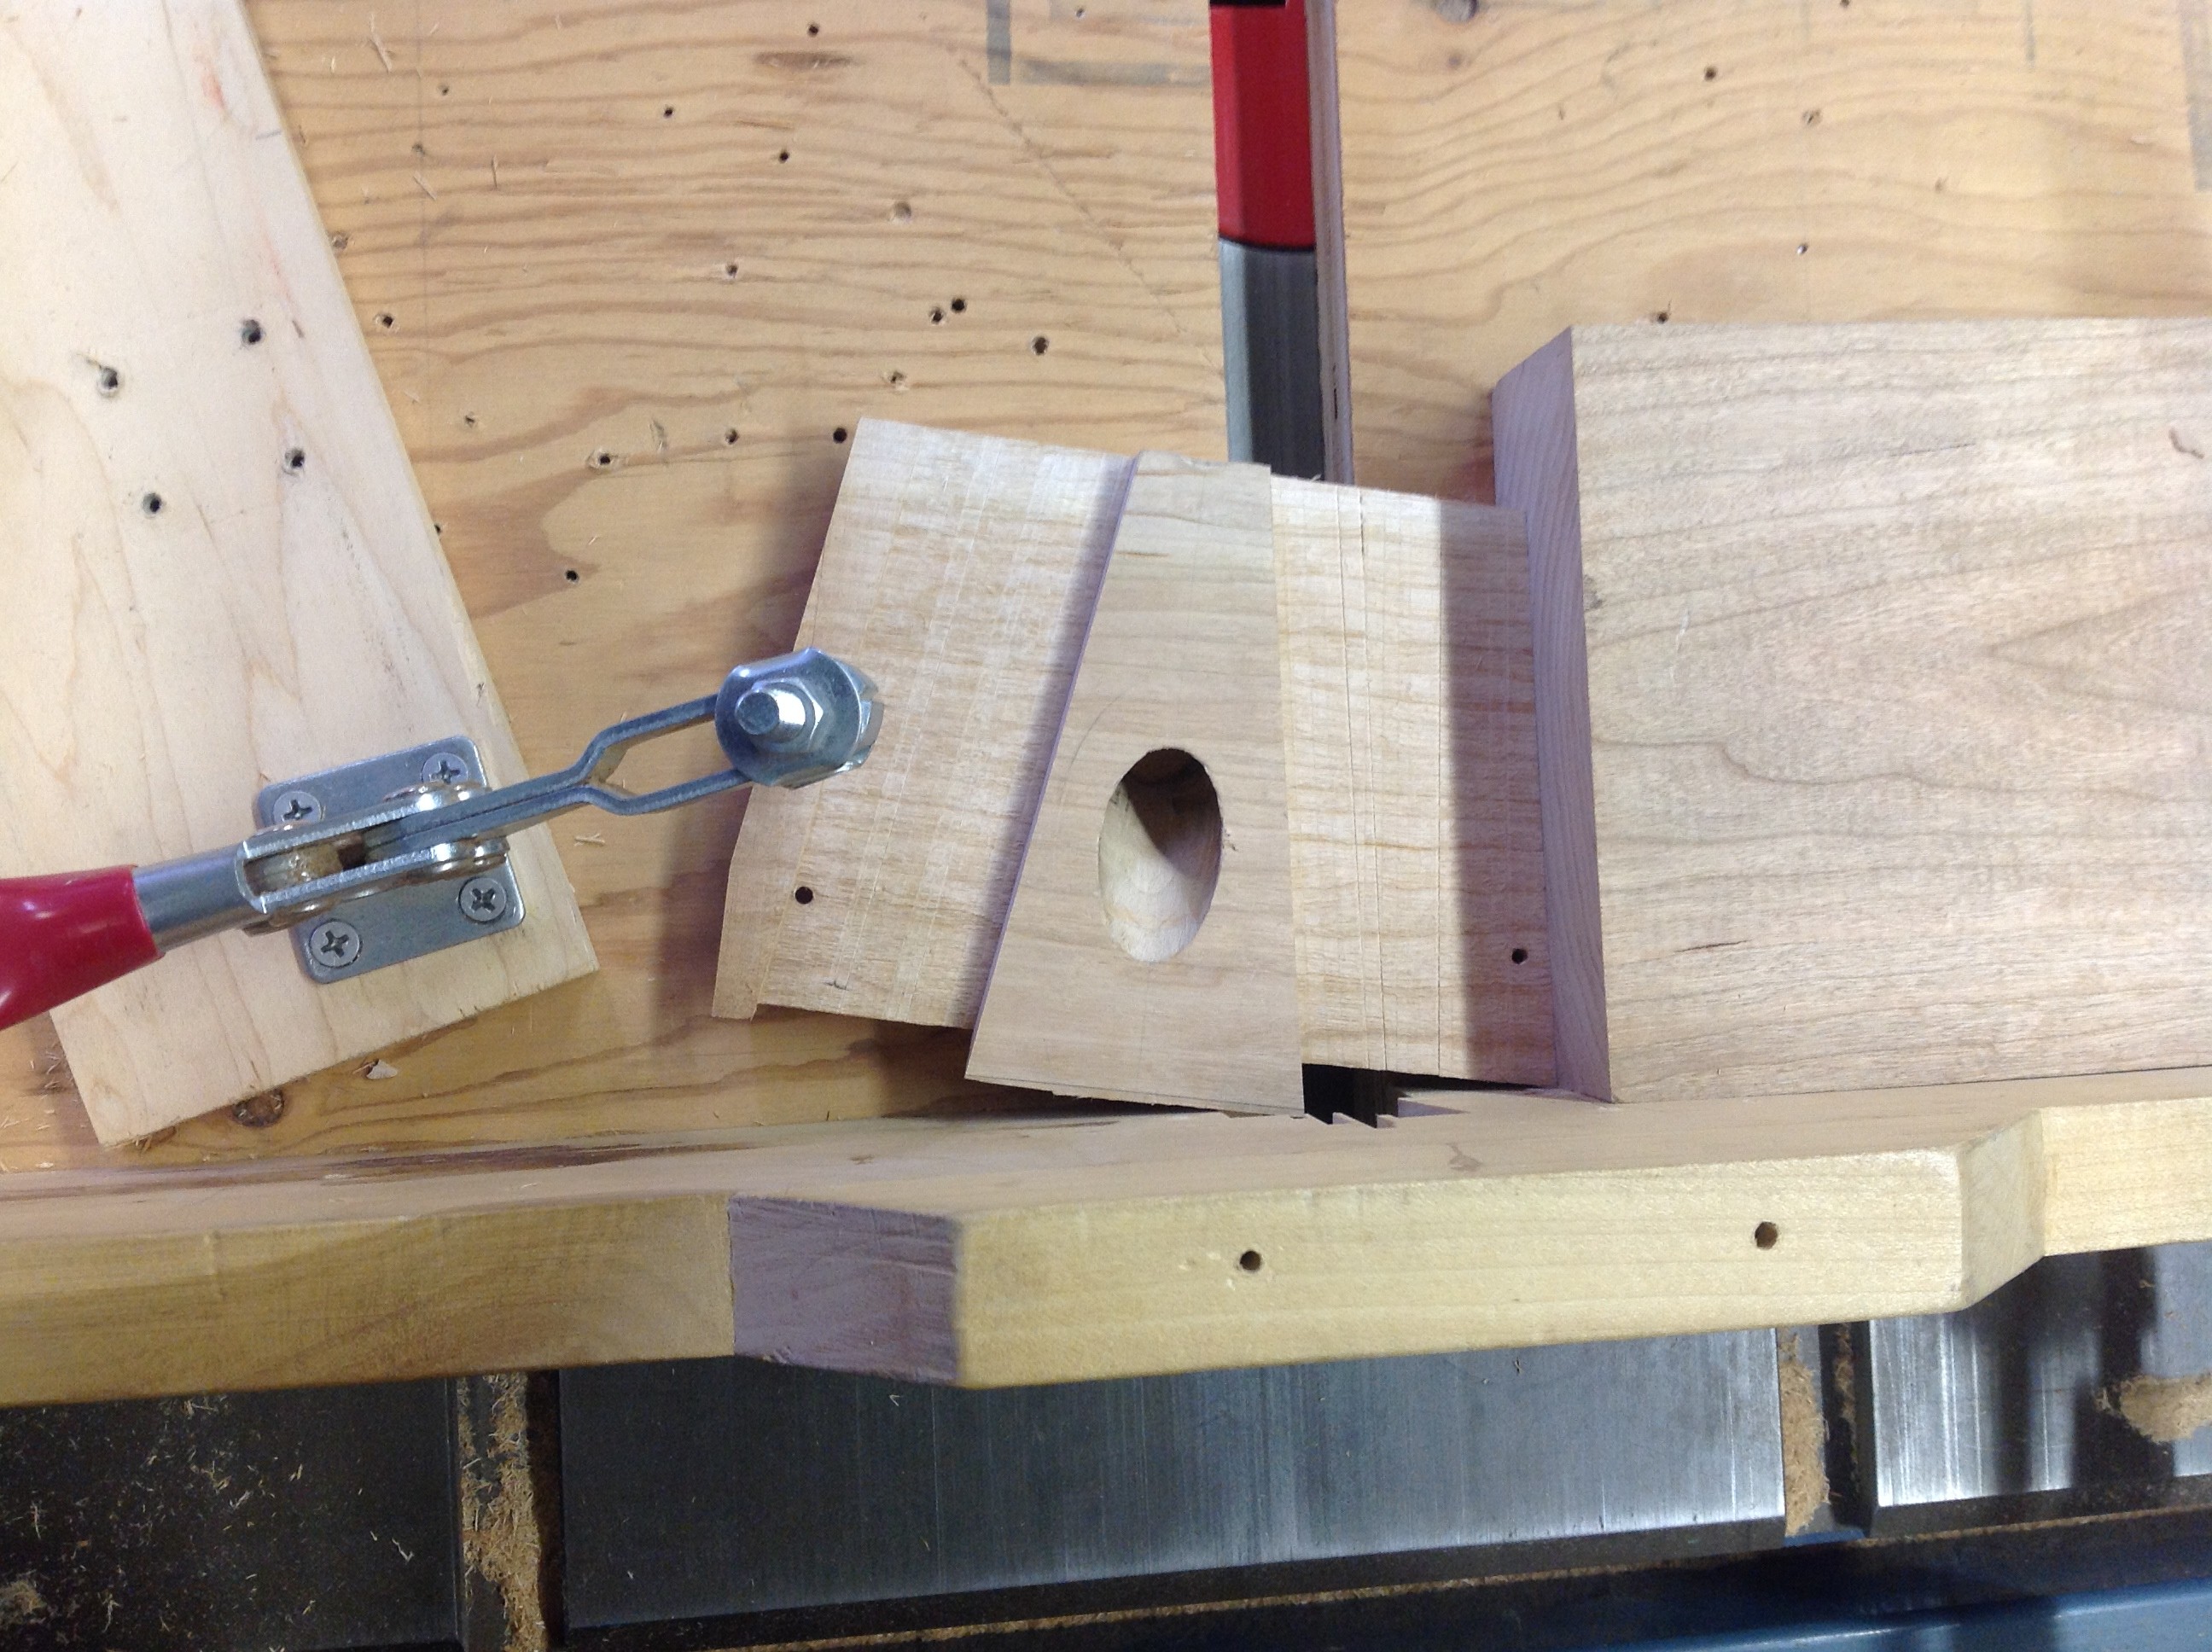
I used a angled jig that was determined by the full sized drawing and a forester bit to drill the hole for the leg. I screwed the blank to the jig and fence in an area that will be cut away or hidden later, otherwise this would have been hard to clamp in place while I drilled.
The leg support gets tenons on each side using the tablesaw’s crosscut cradle, a dado blade and toggle clamps to hold the correct angle. Then the curved side frame pieces get mortised for the leg support. The lower seat fits frame member and the curved side pieces get marked and cut to length, then their bridle joints get cut. 
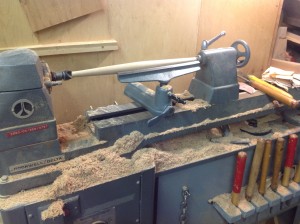
Legs begin to get turned.
 And fitted.
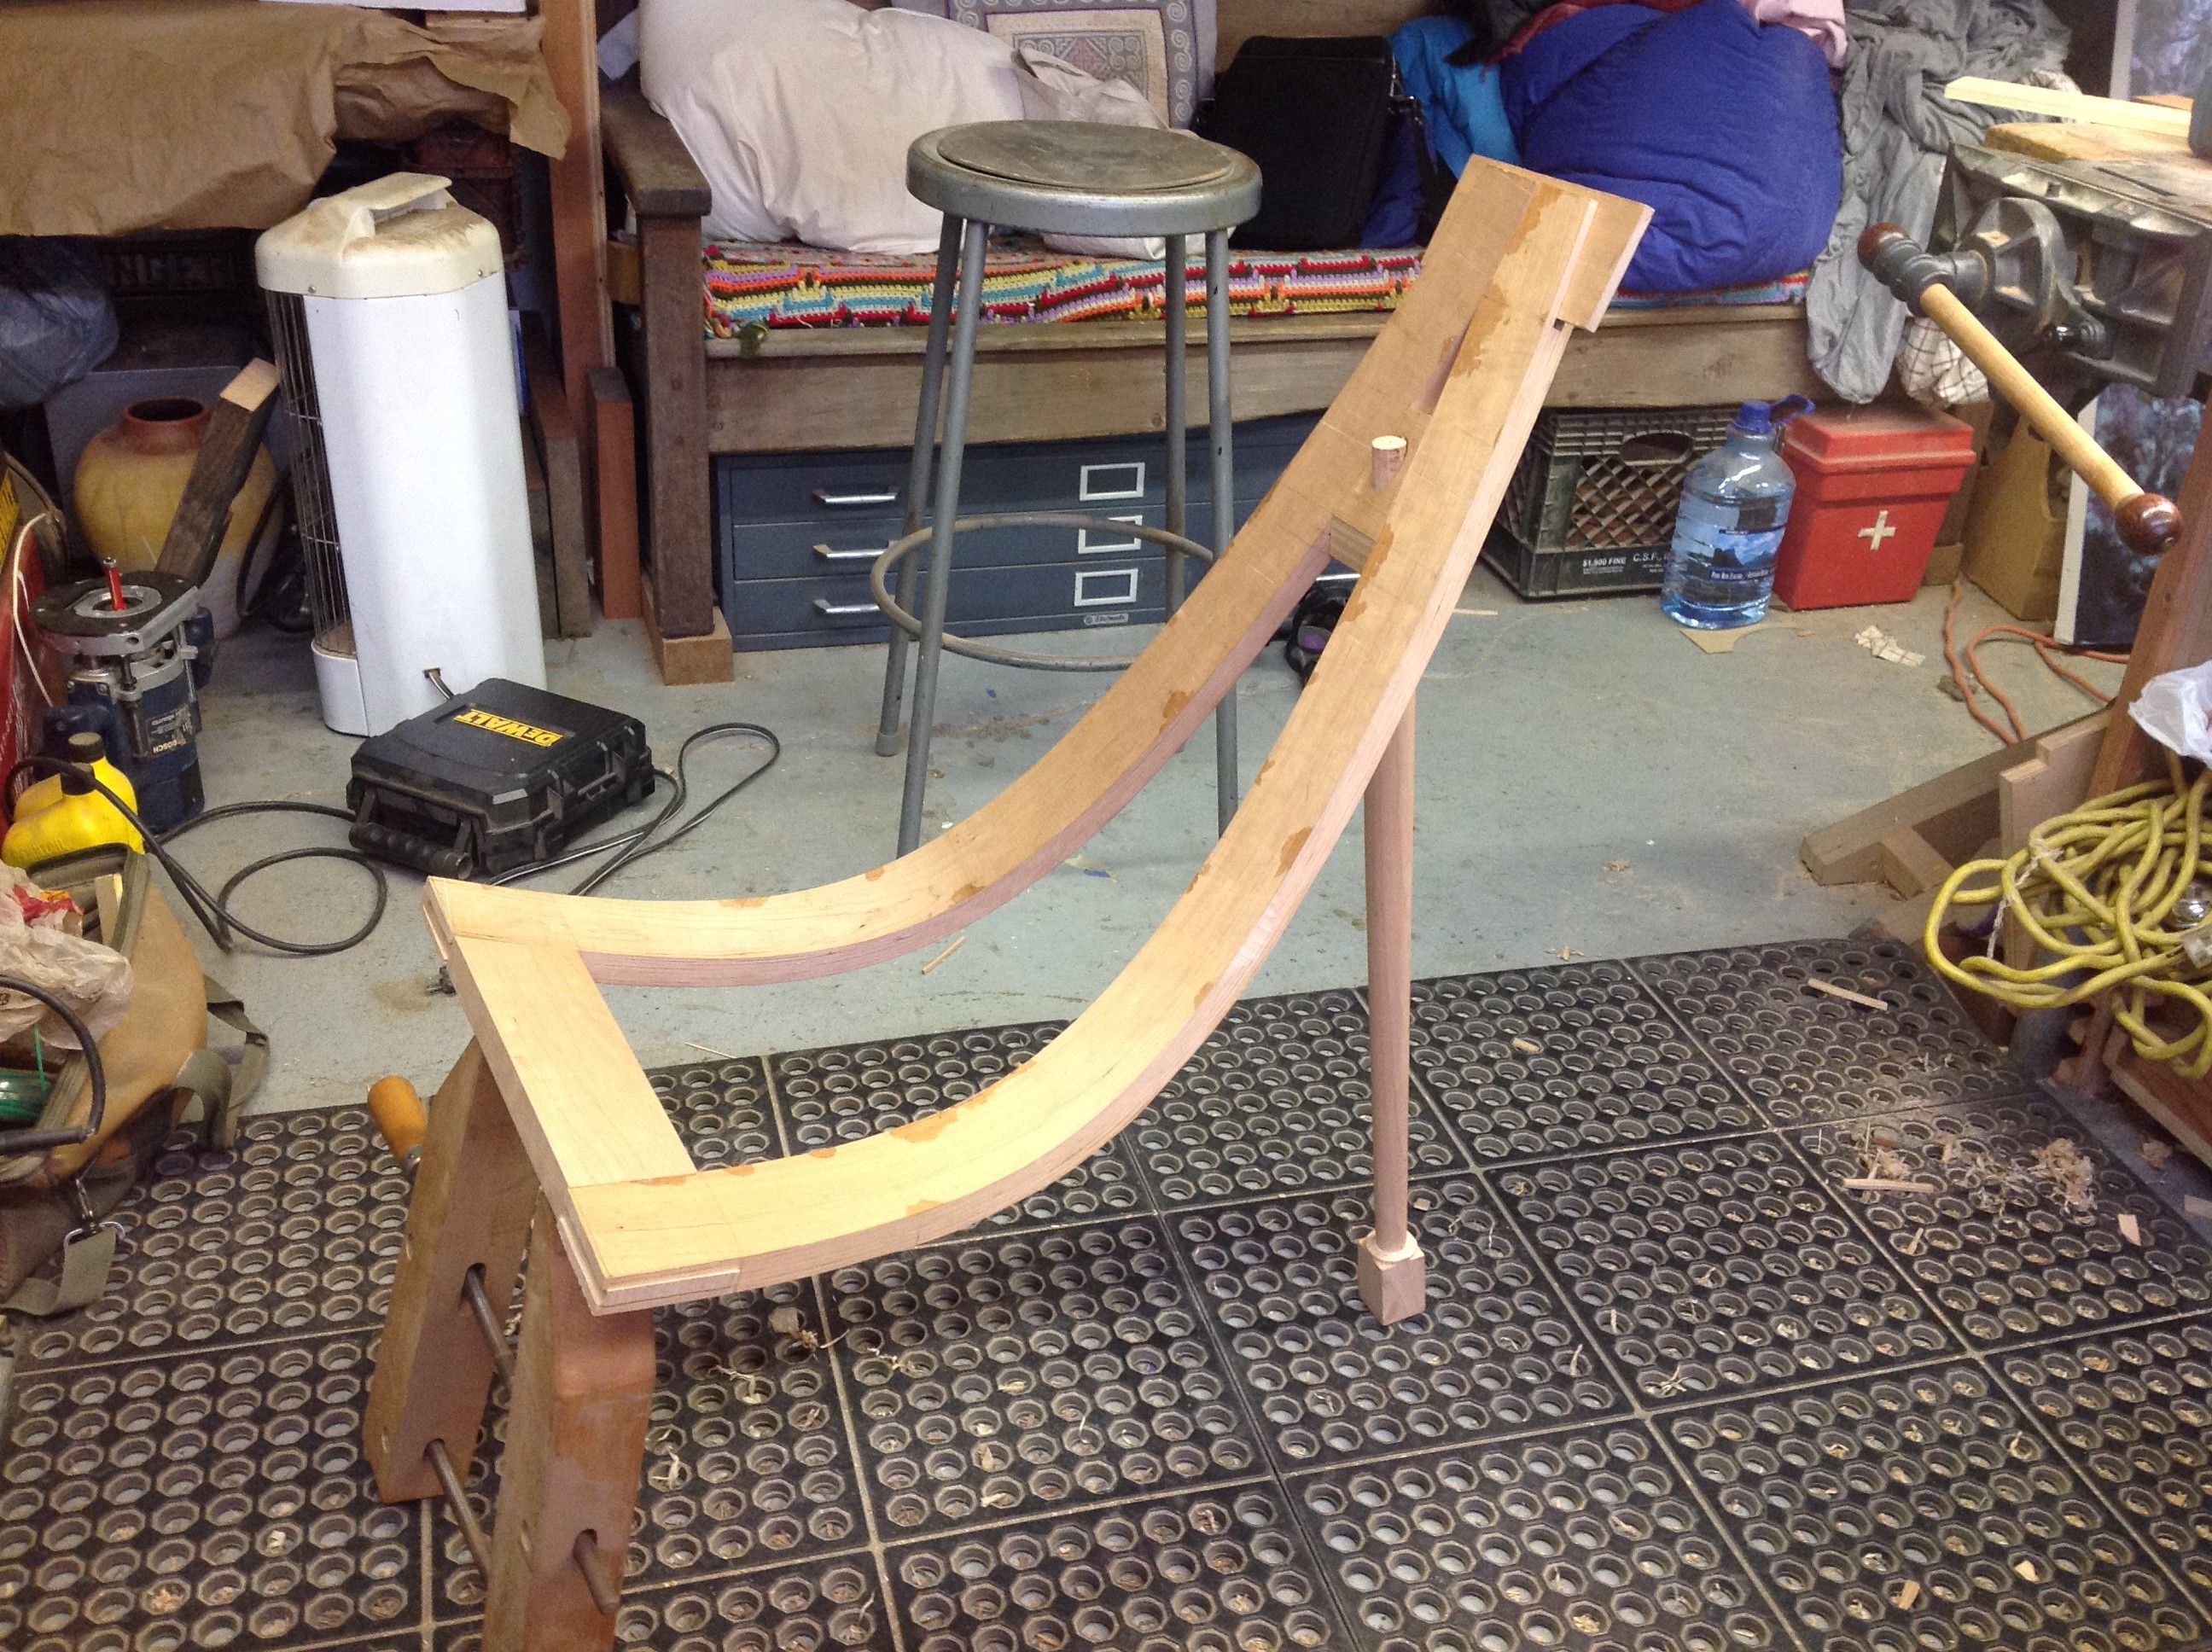
The tenons that pass through the seat are left long so that the connection underneath can be curved to fit. The seat assembly gets glued up then the front leg mortises are cut into the frame on a specially made curved and angled jig.
The legs get test fit and the tops of their shoulders get trimmed so that even though they are angled from the seat, they sit flush on the bottom. Next they are marked for their stretchers.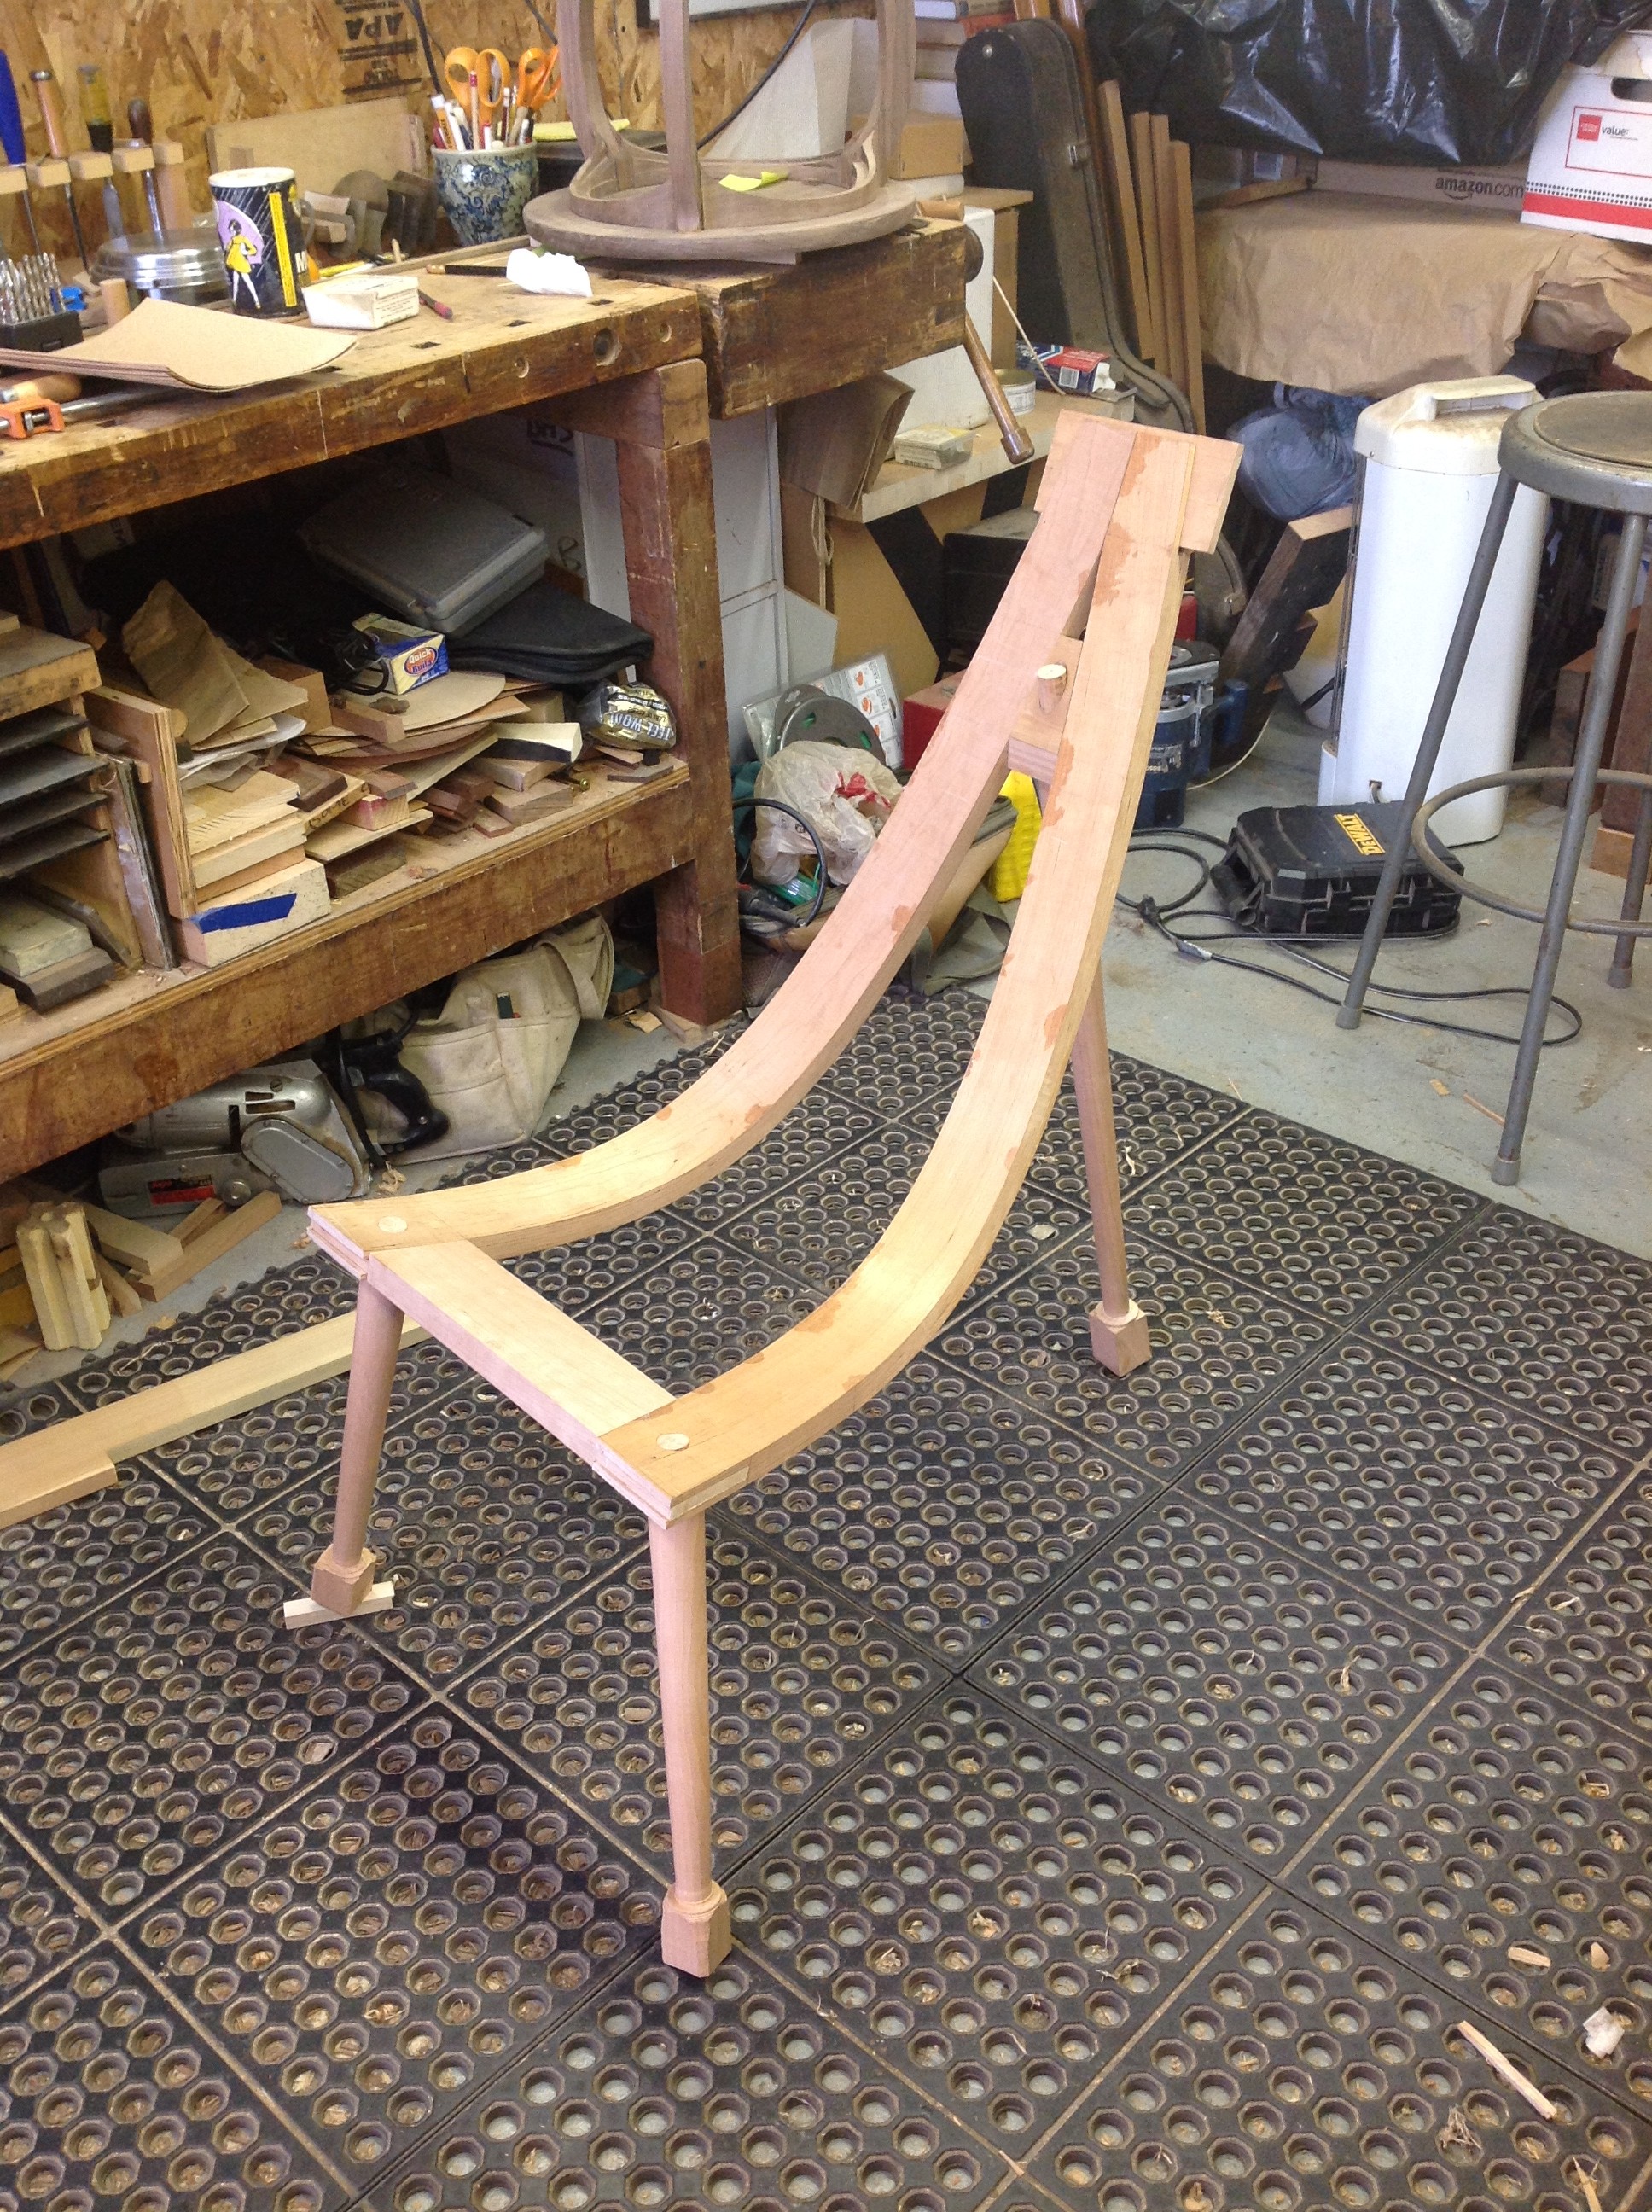

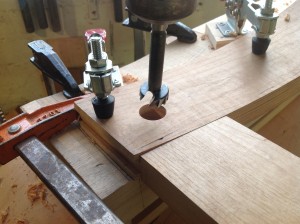
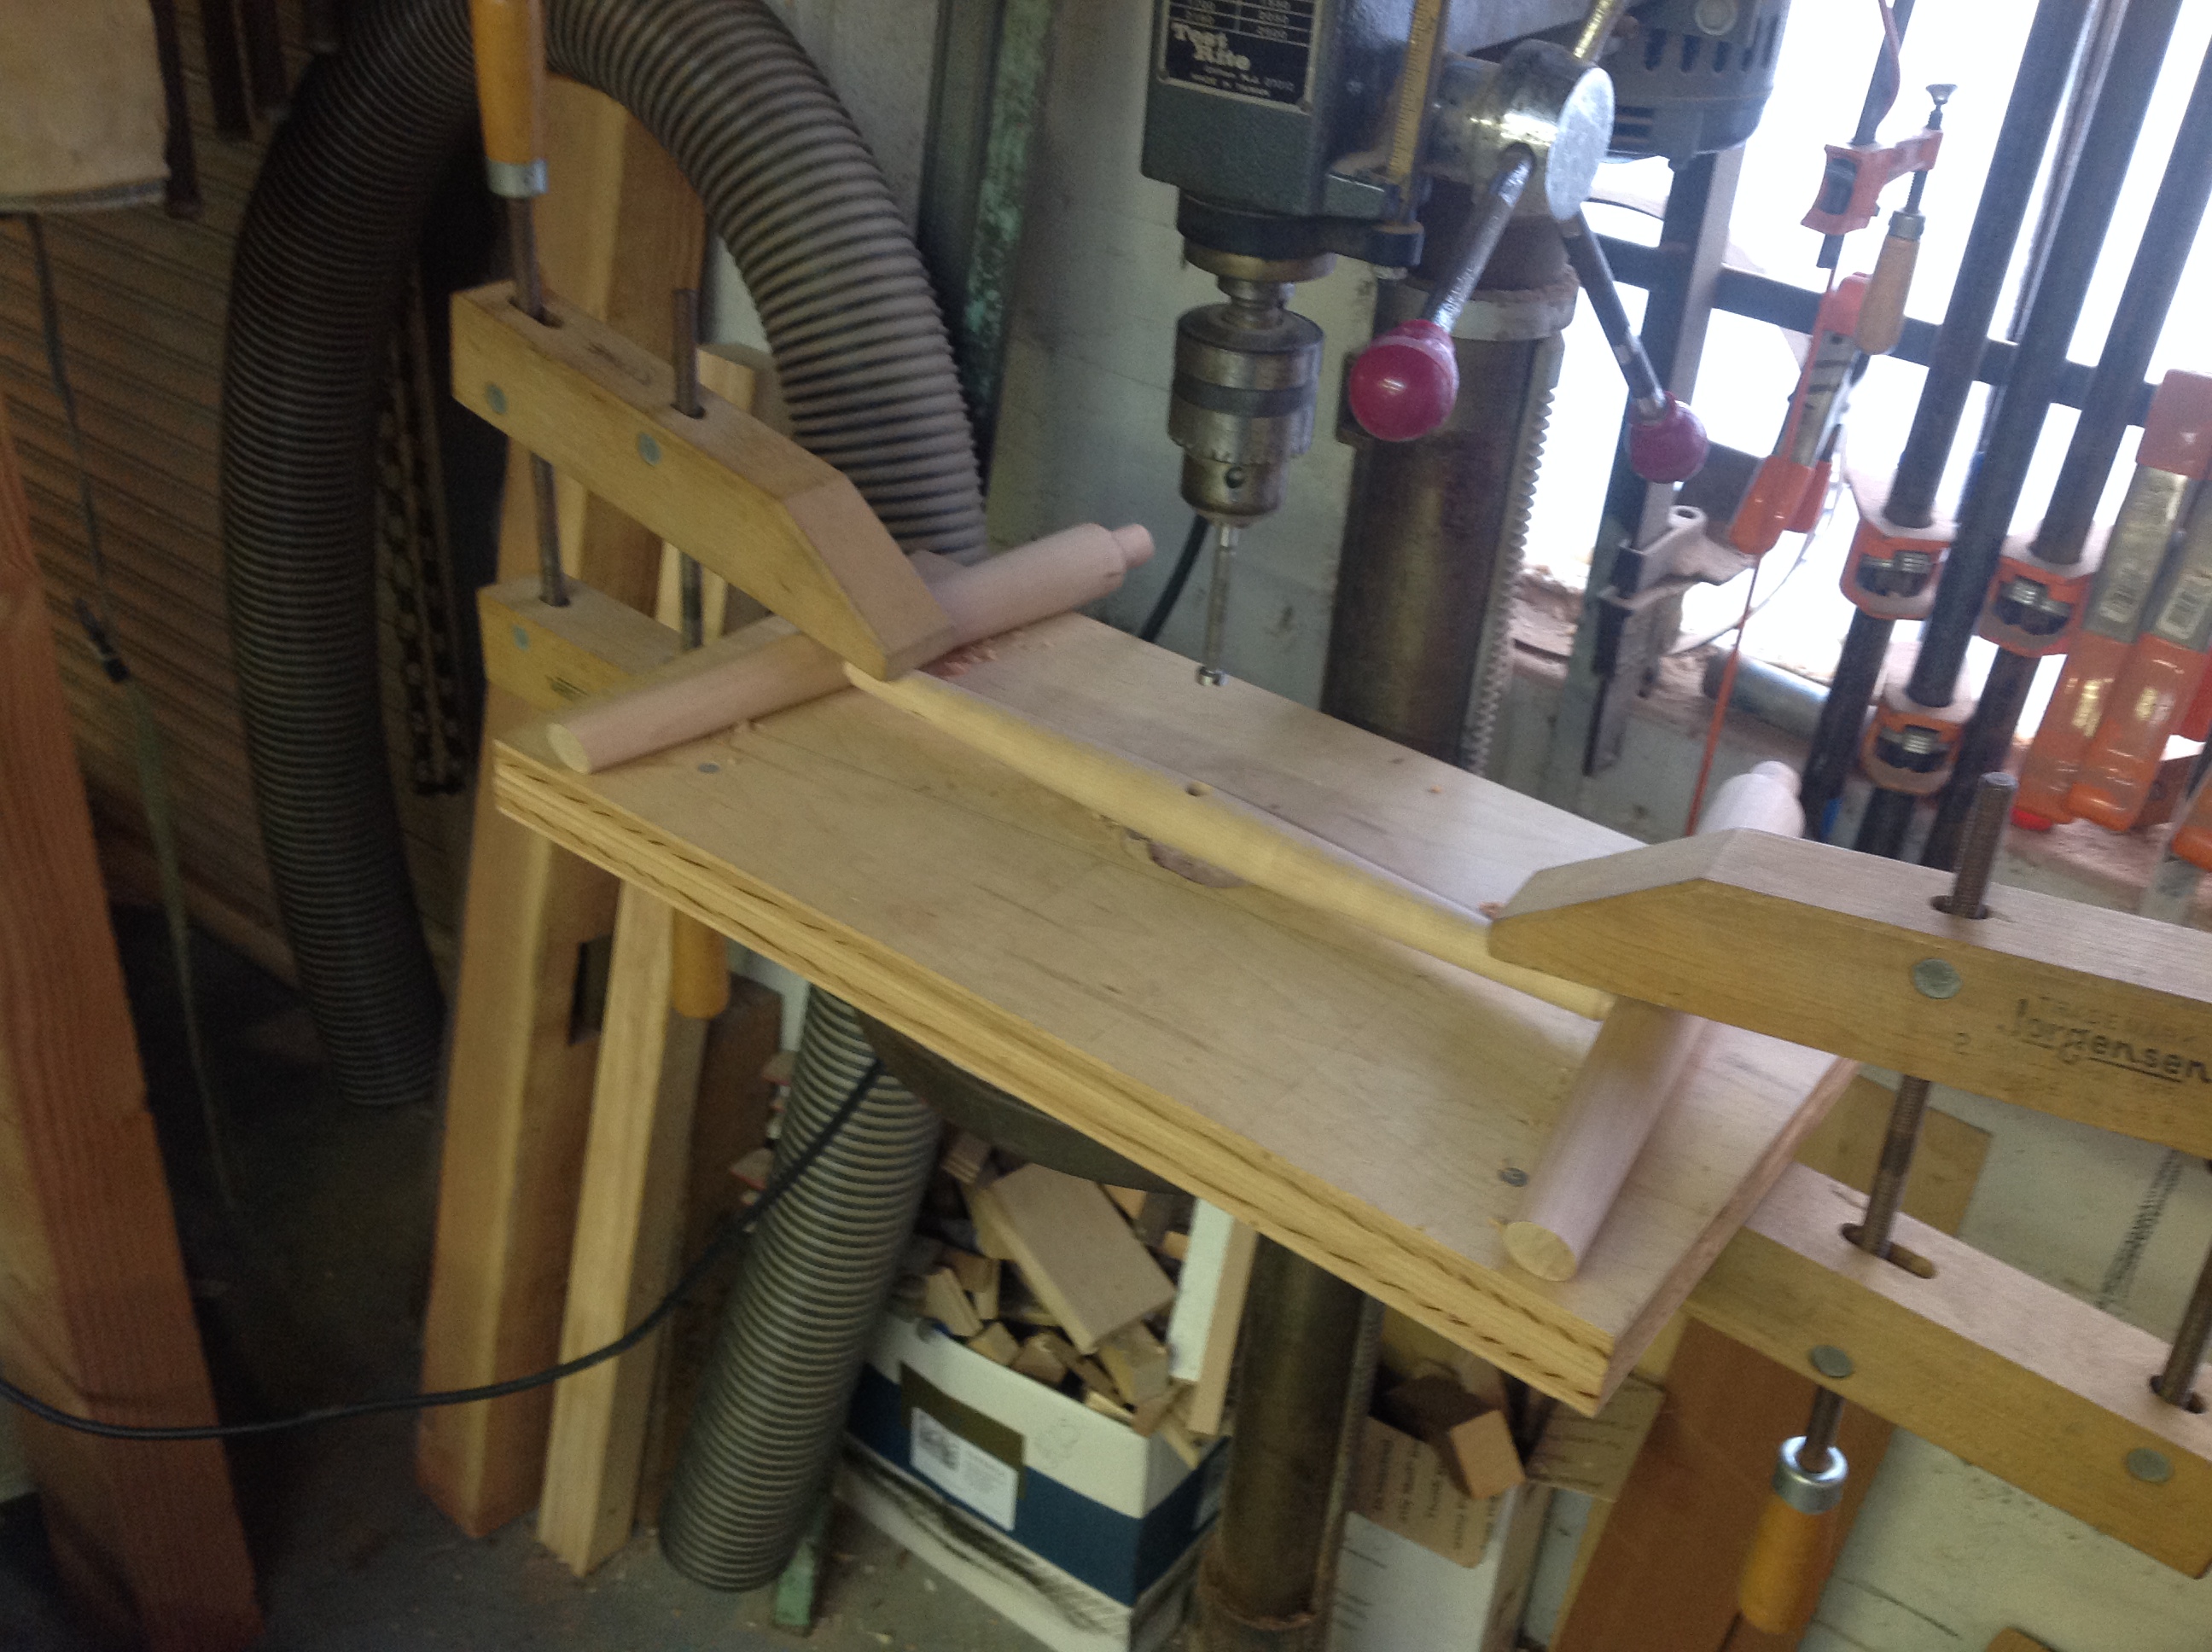 The angles were all measured off of the full sized drawing and aligned with a sliding T bevel using clamps on the drill press table.
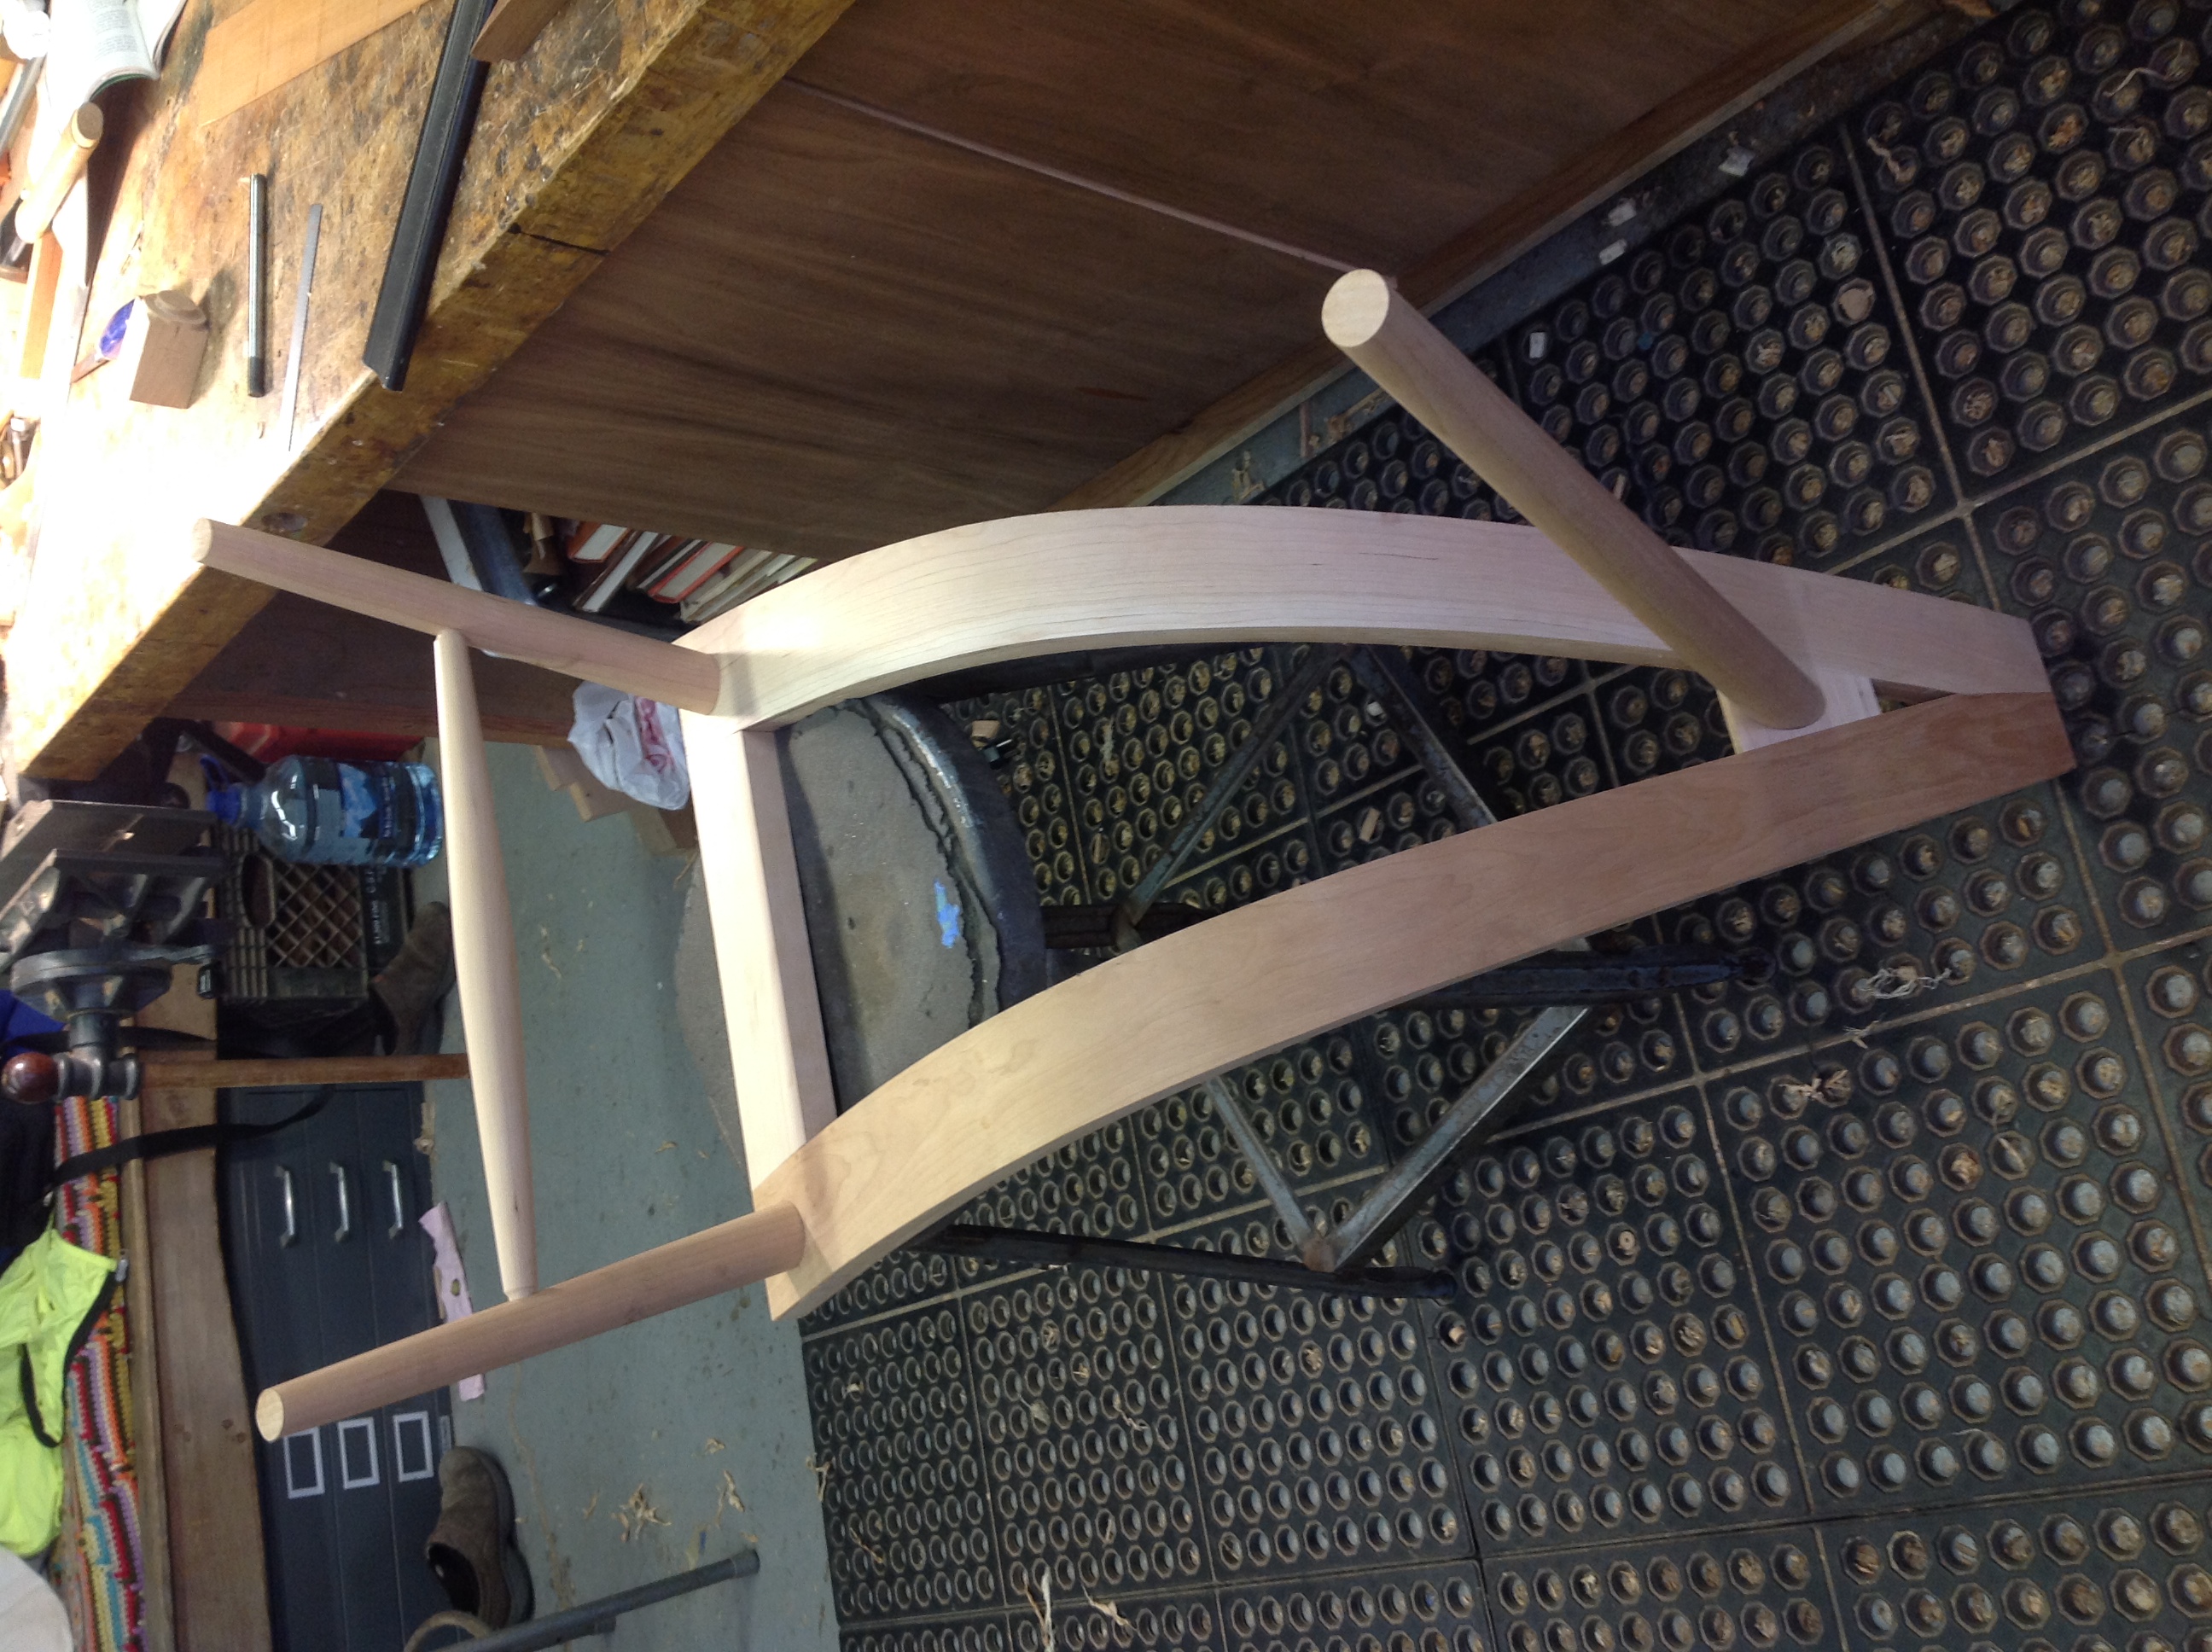
The stretchers are cut a little bit long so there is always a bit of tension on the joints to keep them from loosening up over time.
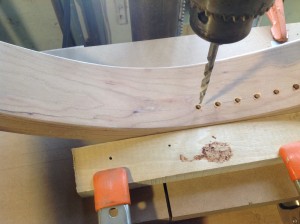
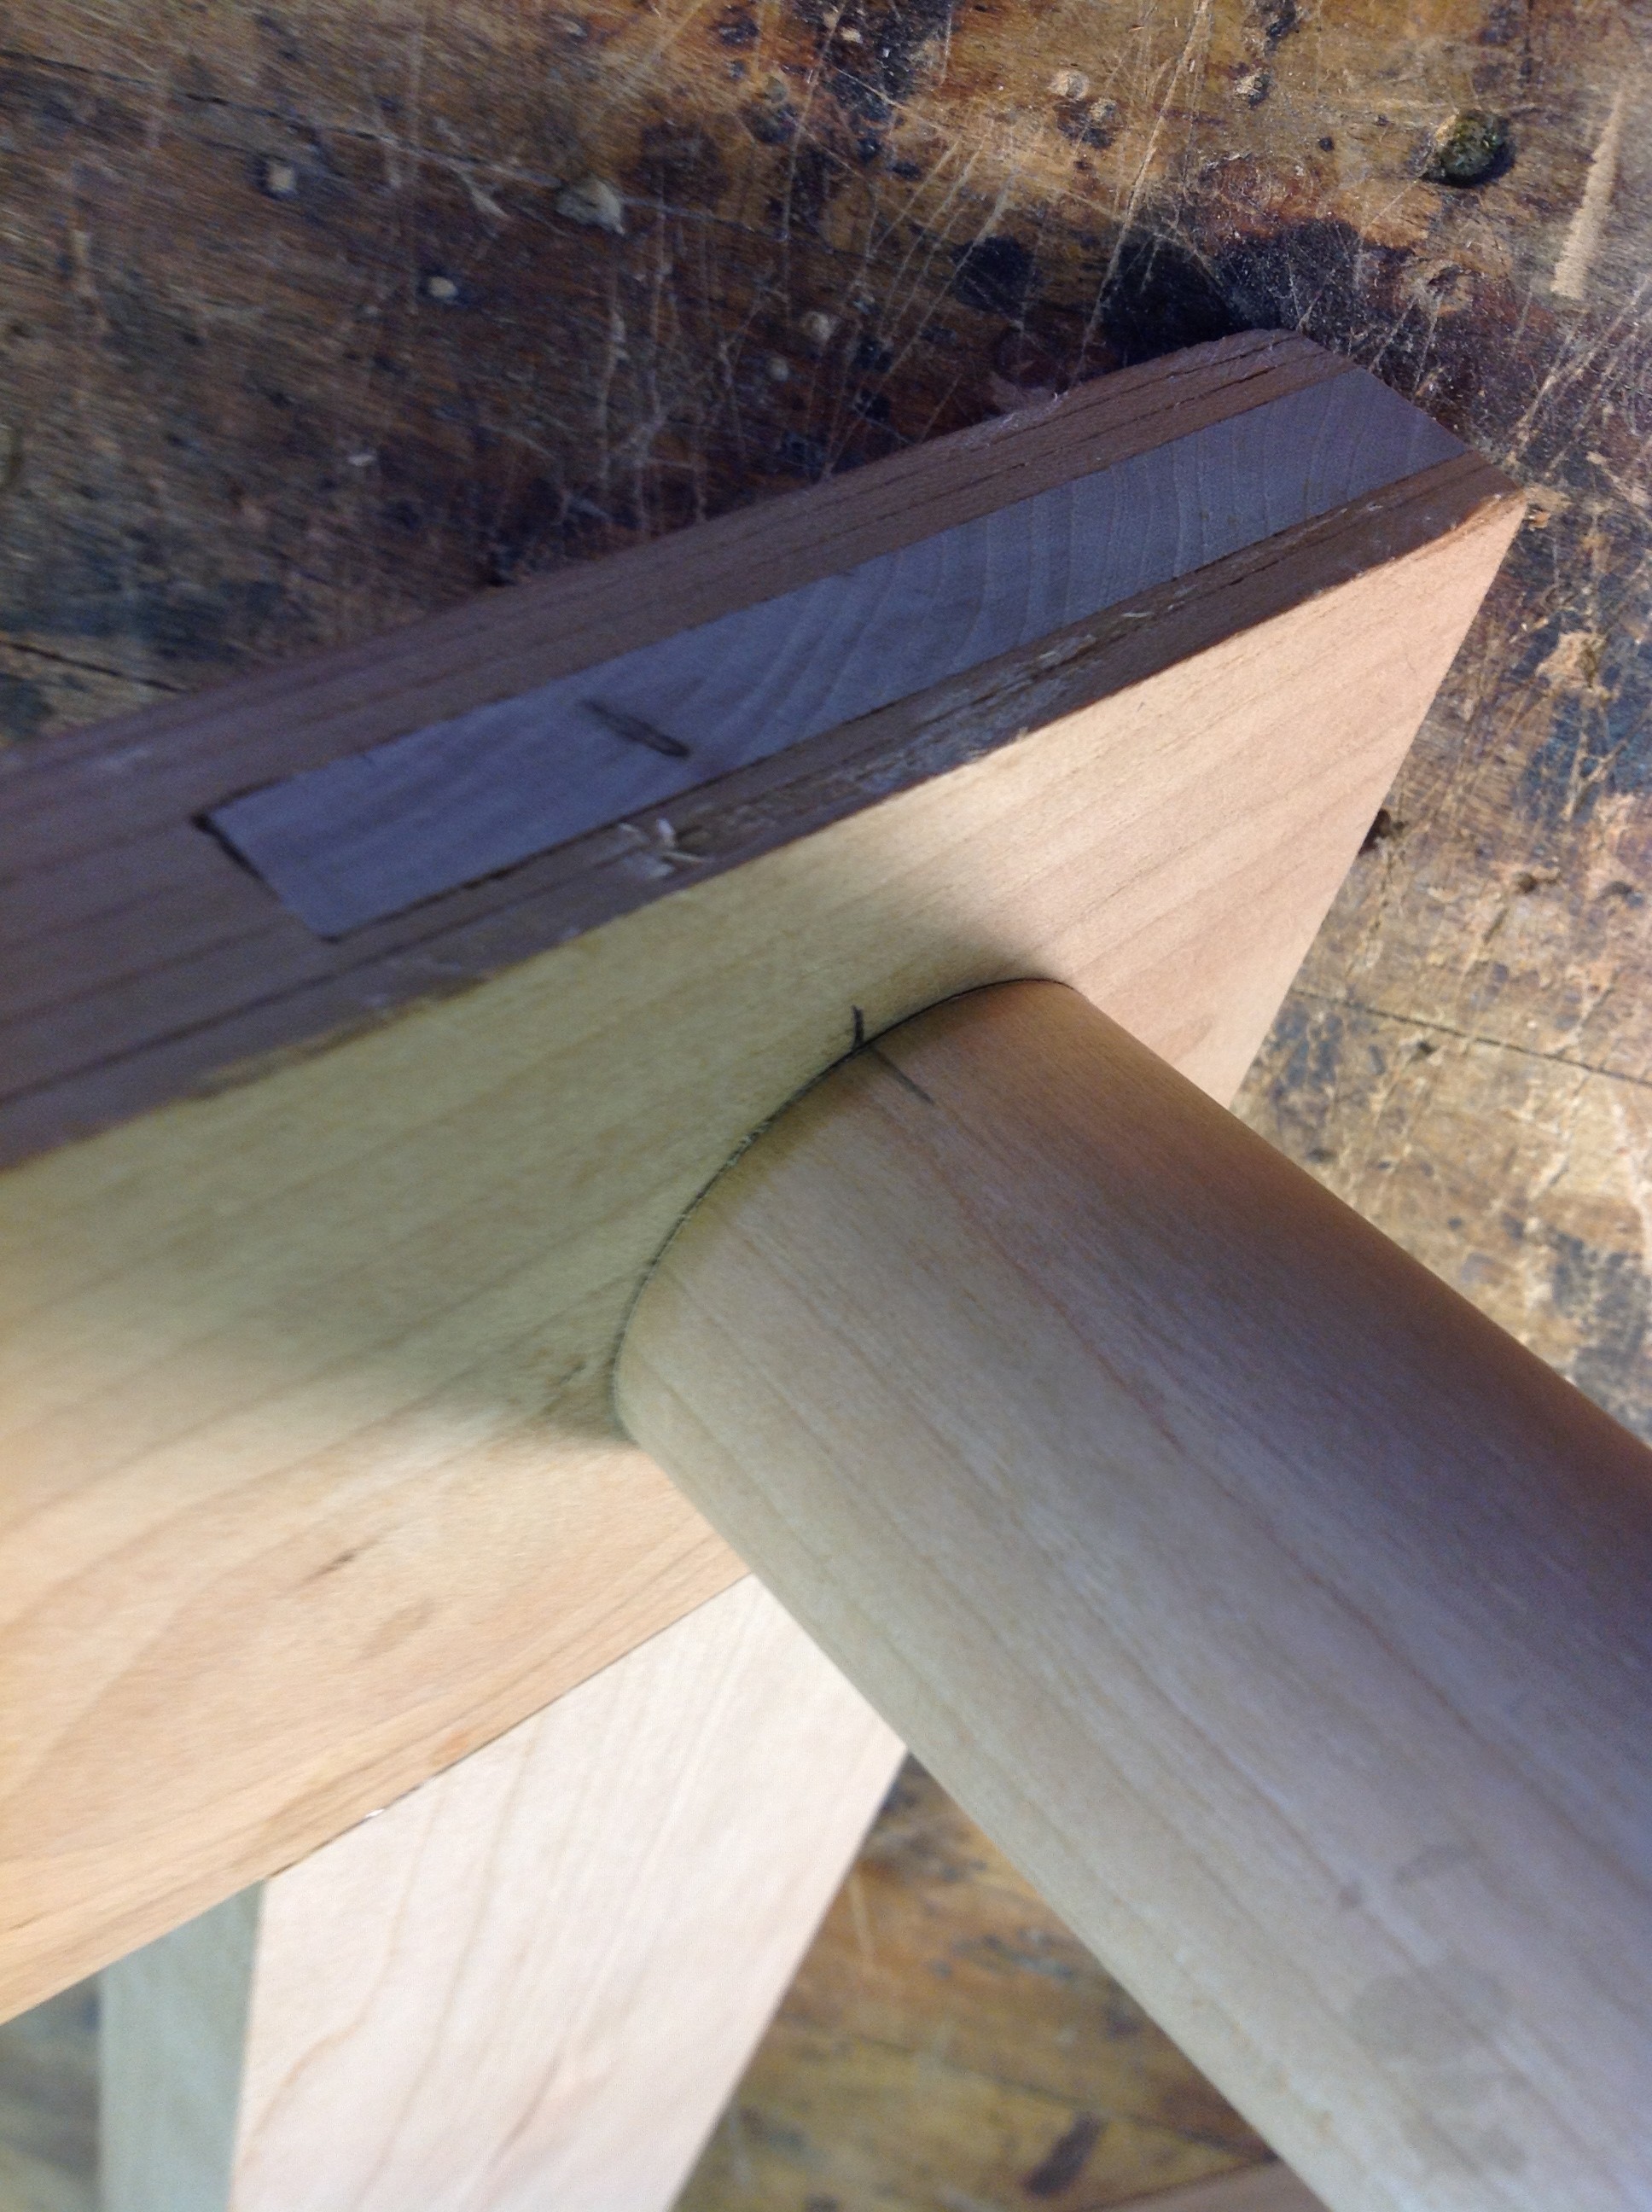
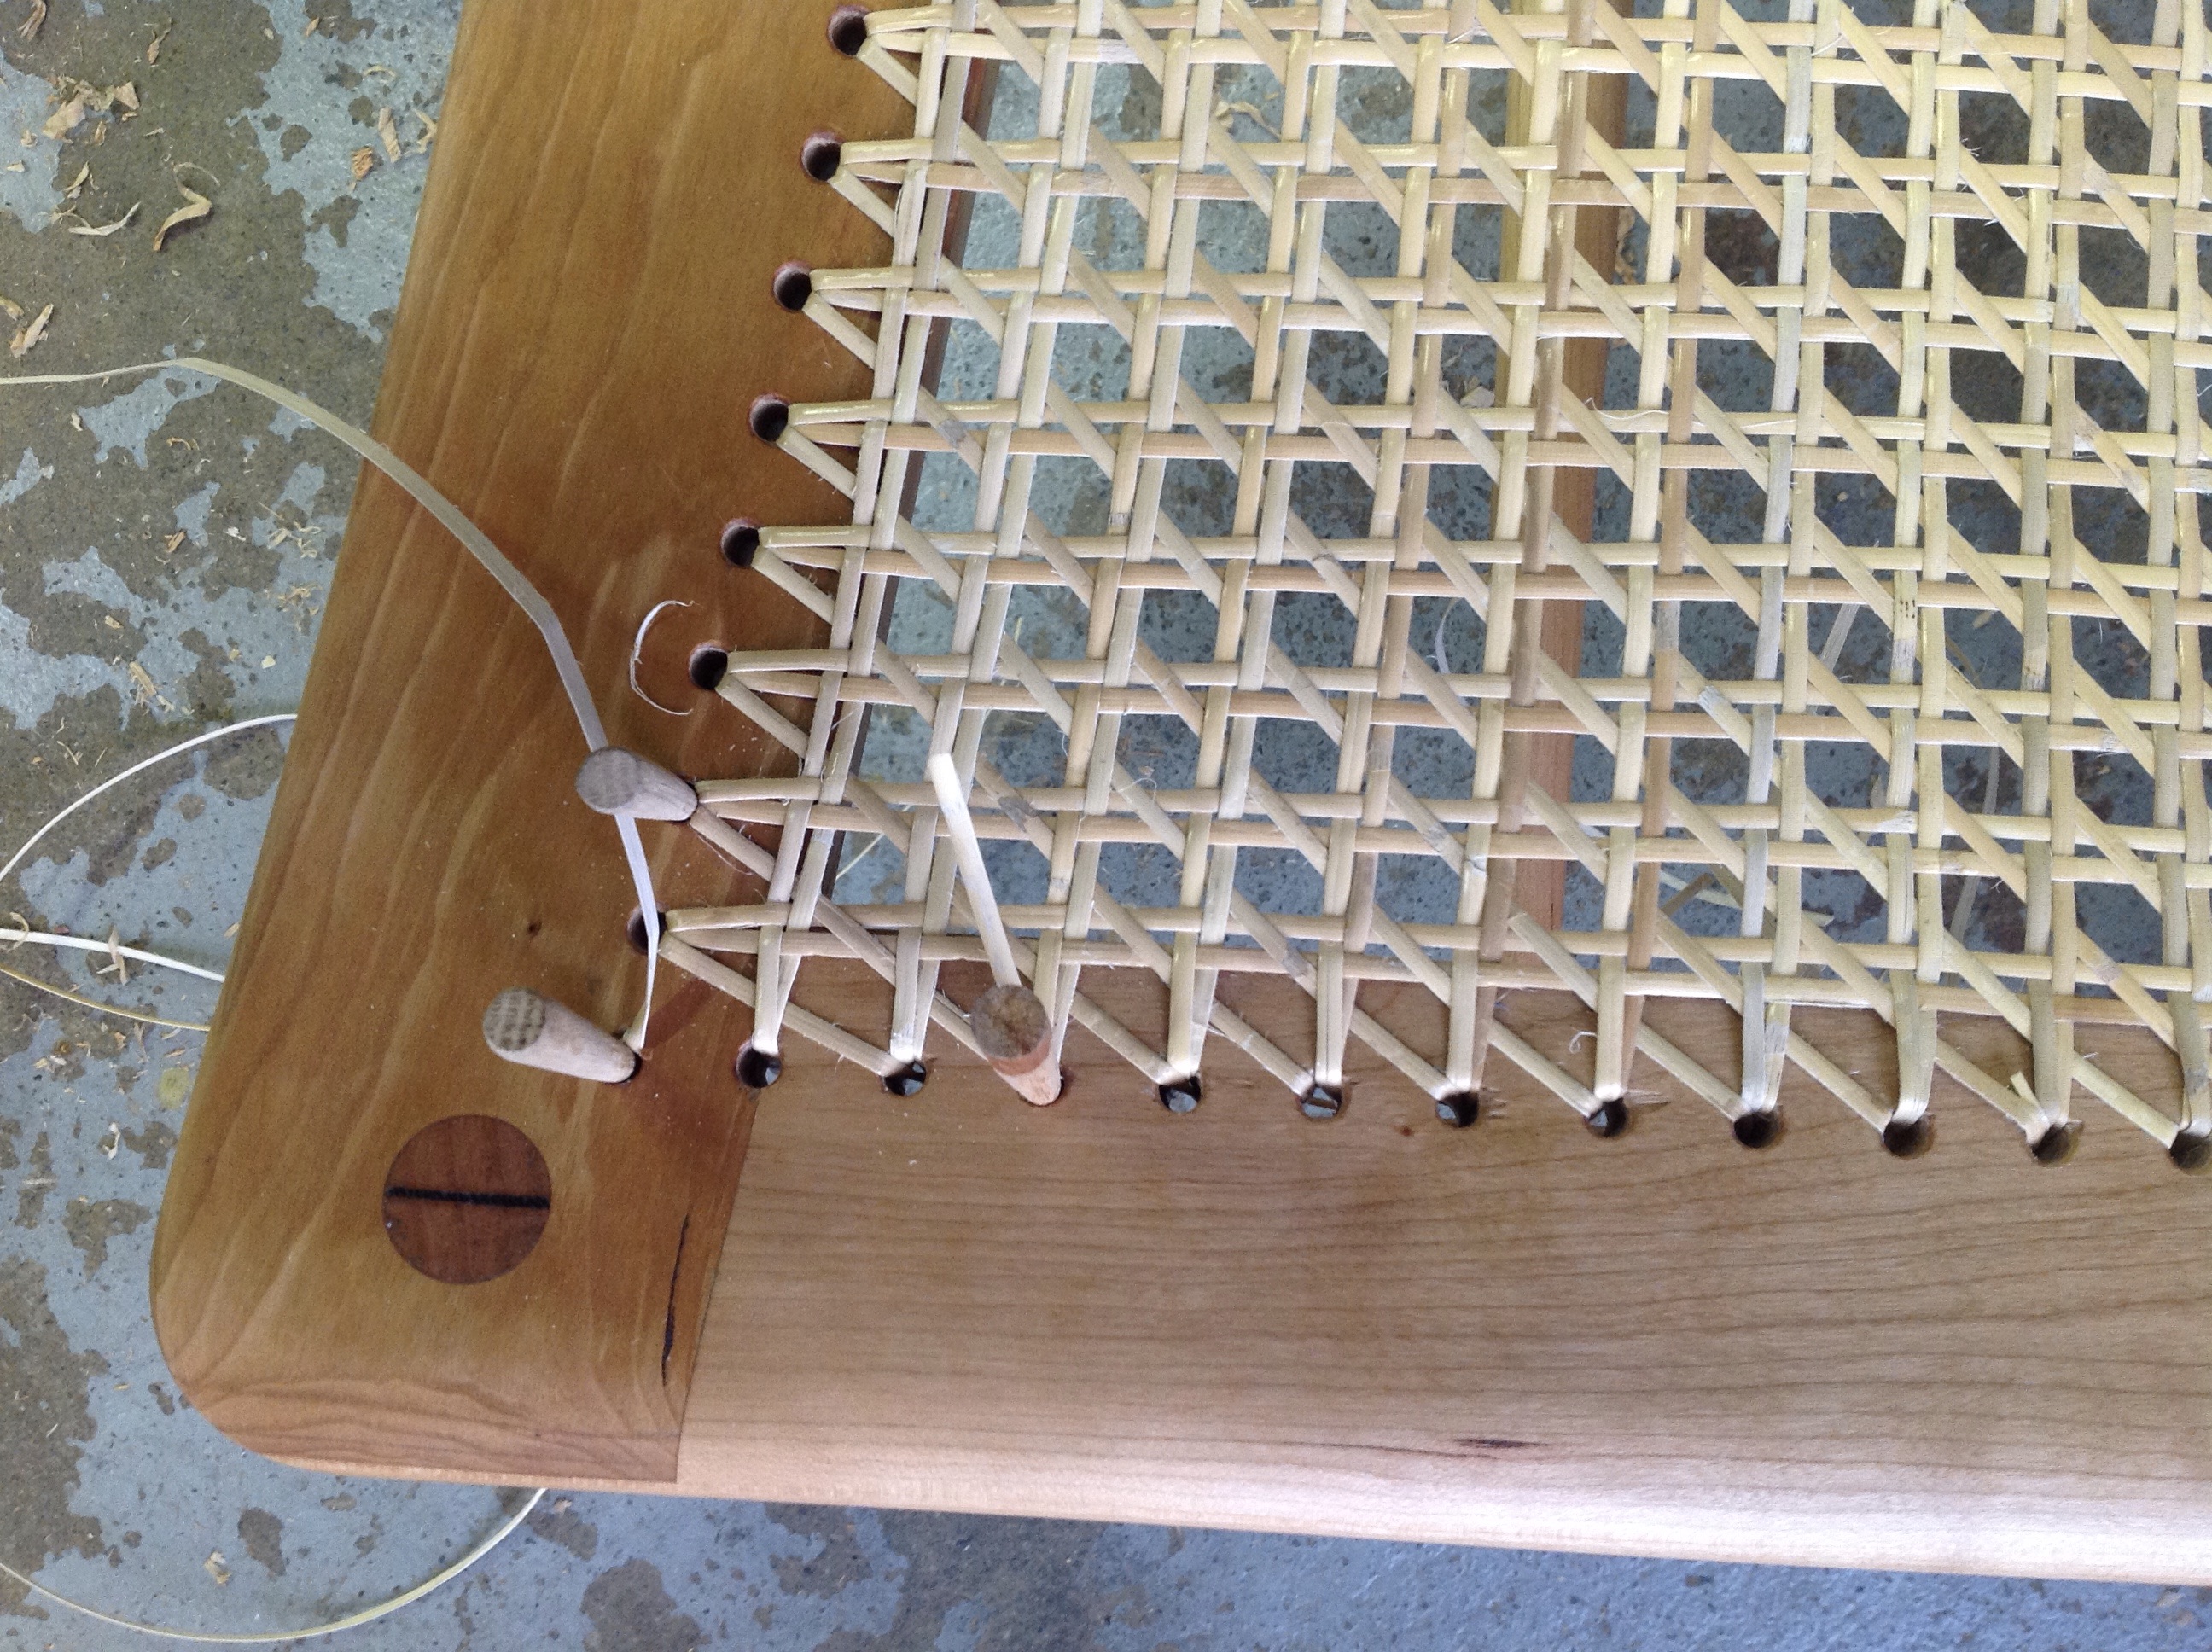
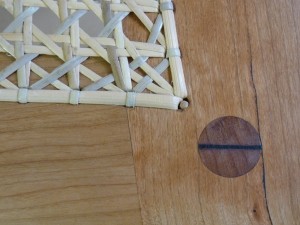
The frame gets it’s ends rounded, edges sanded and the legs and stretchers are all given a final fitting then the seat assembly gets holes drilled for the caning and a groove is cut behind the frame where the caning will run along the back.
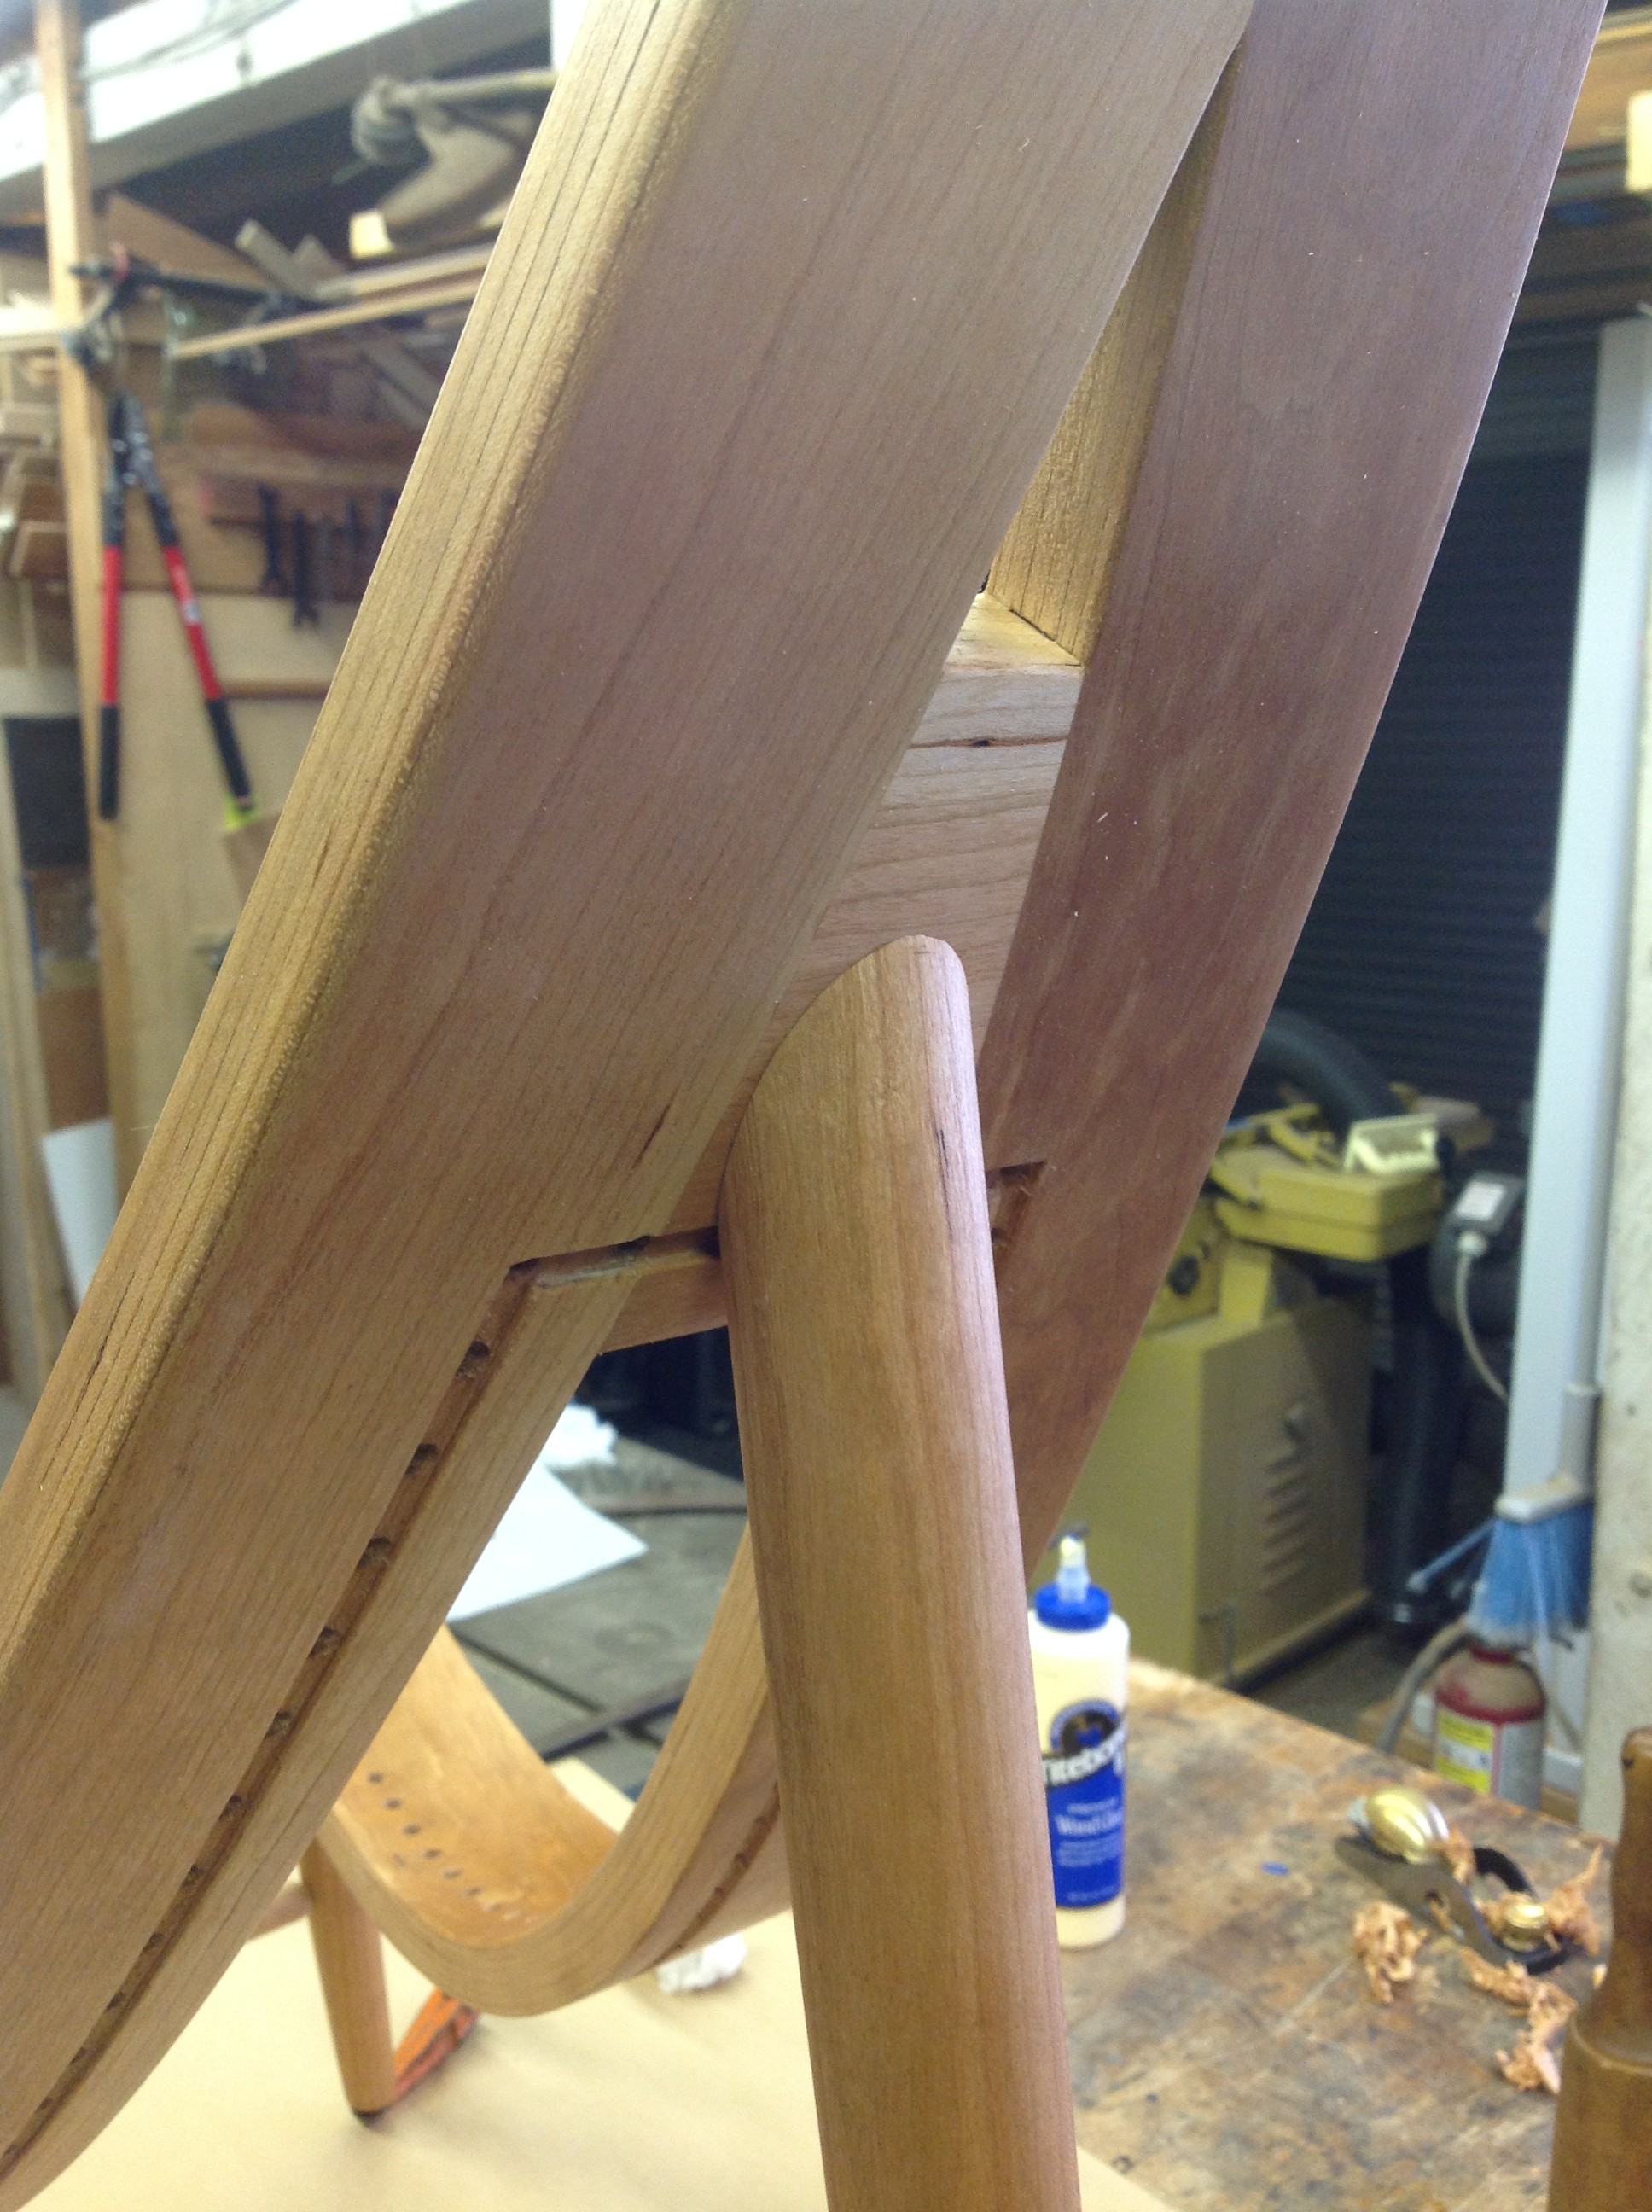
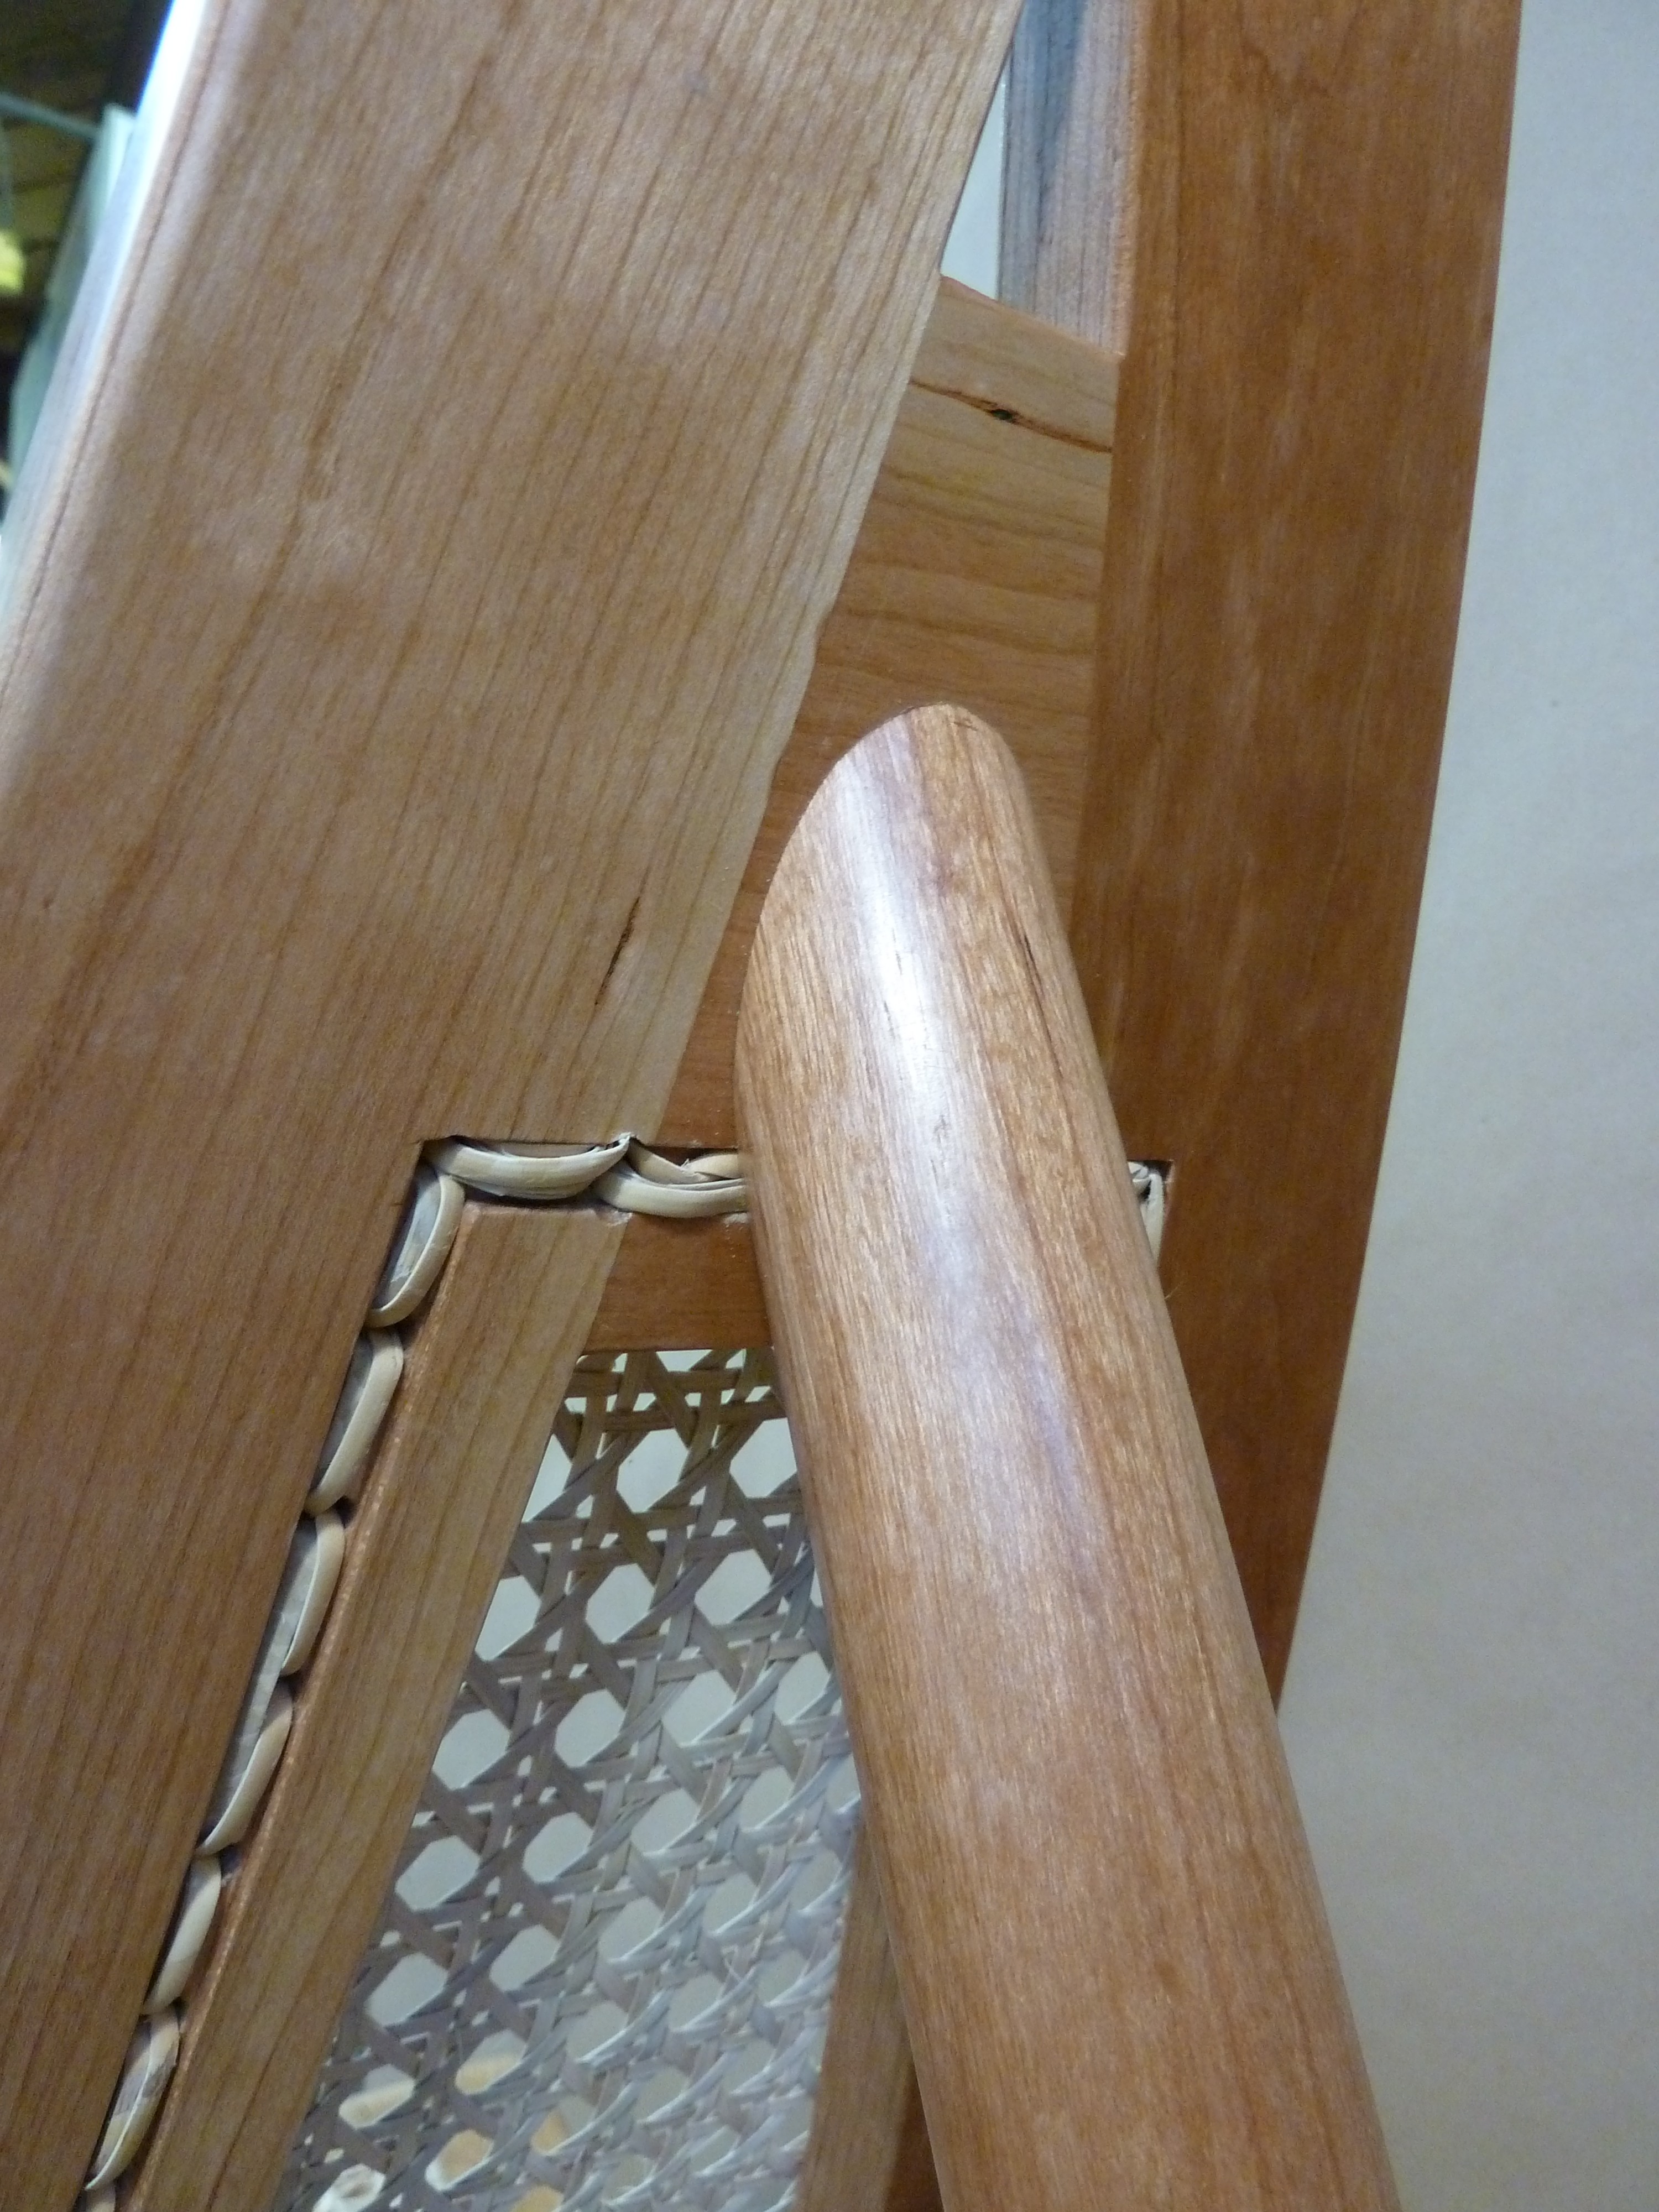
You can see how the back leg shoulder has been cut at a steep angle to fit flush against the support.
The legs and stretchers get glued up. Next the chair gets multiple coats of Watco oil finish and then gets rubbed out.
Caning the Chair
I don’t do caning very often, so I have to pull out my reference to guide me, but I do like caning , I find it relaxing. Somehow I always manage to find the pegs I have always used over the years.

Leave a Reply
You must be logged in to post a comment.