Building the Ceramic Scale Table
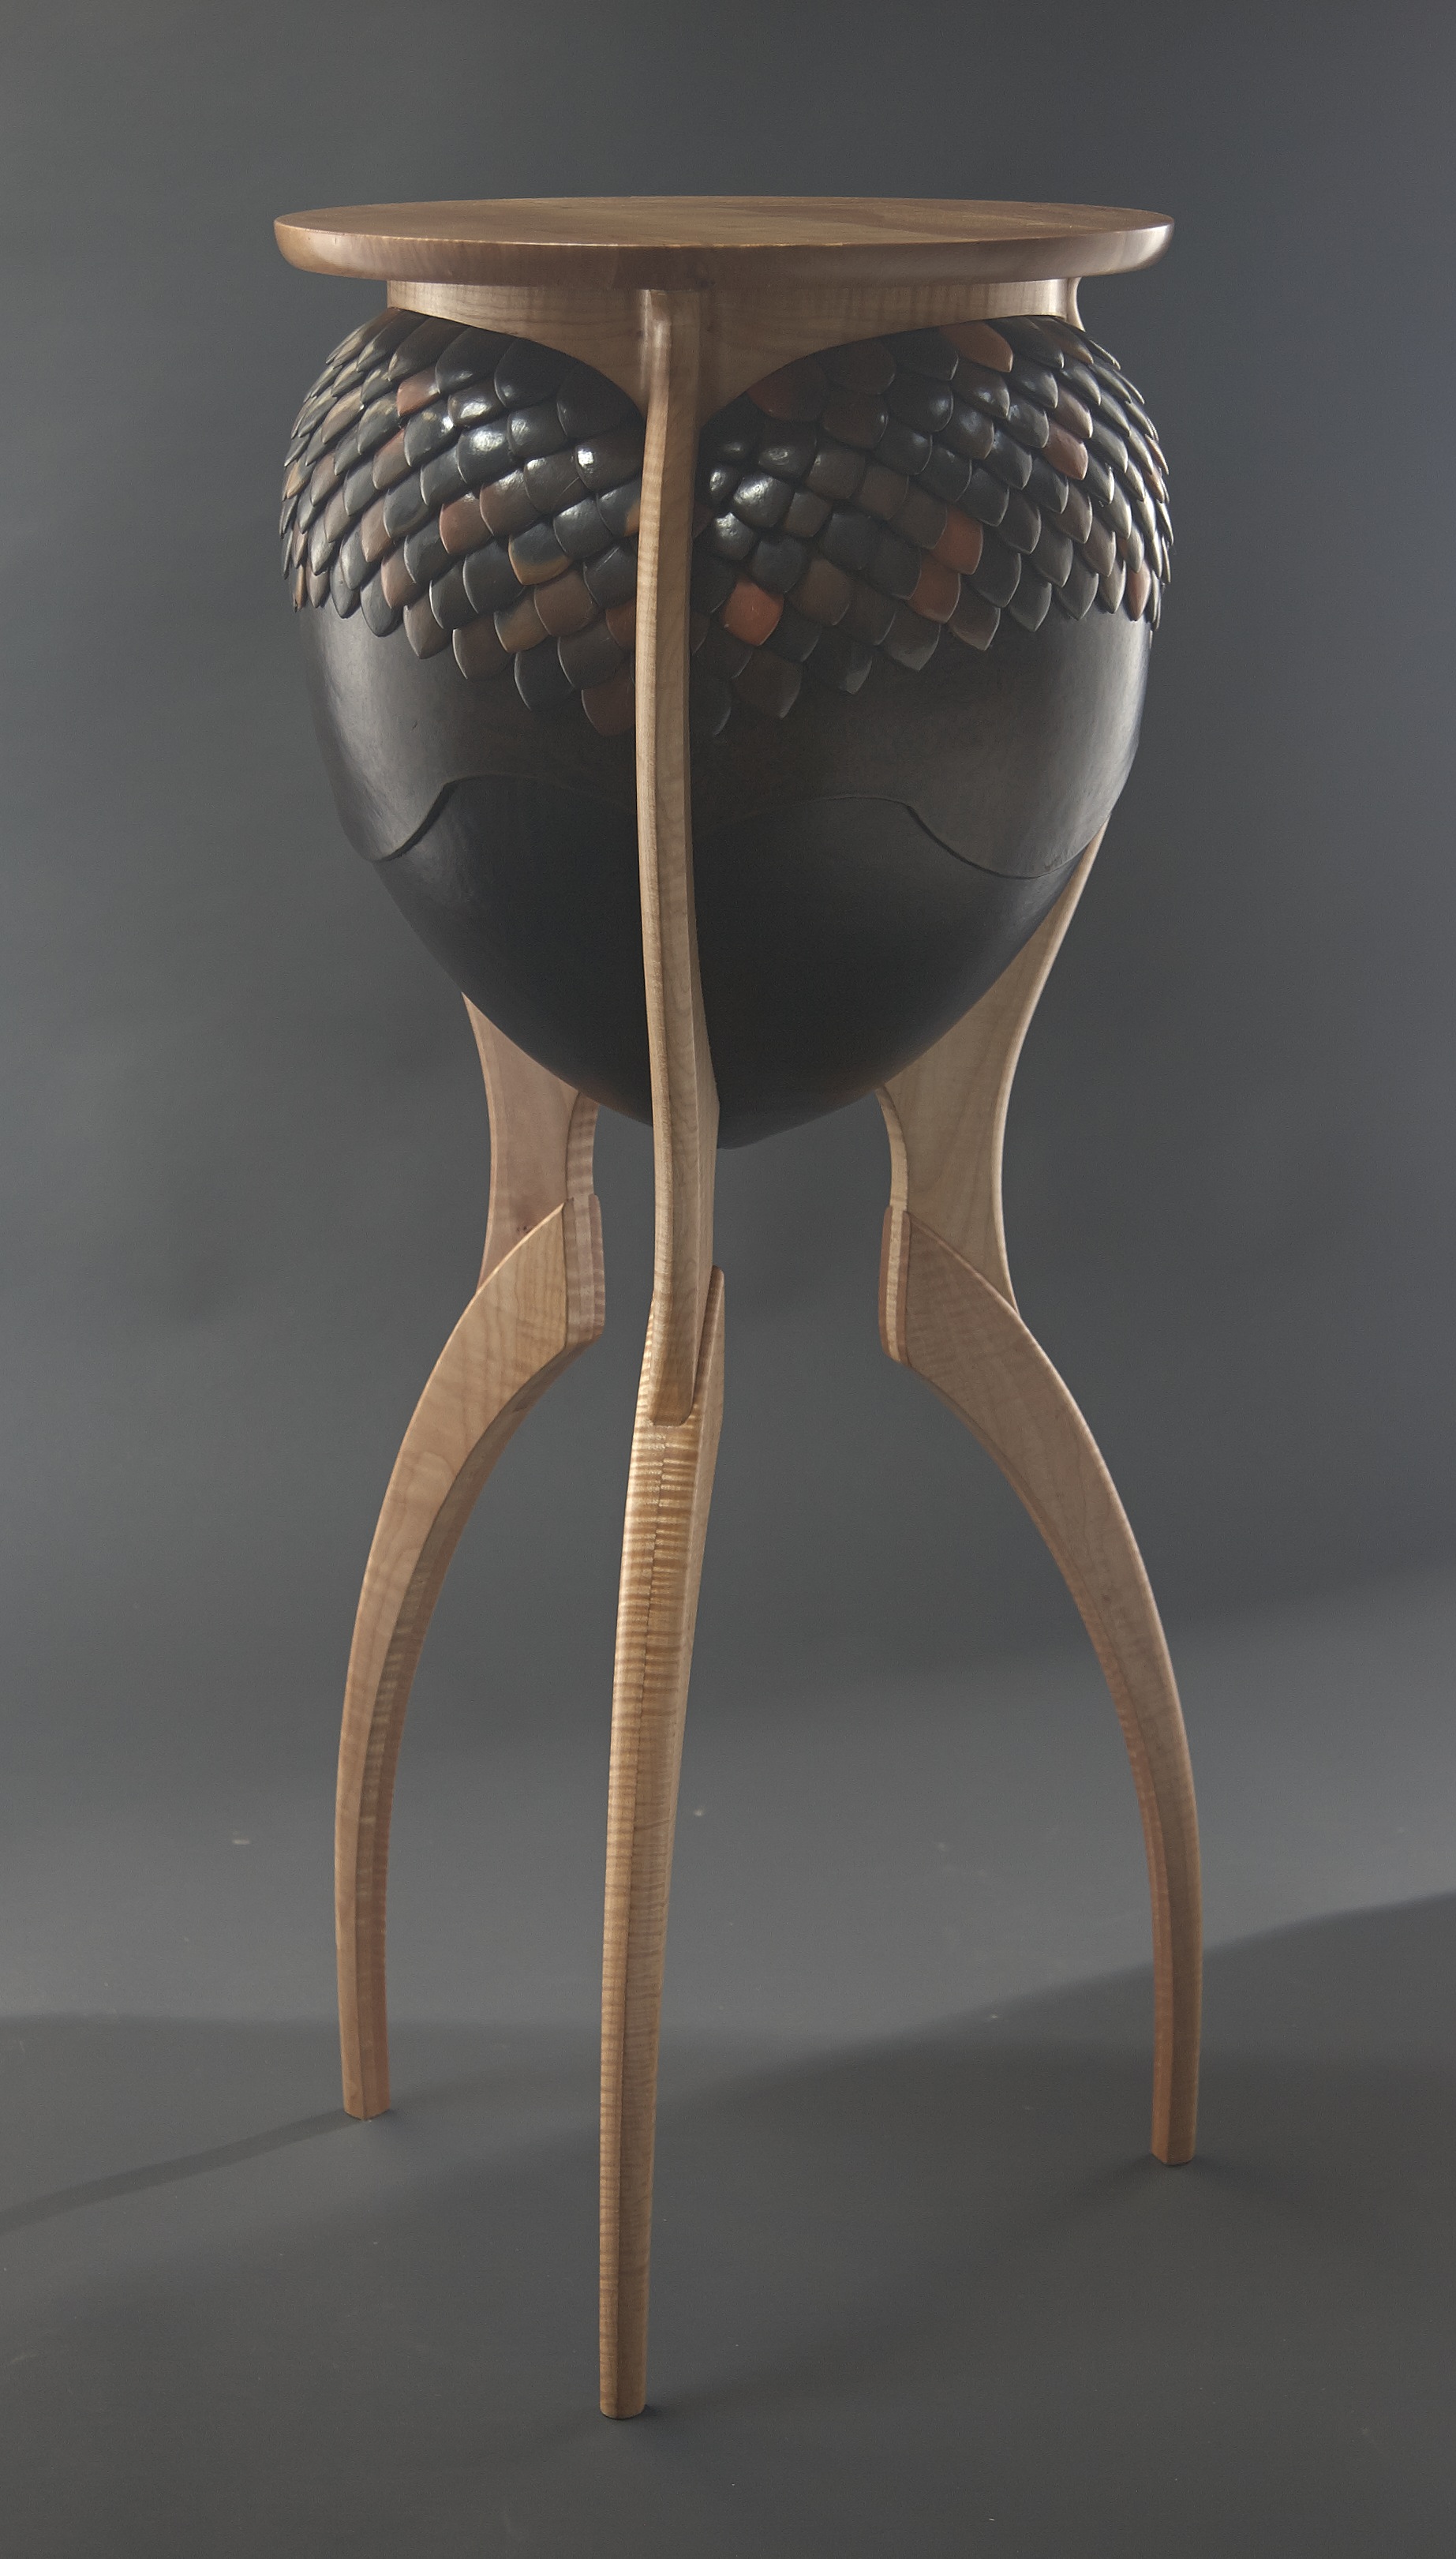
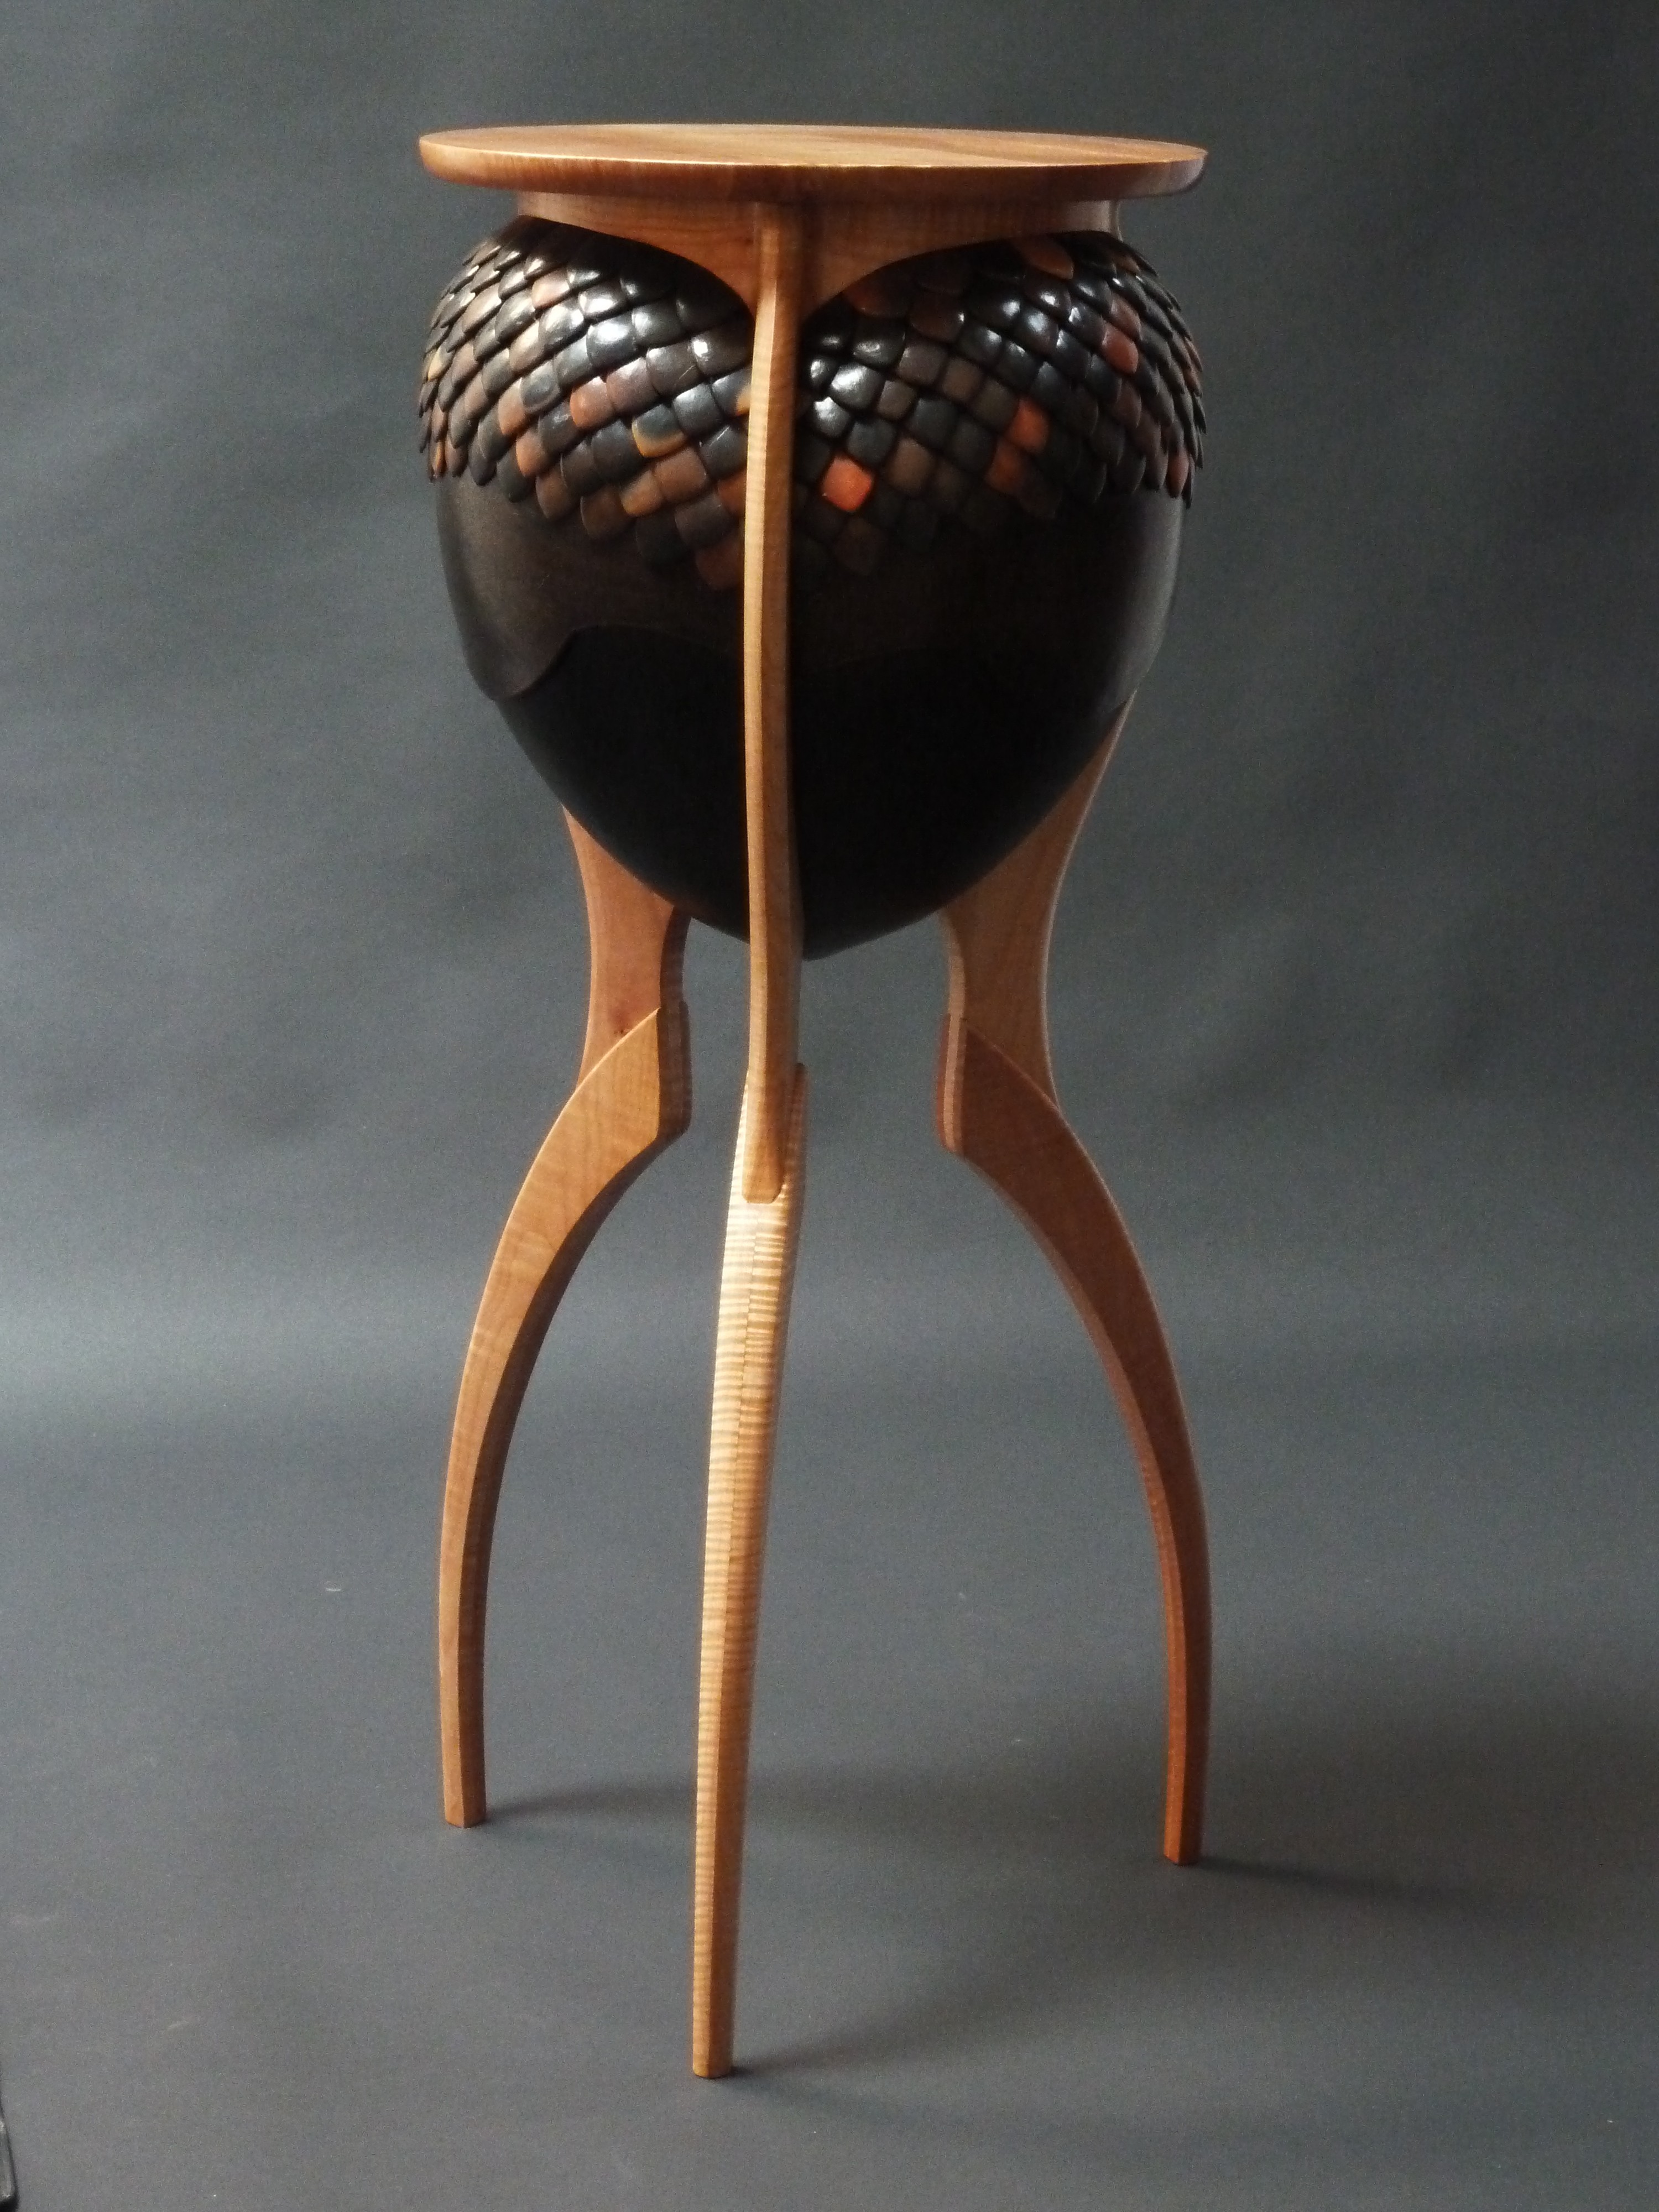
The Ceramic Scale Table was the first three legged table with an egg shape that I thought of making. The process of making and firing the ceramic scales slowed the process down quite a bit, so it became the last of the tables that I have made to date. After two of the bigger egg shapes I decided that this third table should be lighter appearing, so I made the egg portion smaller and the legs longer. I also abandoned the wooden pieces that connect at the base of the egg, which was a time consuming
 fitting challenge in the other two pieces.
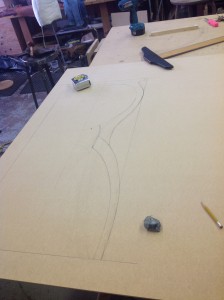
After the scale model stage I drew the table out full size on a sheet of 1/4″ MDF. One of the advantages of a full size drawing on rigid material is that you can stand it up on the floor and view it’s size and proportions more like you would relate to the actual object.
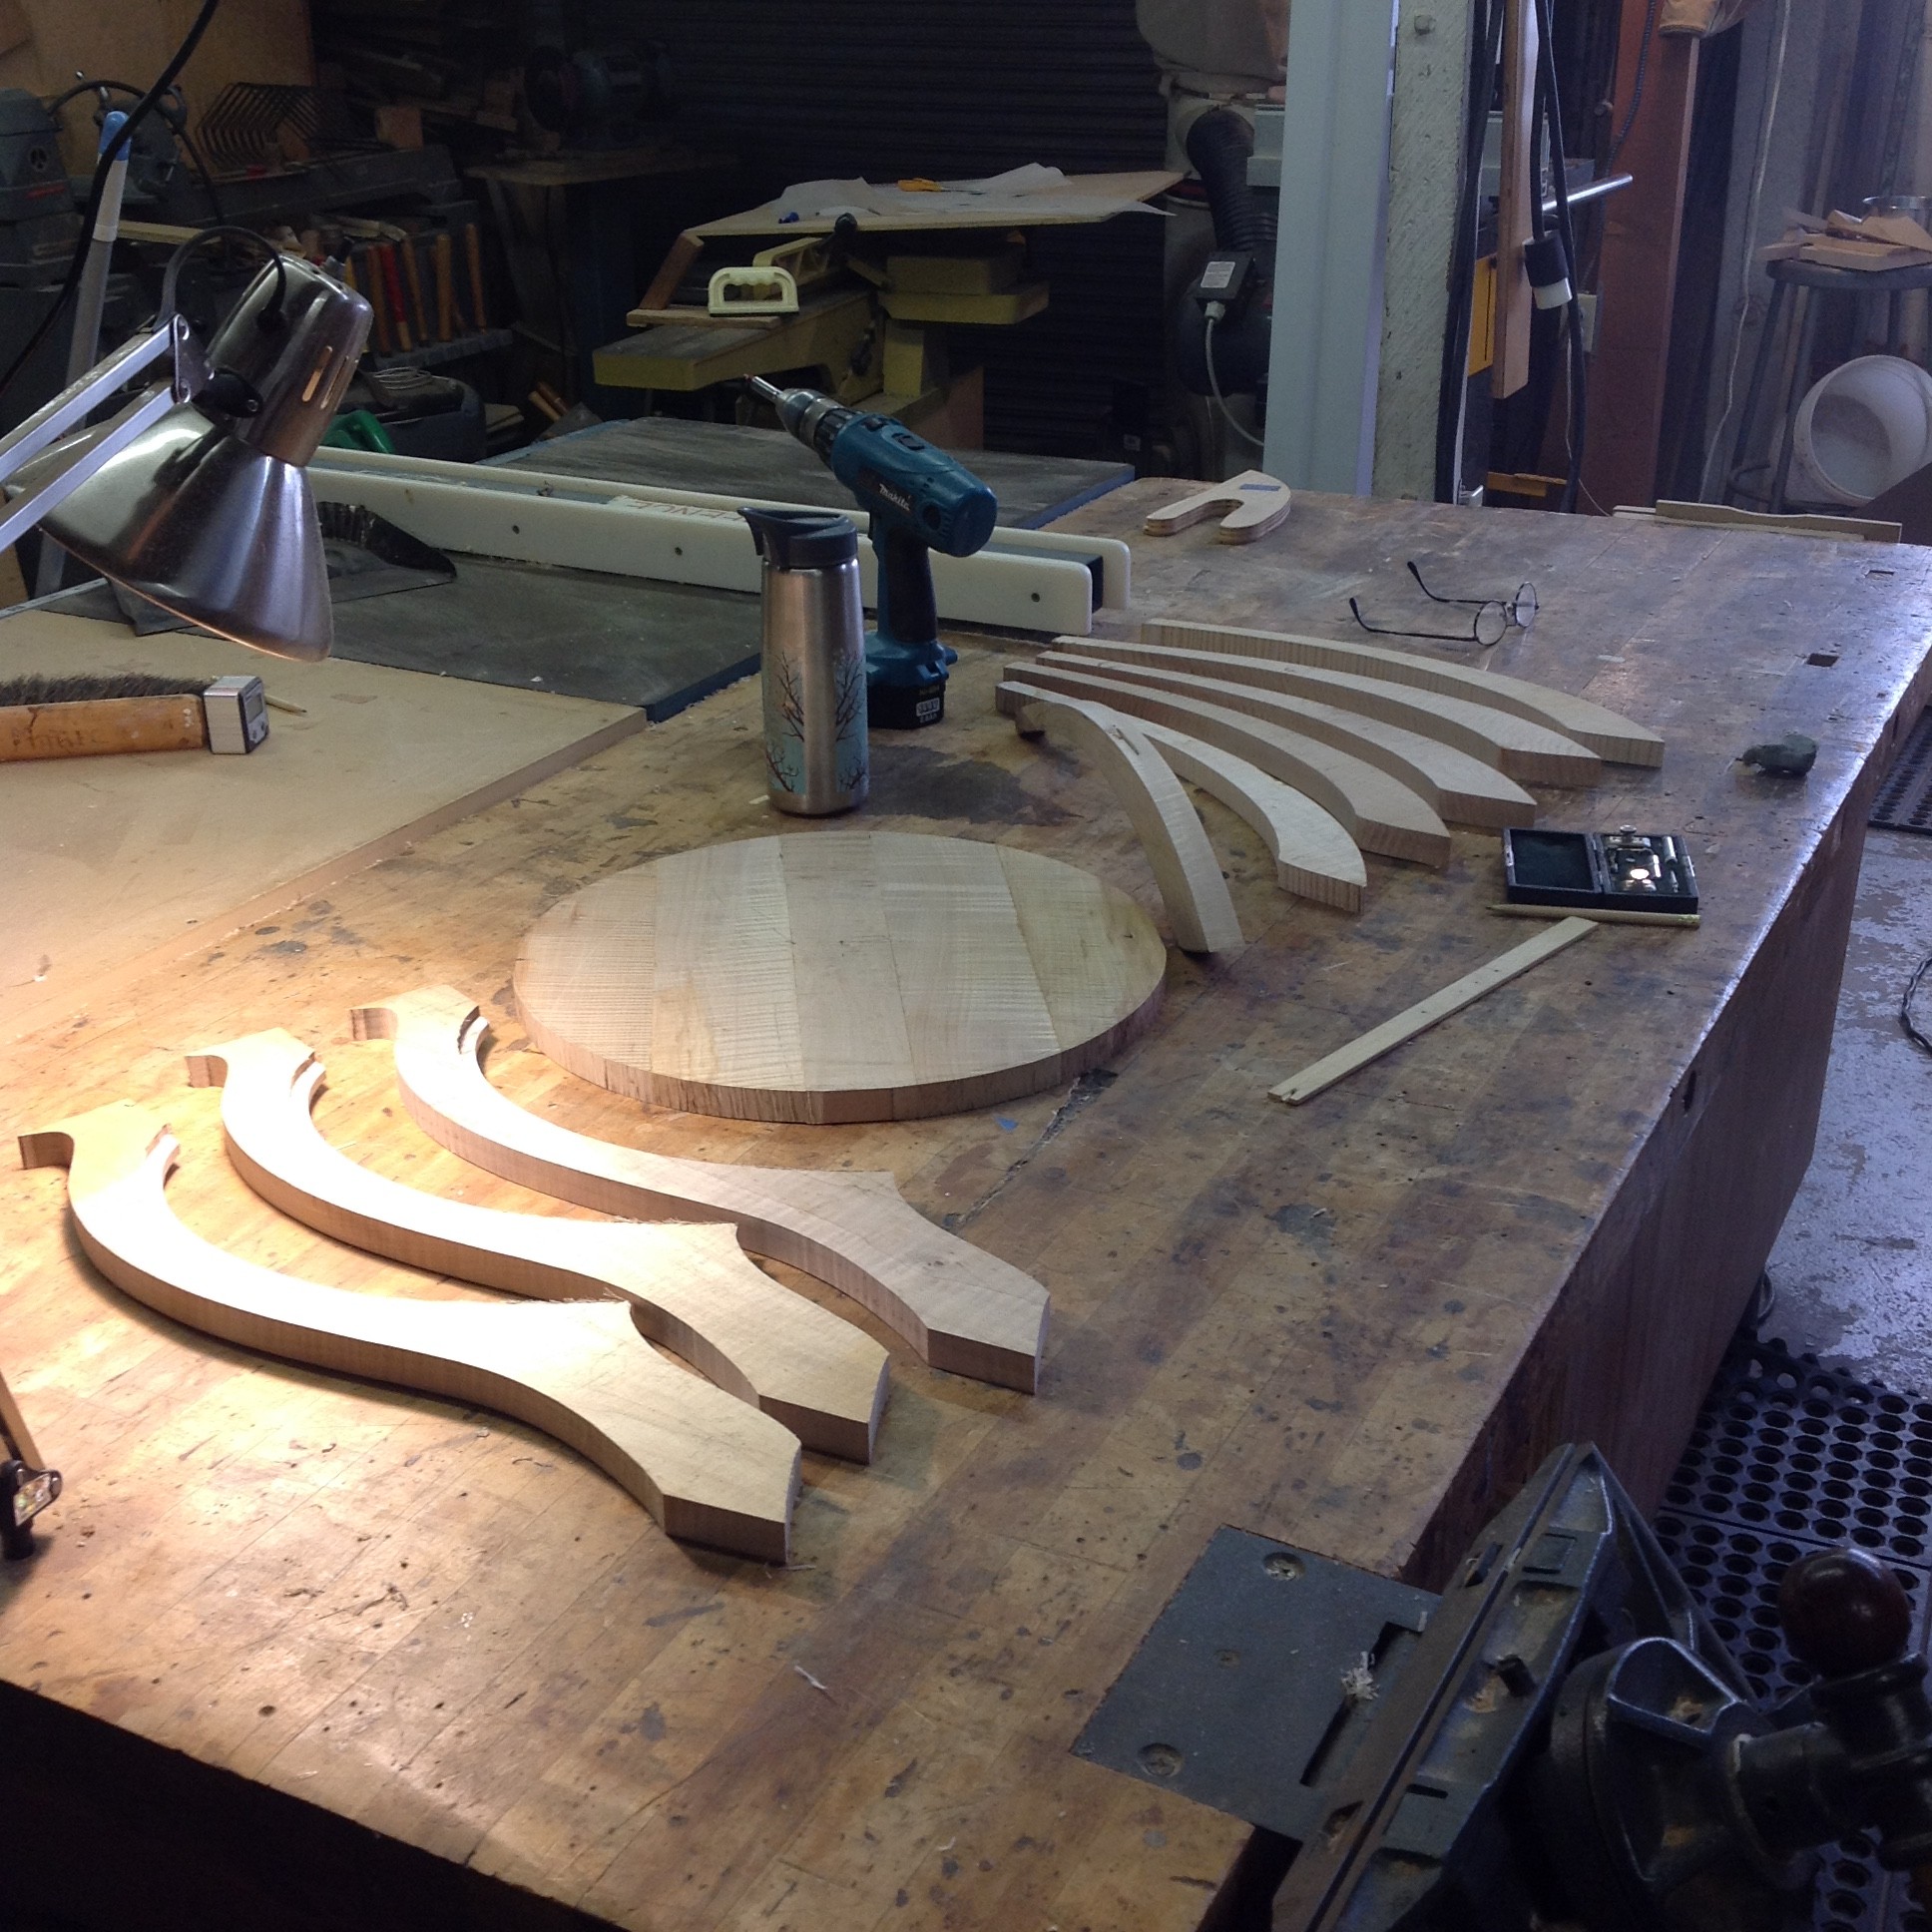 From the full sized drawing I traced the shapes for the legs onto tracing paper and transferred them to the the curly maple I was using. The curly maple had been in my shop for a while waiting for for an appropriate project, but the boards were not very wide so the hourglass leg shape would not have worked on a single board. Instead, the legs were each made in 3 parts, an upper section and two sandwiched lower sections with a bridle joint between.

The aprons got cut from blocks of maple and then got a bandsaw cut veneer of the curly maple glued on the outside surface.
Then the aprons got their lower curves cut.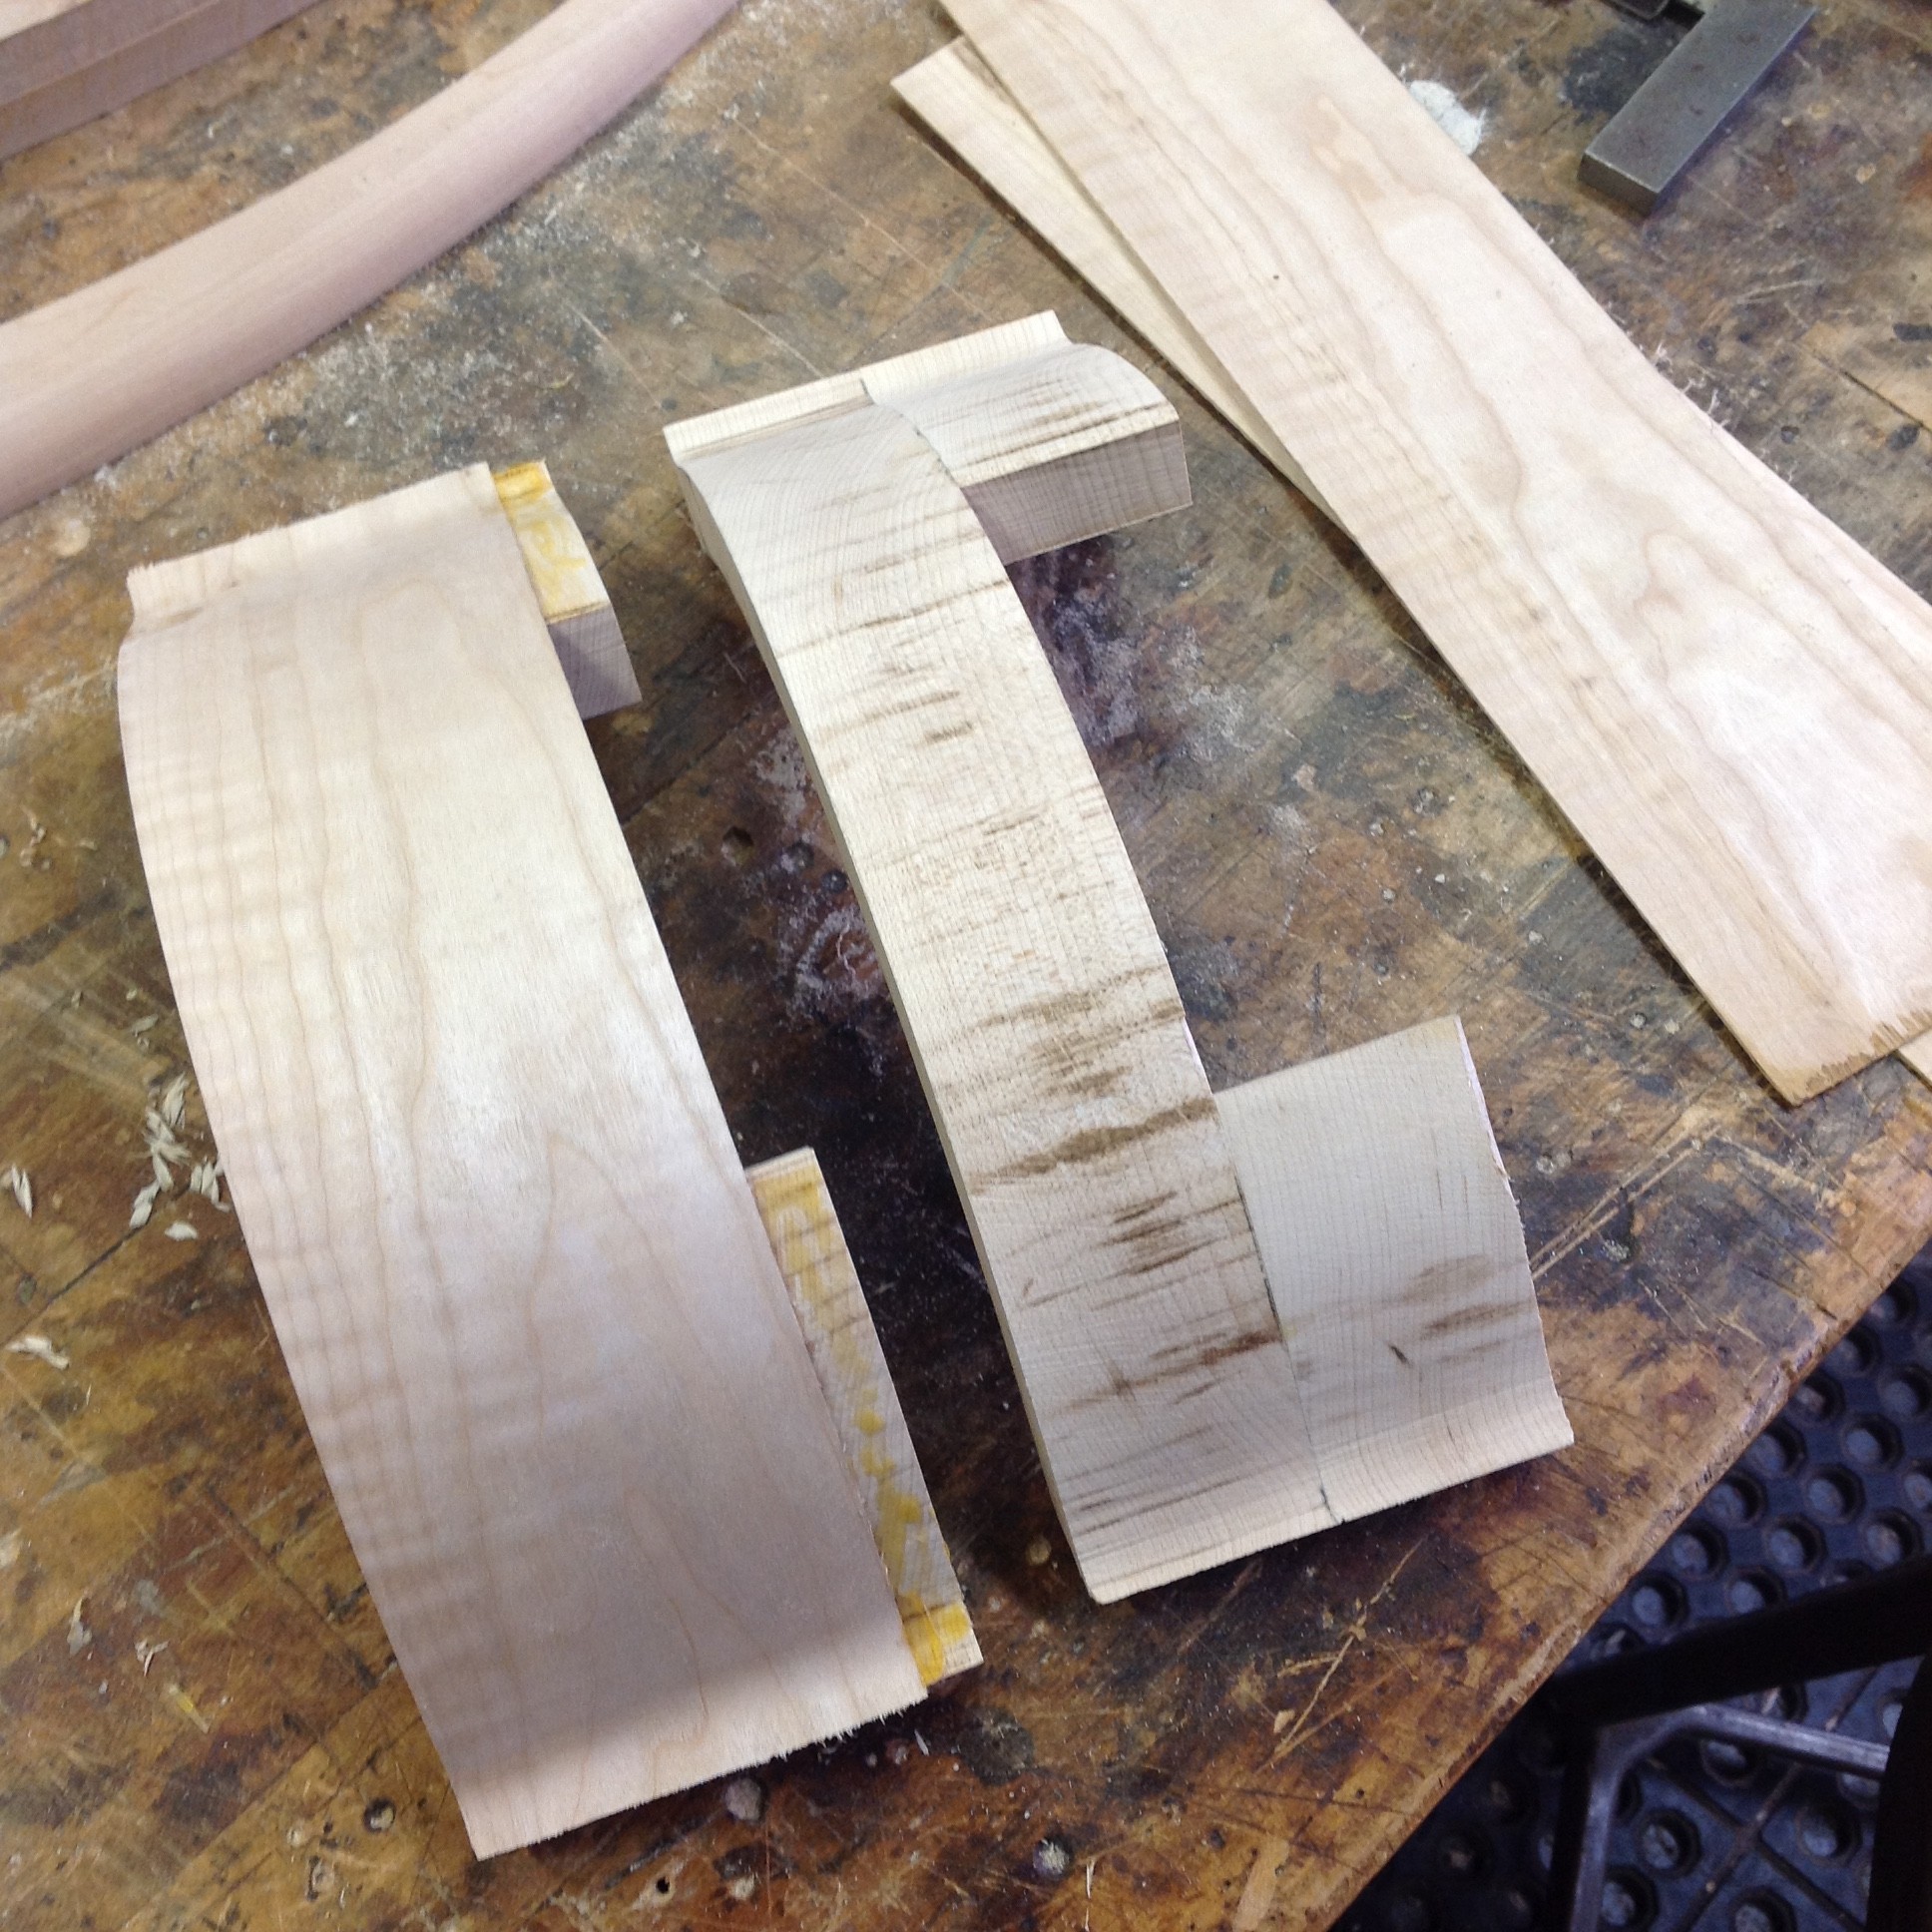
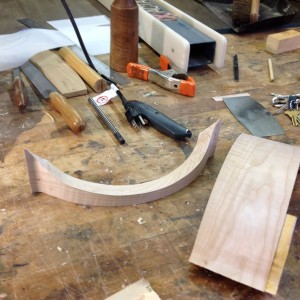
Here are two legs and an apron doing a test fit. The aprons and legs are joined with loose tenons and then a lower ring of poplar gets screwed and glued to the legs and becomes the base of the framework for the egg shape.
Next comes the sanding of all the maple parts and then the big glue up. Glue ups can be a bit nerve wracking, even when you have done a trial clamp up ahead. This shape needed some extra help, so I put some structural screws in the top of the aprons where the brass hardware would later get attached so that I would have something to clamp the joints together with.
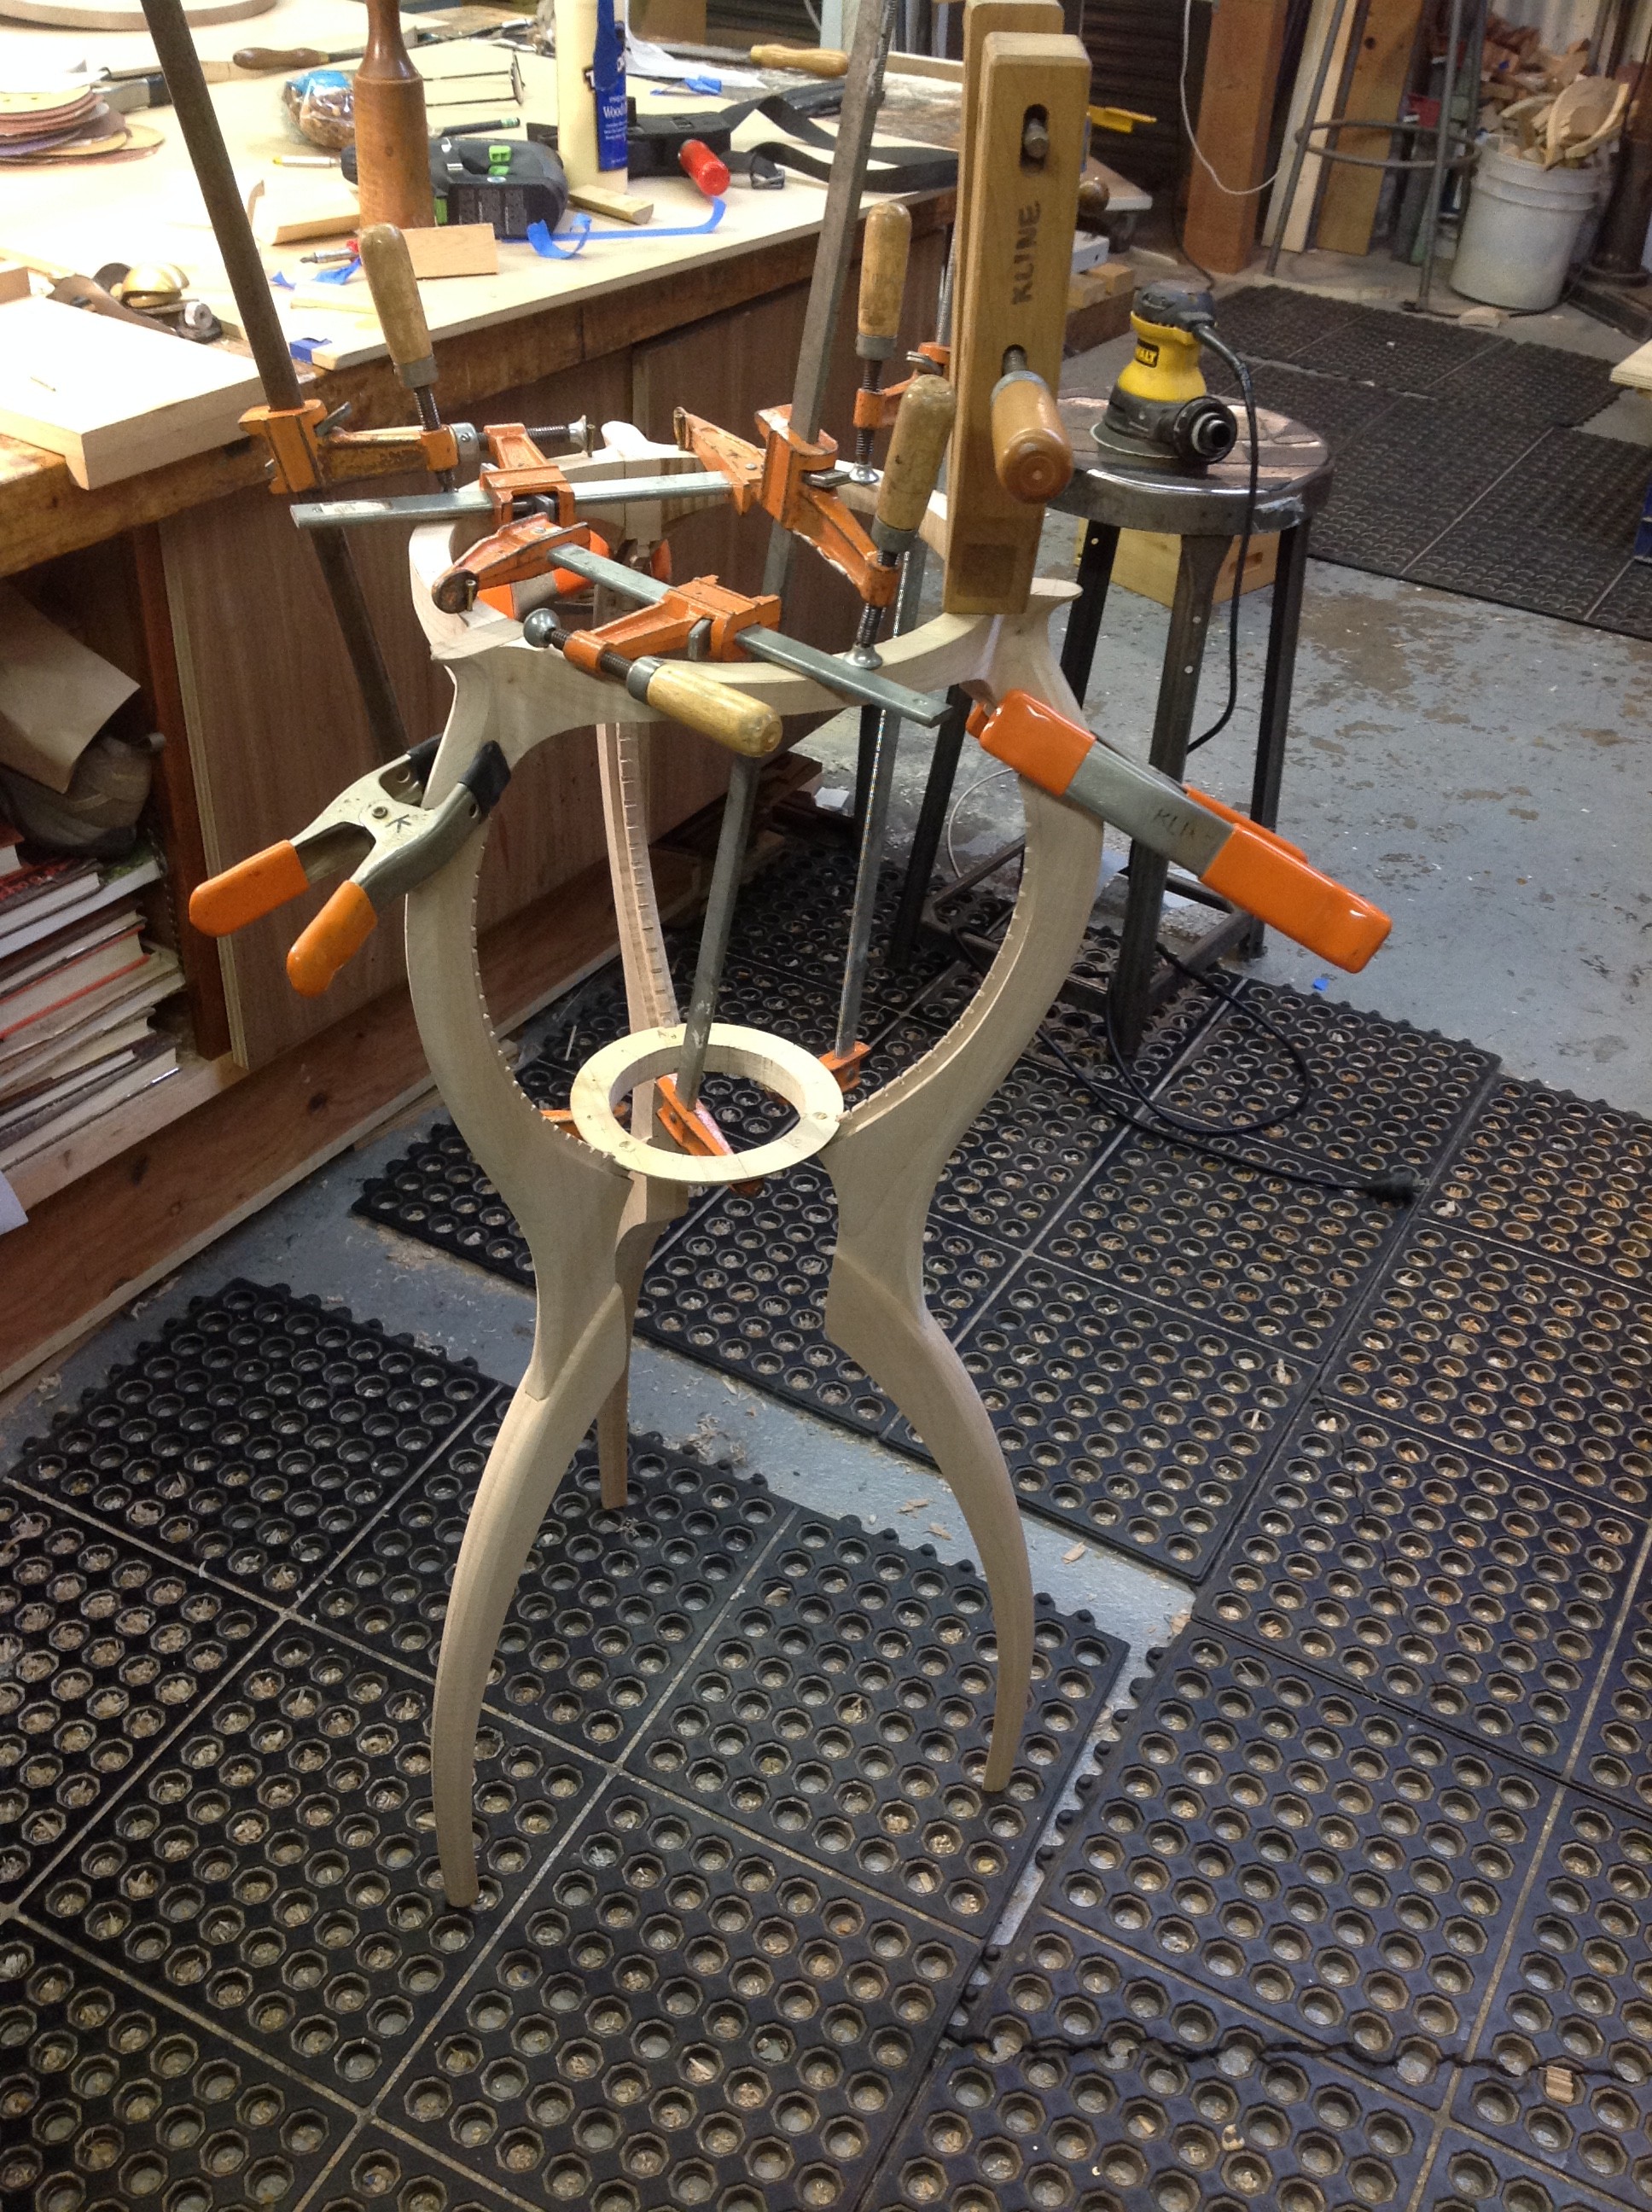
Once the legs and aprons were glued up it got simpler since the poplar egg framework got attached piece by piece.
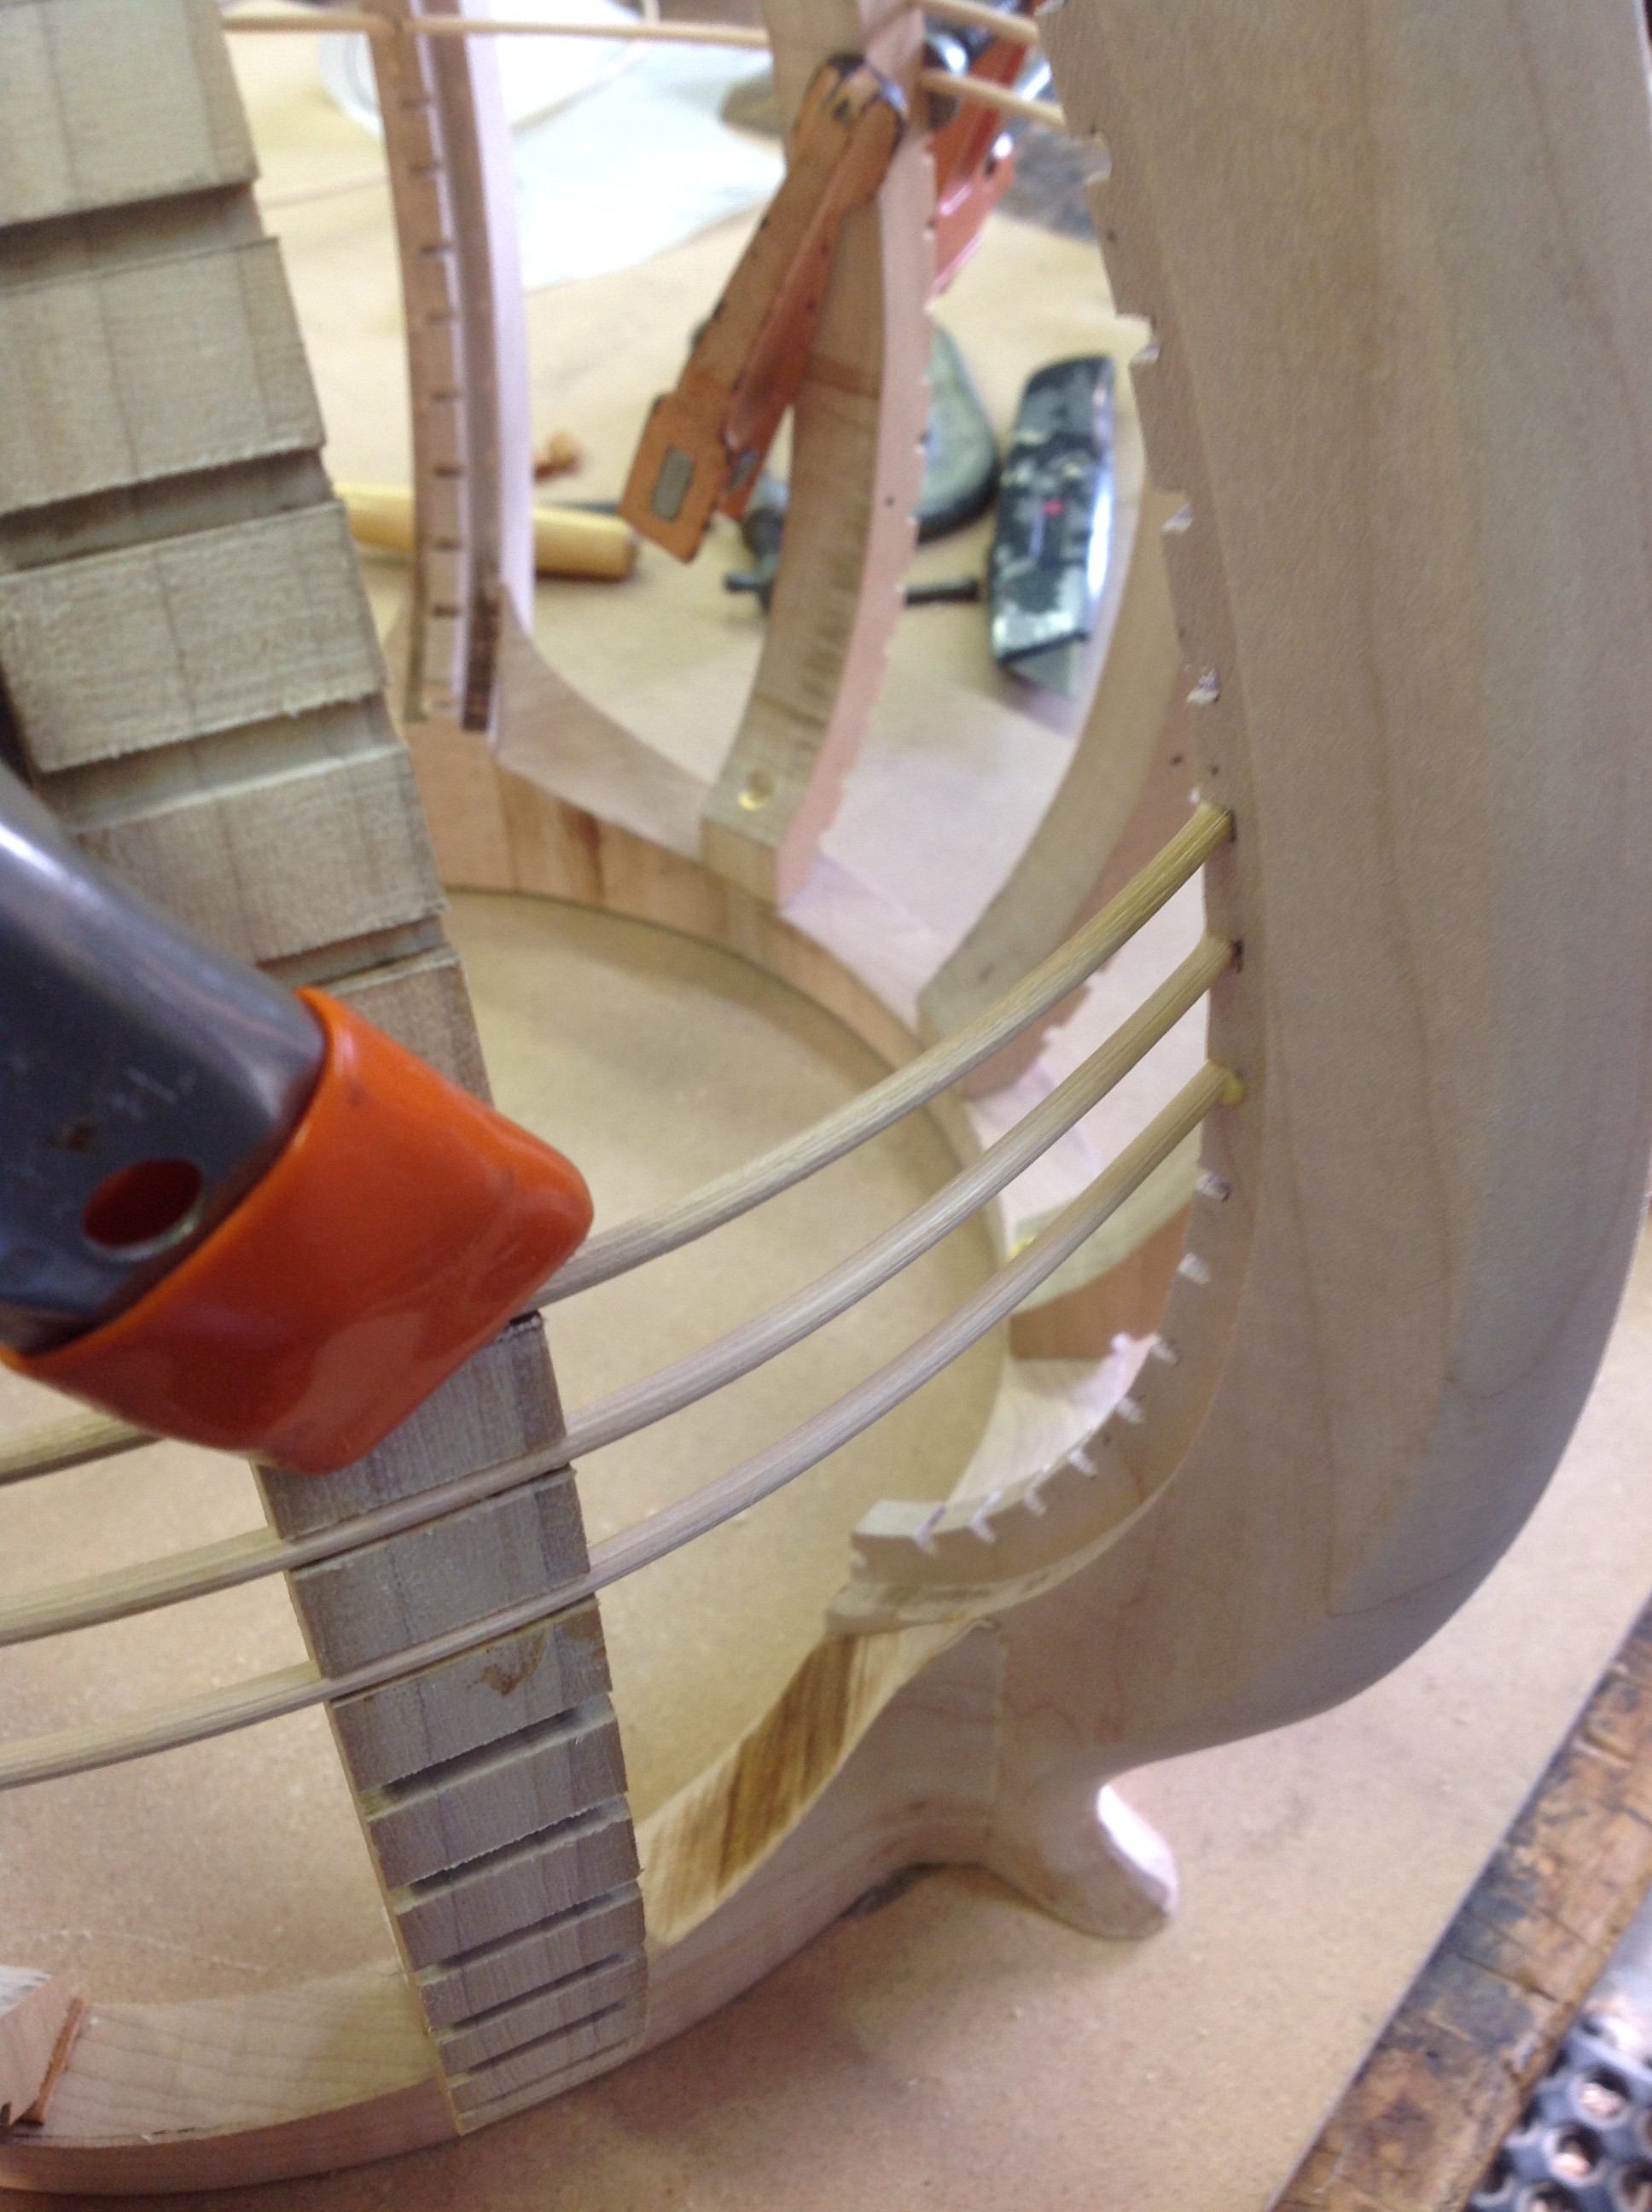
The Legs had gotten notches cut on their egg facing surface before the glue up and the egg frame ribs got matching notches before they were installed. The ribs were attached with glue and screws, since none of those surfaces will show in the finished piece.
Once all the ribs are in, the reeds get attached in the notches. They are glued in place and I used squeeze clamps to hold the reed in place as I worked around each level.
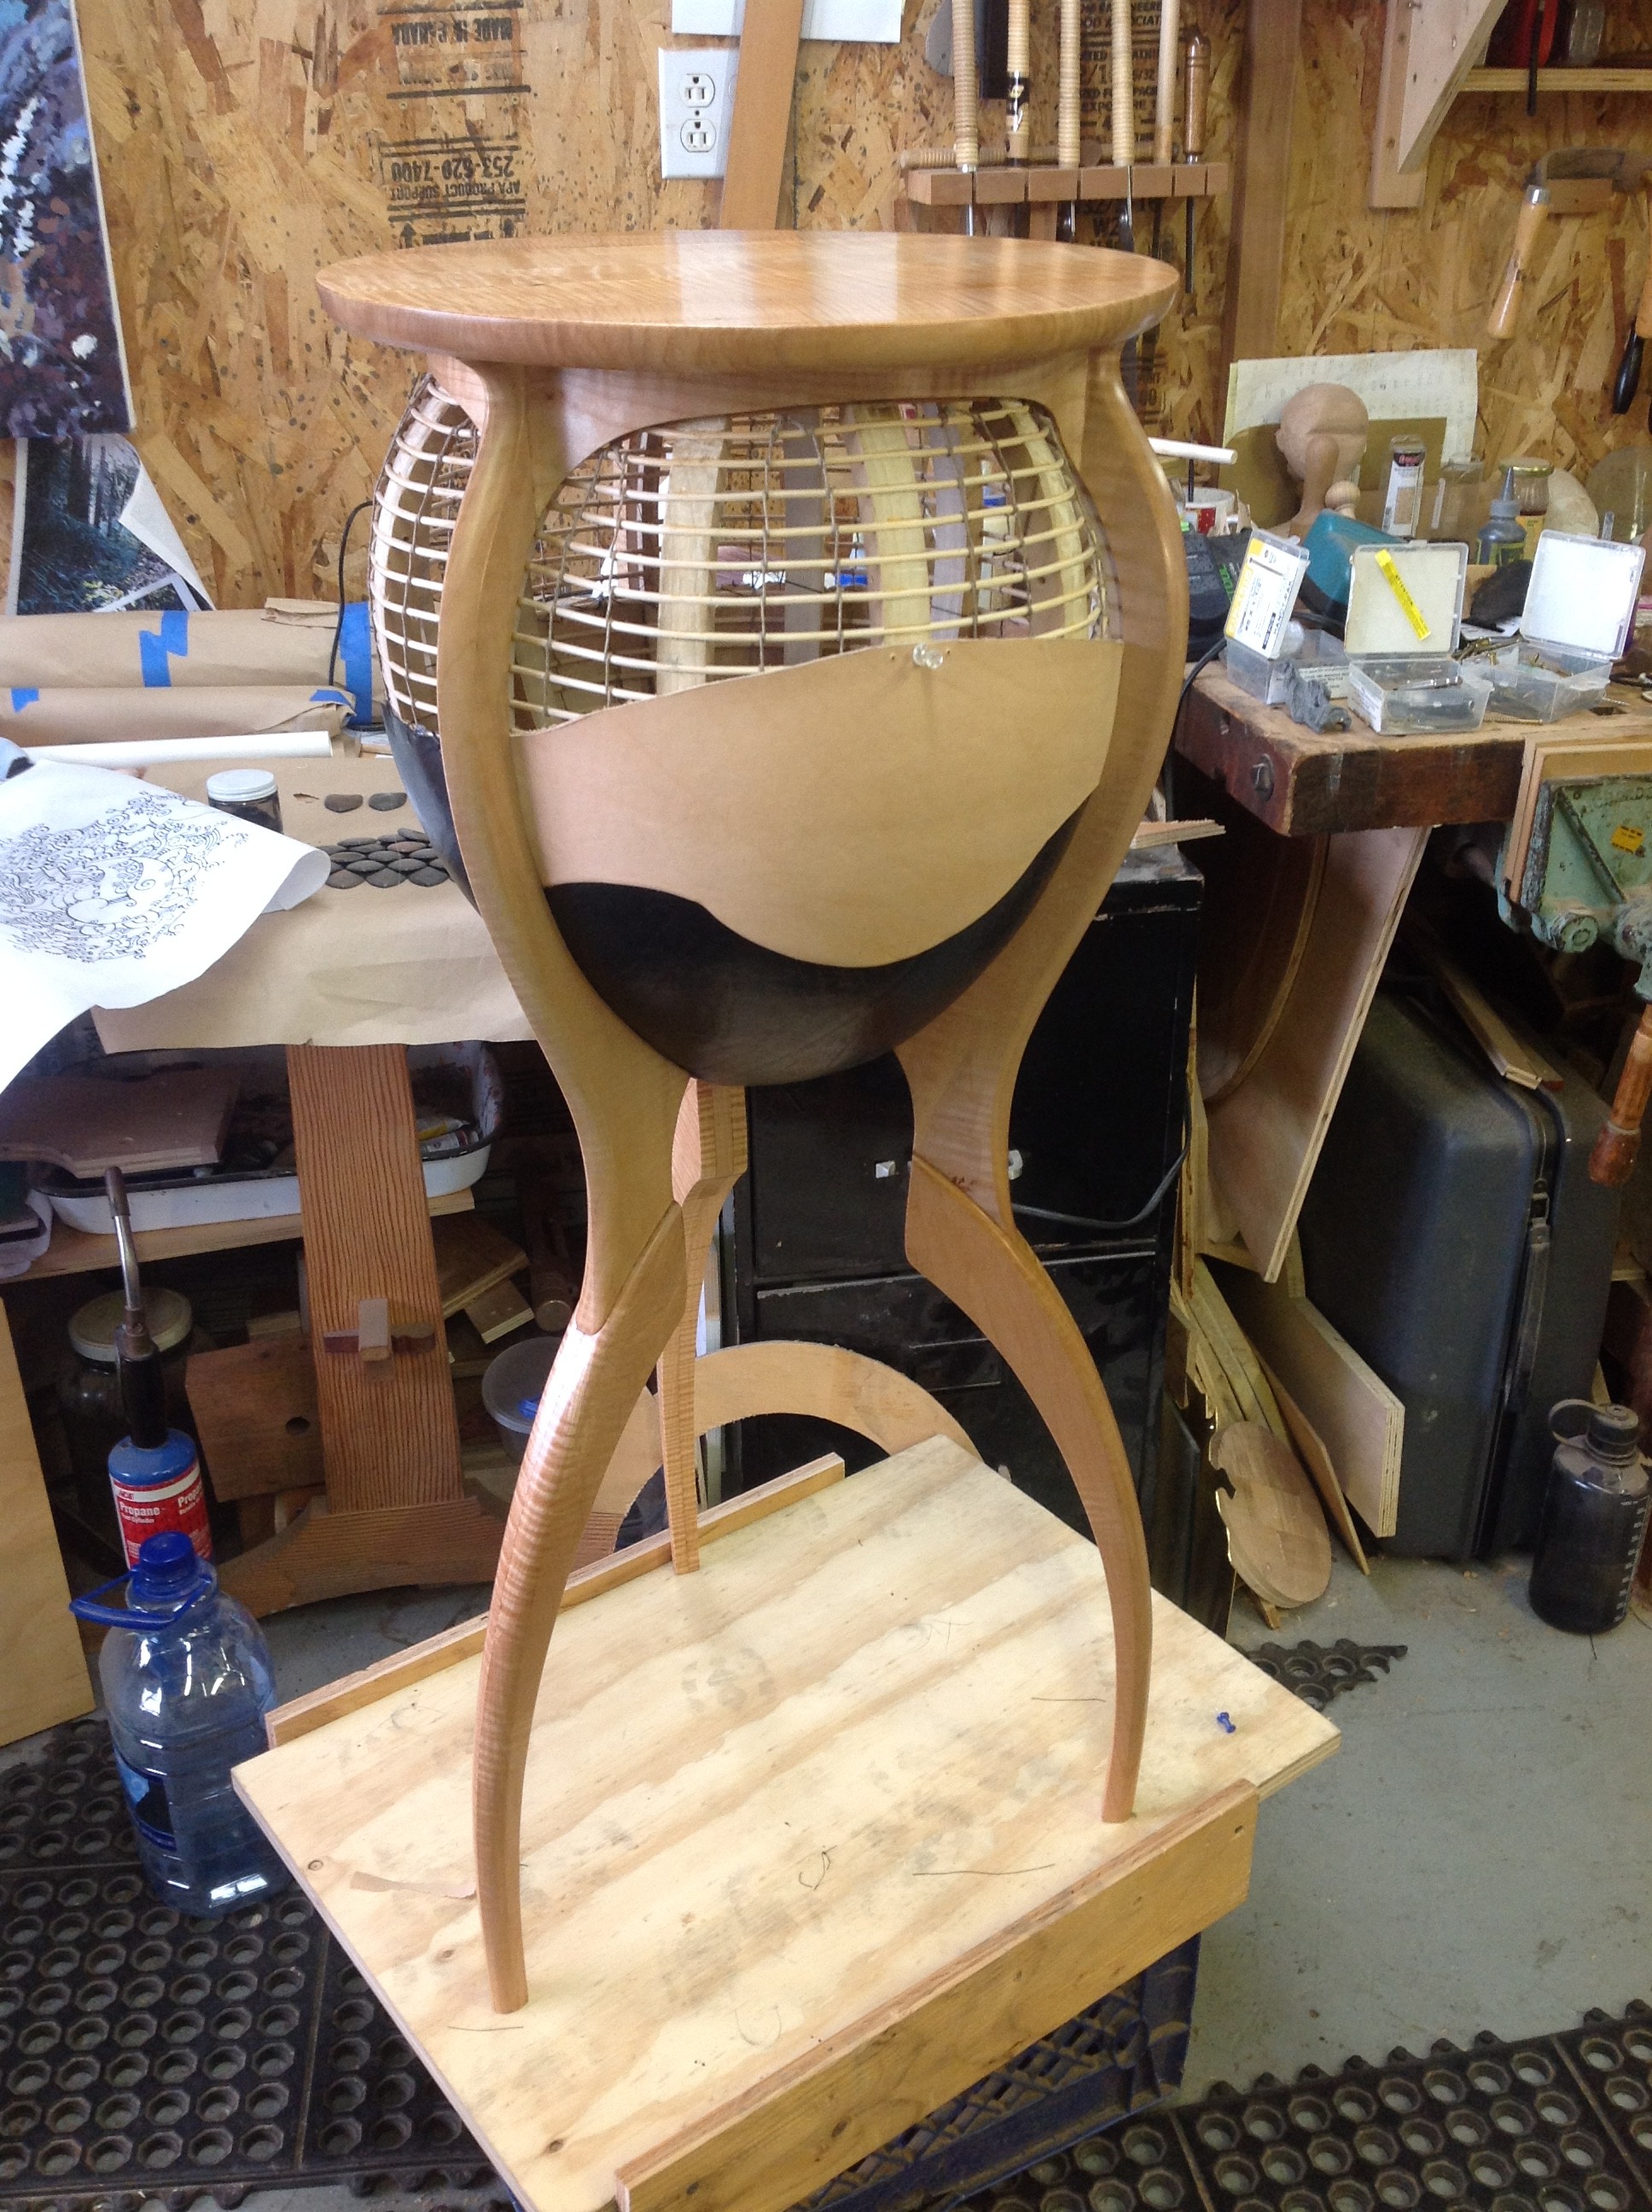
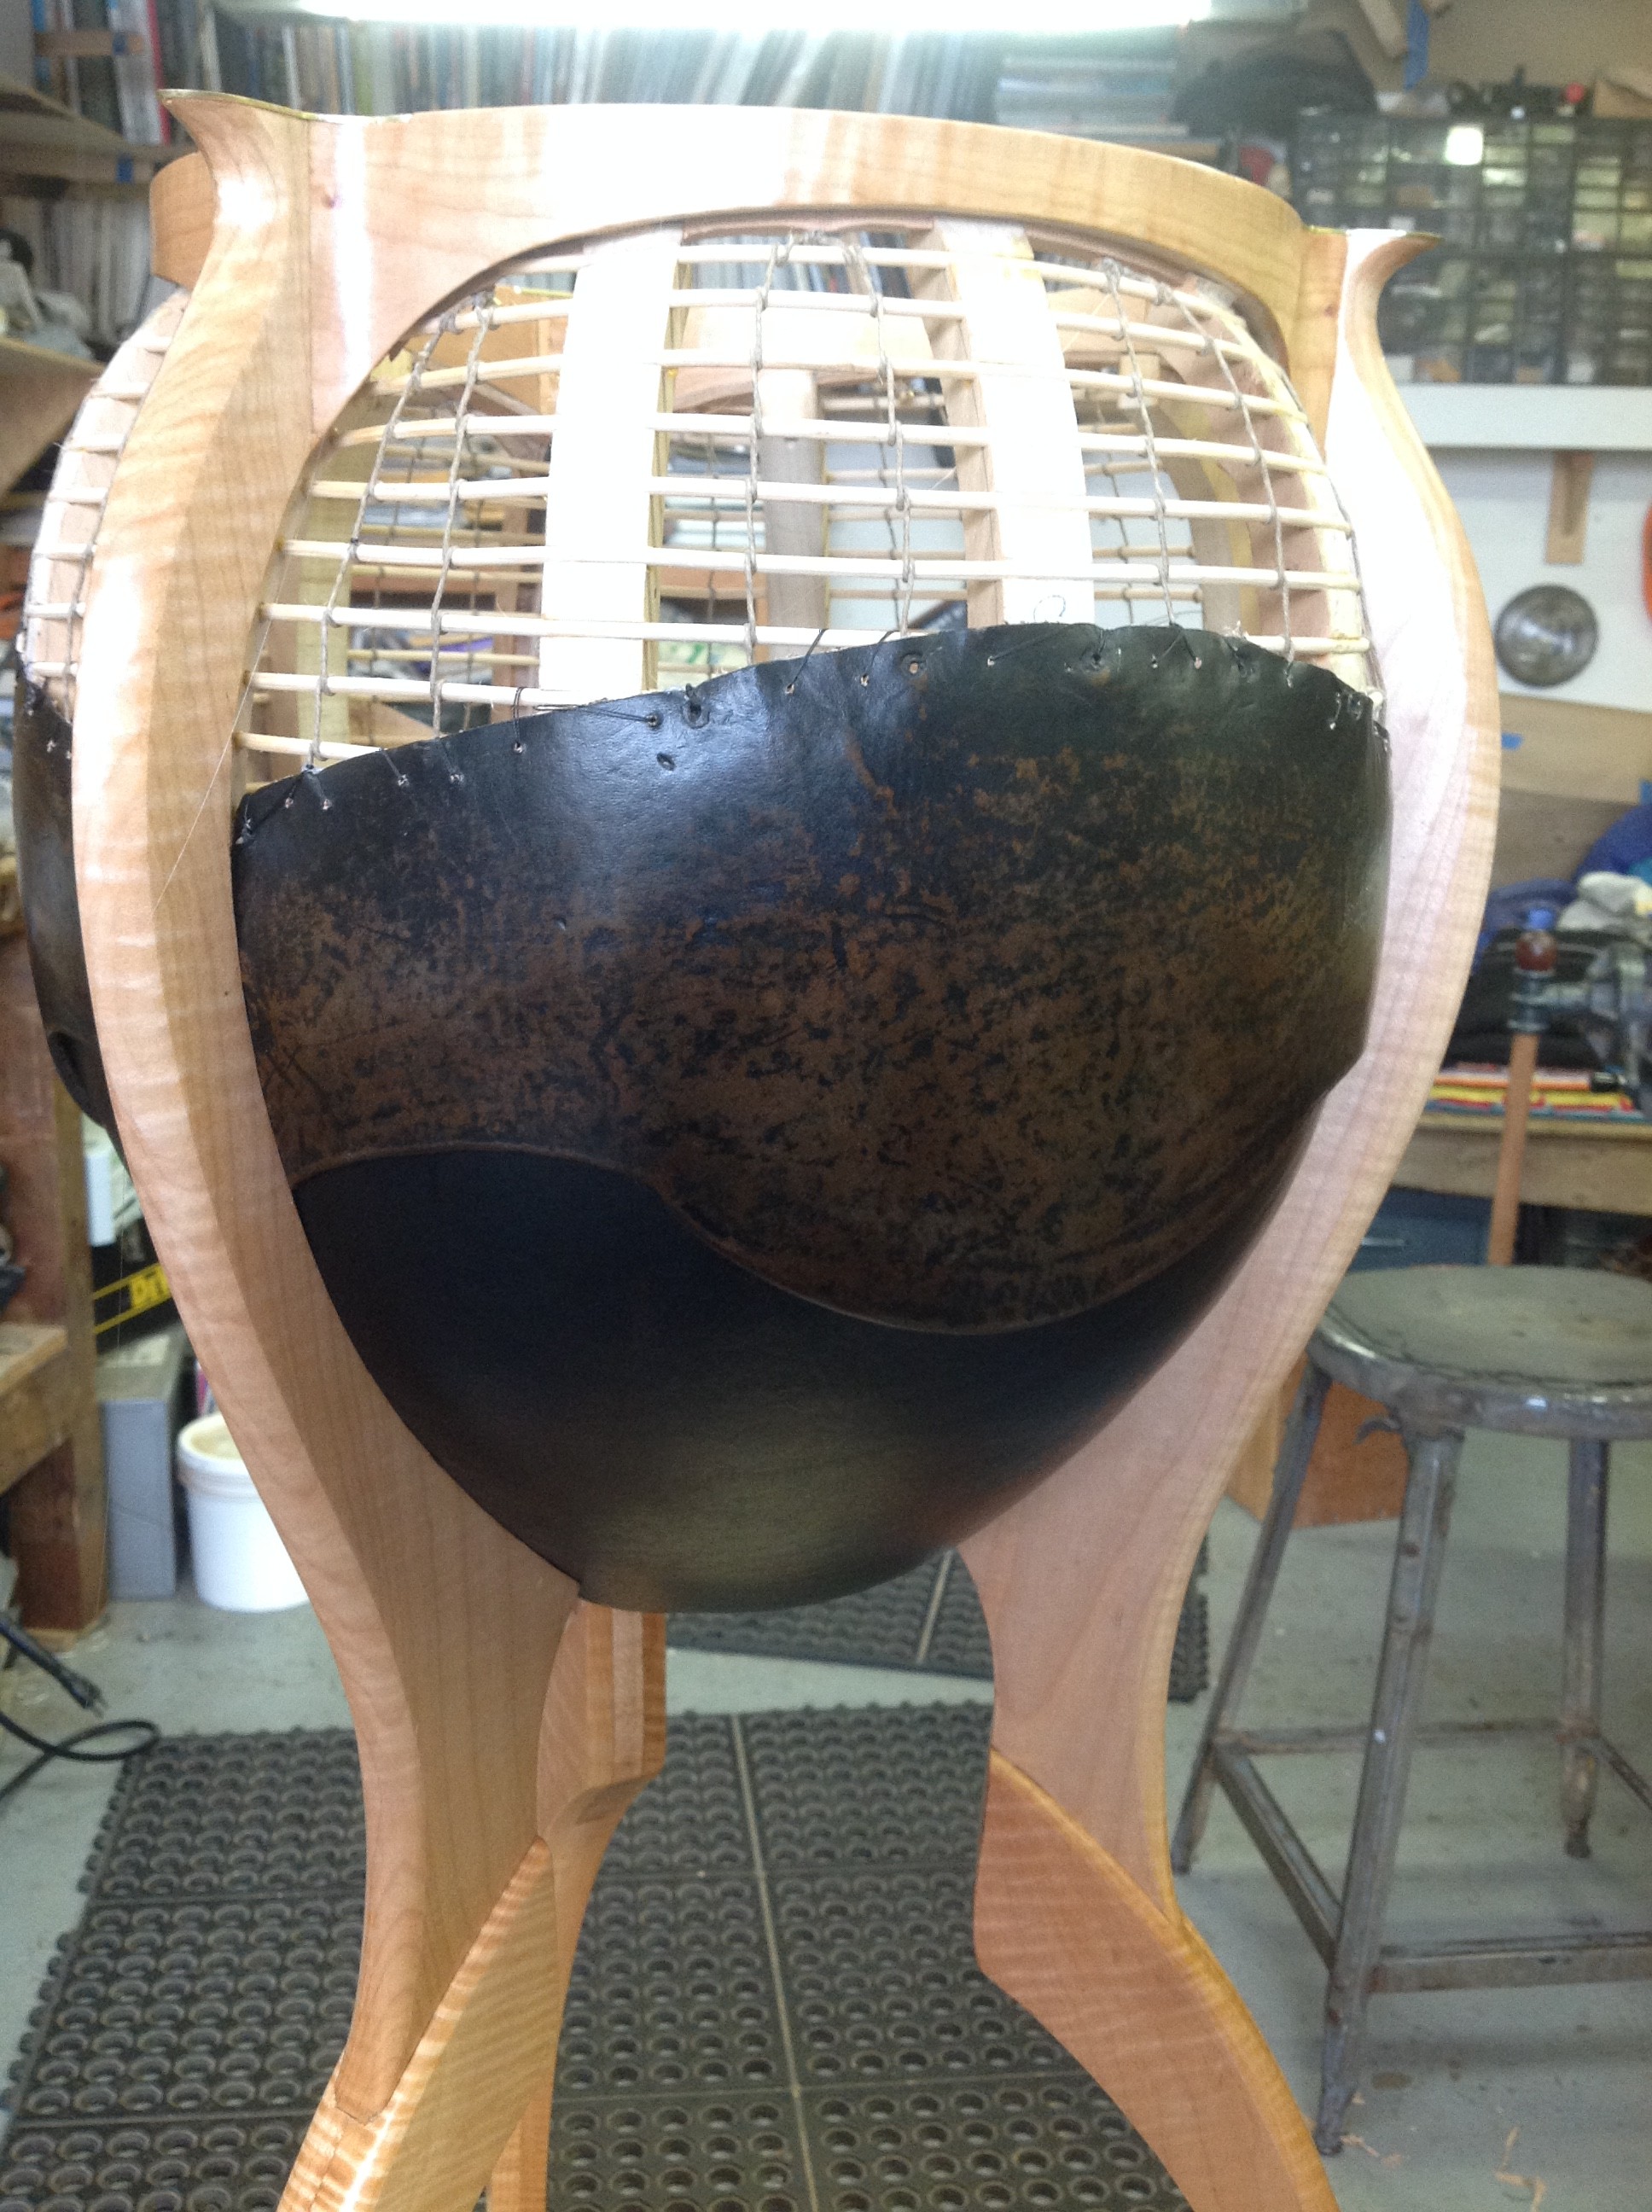
After the reeds come the scales. I learned in the earlier scale table I built with the leather scales that the bottom section just won’t work for the full sized scales so I decided to cover it with leather like I did before.
I use Cowhide Belly leather because it stretches and forms well. The leather was soaked in hot water and then stretched and tacked over a form I made on the lathe that was first protected with plastic.

I made three sections and then sewed them together using a treadle sewing machine. 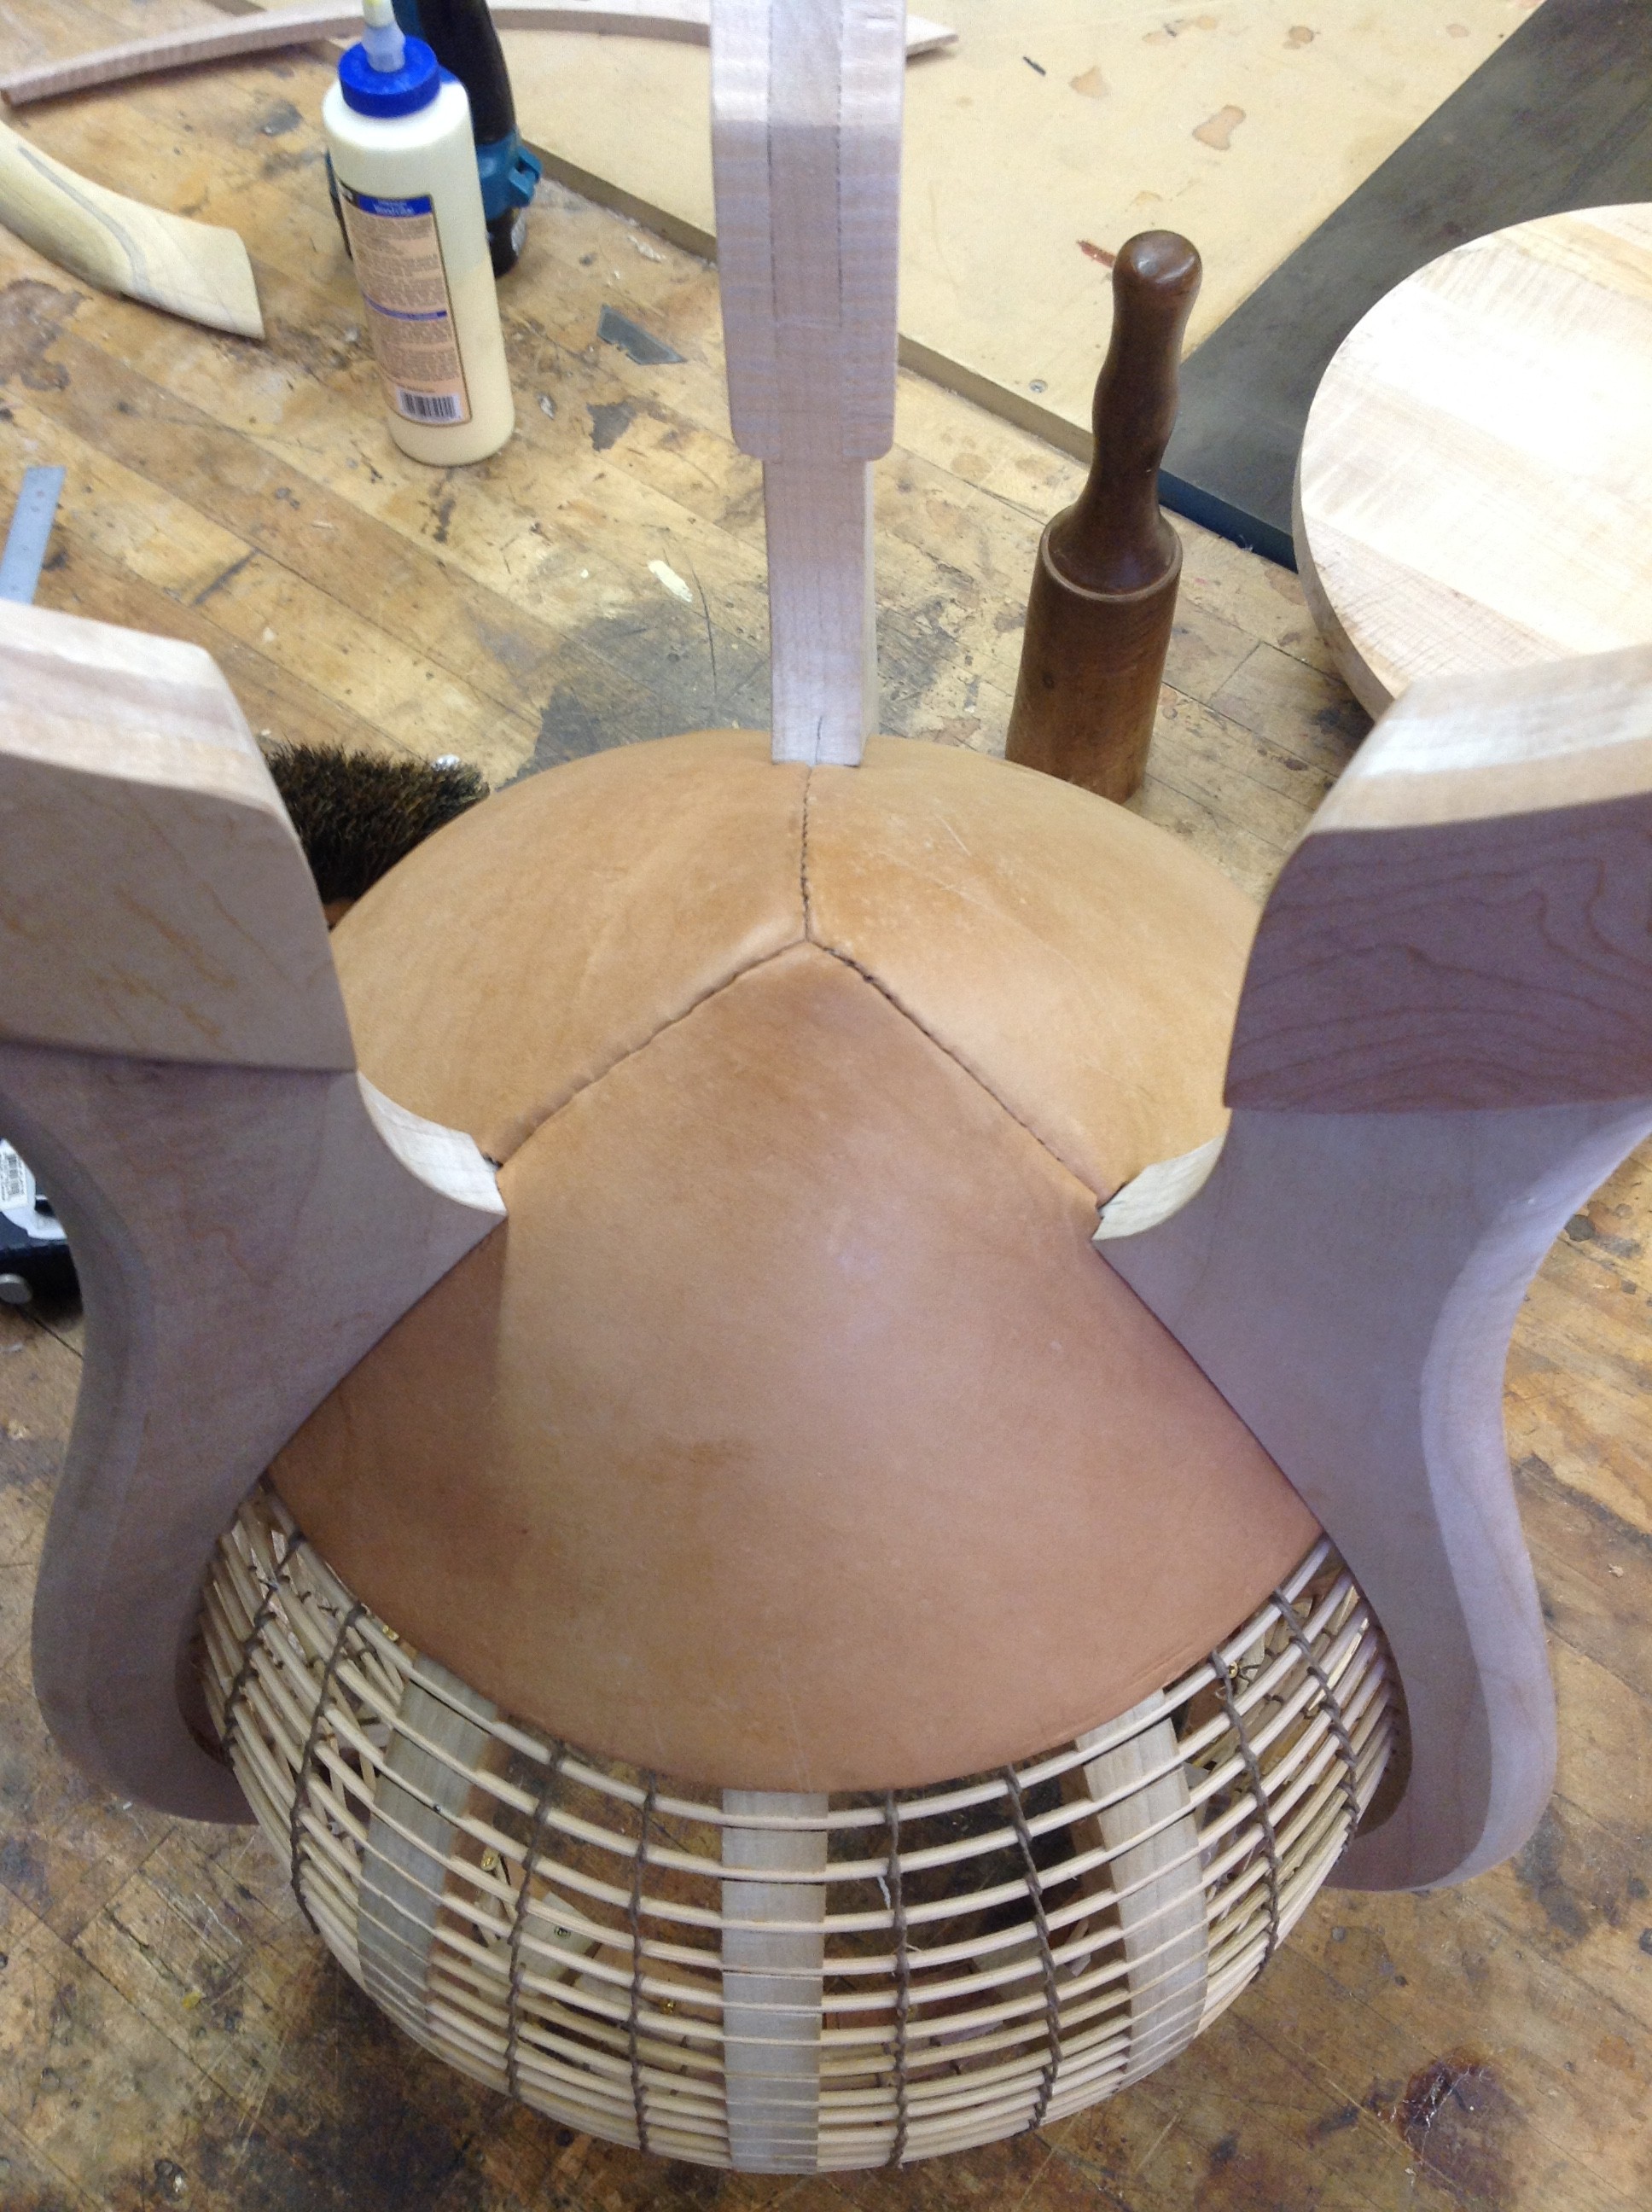 The leather base got blackened but before it was attached to the reeds the maple sections of the table got Watco oil finish applied. The grain in figured wood doesn’t pop as well with a water based finish or even shellac. The top was roughed out on the bandsaw then I used a
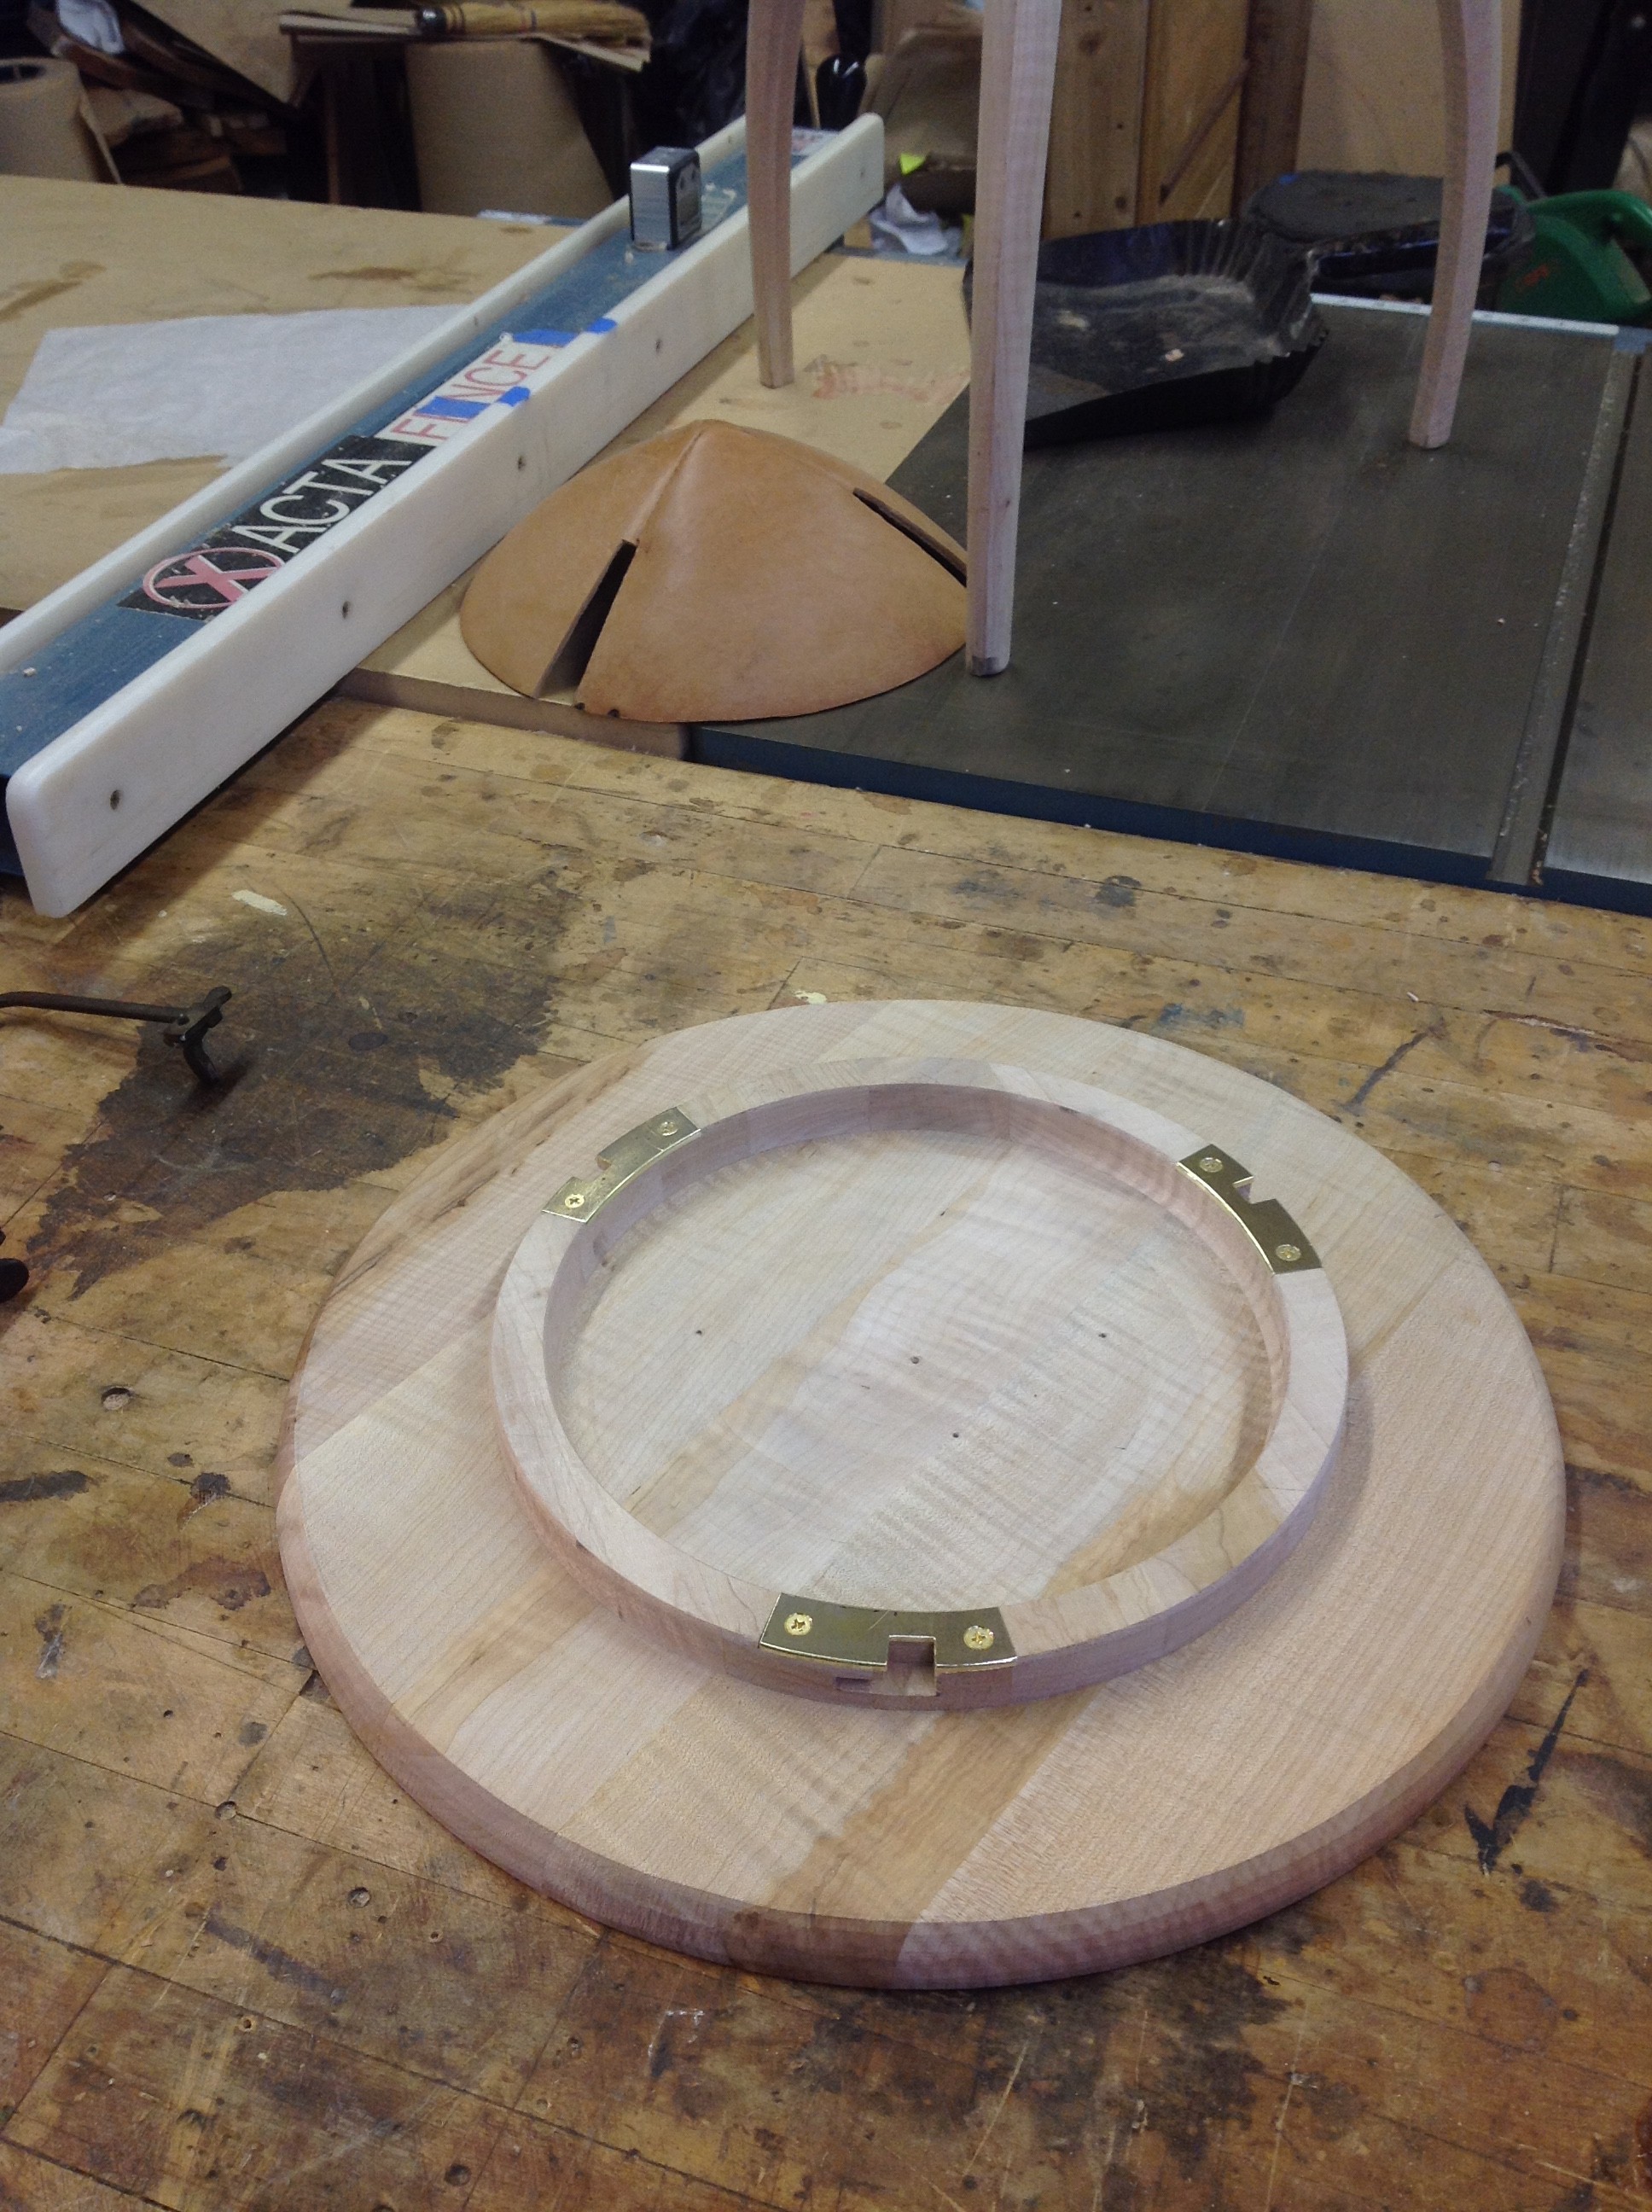
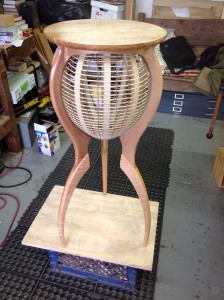 circle template to run the router around and make the perfect circle. Next the bevel was added. I tend to do shaping with some nice French hand cut rasps that I have. I give myself reference lines and bevel to that point. The under side of the top got a ring so that the top will settle in the correct spot and then I can add notches and brass hardware to allow the top to twist off.
 Making the ceramic scales:
I started the ceramic scales to use for the first scale table, but they didn’t get done in time. a number of test scales were made to start with to see if it would more or less work. Then I made a master clay scale and used that to make a dozen identical scales using a silicone mold.
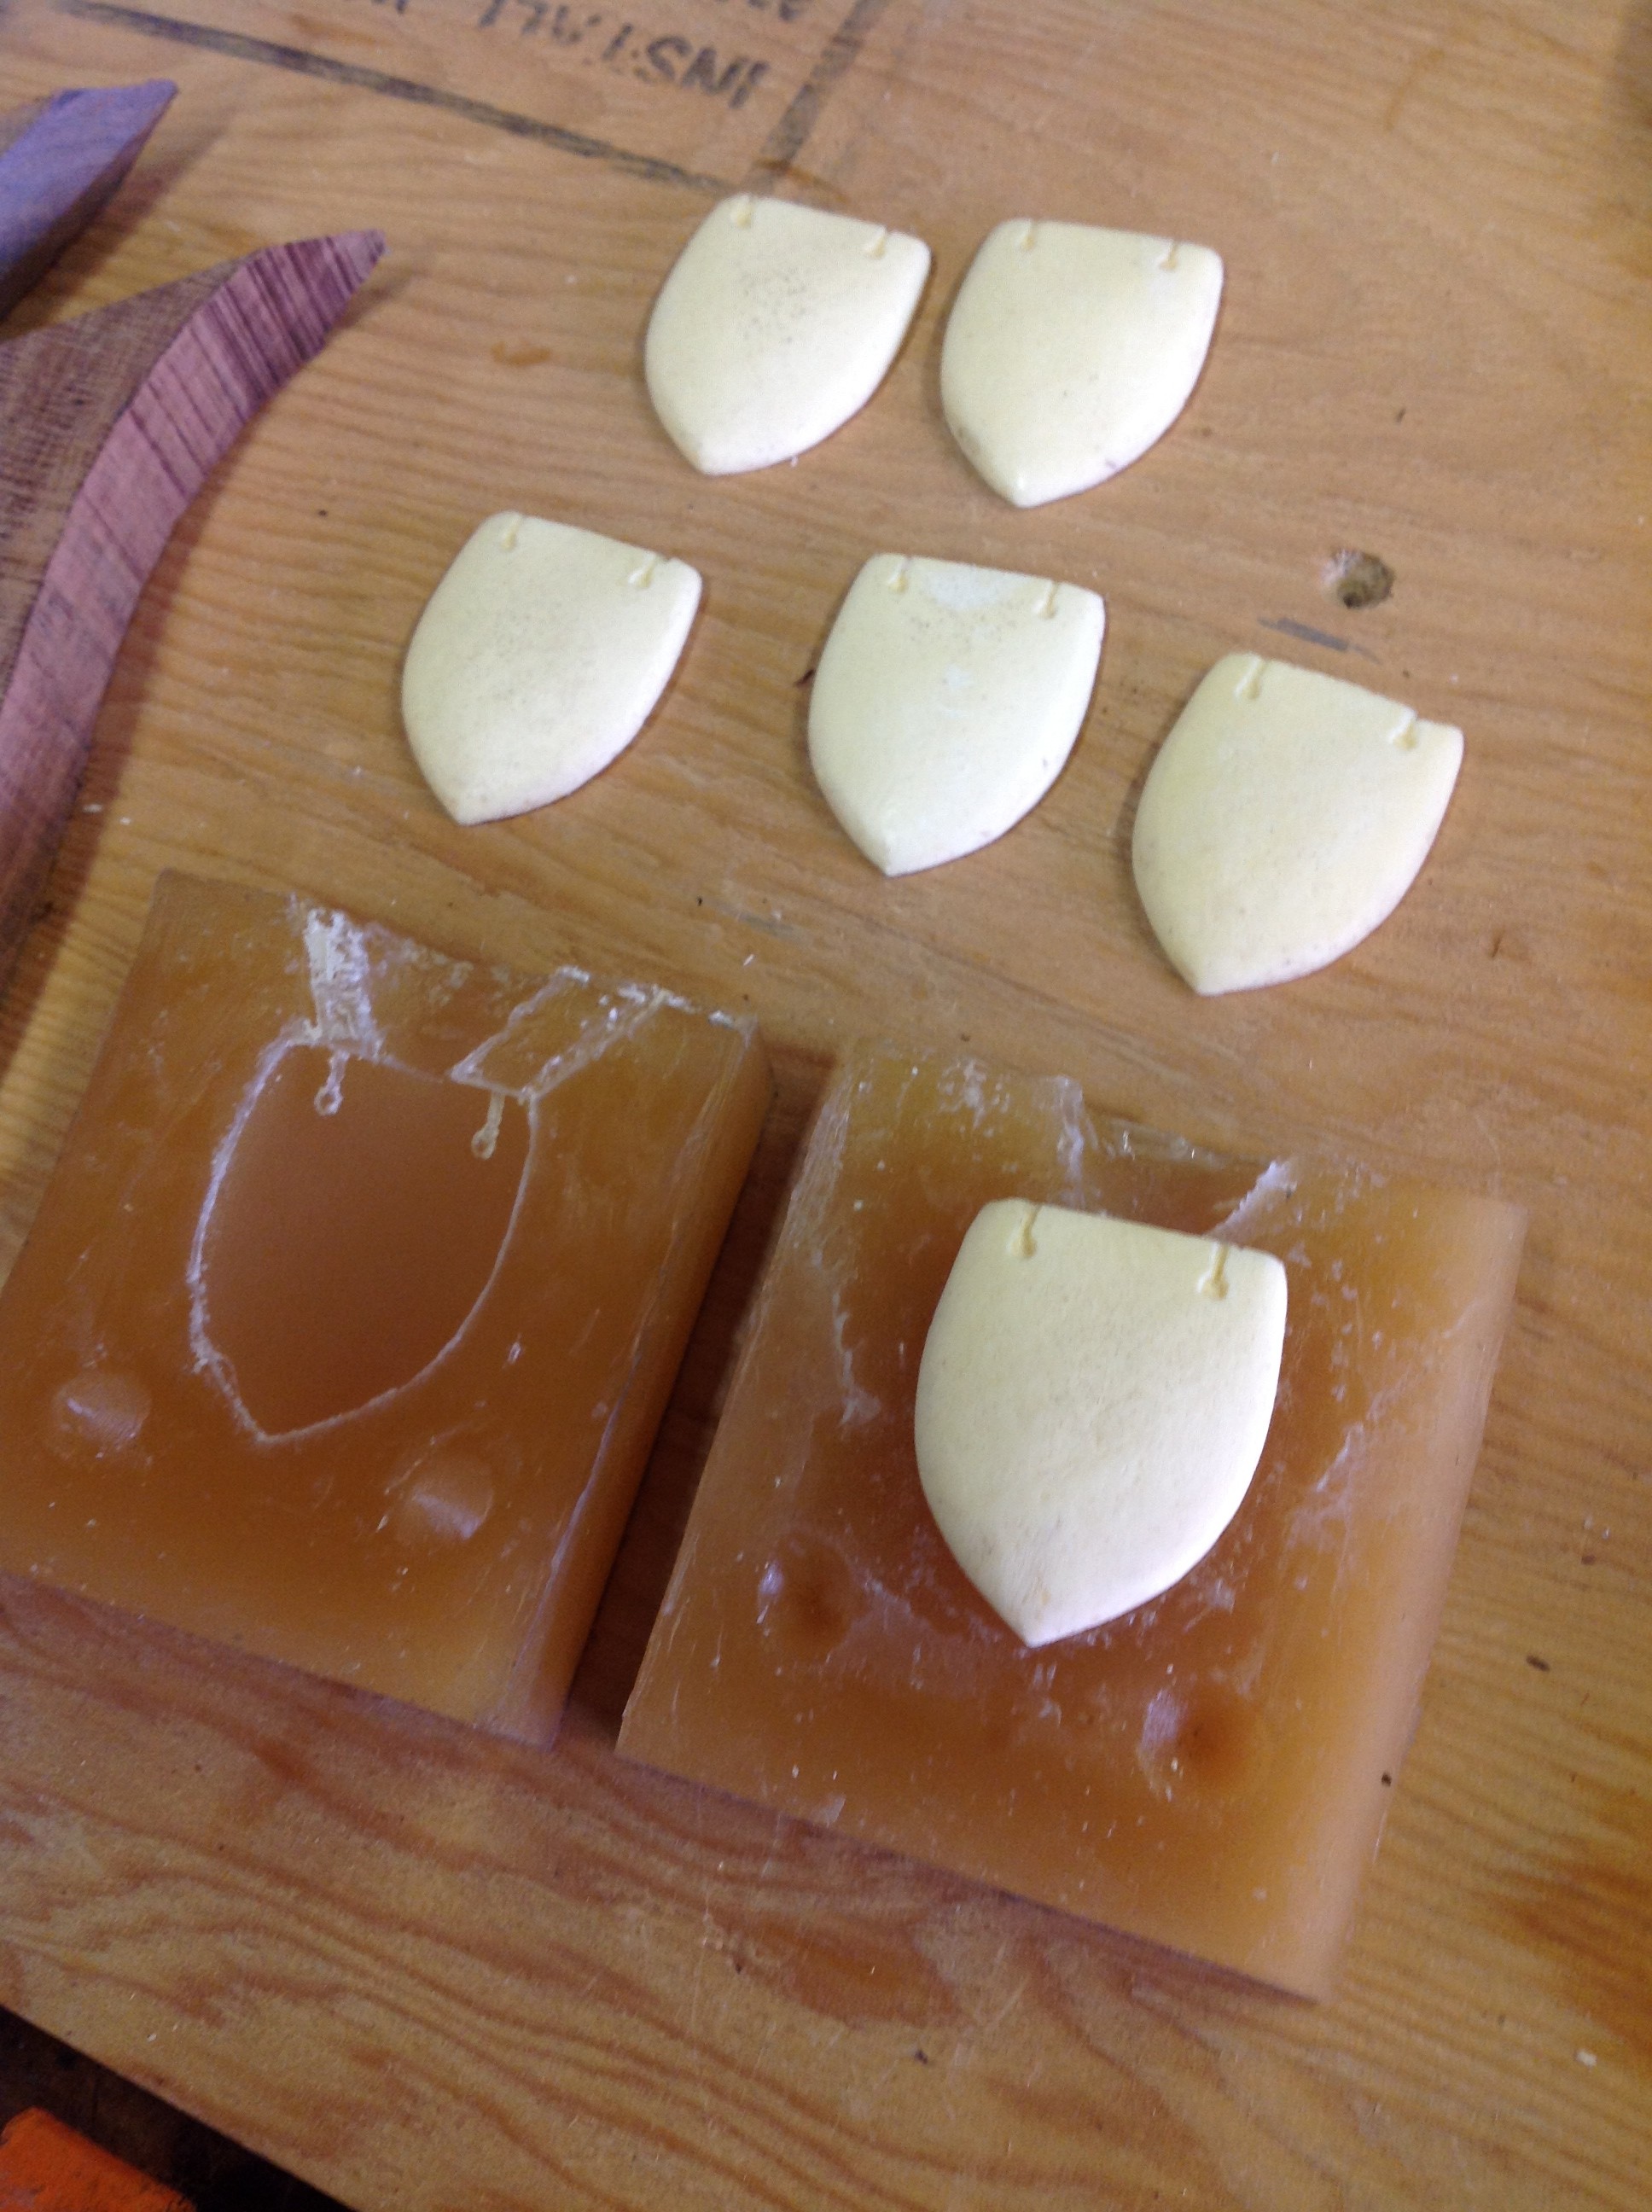 Here is the silicone mold with two part plastic poured in to make the sub masters. Next the plastic scales were used to make plaster molds to form the ceramic scales in. For more info on making molds check out my blog posting about the Tansu handles.
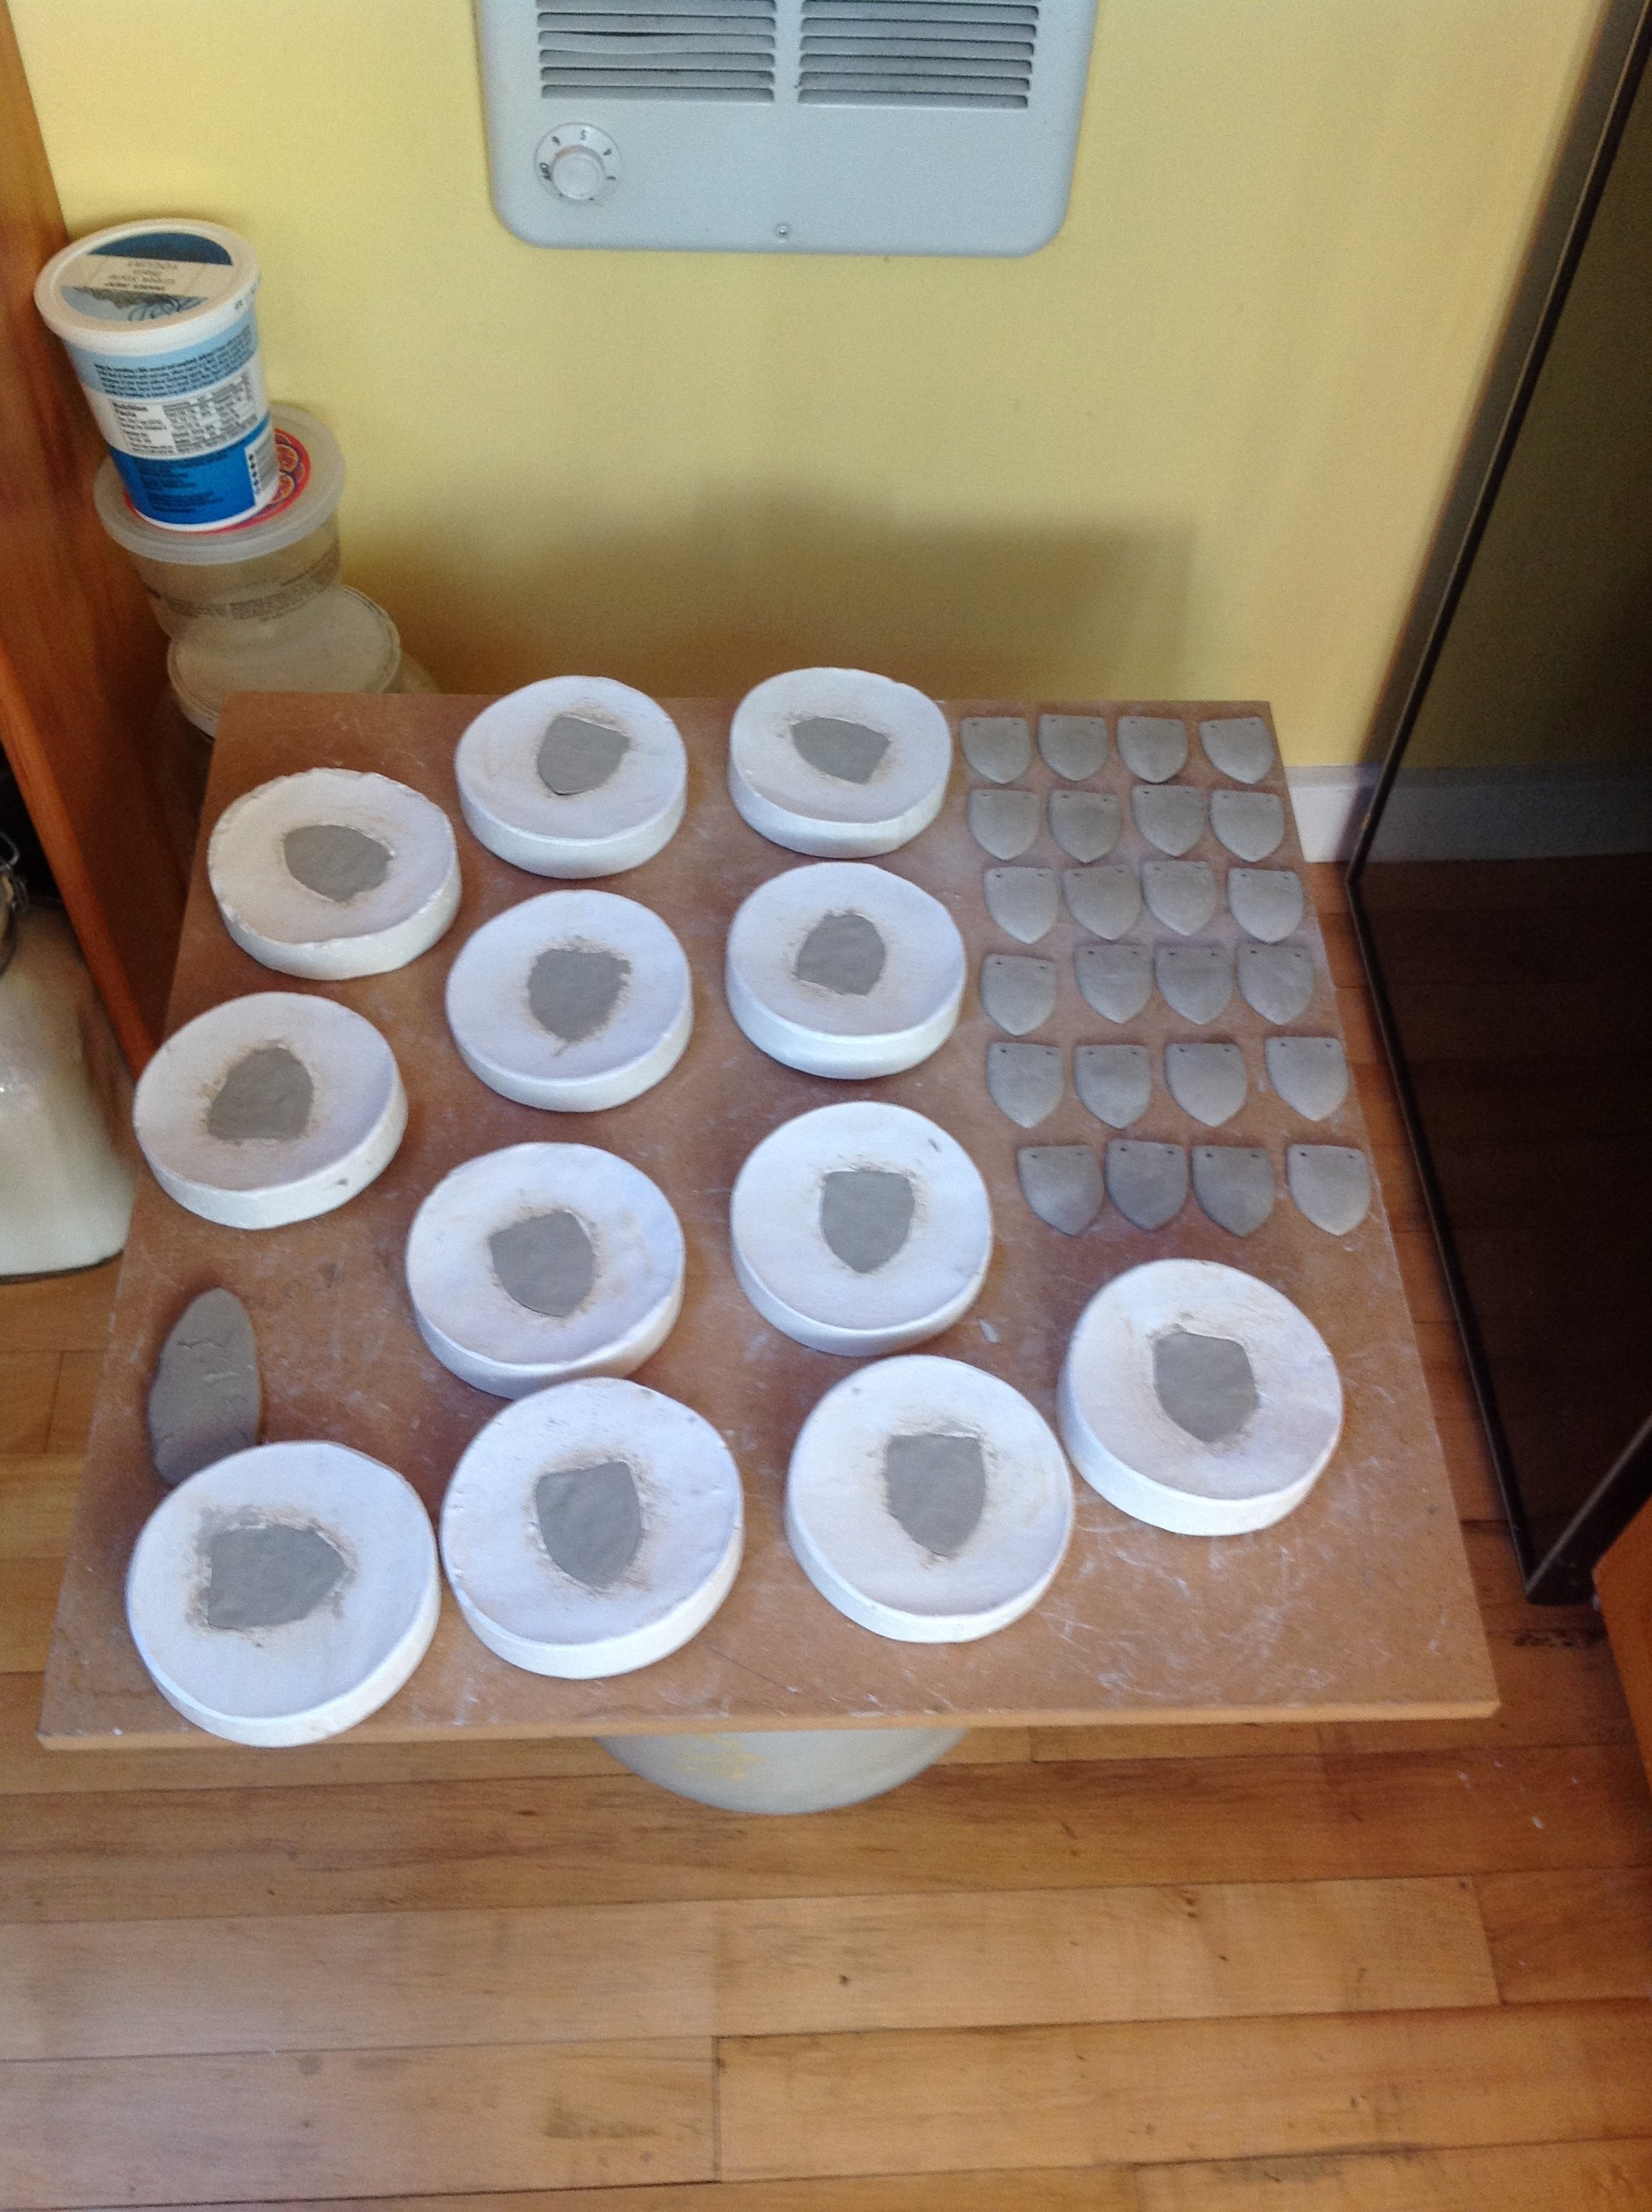 Once I had a few hundred ceramic scales I cleaned them up and burnish each one then fired them in a kiln at a low bisque temperature to preserve the shine. The final step was to take them to my mountain property and fire them again in a pit fire.
  The pit firing process results in a range of effects on the scales depending on where they were I the fire, so the results are always interesting. The problem I ran into was that it took a long time to make and burnish that many scales and the season got away from me. It is not possible to do a brush fire in the Sierra Foothills after mid spring, so I had to wait for the next winter to pit fire the scales.

It was the next day before I was able to start pulling the scales out of the ashes. I think I found all but a few. They ranged in color from very black to grey, brown and a little tan with many mixed colored ones.
Attaching the scales:
The blackened leather cap went on first and was attached to the reeds. Next I started attaching the scales, but I soon discovered that I would not have nearly enough to cover the entire remaining area of the egg. I took the scales off and started experimenting with the shape of another section of leather.  I tested shapes in paper until I had a look that I was pleased with then I had to add wood to my leather form and turn the extended shape on the lathe. Once the new form was ready, I
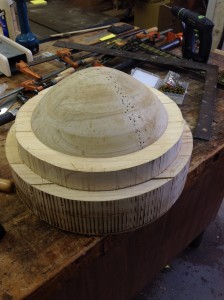 soaked more leather in hot water and stretched that over the new form. I blackened the new leather pieces, but I decided the new pieces needed to be a bit different from the lower ones so I sanded through some of the black and dyed it with brown. They got trimmed to fit and then attached to the reeds.
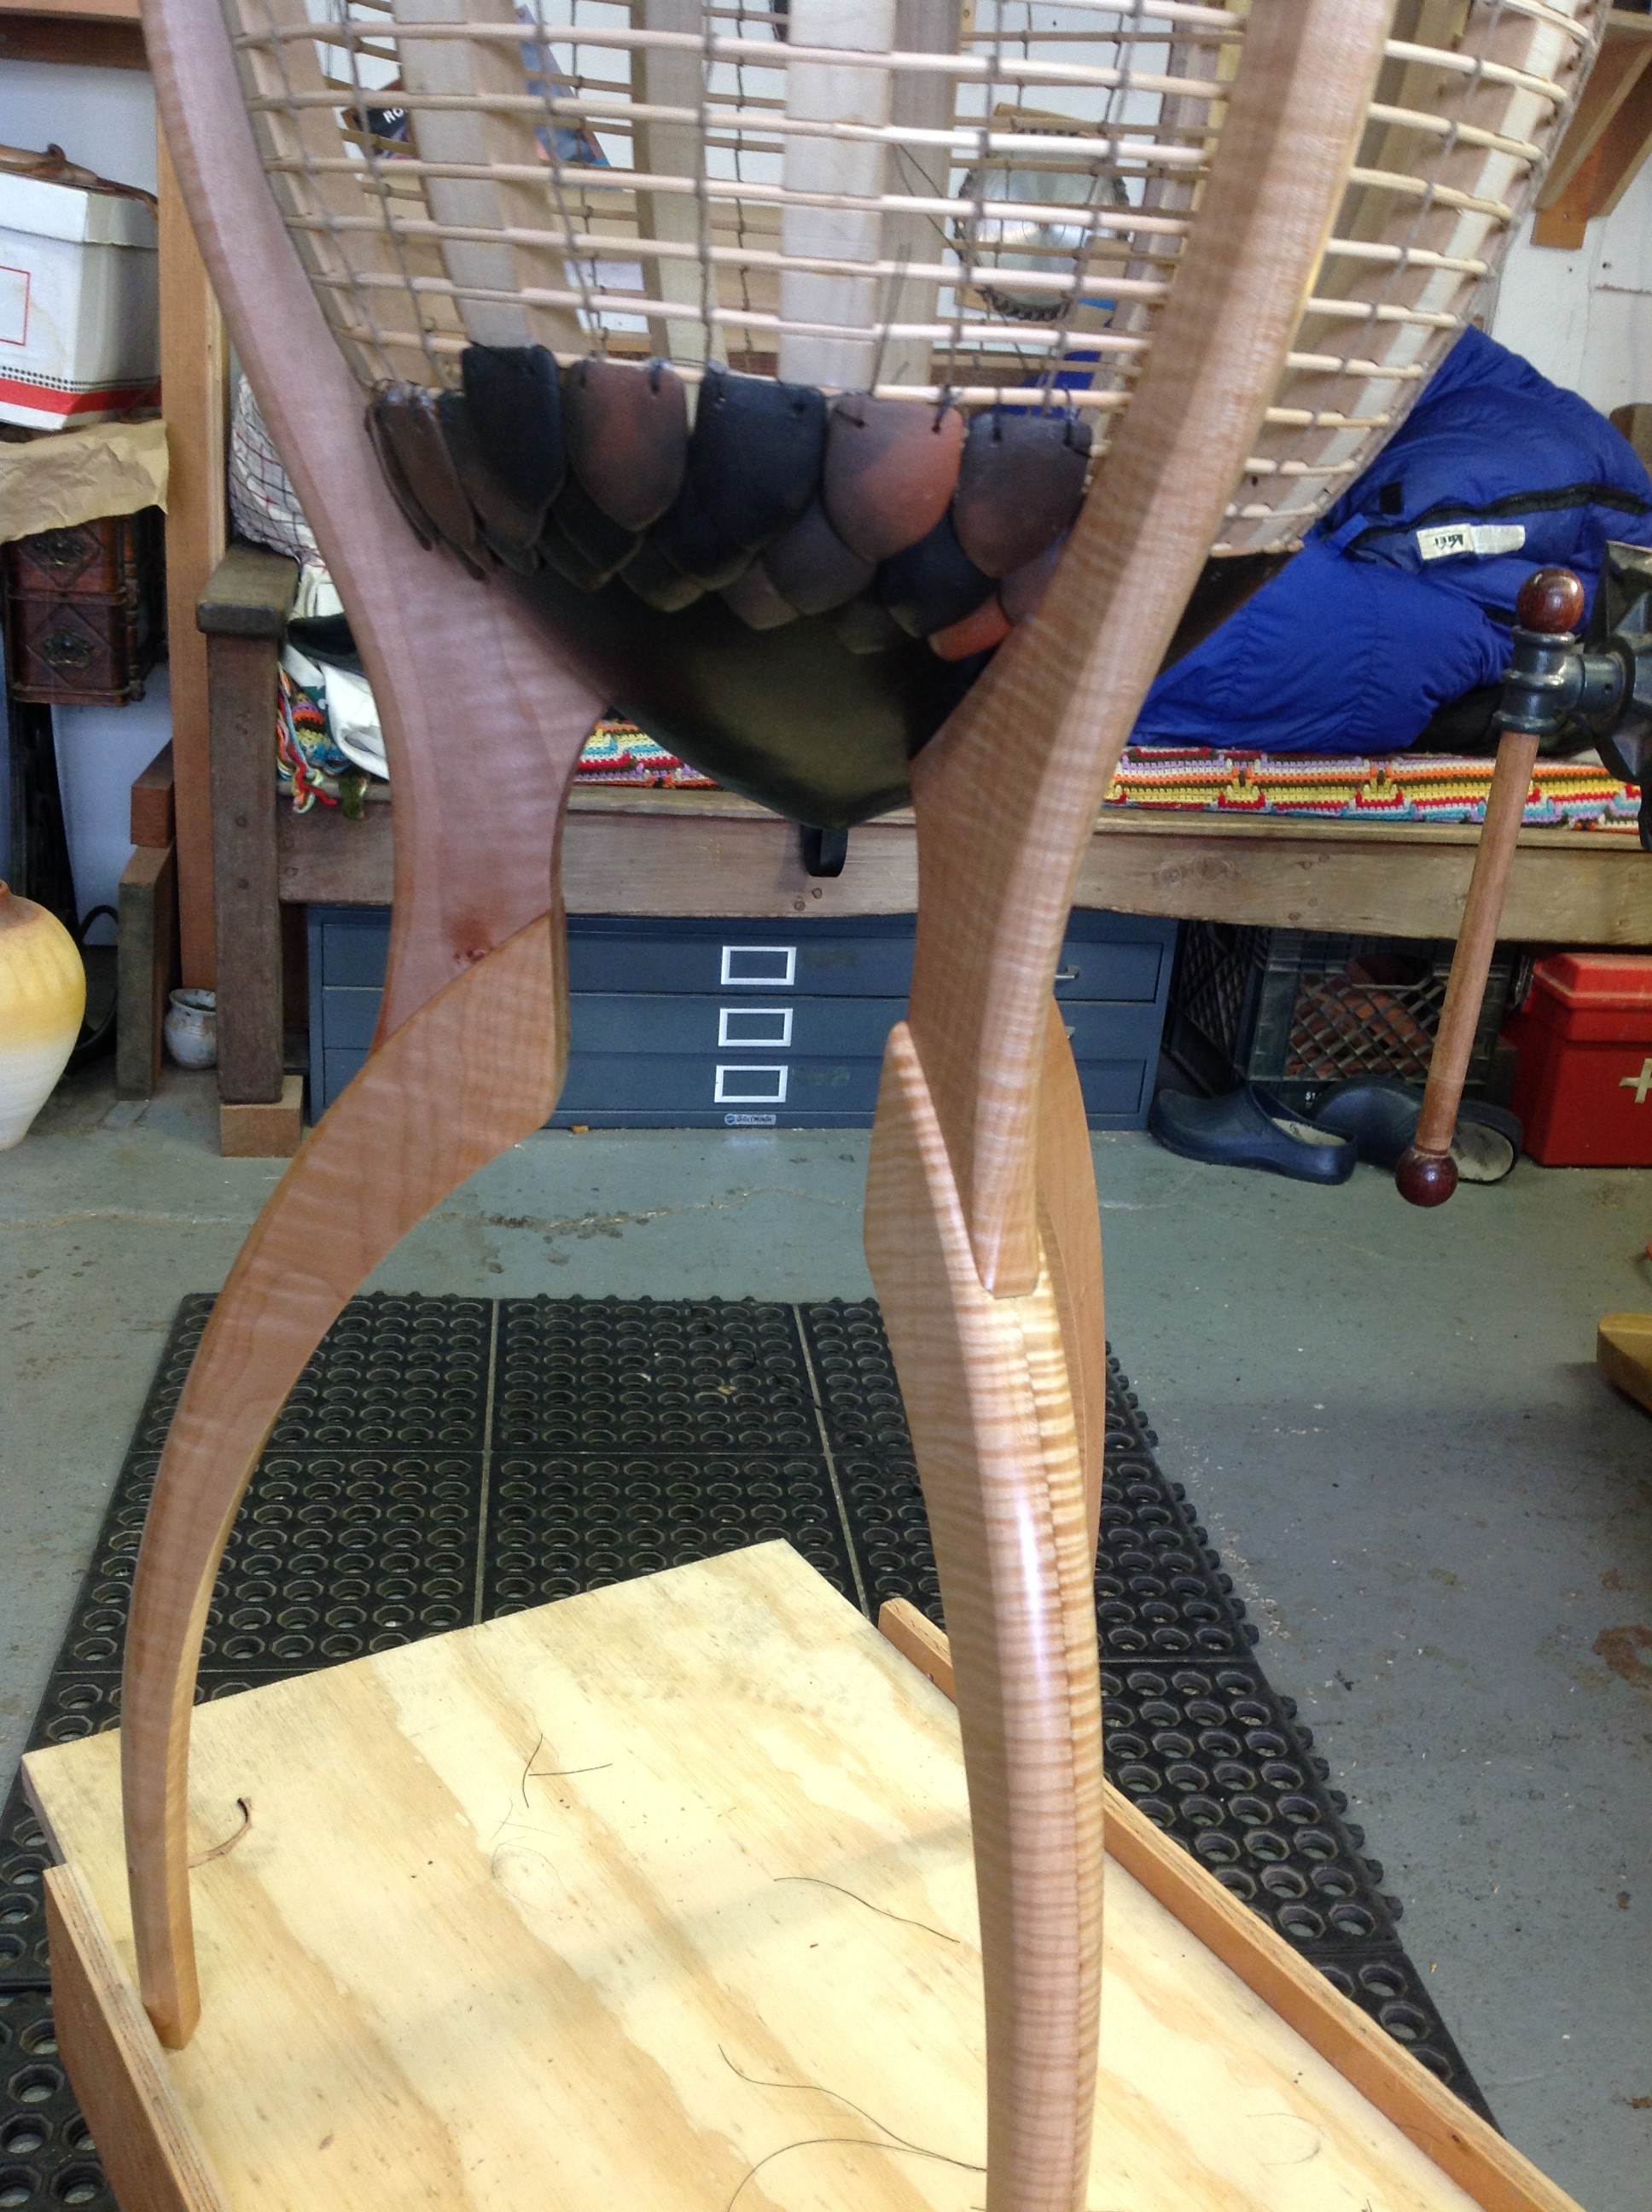
 At this point I started attaching scales again, scale by scale they were stitched onto the reeds through predrilled holes in each upper corner.
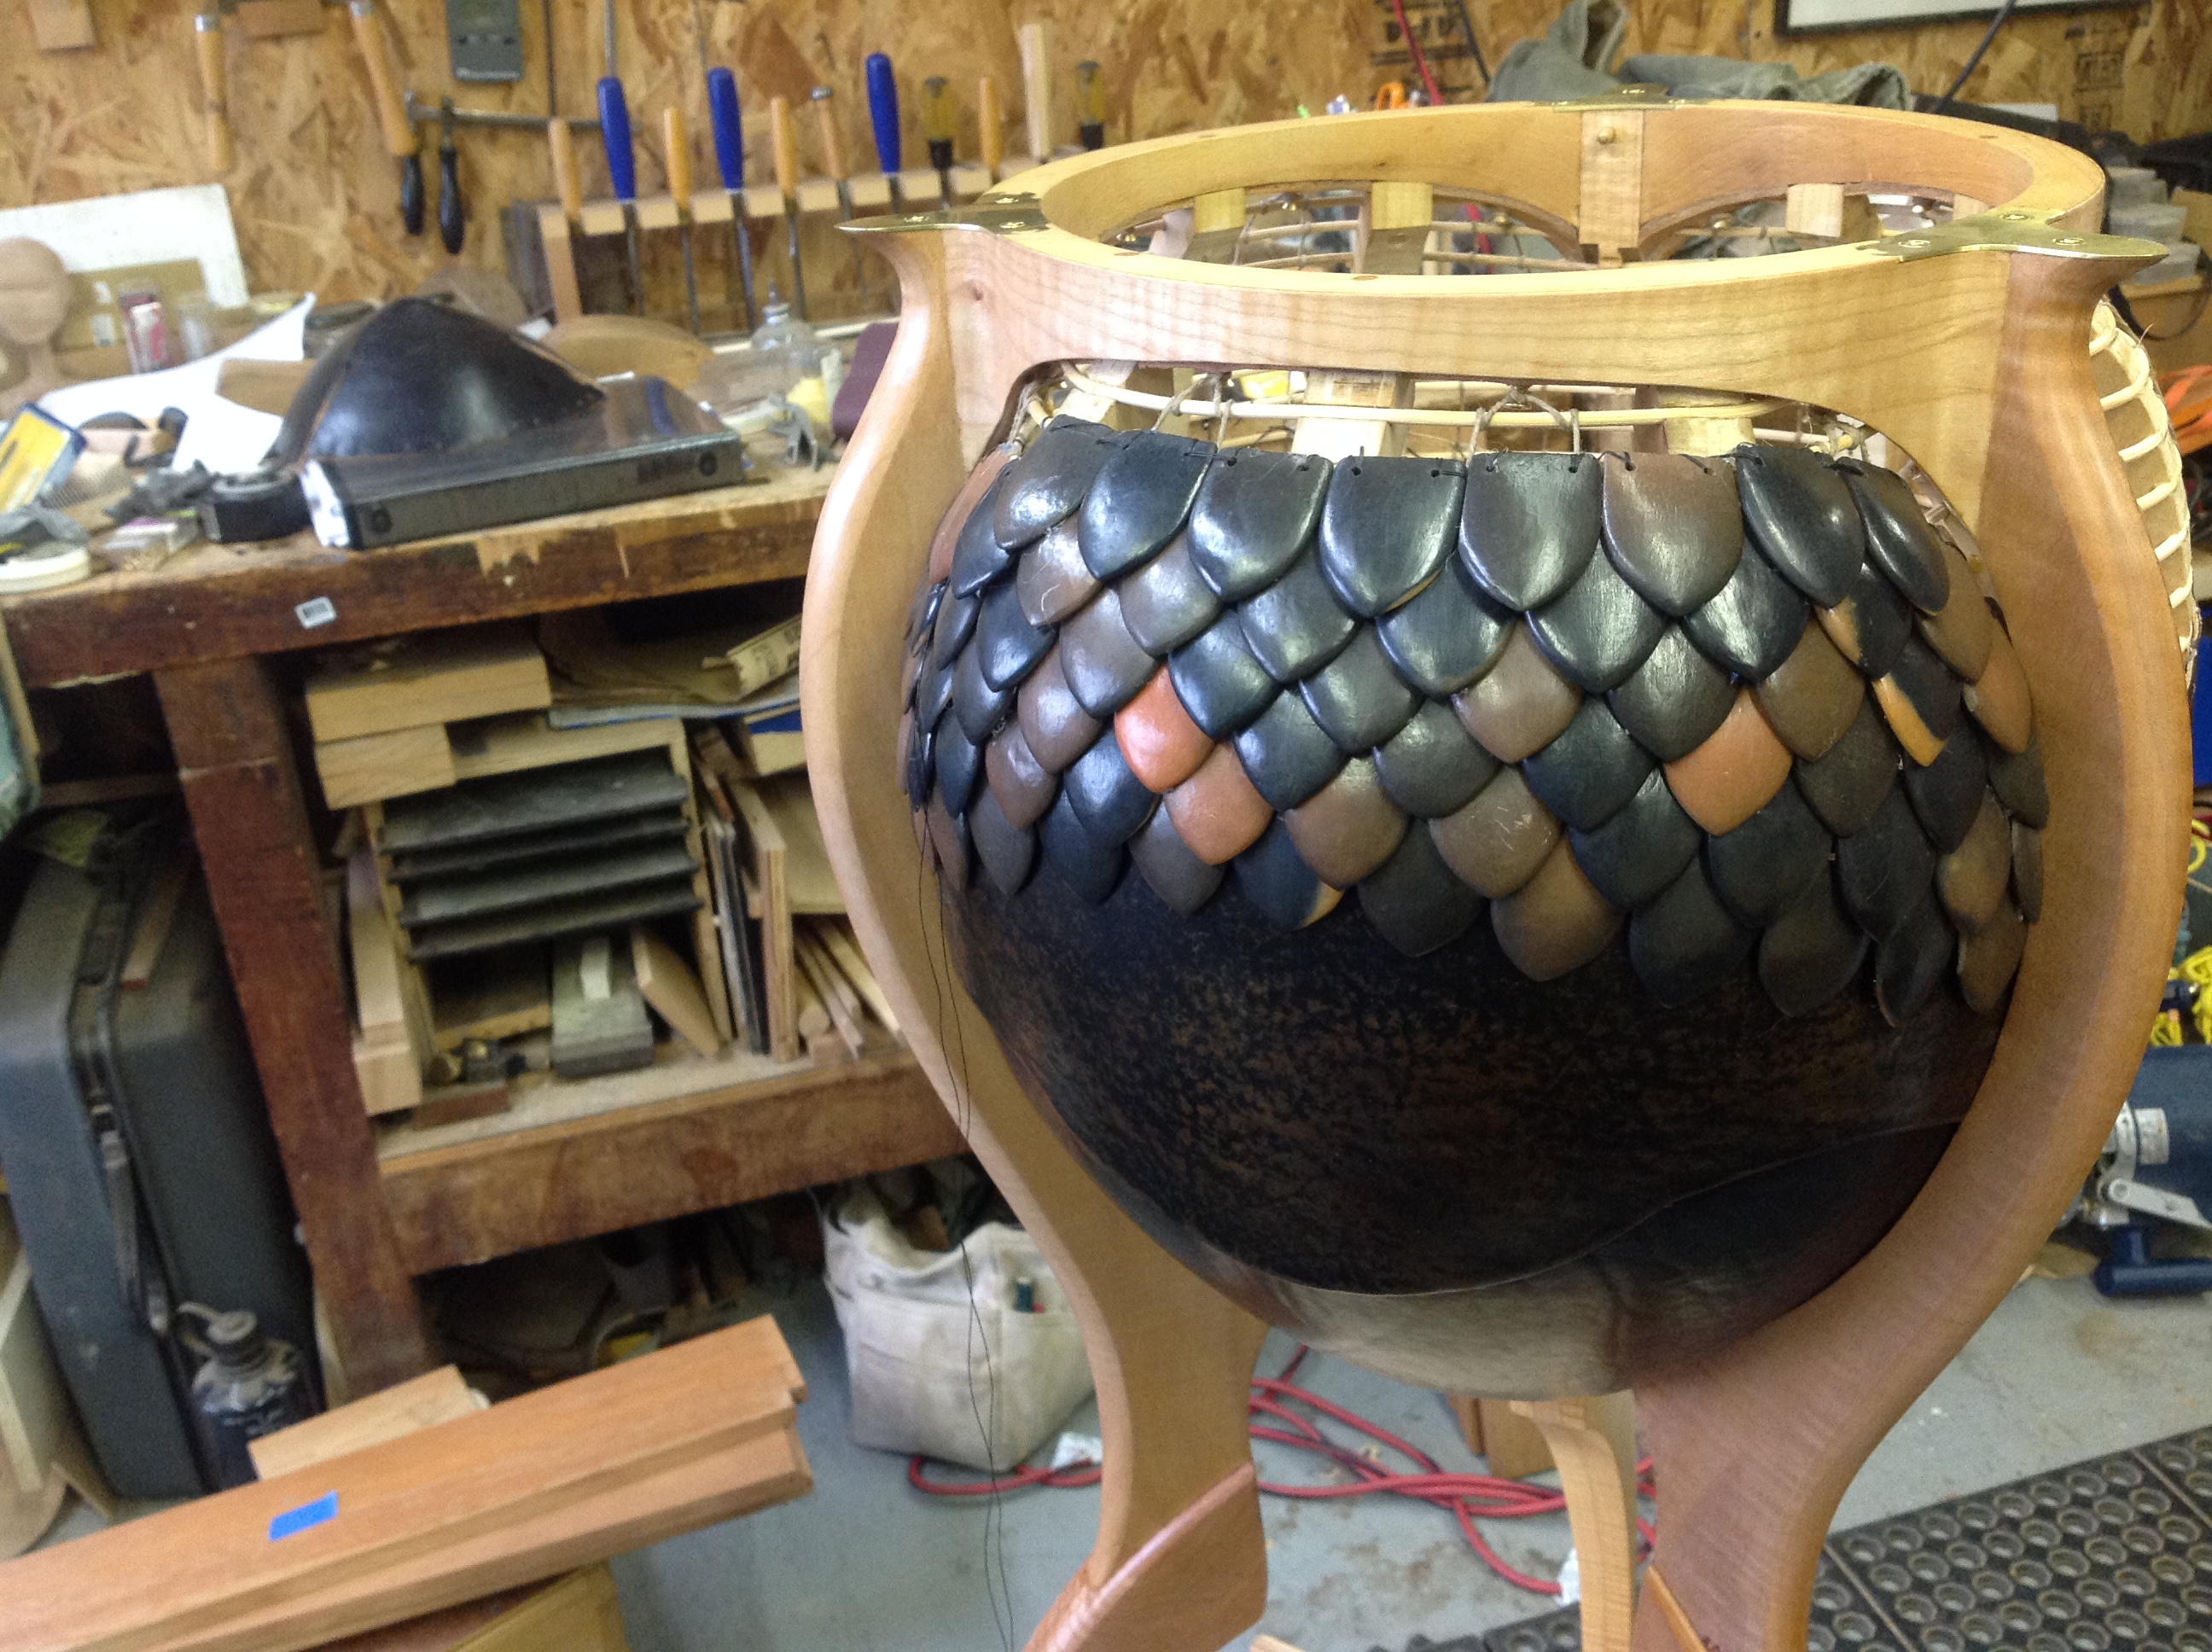
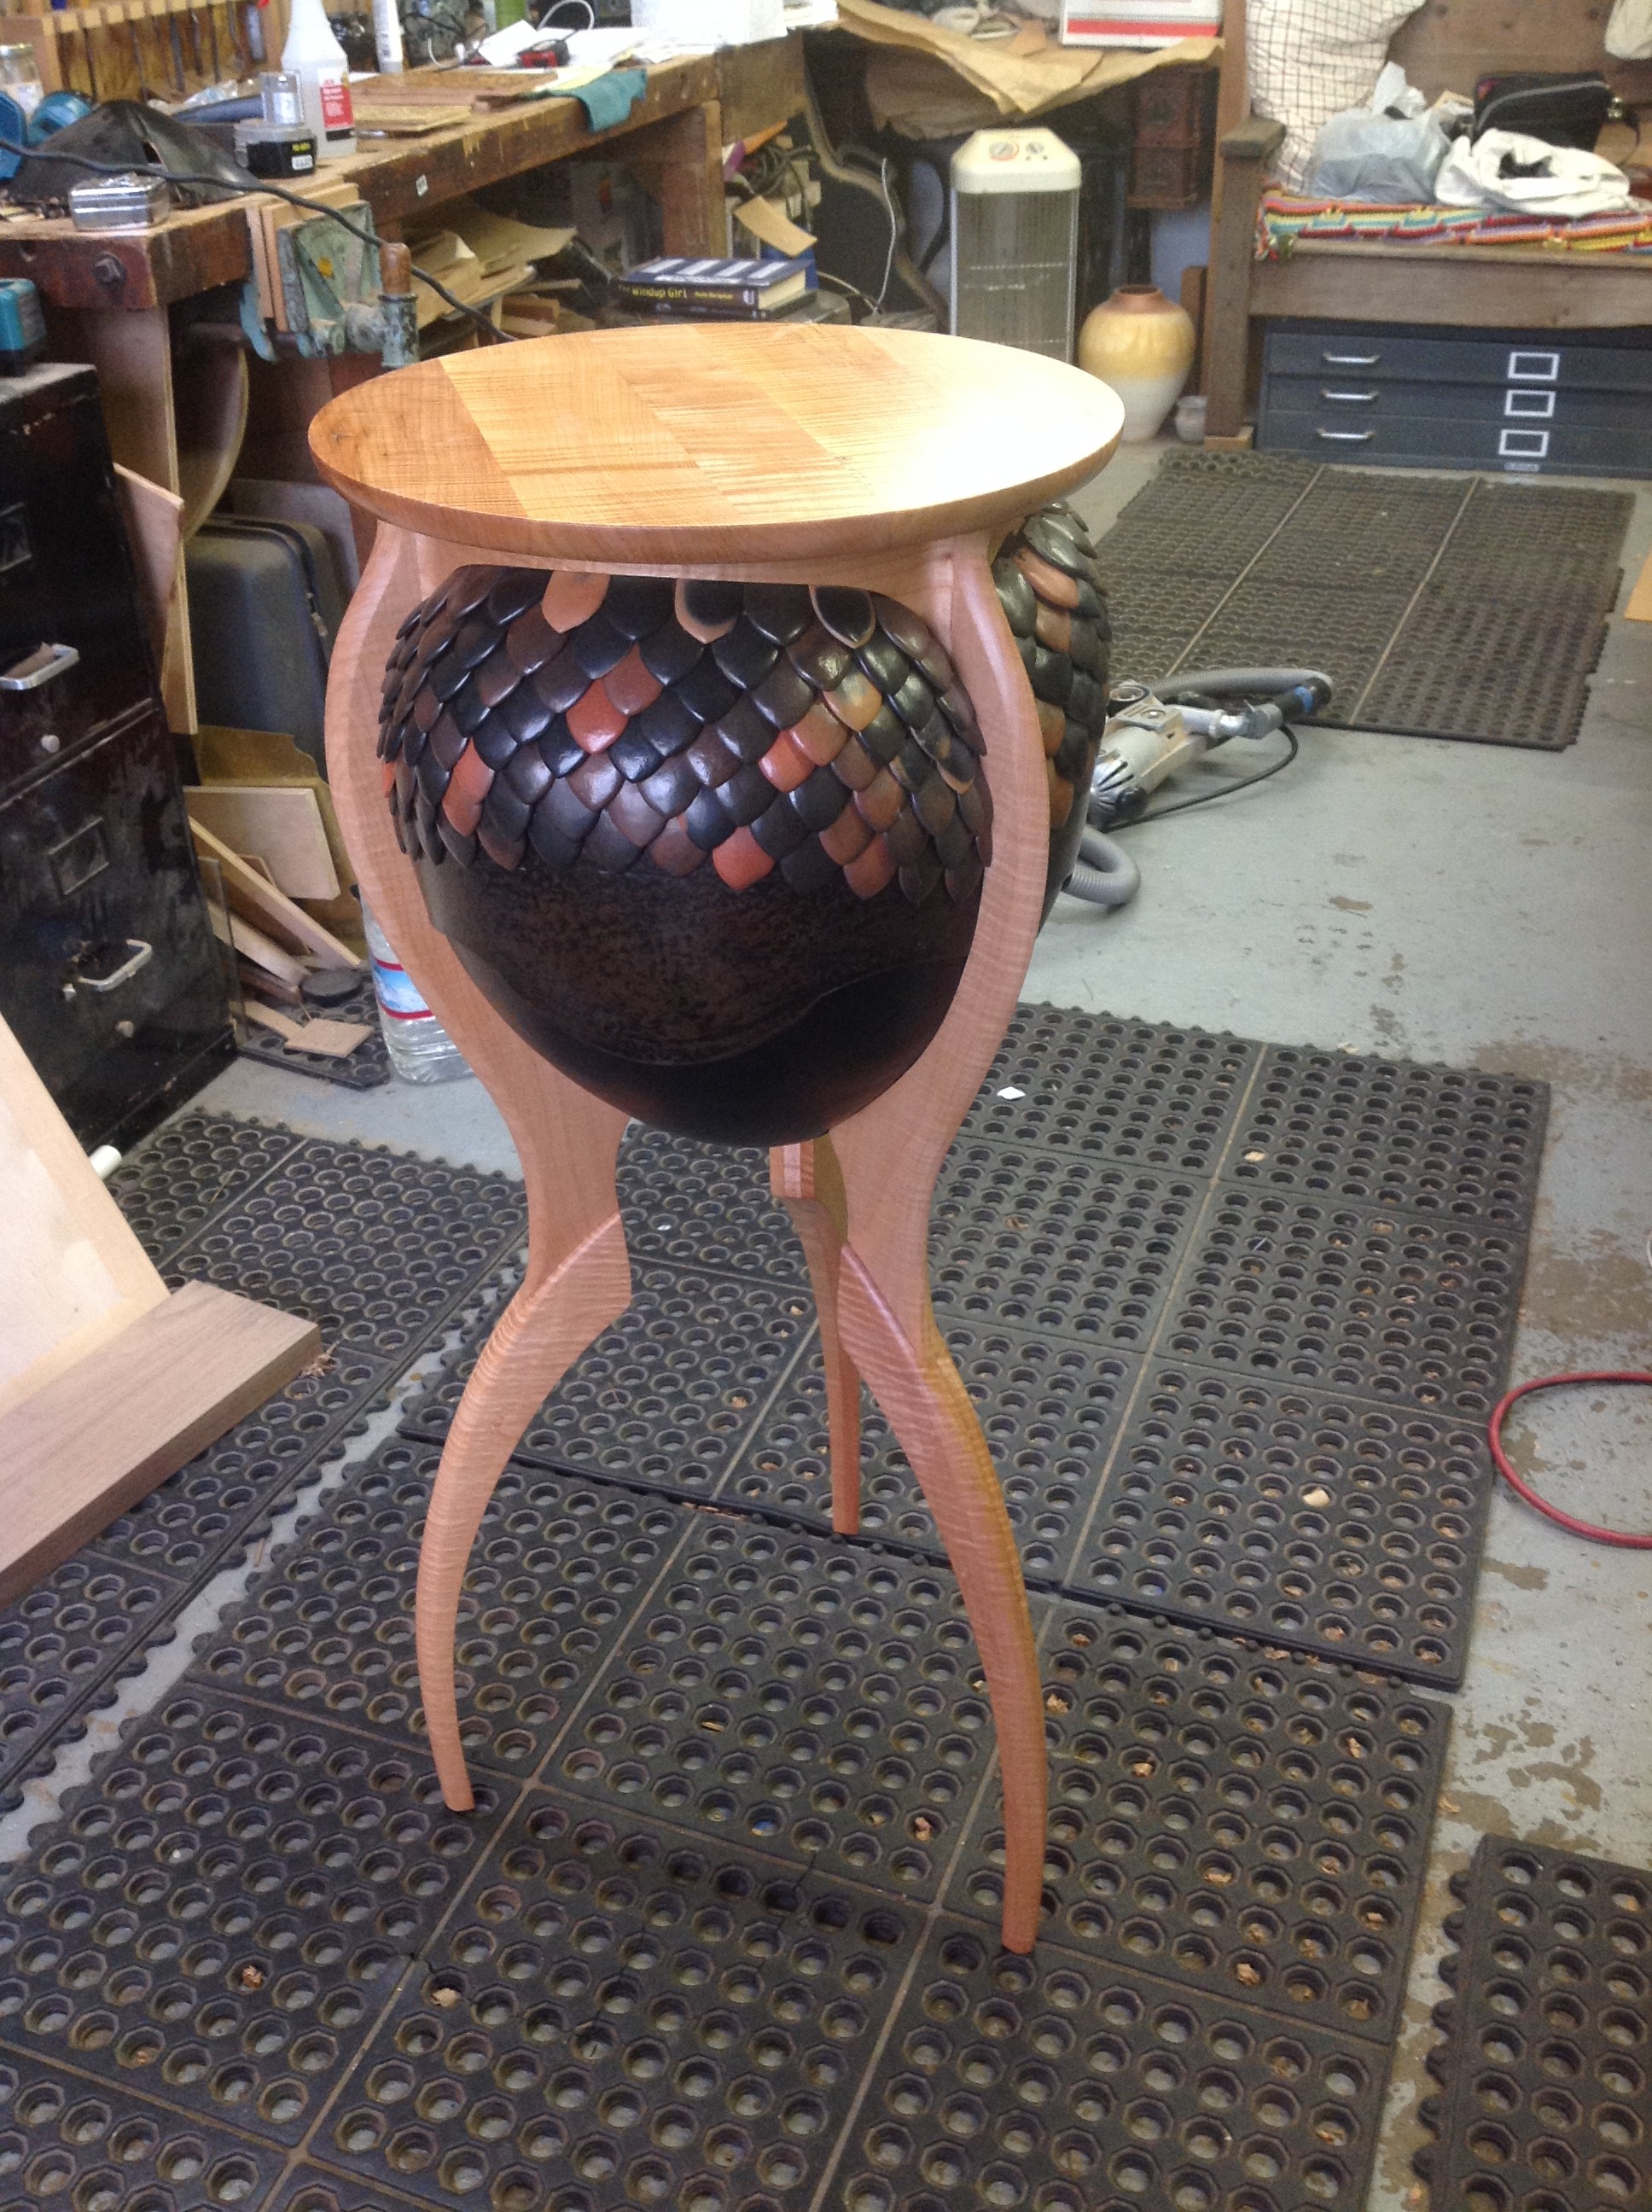 Finally the scales were all on, and the leather lining for the inside of the table was constructed and installed.
More Photos:

Leave a Reply
You must be logged in to post a comment.